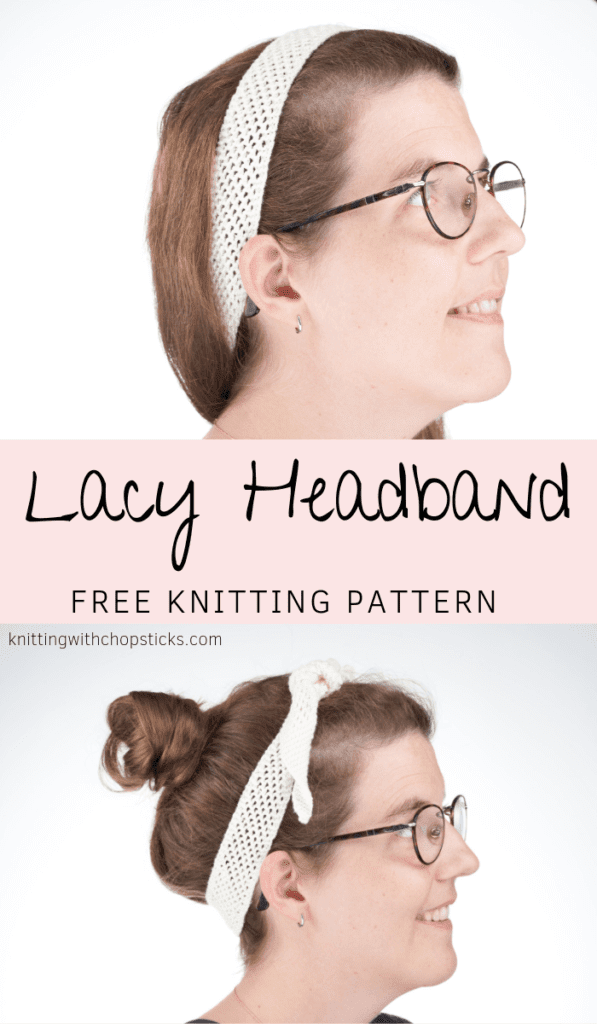
One of my favorite things in life (after yarn and chocolate of course) are hair accessories. I was complaining to Mr. Artichoke a few weeks ago that I couldn’t find the perfect headband for windy summer days. My hair gets crazy fizzy and curly with the humidity and I hate how itchy it gets when blown in my eyes. Anyway, he naturally responded to my complaints by saying « Why don’t you just make one ». What a stroke of genius! I have the reflex to create whatever piece of clothing, scarf, hat, mittens I want but I hadn’t thought of a knit headband free pattern that is not meant to keep you warm.

I wanted something light, stretchy and lacy so it would be pretty and not too warm. I usually crochet this kind of stitches but this time I decided to make my first knit lace pattern. I’ve always been scared of lace knit stitches. They look so intricate. If you’re like me, don’t worry, it is actually crazy easy! All you need to do to create this cute grid is yarn over (bring the yarn forward) and knit 2 stitches together. There are actually no complicated advanced stitches involved.
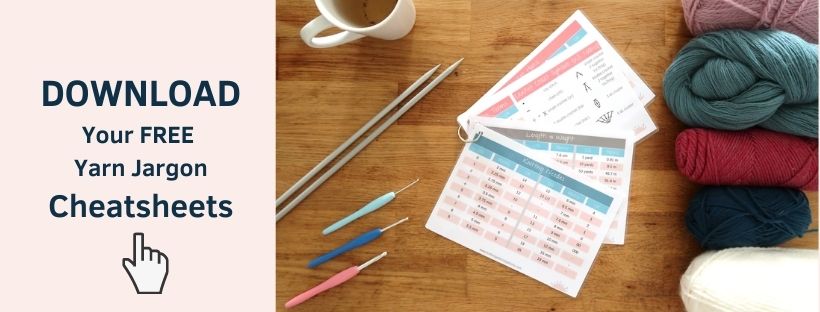
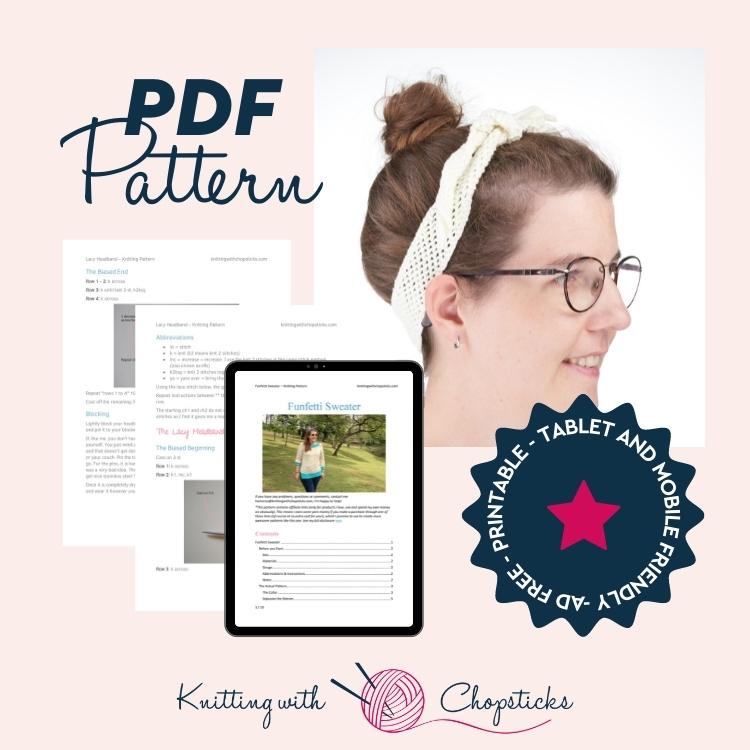
Scroll down for the free version but I recommend you purchase the ad-free PDF Pattern to get all the instructions and pictures in a nice PDF you can print and take notes on without relying on your phone or an internet connection, I’ve got you covered!
The Lace headband is available on Ravelry. Add it to your cart before you forget.

*This post contains affiliate links (only for products I love, use and spend my own money on obviously). This means I earn some yarn money if you make a purchase through one of these links (of course at no extra cost for you!), which I promise to use to create more awesome patterns like this one. All opinions are my own. See my full disclosure here.
More Accessories you'll love View All

Before you Start your Knit Headband Free Pattern
Materials
- 2.5 mm knitting needles
- Less than half a skein of Bamboo cotton yarn. This yarn is super soft and delicate, I just love it.
- Tapestry needle to weave in the ends. I love this set as it has different eye sizes for different yarn thicknesses and it comes in a small tube which is very convenient so I don’t lose them.
- T pins for blocking
Abbreviations
- st = stitch
- k = knit (k2 means knit 2 stitches)
- inc = increase. I use the knit 2 stitches in the same stitch method (also known as kfb)
- k2tog = knit 2 stitches together
- yo = yarn over = bring the yarn forward
Using the lace stitch below, the gauge is 28 st by 54 rows for a 10cm by 10cm square
Repeat instructions between ** the indicated number of times or until the end of the row.
Size
I have indicated standard sizes as follows adult (baby, toddler, child, tween).
To adjust the pattern to your head size, measure the diameter of your head and replace the 57cm / 22 1/2″ below (in the lace part) with your measure.
Lacy Headband Actual Pattern
The Biased Beginning
Cast on 3 st
Row 1: k across
Row 2: k1, inc, k1

Row 3: k across
Row 4: k until last 2 st, inc, k1

Row 5 – 6: k across
Repeat *rows 3 to 6* 10 times (14st)
The Main Laced Part

Row 1: k2, *yo, k2tog*, k2
Row 2: k across
Row 3: k3, *yo, k2tog*, k1
Row 4: k across

Repeat *rows 1 to 4* until you reach 57 cm / 22 1/2″ (37 cm / 14.5″, 43cm / 17″, (49 cm / 19″, 53 cm / 20 3/4″) for the laced part.
The Biased End
Row 1 – 2: k across
Row 3: k until last 2 st, k2tog
Row 4: k across

Repeat *rows 1 to 4* 10 times
Cast off the remaining 3 stitches.
Blocking
Lightly block your headband without stretching it. To do this, humidify your headband and pin it to your blocking mat.
Don’t skip this step as it can make a huge difference. Read my detailed tutorial on why block, how-to, and all my tips and tricks if you need help.
Once it is completely dry, remove the pins. Your headband is ready to be worn. Tie a not and wear it however you want. The possibilities are endless.
If you enjoyed this pattern, don’t forget to share it with your yarn friends.