Sunlit Tiles Top
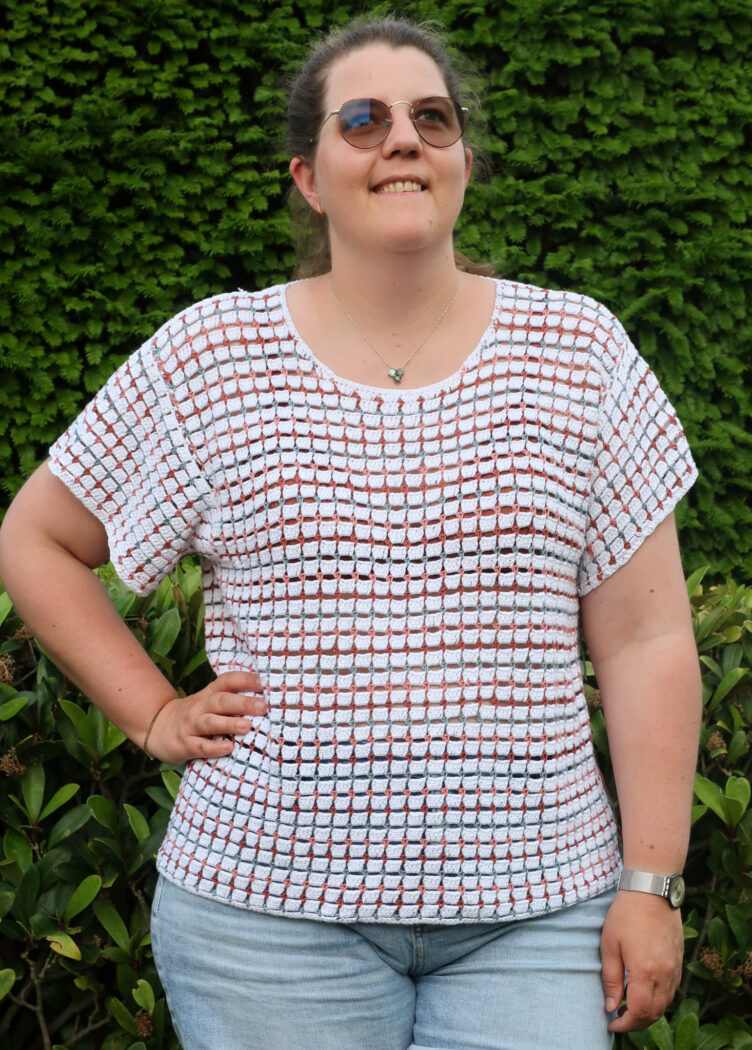
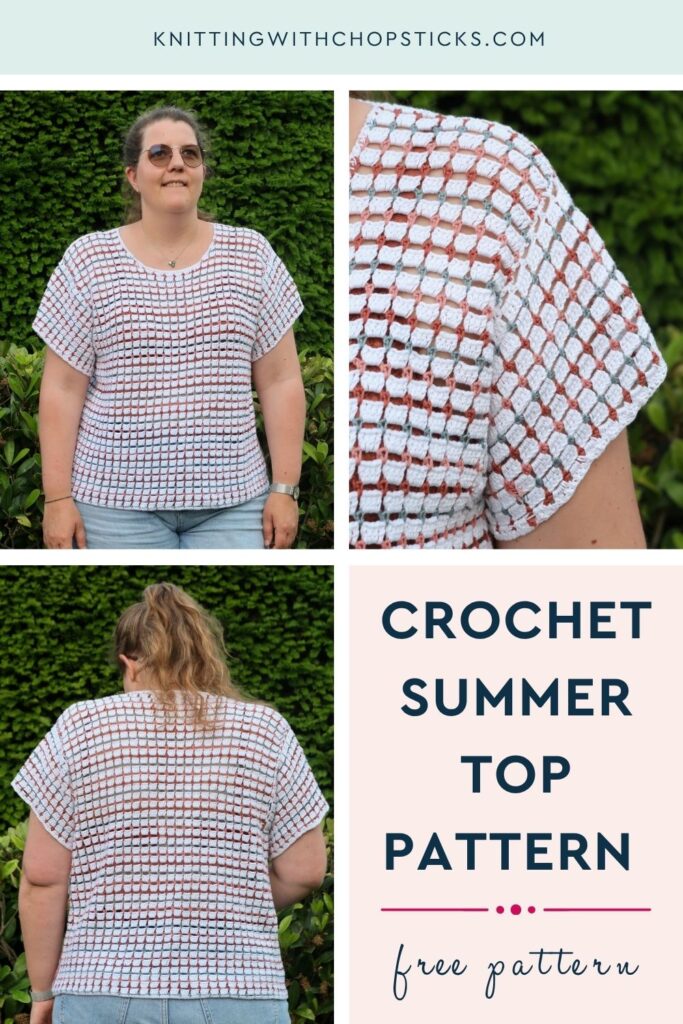
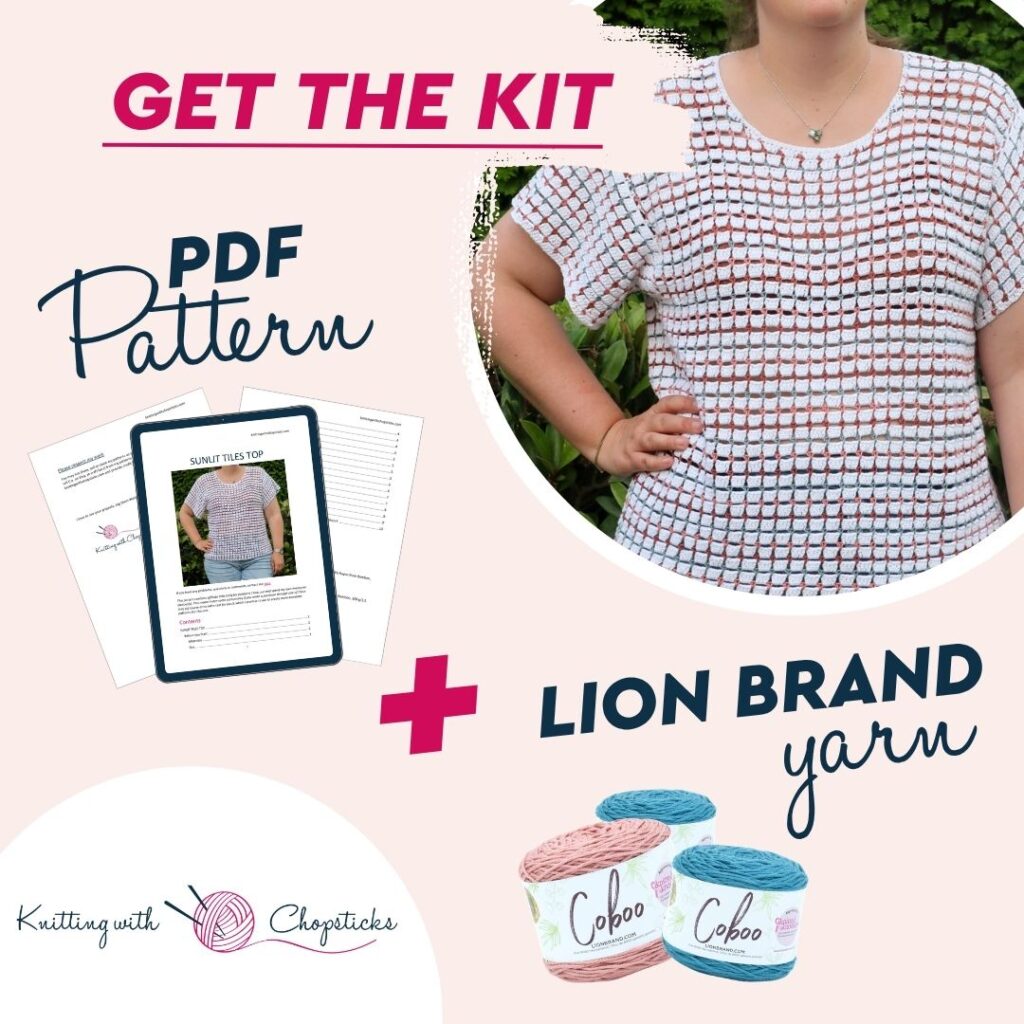
A new crochet summer top pattern – the Sunlit Tiles Top – is now a free crochet top pattern here on the blog. Read all about this crochet short sleeve top pattern inspiration, scroll down to view the full free pattern or purchase an ad free PDF from the links below.
No time right now? Pin this Easy Crochet Summer Top Pattern Free Easy Beginner Project for later!
*This post contains affiliate links (only for products I love, use and spend my own money on obviously). This means I earn some yarn money if you make a purchase through one of these links (of course at no extra cost for you!), which I promise to use to create more awesome patterns like this one. All opinions are my own. See my full disclosure here.
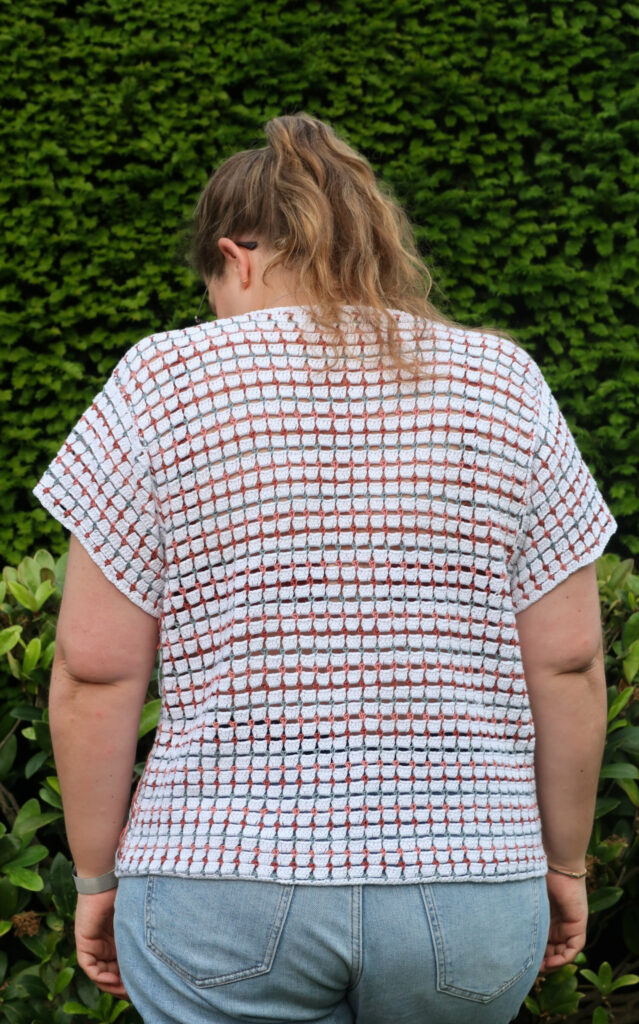
If you’re looking for a free crochet summer top pattern that’s light, stylish, and fun to make, you’re in the right place! The Sunlit Tiles Top is a modern crochet top that’s perfect for warm, sunny days and is available as a free crochet top pattern right here on the blog. With sizes ranging from XS to 5XL, it’s designed to be an easy-to-wear wardrobe staple that you’ll reach for all season long.
Crochet Summer Top Pattern Construction
This top is worked from the bottom up, starting at the hem and crocheting the body in the round with alternating white double crochet rounds and contrasting colour rounds to create its eye-catching tiled look. Once the body is complete, you’ll split the work to crochet the front and back panels separately before shaping the rounded neckline with a few simple decreases. After seaming the shoulders, you’ll pick up stitches around each armhole to crochet the sleeves, and finish everything neatly with a round of single crochet around the neckline. Whether you’re making your first garment or adding another handmade top to your summer collection, this free crochet summer top pattern is an enjoyable project with a polished finish.
Downloadable PDF for Sunlit Tiles Top Crochet Pattern
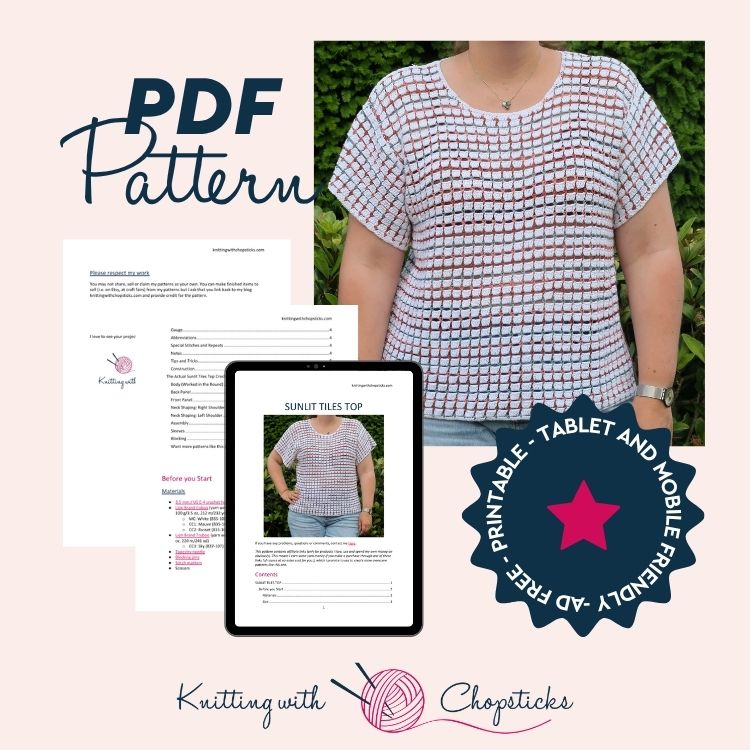
Grab the printable PDF of the Sunlit Tiles Top Crochet Pattern now in my shop, Etsy shop, on Ravelry shop or as a Lion Brand Kit:
Sunlit Tiles Crochet Top Pattern & Lion Brand Kit
Breezy, lightweight, and effortlessly wearable, the Sunlit Tiles Top is the kind of crochet project that feels relaxing from the very first row. Crocheted with Lion Brand Coboo Yarn, this summer top is soft, lightweight. This kit includes everything you need to make a summer top you’ll love crocheting and wearing it again and again.
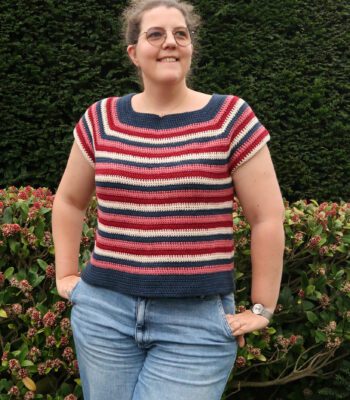
More Easy Crochet Top Patterns you'll love


Before You Start Your Sunlit Tiles Free Crochet Top Pattern
Materials
- 3.5 mm / US E-4 crochet hook
- Lion Brand Coboo (yarn weight #3 Light/DK, 51% Cotton/49% Rayon from Bamboo, 100 g/3.5 oz, 212 m/232 yd)
- MC: White (835-100): 4 (5, 5, 5, 6) (6, 7, 7, 8) skeinsCC1: Mauve (835-145): 1 skein all sizes
- CC2: Russet (835-104): 1 skein all sizes
- Lion Brand Truboo (yarn weight #3 Light/DK, 100% Rayon from Bamboo, 100 g/3.5 oz, 220 m/241 yd)
- CC3: Sky (837-107): 1 skein all sizes
- Tapestry needle
- Blocking pins
- Stitch markers
- Scissors
Size
The Sunlit Tiles Top is available in the following sizes: XS to 5XL.
Sizes are written as XS (S, M, L, XL) (2XL, 3XL, 4XL, 5XL) throughout the pattern. Pictures illustrate the L size.
The top is designed with a relaxed, oversized fit, approximately 18 cm/7″ of positive ease at the bust.
Finished top measurements:
(e) Sleeve length: 15 cm/6″ all sizes
(a) Bust circumference: 91 (98, 112.5, 120, 127.5) (142, 149, 163.5, 171) cm/35.75 (38.5, 44.25, 47.25, 50.25) (56, 58.75, 64.25, 67.25)”
(b) Body length (hem to shoulder): 57 (58.5, 60, 62, 62) (63.5, 65, 67, 67) cm/22.5 (23, 23.75, 24.5, 24.5) (25, 25.75, 26.5, 26.5)”
(c) Armhole depth: 23.5 (25, 26.5, 28.5, 28.5) (30, 31.5, 33.5, 33.5) cm/9.25 (9.75, 10.5, 11.25, 11.25) (11.75, 12.5, 13.25, 13.25)”

Perfect Fit Guide
Always guessing your size when knitting or crocheting garments?
Gauge
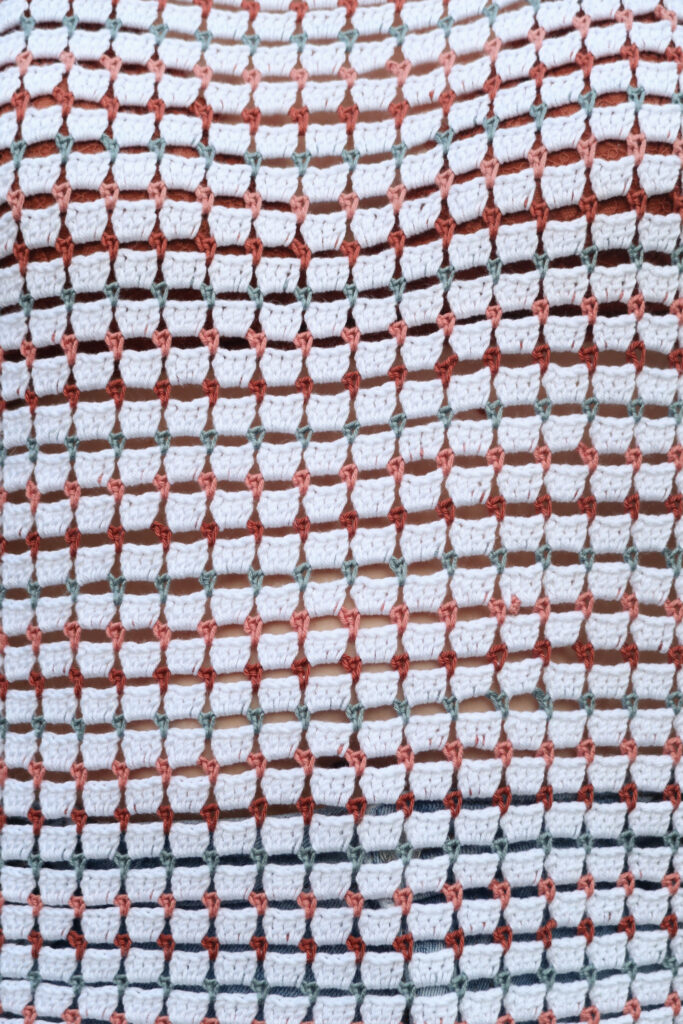
The gauge for this pattern, in the tile stitch, is 5.5 tile groups by 6 tile repeats (12 rows) for a 10 cm by 10 cm/4″ by 4″ square, blocked.
- One tile group = 4 dc worked in a ch-3 space (White round)
- One tile repeat = one White dc round and one CC round worked together.
Abbreviations
- ch = chain
- ch-sp = chain space
- sc = single crochet
- hdc = half double crochet
- dc = double crochet
- sl st = slip stitch
- st(s) = stitch(es)
- sp = space
- RS = right side
- WS = wrong side
- MC = main color
- CC = contrast color (CC1, CC2, CC3 refer to the three contrast colors as listed in Materials)
- beg = beginning
Special Stitches and Repeats
- One tile group = 4 dc worked in a ch-3 space (White round)
- One tile repeat = one White dc round and one CC round worked together.
Notes
Work instructions between [ ] the indicated number of times or until the end of the row / round.
The final number of stitches is indicated at the end of the row / round between < >.
The turning ch 1, ch 2 don’t count as a stitch throughout the pattern except if mentioned otherwise.
The pattern is written in crochet shorthand. For example:
- “sc 1” means to single crochet in the next stitch,
- “sc 2” means to single crochet in each of the next 2 stitches,
- and “2 sc” means to single crochet twice in the next st.
Right side and wrong side: White dc rounds are worked on the WS while CC rounds are worked on the RS.
Color sequence: CC colors rotate CC1, CC2, CC3 throughout. The sequence begins at CC1 and restarts at CC1 for each new section (sleeves, panels) unless specified otherwise.
Tips and Tricks
Avoid ends: When working in the round, carry all colors up the inside of the work; do not cut the yarn between rounds unless specifically instructed. When working flat (back panel, front panel, sleeve flat rows), cut and rejoin yarn at the start of each new color row.
To avoid having to weave in so many ends in the flat sections for each color change, use the magic knot, you’ll find a detailed step by step video tutorial here.
Construction
You are going to start at the hem and work the body in the round, alternating White dc rounds and CC rounds. After completing the body, you split for the back and front panels and work each flat to the shoulder.
The front panel is divided at the neck opening, and each shoulder is worked with some decreases to give the neck a beautiful round neck shape.
The shoulder edges are seamed together before picking up stitches for the sleeves around each armhole.
Finally, a round of sc finished off the neckline.
The Actual Sunlit Tiles Free Crochet Summer Top Pattern
Body (Worked in the Round)
Using MC (White) and your 3.5 mm / US E-4 hook chain 202 (218, 250, 266, 282) (314, 330, 362, 378). Taking care not to twist, join with sl st to first ch to form a ring.
Round 1 (WS, White): Sc in 2nd ch, sc in each ch around. Join with sl st to first ch. Turn. <201 (217, 249, 265, 281) (313, 329, 361, 377) sc>
Switch to CC1 color.
Round 2 (RS, CC1): Ch 1, sc in first sc, [ch 3, skip 3, sc] around, join with sl st to ch-1, turn. <50 (54, 62, 66, 70) (78, 82, 90, 94) ch-3 spaces>
Switch to White color.
Round 3 (WS, White): Ch 2, [4 dc in next ch-3 space] until last sc, dc in last sc, join with sl st in 2nd ch of beg ch-2, turn. <50 (54, 62, 66, 70) (78, 82, 90, 94) dc groups + 1 dc>
Switch to CC2 color.
Round 4 (RS, CC2): Ch 1, sc, [ch 3, sc in sp between next 2 dc groups] around. Join with sl st to ch-1, turn.
Repeat Rounds 3 and 4, continuing to alternate White dc rounds (WS) and CC tile rounds (RS), working CC3 on the next CC round then cycling CC1, CC2, CC3 in sequence. Continue until body measures 33.5 cm/13.25″ from the foundation chain. End after completing a CC round.
Back Panel
You are now going to work the back panel flat.
Skip 3 (3, 4, 4, 4) (5, 5, 6, 6) ch-3 spaces (left armhole). Join MC (White) in next sc.
Setup row (WS, White): Ch 2, [4 dc in next ch-3 sp] 19 (21, 23, 25, 27) (29, 31, 33, 35) times, dc in last sc, turn. <19 (21, 23, 25, 27) (29, 31, 33, 35) dc groups>
Cut White and join next CC.
CC row (RS): Ch 1, sc, [ch 3, sc in sp between next 2 dc groups] until last dc group, ch 3, sc in 2nd ch, turn.
Cut CC and switch to White.
White dc row (WS): Ch 2, [4 dc in next ch-3 sp] until last st, dc in last sc, turn.
Continue working flat, alternating CC rows and White dc rows for 14 (15, 16, 17, 17) (18, 19, 20, 20) tile repeats total. End after a White dc row and fasten off leaving a long tail for sewing.
Front Panel
With RS facing, skip the next 6 (6, 8, 8, 8) (10, 10, 12, 12) ch-3 spaces from the back panel edge (right armhole). Join White in next sc.
Setup row (WS, White): Ch 2, [4 dc in next ch-3 sp] 19 (21, 23, 25, 27) (29, 31, 33, 35) times, dc in last sc, turn. <19 (21, 23, 25, 27) (29, 31, 33, 35) dc groups + 1dc >
Note: You should have 3 (3, 4, 4, 4) (5, 5, 6, 6) ch-3 spaces left unworked
Cut White and join next CC.
CC row (RS): Ch 1, sc, [ch 3, sc in sp between next 2 dc groups] until last dc group, ch 3, sc in 2nd ch, turn.
Cut CC and switch to White.
White dc row (WS): Ch 2, [4 dc in next ch-3 sp] until last st, dc in last sc, turn.
Continue working flat, alternating CC rows and White dc rows for a total of 8 (9, 10, 11, 11) (12, 13, 14, 14) tile repeats (alternating CC tile rows and White dc rows, cutting and rejoining each color), ending after a CC tile row. Front panel neck opening begins on the next row.
Neck Shaping: Right Shoulder
You are going to work the right shoulder only. Leave the center neck stitches and left shoulder unworked.
Row 1 (WS, White, decrease row 1): Ch 2, [4 dc in next ch-3 sp] 6 (7, 8, 9, 10) (11, 12, 13, 14) times. (2 dc, hdc, sc) in next ch-3 sp (neck edge). Turn, leaving remaining sts unworked and fasten off. <6 (7, 8, 9, 10) (11, 12, 13, 14) groups + 1 decrease group>
Switch to next CC and join yarn in the sp after the (sc, hdc, 2 dc) tile.
Row 2 (RS): Ch 1, sc in same space, [ch 3, sc in sp between next 2 dc groups] 6 (7, 8, 9, 10) (11, 12, 13, 14) times, turn. <6 (7, 8, 9, 10) (11, 12, 13, 14) ch-3 spaces>
Switch to White
Row 3 (WS, White, decrease row 2): Ch 2, [4 dc in next ch-3 sp] 5 (6, 7, 8, 9) (10, 11, 12, 13) times. (2 dc, hdc, sc) in next ch-3 sp (neck edge). Turn. <5 (6, 7, 8, 9) (10, 11, 12, 13) groups + 1 decrease group>
Switch to next CC and join yarn in the sp after the (sc, hdc, 2 dc) tile.
Row 4 (RS): Ch 1, sc in same space, [ch 3, sc in sp between next 2 dc groups] 5 (6, 7, 8, 9) (10, 11, 12, 13) times, turn. <5 (6, 7, 8, 9) (10, 11, 12, 13) ch-3 spaces>
Continue working straight (no further decreases) for 4 more tile repeats. Fasten off, leaving a long tail for seaming.
Neck Shaping: Left Shoulder
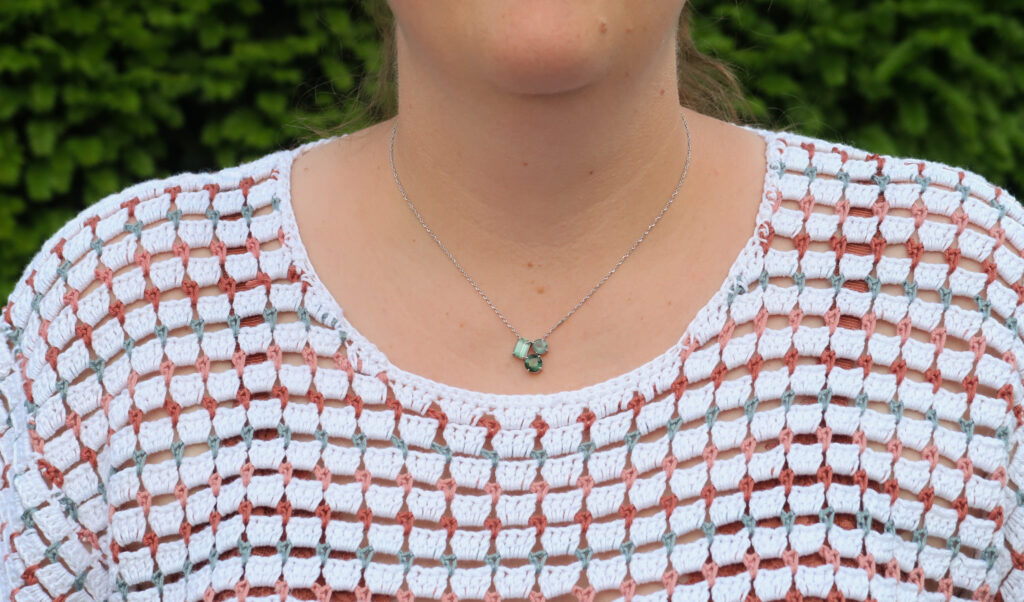
Skip the center 5 groups (neck opening). Rejoin White for left shoulder.
Row 1 (WS, White, decrease row 1): Ch 1, (sc, hdc, 2 dc) in first ch-3 sp (neck edge), [4 dc in next ch-3 sp] 6 (7, 8, 9, 10) (11, 12, 13, 14) times, dc in last sc, turn. <6 (7, 8, 9, 10) (11, 12, 13, 14) groups + 1 decrease group>
Switch to next CC.
Row 2 (RS): Ch 1, sc, [ch 3, sc in sp between next 2 dc groups] 6 (7, 8, 9, 10) (11, 12, 13, 14) times, ch 3, sc in sp between dc group and (sc, hdc, 2 dc group), turn. <6 (7, 8, 9, 10) (11, 12, 13, 14) ch-3 spaces>
Switch to White
Row 3 (WS, White, decrease row 2): Ch 1, (sc, hdc, 2 dc) in first ch-3 sp (neck edge), [4 dc in next ch-3 sp] 5 (6, 7, 8, 9) (10, 11, 12, 13) times, dc in last sc, turn. <5 (6, 7, 8, 9) (10, 11, 12, 13) groups + 1 decrease group >
Switch to next CC.
Row 4 (RS): Ch 1, sc, [ch 3, sc in sp between next 2 dc groups] 5 (6, 7, 8, 9) (10, 11, 12, 13) times, ch 3, sc in sp between dc group and (sc, hdc, 2 dc group), turn. <5 (6, 7, 8, 9) (10, 11, 12, 13) ch-3 spaces>
Continue working straight (no further decreases) for 4 more tile repeats. Fasten off, leaving a long tail for seaming.
Assembly
With RS together, seam the right shoulder using mattress stitch or whip stitch, using the long tail left at the shoulder. Repeat for left shoulder. Weave in all ends.
Join MC (White) at the right shoulder seam. Ch 1, work 1 round of sc evenly around the neckline. Join with sl st to first sc. Fasten off and weave in ends
Sleeves
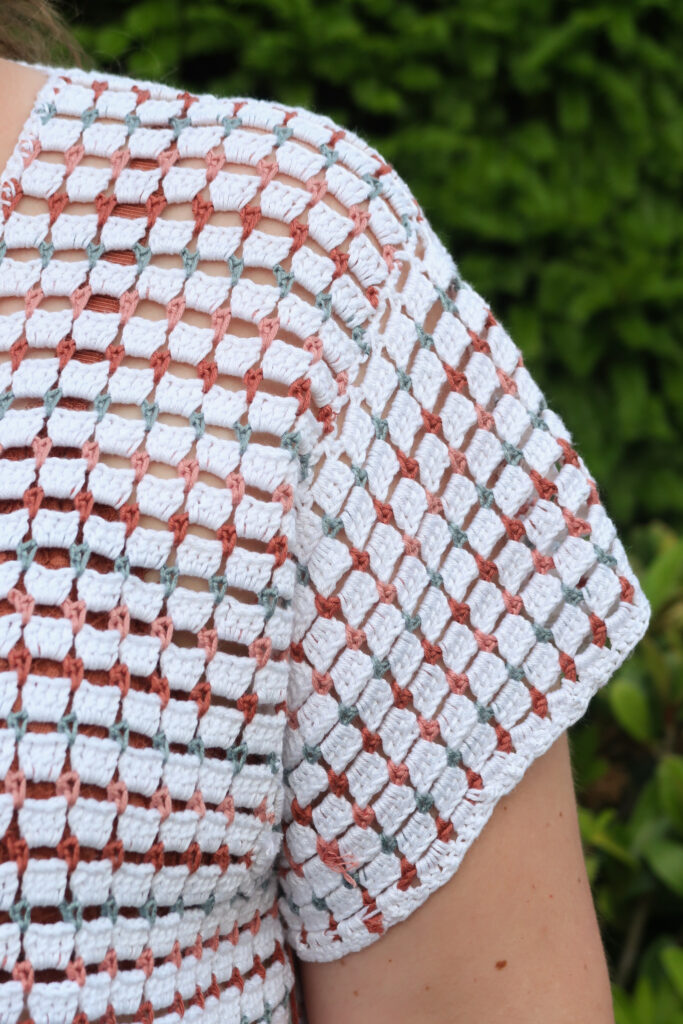
Work both sleeves the same way.
With RS facing, join MC (White) at the base of the armhole opening. You’re going to work up the armhole and back down but not along the horizontal opening.
Note: Leave a long tail to seam the horizontal opening closed after finishing the sleeve
Sleeve Row 1 (RS, White): Ch 1, sc, work [ch 3, sc] 26 (28, 29, 31, 32) (33, 35, 36, 37) times evenly around the armhole opening, turn. <26 (28, 29, 31, 32) (33, 35, 36, 37) ch-3 spaces>
Sleeve Row 2 (WS, White): Ch 2, [4 dc in next ch-3 sp] until last st, dc in last sc, turn. <26 (28, 29, 31, 32) (33, 35, 36, 37) dc groups>
Sleeve Row 3 (RS, CC1): Ch 1, sc, [ch 3, sc in sp between next 2 dc groups] until last dc group, ch 3, sc in last st, turn.
Repeat Sleeve Rows 2 and 3 twice more continuing with CC colors in pattern.
Repeat Row 2 one more time but join with a sl st to ch-1 before turning your work.
Work 5 more tile repeats in turned rounds, carrying all colors on the inside finishing on a White round.
Fasten off.
Seam the horizontal opening to the row edges to close the sleeve.
Blocking
You are done with the crocheting part. Make sure to weave in all the ends.
To make your top even prettier and help even out your stitches, block your project.
Don’t skip this step as it can make a huge difference. Read my detailed tutorial on why to block, how-to, and all my tips and tricks if you need help.