Blocking for Knitting and Crochet: Everything you Need to Know

Most patterns finish with: “Carefully block your project”.
Have you ever wondered what that last sentence means? Or have you been like me for years and just ignored it and enjoyed your project as soon as the last end is woven in (or even before that)?
No time right now? Pin this Blocking for crochet and knitting tutorial for later.
Although being a simple process, blocking is often overlooked by new crocheters and knitters. Trust me, I get it, I’ve skipped over it for years until I finally took the time to do it and see the difference for myself. It doesn’t require a lot of materials or time but can make a huge difference in how polished and professional your handmade items look.
In this post, I’m going to answer all your questions about blocking.
- What is blocking?
- Why should you block your knitting and crochet projects?
- What tools do you need for blocking?
- 3 different methods for blocking as well as the pros and cons of each one so you have all the tools in hand to block your next project effortlessly.
- FAQ
*This post contains affiliate links (only for products I love, use and spend my own money on obviously). This means I earn some yarn money if you make a purchase through one of these links (of course at no extra cost for you!), which I promise to use to create more awesome patterns like this one. All opinions are my own. See my full disclosure here.
What is Crochet Blocking or Knitting Blocking?
Blocking for crochet or knitting is when you help your project take it’s best shape, usually with the help of water or steam. The process is exactly the same whether you’re project is crocheted or knitted.
I like to compare blocking to getting your hair blow-dried. You use heat and water to get your hair into the shape you want. But blow-drying doesn’t only shape your hair also makes it nice and smooth, flowier and draped, shiny and soft. Blocking does just the same to your yarn and project.
Why Block Crochet and Knitting Projects?
Blocking has a lot of advantages:
- It helps even your tension: As good a knitter/crocheter you might be, it’s hard to always have a perfectly even tension. Blocking your project will make these little irregularities in your fabric disappear.
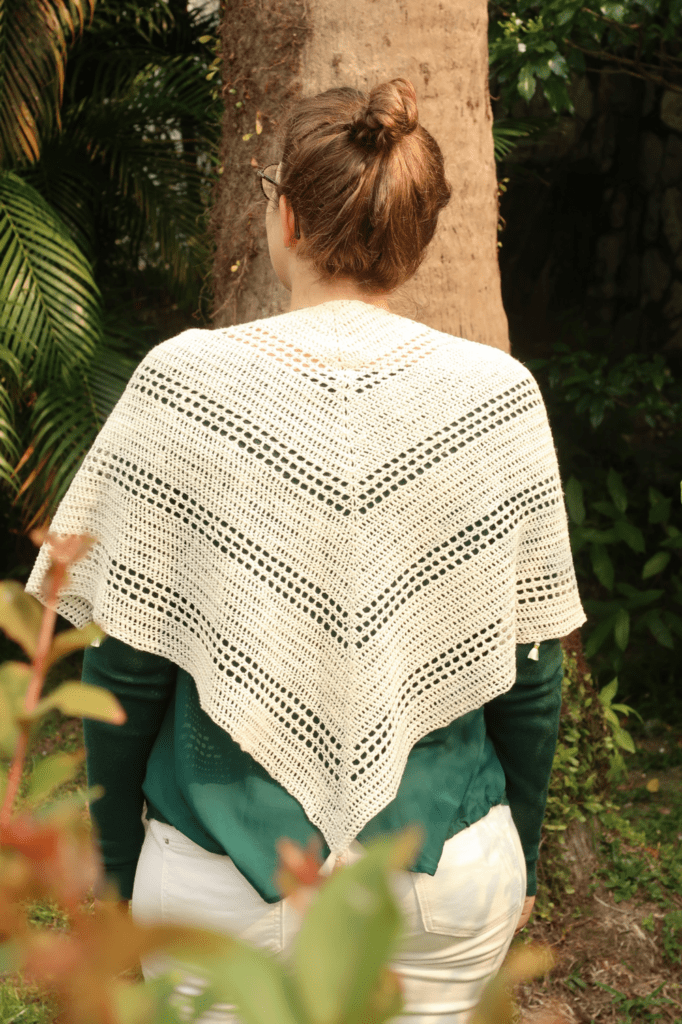
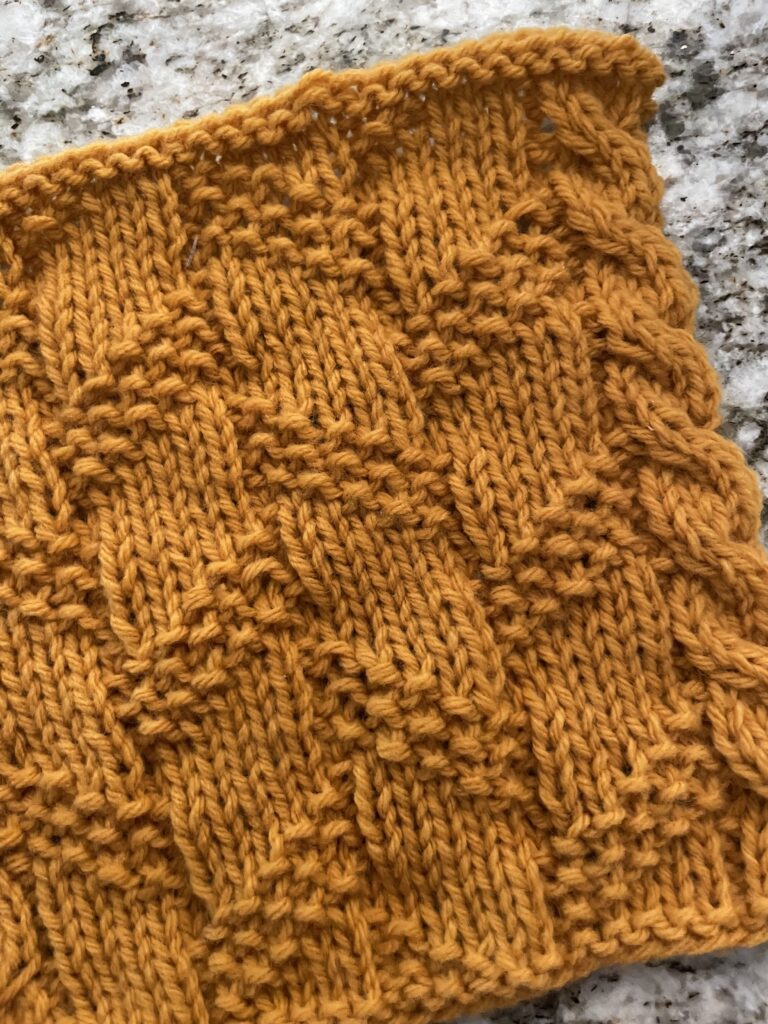
- It opens up your lace stitches and eyelets.
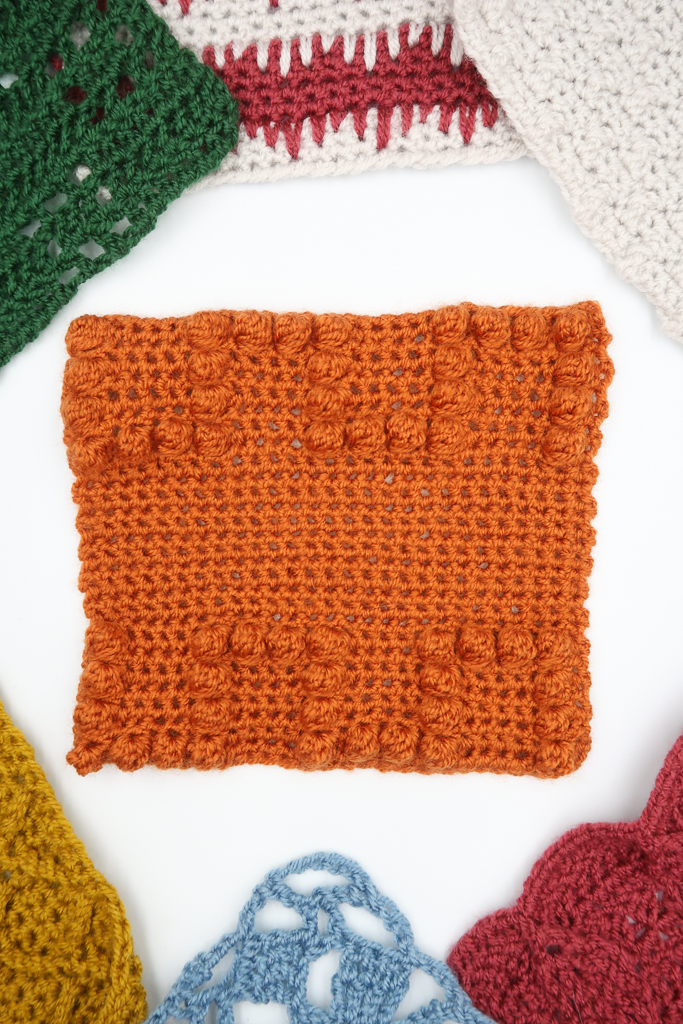
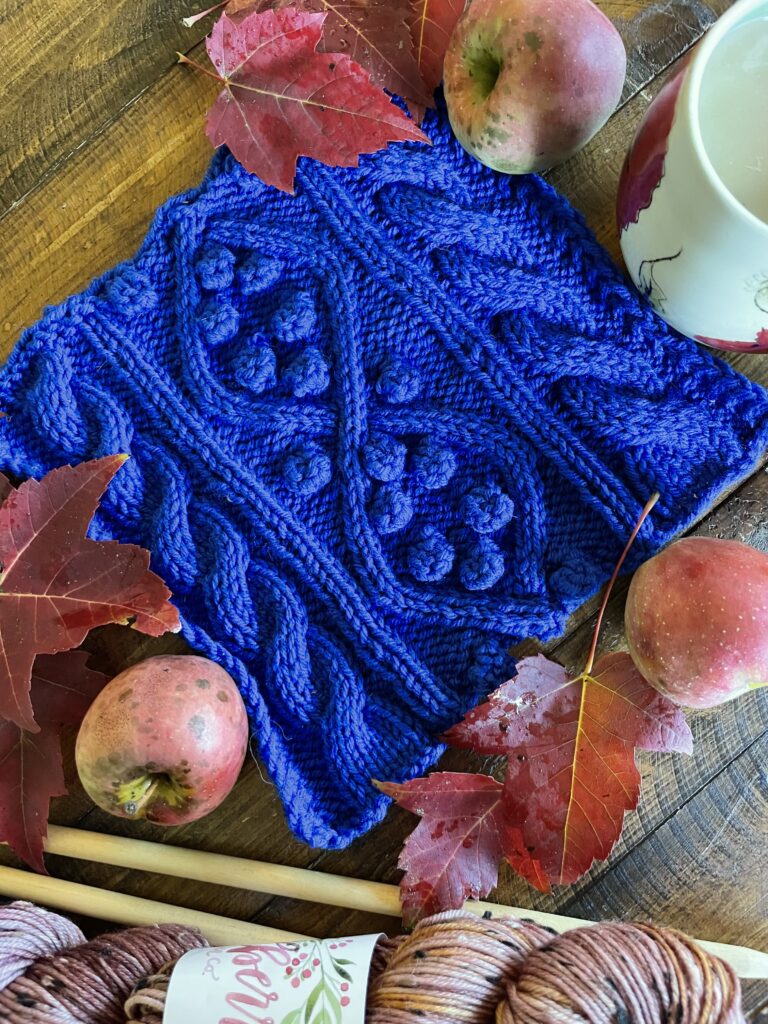
- It highlights your textures: Textured stitches such as crochet puffs and bobbles or cables will pop out more after blocking.
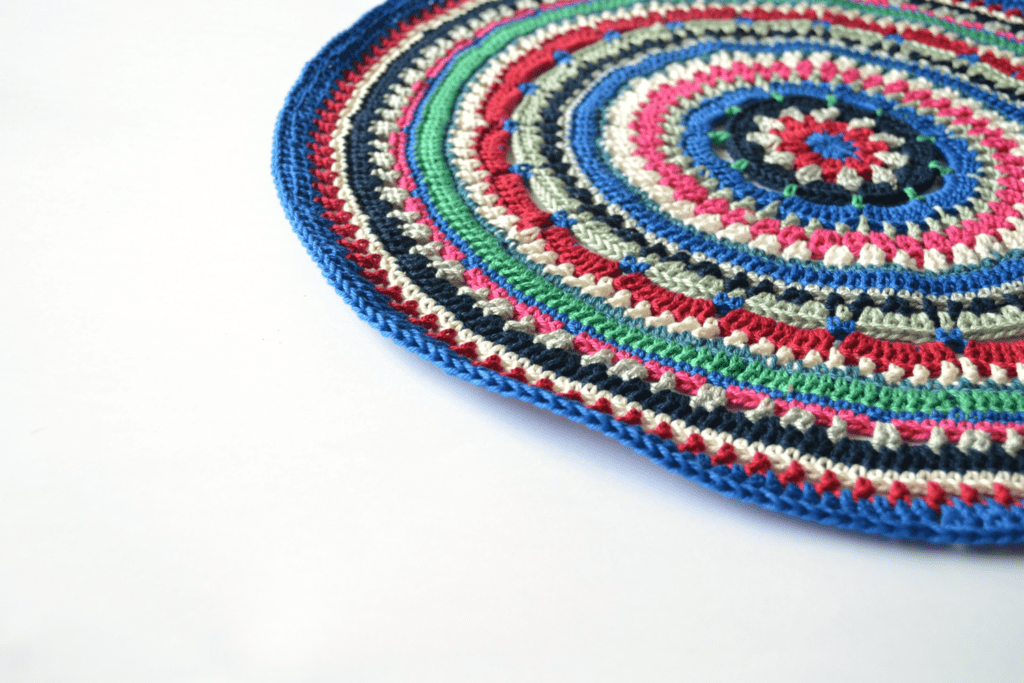
- It helps shape your project: Blocking is the magic trick behind making granny squares perfectly square and round pieces completely round without flaring, etc.
- It gives drape, shine and softness to your fabric. Blocking doesn’t only improve the look of your stitches it also improves your fabric.
Depending on the yarn composition the results will be different. Natural fibers will take the blocking process best while synthetics are harder to block (more on that further down).
Let me show you the difference in this quick video:
When Should you Block your Project?
Your pattern will usually indicate at what stage you should block your project but if it’s not specified follow the rule of thumb below.
- If your project is made in one piece, block it at the end, when it’s completely finished.
- If your project is made of different pieces sewed together, block the pieces separately before assembly.
What you’ll Need for Blocking
To block your project you’ll need:
- A blocking board. This type of blocking boards are very popular as you can assemble them in the shape you want depending on your project, and pile them up when you’re done. They also have a grid that will help you make sure your edges are straight and meet the desired dimensions.
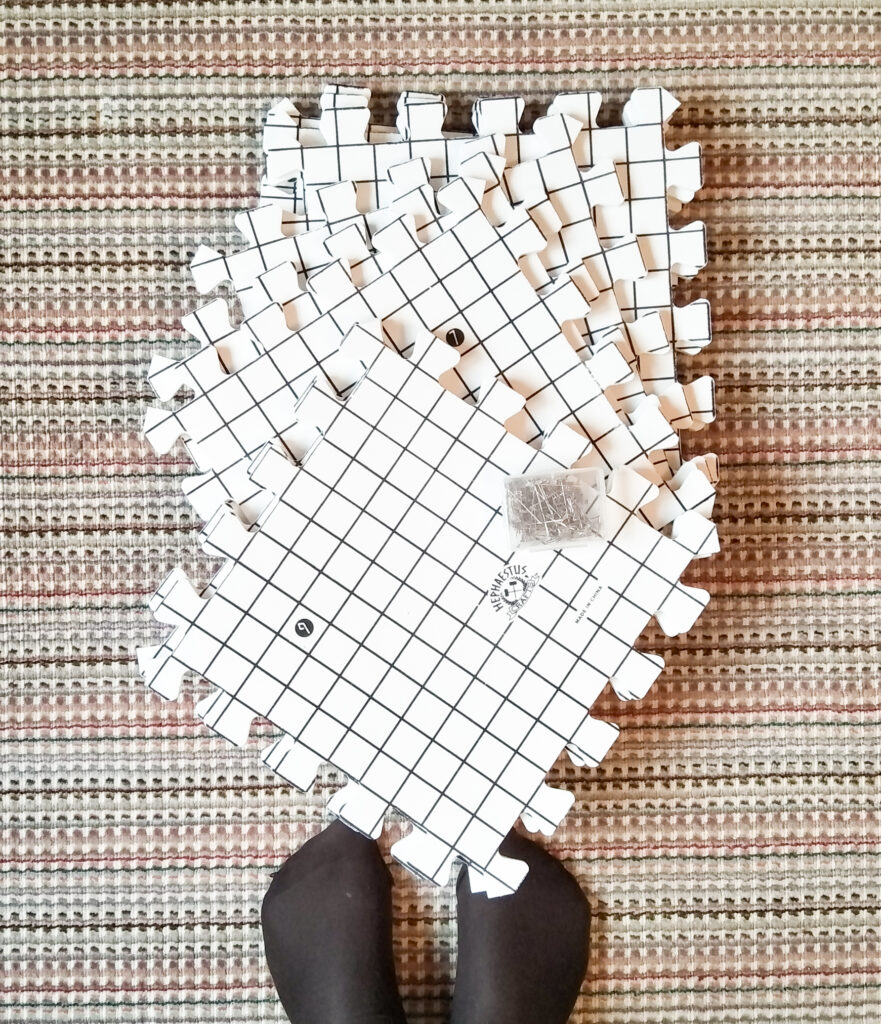
However, you don’t need to invest in blocking boards to block your crochet and/or knit project. You can use one of the following instead: a mattress, a yoga mat, a foam board, etc. Basically any flat surface you can pin into will work.
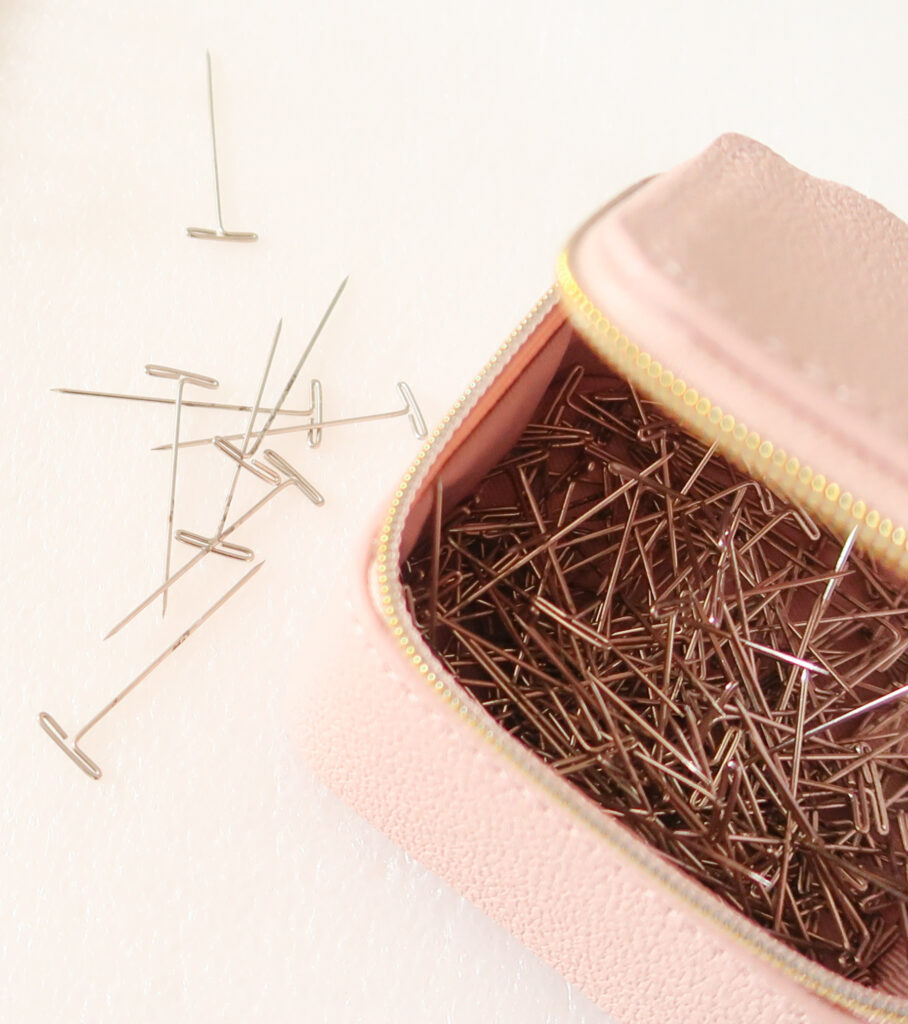
- Stainless steel T pins or Blocking pins. I use and recommend these. I’ve had them a couple of years and they’re still in their original condition. No rust or bending. I like the T shape as it makes them easy to pin and unpin. Some people use knit blockers that combine several pins into one 2-6 cm / 1-3″ piece. The main advantage is that you need to place and remove fewer separate pieces than when you use traditional T pins.
Depending on the method you choose to block your project (detailed below) you will also need some of the following tools:
- A bucket large enough to soak your entire project.
- A clean towel. You can use any bath towel but beware some yarn colors might bleed and stain your towel so don’t use your favorite fancy towel.
- A source of steam: this can either be a steamer or you can easily use the steam function on your iron.
- A spray bottle with a mist spray.
3 Ways How to Block Crochet Projects and Knits
1. Finger Blocking
Finger blocking is when you use your fingers to pull and stretch the fabric into the desired shape. This can help a little but the effects will usually not last.
2. Wet Blocking
Wet blocking is when you completely wet your project to block it. This is the technique I use the most often. There are 2 ways to do this.
A. Soaking
- Soak your project in a bucket of water. I usually stick to room temperature water so I’m sure not to felt my project and limit color bleeding. You can add some gentle wool wash or blocking product to give it a good clean at the same time but that’s not mandatory. I have a lot of allergies so I avoid adding any product. Let it soak for 15 minutes to make sure all the fibers are completely soaked with water.

- Take your project out of the water. Don’t squeeze or wrench it! Instead lay it flat on a clean towel. Roll and press to get as much water out of it as you can without stretching the fabric.

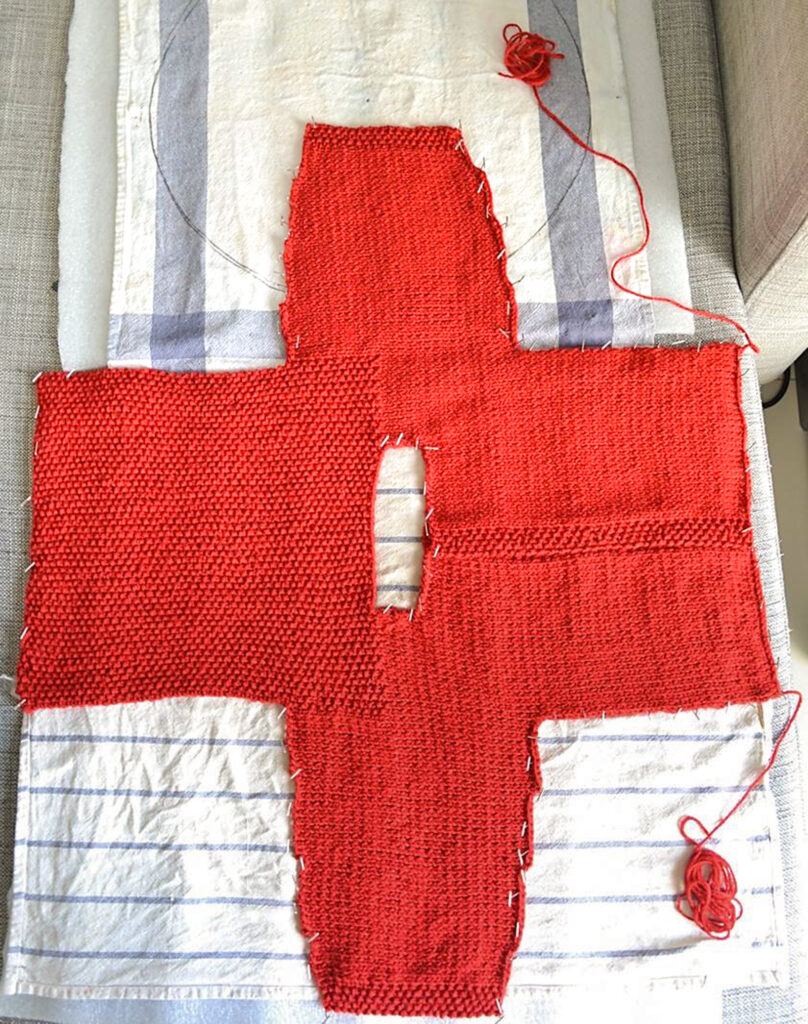
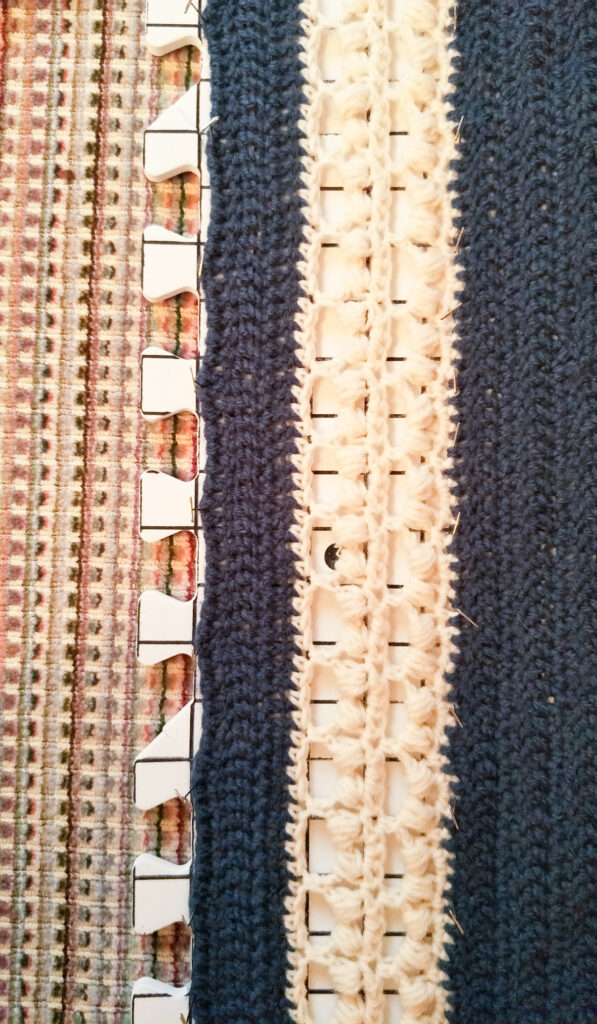
- Lay it flat on your blocking mat and pin it in place to your desired shape.

I like to add a lot of pins so I’m sure I’m not stretching my project one way or another. If you have lace sections or open stitches you can add extra pins there to help these sections take the shape you want.
Sick of all the yarn jargon and conversions?
US vs UK, abbreviations, imperial vs metric, yarn weights, etc?

Here is where you can cheat a little and correct any shaping issues you have such as a tiny bit short sleeves, a bit too tight around the hips to your liking or a bit too long scarf. Be careful not to overstretch your fabric. Make sure all your edges are nice and straight.
- Let it dry. Wait until it’s completely dry before touching it. I know it’s frustrating to wait but it will be worth it!
- Remove all the pins and enjoy your project.
(In case you’re wondering I’ve used the Cherry Blossom Scarf in the pictures for this tutorial. You can find the free pattern here.)
B. Spraying
The spraying method is quite similar to the soaking method, except for how the water is applied to your project.
For spraying:
- Pin your dry project to your board
- Spray room temperature water on your project until it’s completely soaked. You can use a simple gardening spray bottle with tap water.
- Let it dry completely before removing the pins.
- Remove all the pins and enjoy your project.
This technique has the advantage that you don’t risk overstretching the fabric but it takes more time to dry.
3. Steam Blocking
Wet blocking is great for wool, cotton and other natural fibers but doesn’t work well for synthetic yarns. That’s where steam blocking comes in handy.
For steam blocking:
- Pin your dry project to your board as you would for spraying
2. Instead of spraying water on the project, go over it with steam.
You can use a steamer or the steaming function on your iron. Place it 5 – 10 cm / 2″ – 4″ from your project to make sure you’re not melting or felting the fabric. Make sure you cover the entire project evenly.
- Let the project rest for 1-2h to make sure the humidity has evaporated before removing the pins.
- Remove all pins and enjoy your project.
Steam blocking works great for all types of fabric but can be dangerous. If you’re not careful, you can end up felting your natural fibers or melting/killing your synthetic fibers.
One great advantage of steaming is that it is much faster than wet blocking. Great for last-minute projects.
Pros and Cons of Each Blocking Technique
| Hand Blocking | Wet Blocking | Steam Blocking | |
| Time investment | Low | Soaking : Medium Spraying: High | Low |
| Risk to damage project | Low | Soaking: Risk of stretching the fabric | Risk of felting natural fibers Risk of melting or killing synthetic fibers |
| Results | Mostly temporary results | Great results on natural fibers; low results on synthetic fibers | Good results on all fiber types |
Do You Need to Block ALL Your Projects?
Sooo, what I should say here is YES.
But let’s be honest, this extra step of blocking can be a burden. Sometimes you just want to start enjoying your project directly. I get you!
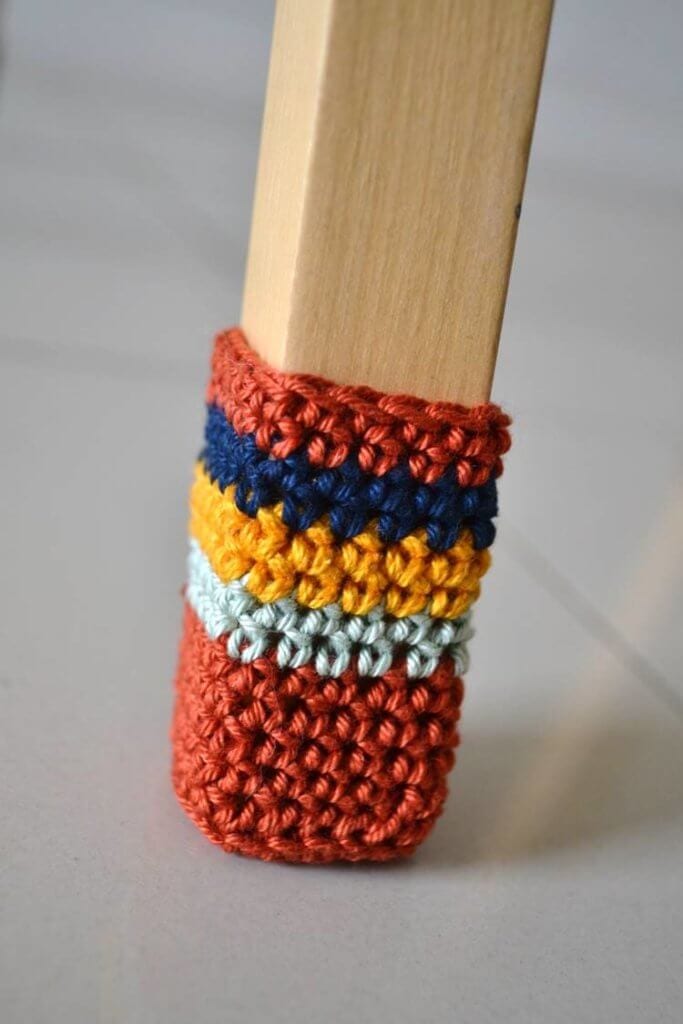
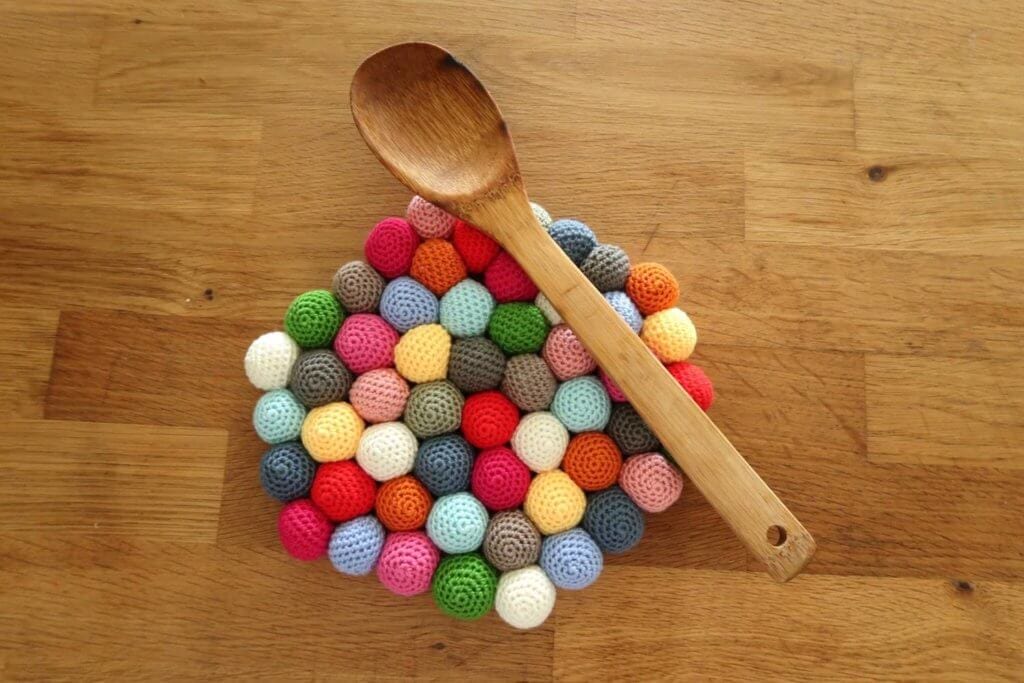
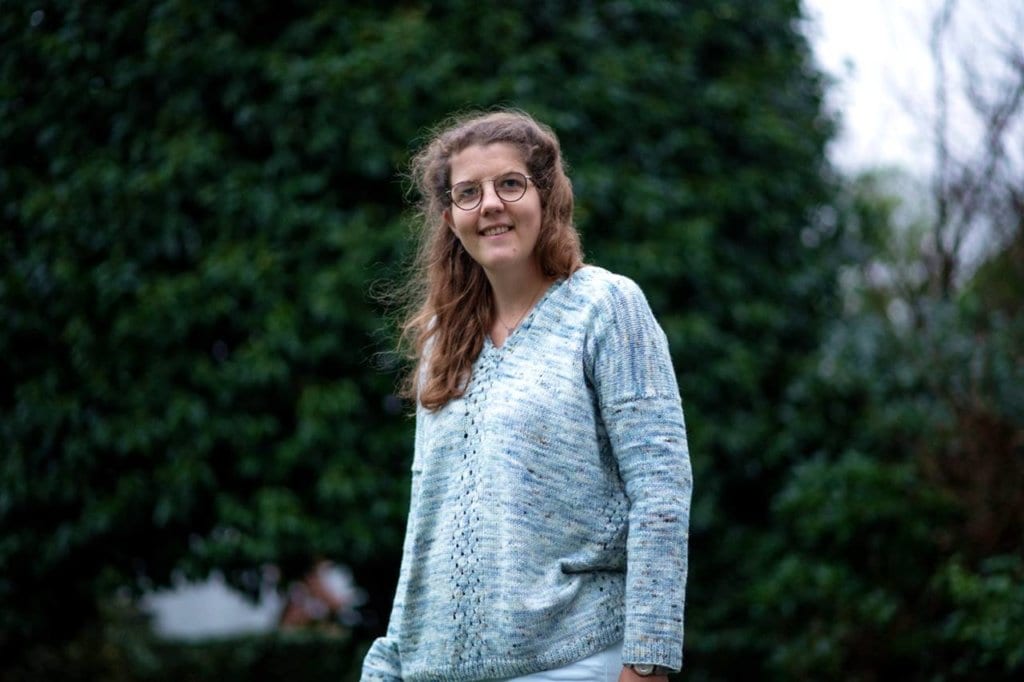
Although it’s often worth the extra time to properly block your projects, I believe for some projects you can totally get away without blocking them. For example, if your project has a 3D shape and you can’t lay it flat or if you like it exactly the way it is you don’t need to block it. Amigurumi and other stuffies are usually not blocked.
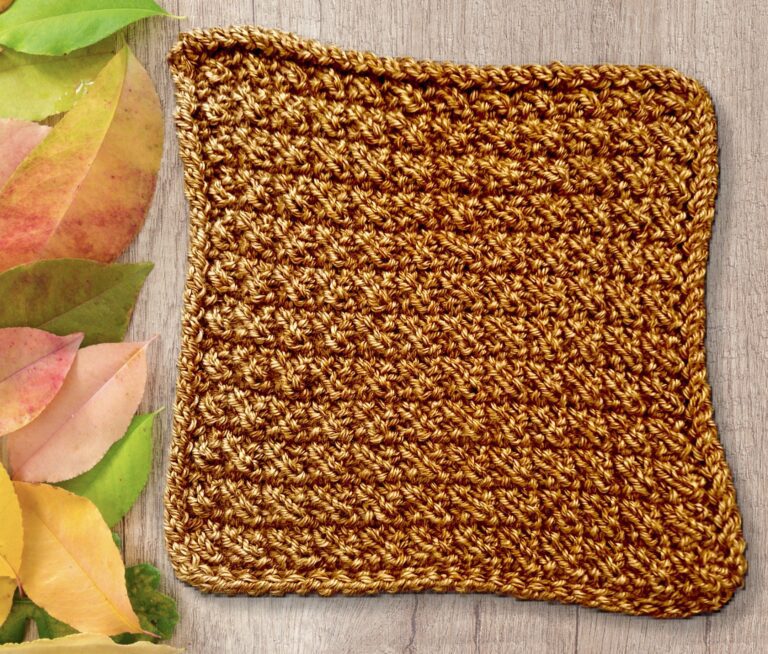
Here are a few examples of projects I didn’t block:
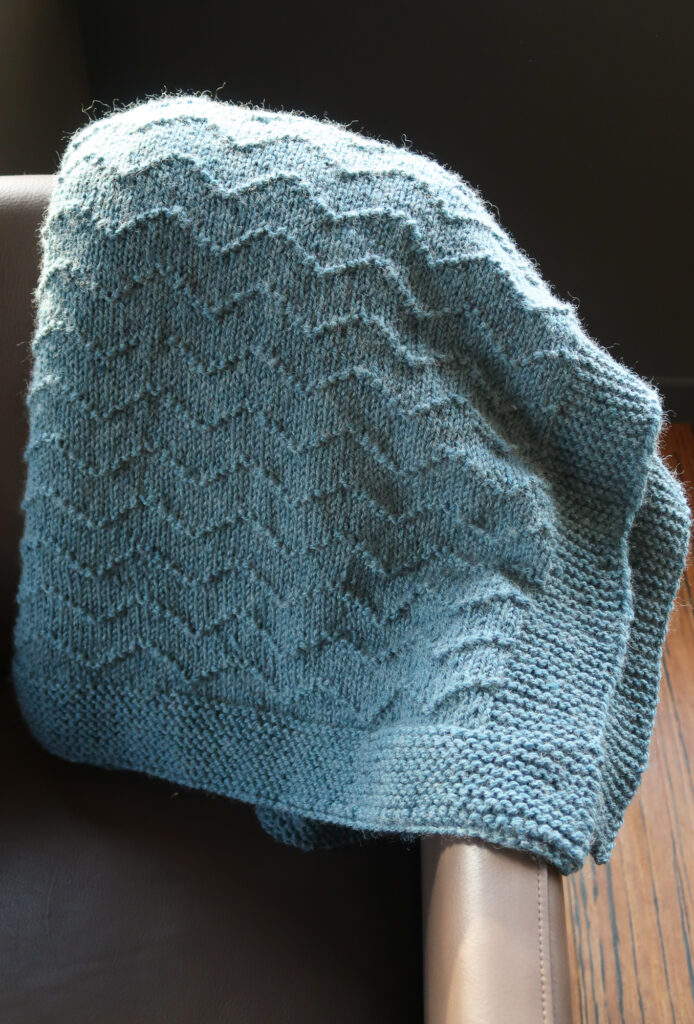
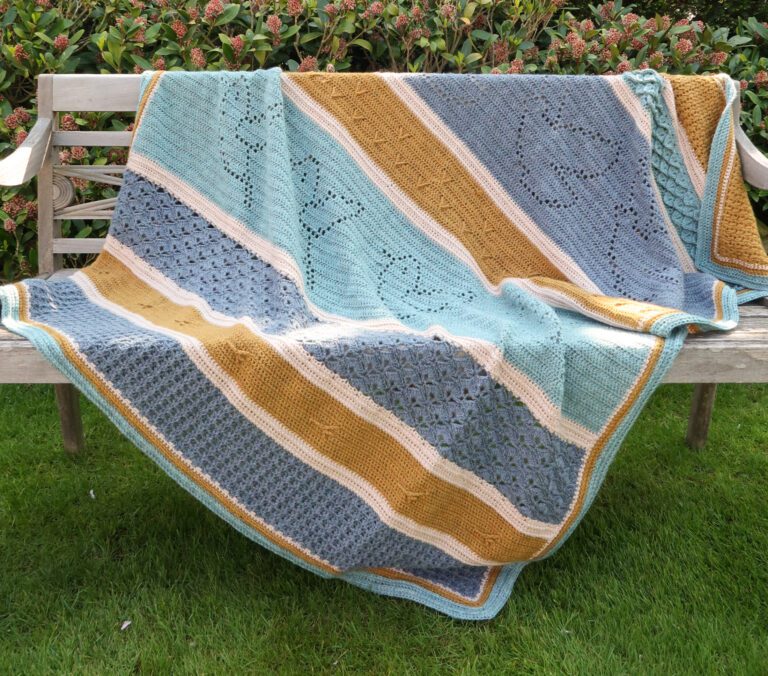
On the other hand, some projects really benefit from being blocked. Usually, anything that has an open stitchwork or lace stitch really benefits from being blocked.
Some examples of projects I blocked and it made a big difference:
Not sure if you should block a project? Do it, worst case it doesn’t make a difference.
FAQ
Can you block acrylic yarn?
Acrylic yarn is hard to block but I’ve had great results with steam blocking. Blocking doesn’t make as strong an impact with synthetic yarns as with cotton for example but it does make a difference! Your tension will be more even and your project will have more drape and flow.
Do you need to block your project after each wash?
No, you only block your project once to set the fiber memory. When you wash your handmade items make sure you lay them flat to dry. Blocking them will not prevent them from getting stretched and misshapen in the future.
Will blocking prevent my knit stockinette stitch from curling?
Yes, blocking will greatly help with stockinette stitch curling. But it might not get rid of it 100%. Depending on the material and your tension, you might still have some curling after blocking. A good practice to avoid that is to add a couple of purl stitches on the edges.
This is the technique I’ve used on the collar of the Appaloosa Sweater and on the edges of the Apricity Cardigan to avoid curling.
Now that you know what blocking is exactly and how to do it, it’s your turn!
Any other questions about blocking? Let me know in the comments below!
If you need more help with the other information in crochet patterns you might not understand or know how to use, grab my free Master Crochet Patterns Roadmap below.
I mainly use acrylic yarn for my projects (ie: baby blankets, throws, etc.) and would like to block them as I sell them for my business and want them looking their best. My problem is that my iron doesn’t steam and I can’t afford to buy a steamer. Do you have any suggestions?
Hi Megan,
Pin them to your blocking board in the bathroom and run the shower on the hottest possible. Close all doors and windows so you create a steam room ????.
That’s how my mom made us inhale steam when we were sick as kids but it should work the same for blocking ????.
Leave it in there for a few minutes then let it cool and dry before removing the pins.
Does a garment stay blocked when it’s washed?
Yes, up to a certain point. Once the fabric relaxes and is put into place it will keep that memory. But always put your makes to dry flat or it will stretch out.
This is the best, most thorough explanation of blocking I have ever run across!!! Thank you very much!!!
I’m not clear whether a top made from cotton yarn needs to be blocked every time it is washed. If I block it once, am I done? Or should I expect this to be an ongoing process? Thanks, newbie here so appreciate your input.
Hi Sylvia,
You only need to block items once!
When you wash it, just lay it flat to dry so it doesn’t stretch under it’s own weight.
Have a lovely day,
Hortense
Hi, Hortense,
Thank you all your patterns! Like them very much.
A question – I should like crochet a pullover for my 8 y.o. grandson with tunisian pattern. This kind of crochet’s end always bend in. What is the best method for avoid this symptom?
Best wishes
Marianne
Hi, you mentioned only blocking once. Will machine washable/dryable items keep their shape if not hand washed and laid flat to dry? I would think not but since I’m a newby and never blocked before I thought it was something too ask. Thanks! Linda
Hi Linda,
Yes you only need to do it once. Once the stitches have relaxed and taken their place with blocking, washing the item will not remove that. Honestly, I’ve never put any handmade items in the dryer and recommend you always lay them flat to dry (so they don’t stretch), not sure if the dryer would have an impact on the blocking process but I don’t think so.
How do you block hats?
Hi Toni, I block my hats flat just like anything else.