Willaby Children’s Vest Knitting Pattern
A new baby coat knitting pattern – the Willaby Vest – is now a free knitting cardigan pattern here on the blog. Read all about this knit vest pattern, scroll down to view the full free pattern or purchase an ad free PDF from my shop, Etsy shop or Ravelry shop.
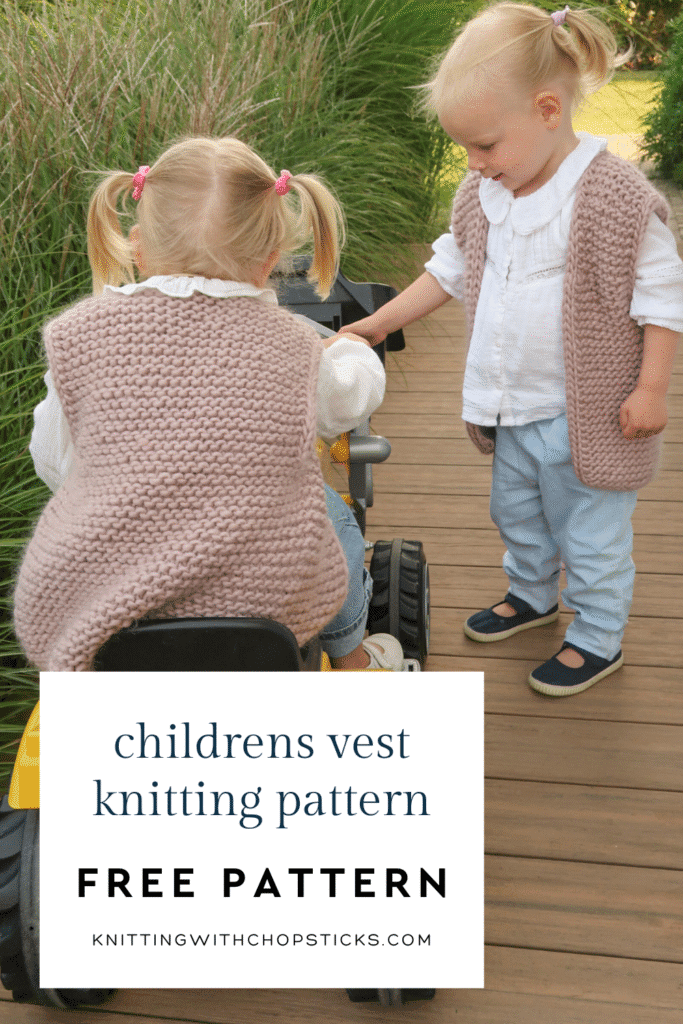
No time right now? Pin this baby vest knitting pattern free for later!
*This post contains affiliate links (only for products I love, use and spend my own money on obviously). This means I earn some yarn money if you make a purchase through one of these links (of course at no extra cost for you!), which I promise to use to create more awesome patterns like this one. All opinions are my own. See my full disclosure here.
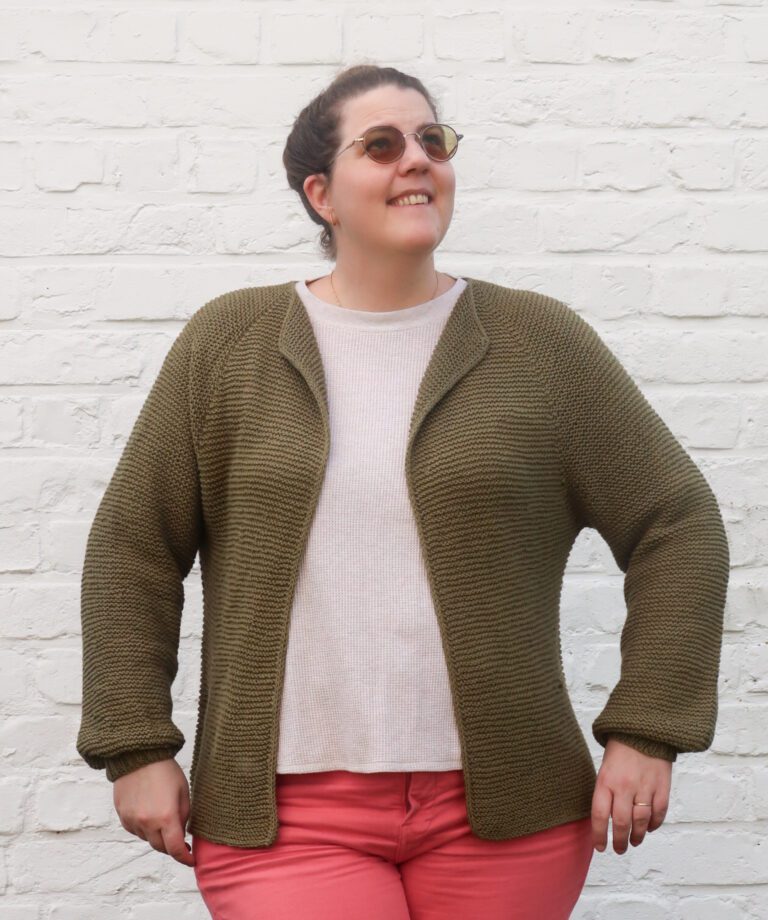
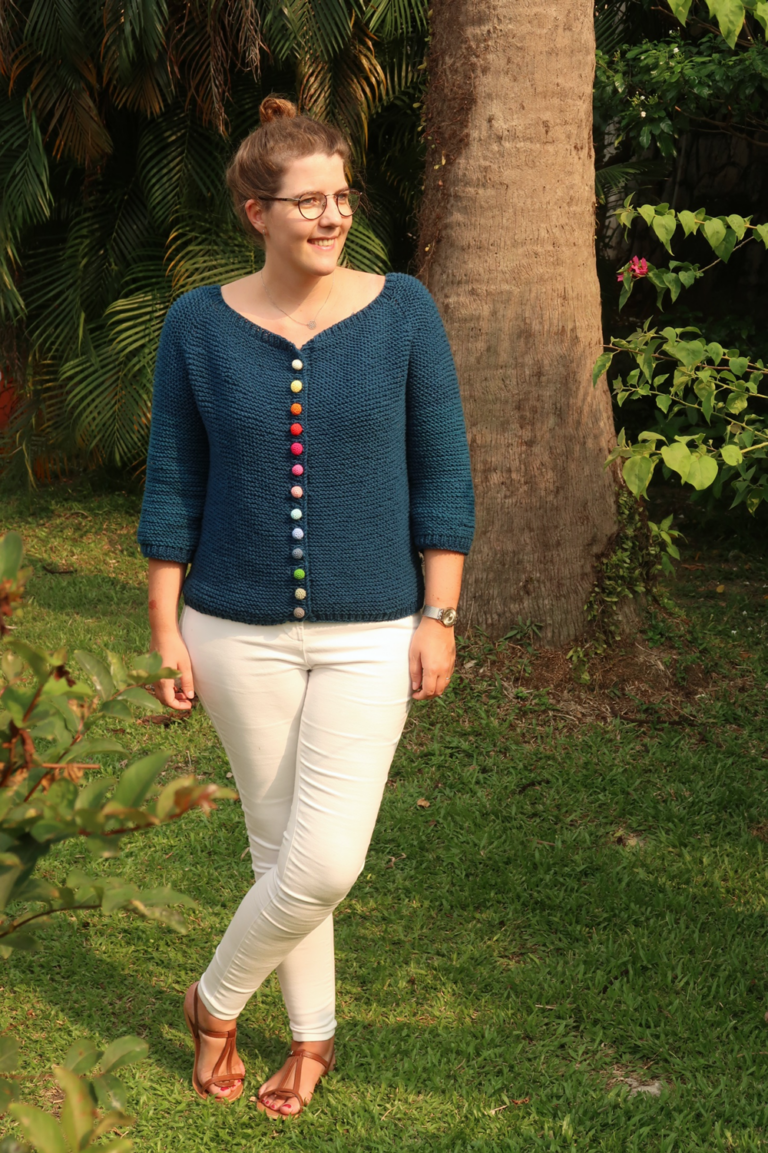
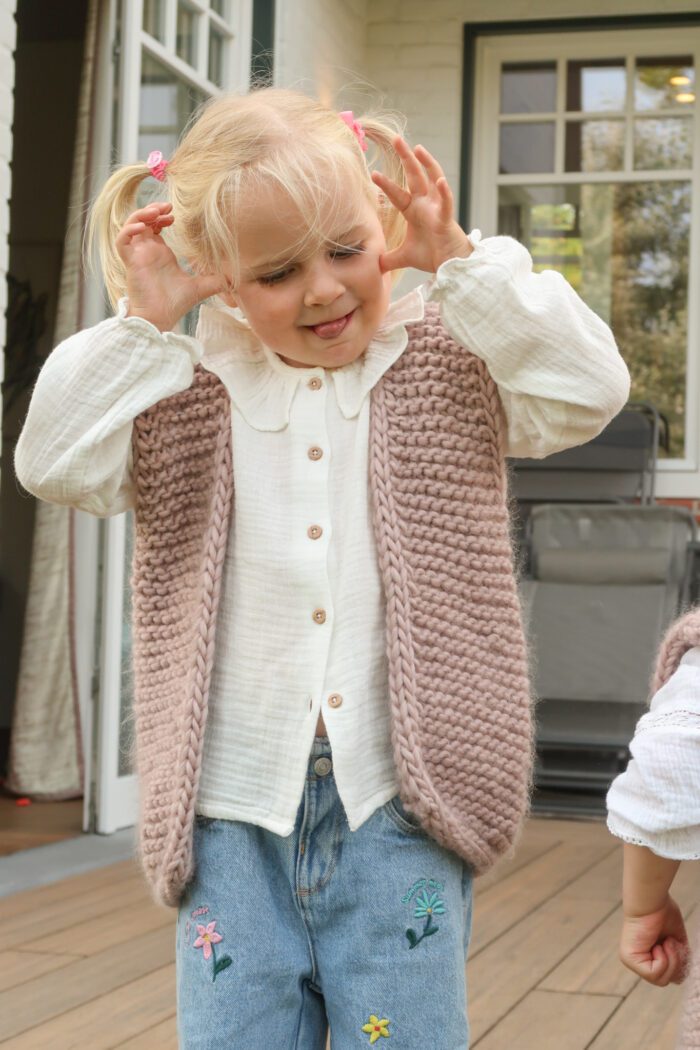
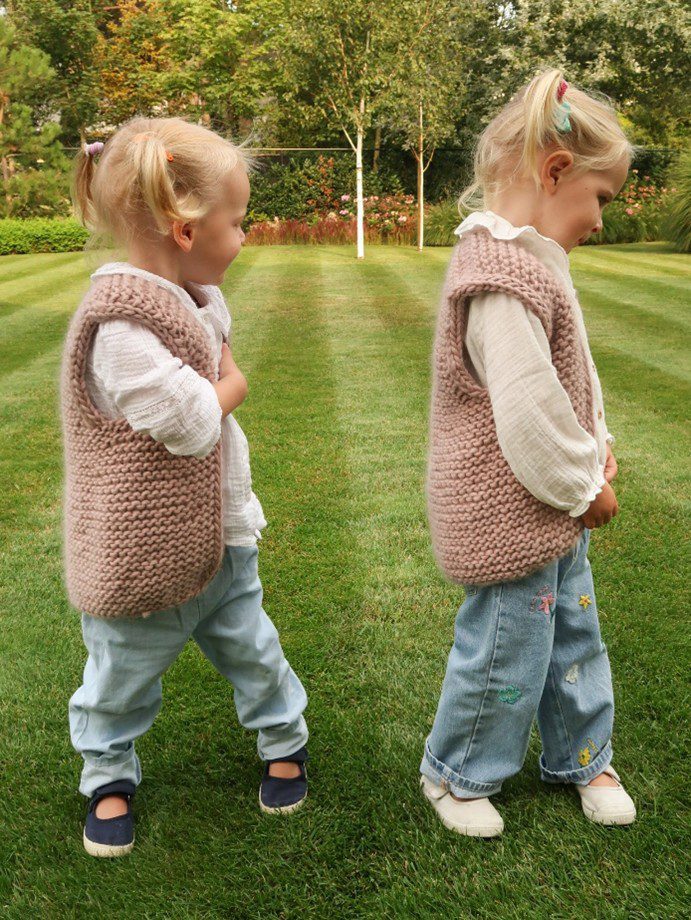
Say hello to the Willaby Baby & Kiddo Super Bulky Sleeveless Vest pattern, a super cozy, no-fuss knit made for real life with little ones. The fit is nice and relaxed, perfect for layering, and the larger armhole openings make it easy to pull on and off (because nobody has time for wrestling sweaters). Knit with super bulky yarn, this vest works up fast and is finished with simple, continuous I-cord details for a clean, modern look that still feels soft and comfy.
This is a free children’s vest knitting pattern on the blog and comes with a step-by-step video tutorial on how to join shoulders with I-cord, so it’s great for newer knitters or anyone looking for a quick, satisfying project. The pattern includes sizes from 3 months all the way up to 16 years, making it easy to knit for babies, big kids, and everyone in between. Grab your needles, pick a cozy super bulky yarn, and you’ll have a warm little vest ready in no time.
Baby Vest Knitting Pattern Construction
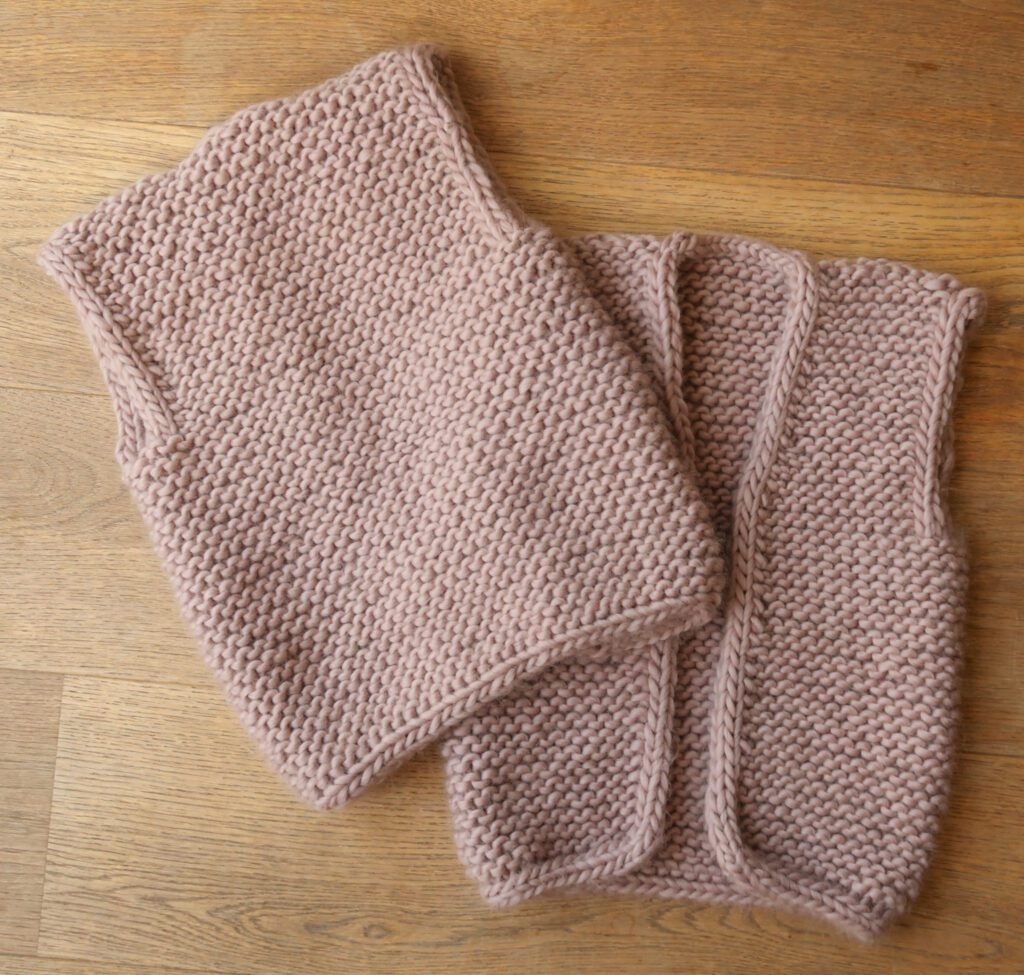
The vest is knitted flat in one piece, from the bottom up, turning at the end of each row. The piece is then divided in 3 parts, working the two front shoulder sections and the back section separately to form the armholes.
Front and back panels are then grafted together at the shoulders with an I-cord edging worked along the back neck between them for a seamless finish.
Downloadable PDF for Willaby Vest Knitting Pattern
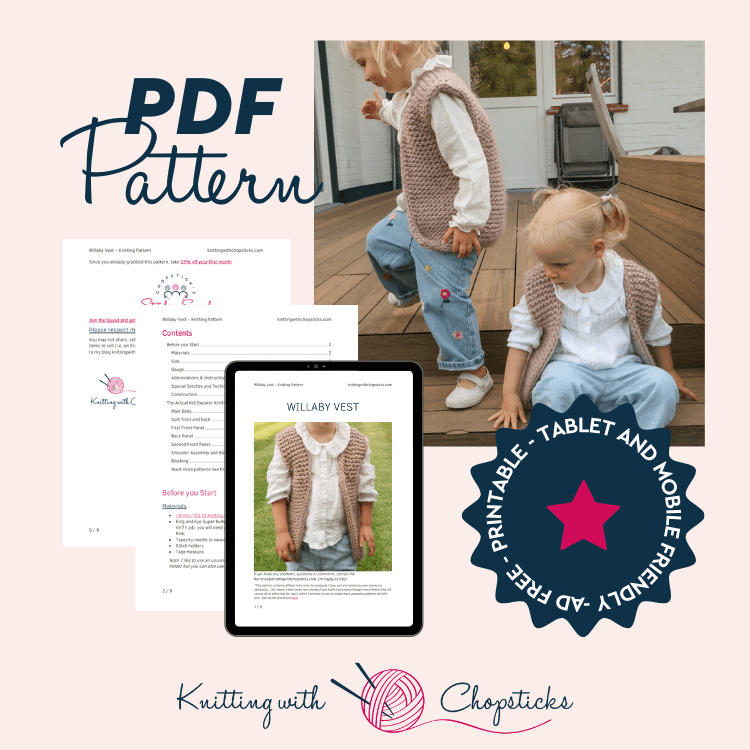
Grab the printable PDF of the Willaby Children’s Vest Knitting Pattern now in my shop, Etsy shop or on Ravelry shop:
More Children's Knitted Patterns you'll love

Before You Start Your Willaby Children’s Vest Knitting Pattern
Materials
- 10 mm / US 15 knitting needles
- King and Eye Super Bulky Merino Yarn (100 g/3.6 oz, 100% merino wool, 65 m/71 yd): you will need 2 (2, 2, 3, 3) (4, 4, 4, 5, 5, 6, 7, 7) skeins in Blush Pink.
- Tapestry needle to weave in the ends
- Stitch holders
- Tape measure
Note: I like to use an unused cable from my interchangeable needle set as a stitch holder but you can also use a scrap of yarn.
Since the original yarn used for this pattern is not available anymore then here are some yarn substitutes suggestions:
- Wool Ease Thick and Quick from LB
- Re spun thick and Quick from LB
- Hearthland Thick and Quick from LB
- Hobbii Udon
Size
The baby/kid vest knitting pattern is available in the following sizes: 3 months, 6 months, 12 months, 18 months, 24 months, 3 years, 4 years, 6 years, 8 years, 10 years, 12 years, 14 years, and 16 years.
Sizes are noted throughout the pattern in the following way: 3 (6, 12, 18, 24) months (3, 4, 6, 8, 10, 12, 14, 16) years.
The pictures illustrate the 3 and 4-year sizes.
Final garment measurements are:
- Chest circumference: 40.5 (43, 45.5, 48, 50.5) (54.5, 58.5, 63.5, 67, 71, 76, 80, 82.5) cm/19.5 (20.5, 21.5, 22.5, 23.5) (25, 26.5, 28.5, 30, 31.5, 33.5, 35, 36)
- Length: 26.5 (29, 32.5, 36, 38) (41, 45, 48, 53, 58.5, 63, 67.5, 70.5) cm/10.5 (11.5, 12.75, 14.25, 15) (16.25, 17.75, 19, 20.75, 23, 24.75, 26.75, 27.75)”.
The vest is designed with a relaxed fit of around 9 cm/3.5” ease at the chest and an open armhole so it can be worn comfortably over a top with wide sleeves and be easily put on and off by the little ones.
You can adjust the vest length easily by adding/removing pairs of garter stitch rows to the main body section.
Gauge
The gauge for this pattern with 10 mm/US 15 needles, in garter stitch, is 9 st by 18 rows for a 10 cm by 10 cm square (4” by 4”).
Abbreviations & Instructions
- st = stitch
- k = knit
- k2tog = knit 2 stitches together; right leaning decrease
- ssk = slip, slip, knit; left leaning decrease
- Sl3p = slip 3 stitchess purlwise,
Repeat instructions between [] the indicated number of times or until the end of the round/row.
Sick of all the yarn jargon and conversions?
US vs UK, abbreviations, imperial vs metric, yarn weights, etc?

The final number of stitches is indicated at the end of the round/row between < >.
Construction
The vest is knitted flat in one piece, from the bottom up, turning at the end of each row. The piece is then divided in 3 parts, working the two front shoulder sections and the back section separately to form the armholes.
Front and back panels are then grafted together at the shoulders with an I-cord edging worked along the back neck between them for a seamless finish.
Special Stitches and Techniques
I-cord cast on
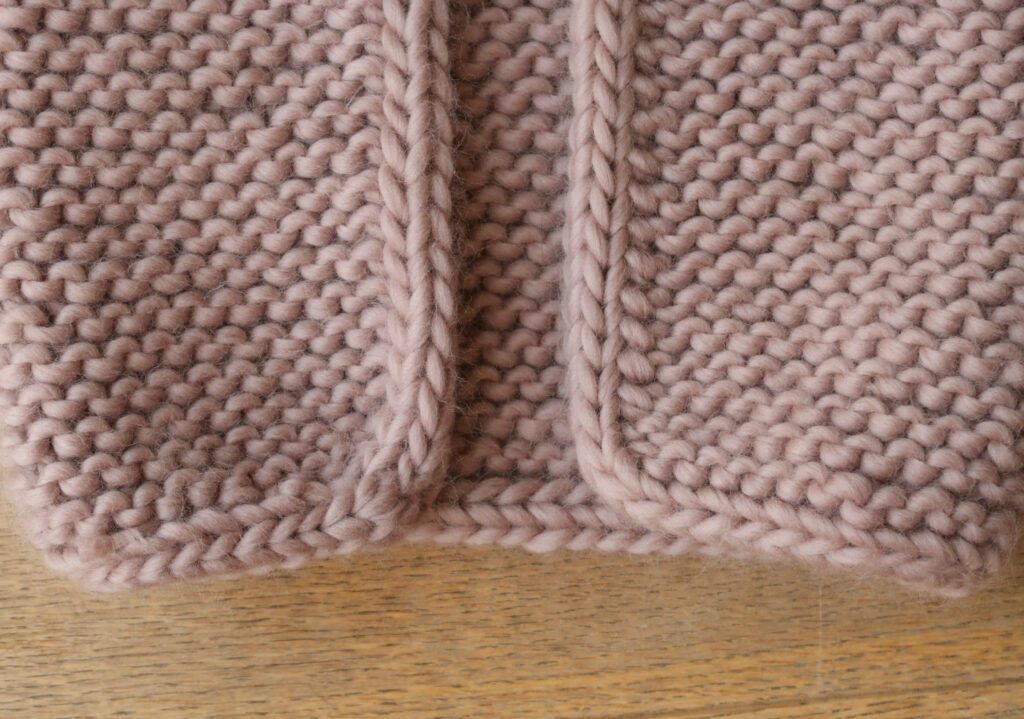
This cast on gives your knitting a rounded, cord-like edge:
- Cast on 3 stitches on your working needle in your usual way, turn. <1 st increased>
- Bring the working yarn around the back of your stitches (across the back) and knit the 3 stitches again.
- Slide the sts to your other needle.
- Create a reverse (twisted) yarn over and knit the 3 stitches again. <1 st increased>
- * Slide the first three sts to your other needle.
- Create a reverse (twisted) yarn over and knit the 3 stitches again. <1 st increased>
- Repeat from * until you have the number of stitches listed for your size.
This video tutorial shows you how to do the I-cord cast on and continue knitting a cast on edge on both sides.
Grafting shoulder stitches
Turn I-cord sts so knit side faces you
- Setup Step A: Go through front first st purl-wise, leaving st on needle.
- Setup Step B: Go through back first st knit-wise, leaving st on needle.
- Step 1: Go through front first st knit-wise, dropping st off needle.
- Step 2: Go through front next st purl-wise, leaving st on needle.
- Step 3: Go through back first st purl-wise, dropping st off needle.
- Step 4: Go through back next st knit-wise, leaving st on needle.
- Repeat steps 1-4 until all stitches to be grafted are secured and removed from the needles. On the final pair of sts, there will be no next st to work into, so steps 2 and 4 aren’t needed.
This video tutorial shows you how to join both shoulders seamlessly with joining the I-cords.
I-cord cast off
This cast off gives your knitting a rounded, cord-like edge to match your i-cord cast on:
With RS of work facing you:
- Knit 3 I-cord sts.
- Slide three I-cord sts to your other needle and one more from the piece to be edged with the I-cord. <4 sts>
- k2tog, k2.
- * Slide 4 sts to your other needle. <4 sts>
- k2tog, k2.
- Repeat from * for all stitches to be cast off.
This video tutorial shows you how to join both shoulders seamlessly and cast off the neck stitches with the I-cord cast off.
The Actual Willaby Simple Knit Vest Pattern Free
Main Body
With your 10 mm/US 15 needles, cast on 45 (49, 49, 53, 53) (57, 61, 65, 69, 73, 77, 81, 85) st using an i-cord cast on (video tutorial).
Row 1: Knit across, pick up 3 st in i-cord tail (video tutorial) <48 (52, 52, 56, 56) (60, 64, 68, 72, 76, 80, 84, 88) st>
Row 2: Sl3p, knit until last 3 st, sl3p.
Row 3: Knit across.
Repeat Row 2 & 3 until total length is 16 (17, 19, 21, 22) (24, 27, 29, 32, 35, 38, 41, 42) cm / 6.25 (6.75, 7.5, 8.25, 8.75) (9.5, 10.75, 11.5, 12.5, 13.75, 15, 16.25, 16.5)”, finishing with a Row 2.
Split Front and Back
You will now knit the two front panels and back panel separately. Place the first front panel stitches (see numbers below) on your needle and the back stitches (see numbers below) and second front panel stitches on stitch holders. Make sure you secure them carefully.
Each front panel should have a quarter of your sts, i.e. 12 (13, 13, 14, 14) (15, 16, 17, 18, 19, 20, 21, 22) sts
The back panel should be between the two front panels and should have half of your sts, i.e. 24 (26, 26, 28, 28) (30, 32, 34, 36, 38, 40, 42, 44) sts
First Front Panel
Row 1 (RS): K3, ssk, knit across. <11 (12, 12, 13, 13) (14, 15, 16, 17, 18, 19, 20, 21) sts>
Row 2 (WS): Sl3p, knit until last 3 st, sl3p.
Row 3: Knit across.
Row 4: Repeat Row 2.
Repeat Row 1-4 1 (1, 1, 1, 1) (1, 1, 2, 2, 3, 3, 4, 4) more times. <10 (11, 11, 12, 12) (13, 14, 14, 15, 15, 16, 16, 17) sts>
Repeat Row 3-4 until you reach 10.5 (12, 13.5, 15, 16) (17, 18, 19, 21, 23.5, 25, 26.5, 28.5) cm/4.25 (4.75, 5.25, 6, 6.25) (6.75, 7, 7.5, 8.25, 9.25, 9.75, 10.5, 11.25)” from armhole separation.
Don’t cast off, cut the yarn and leave a long tail for assembly.
Back Panel
Repeat Row 2 and 3 of Main Body pattern until you reach 10.5 (12, 13.5, 15, 16) (17, 18, 19, 21, 23.5, 25, 26.5, 28.5) cm/4.25 (4.75, 5.25, 6, 6.25) (6.75, 7, 7.5, 8.25, 9.25, 9.75, 10.5, 11.25)” from armhole separation.
Don’t cast off, cut the yarn and leave a long tail for assembly.
Second Front Panel
Row 1 (RS): K until last 5 st, k2tog, k3. <11 (12, 12, 13, 13) (14, 15, 16, 17, 18, 19, 20, 21) sts>
Row 2 (WS): Sl3p, knit until last 3 st, sl3p.
Row 3: Knit across.
Row 4: Repeat Row 2.
Row 5 – 8: Repeat Row 1-4 1 (1, 1, 1, 1) (1, 1, 2, 2, 3, 3, 4, 4) more times. <10 (11, 11, 12, 12) (13, 14, 14, 15, 15, 16, 16, 17) sts>
Repeat Row 3-4 until you reach 10.5 (12, 13.5, 15, 16) (17, 18, 19, 21, 23.5, 25, 26.5, 28.5) cm/4.25 (4.75, 5.25, 6, 6.25) (6.75, 7, 7.5, 8.25, 9.25, 9.75, 10.5, 11.25)” from armhole separation.
Don’t cast off, cut the yarn and leave a long tail for assembly.
Shoulder Assembly and Back Neck Edging
With the vest inside out, graft the front and back shoulder stitches together, starting by grafting the stitches forming the i-cord edging of the armhole and continuing to graft the 4 (5, 5, 6, 6) (7, 8, 8, 9, 9, 10, 10, 11) sts of the garter stitch shoulder section together until you only have the 3 neckline i-cord stitches on the front panel.
Use these three stitches to i-cord cast off the back stitches (video tutorial) until you have 7 (8, 8, 9, 9) (10, 11, 11, 12, 12, 13, 13, 14) sts in the back panel. Graft the remaining back panel stitches to the second front panel stitches.
Blocking
You’re done with the knitting part. Make sure to weave in all the ends.
To make your stitch pattern even prettier, help straighten your edges and flatten the corners block your project.
Don’t skip this step as it can make a huge difference. Read my detailed tutorial on why block, how-to, and all my tips and tricks if you need help.
Copyright 2026 Knitting with Chopsticks