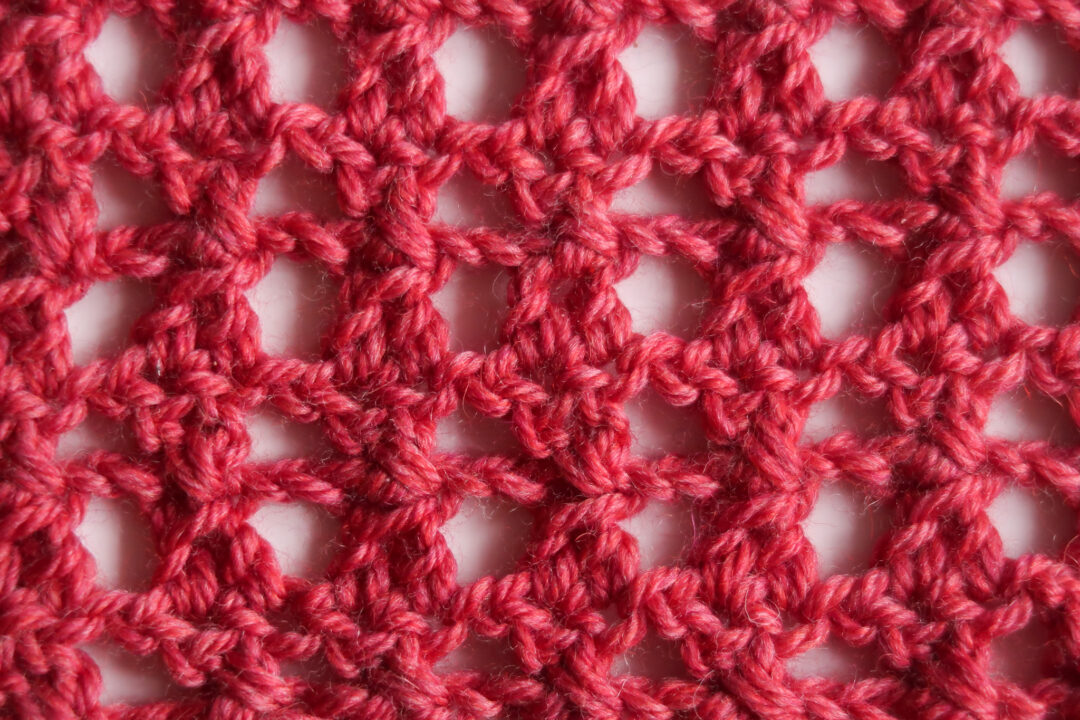
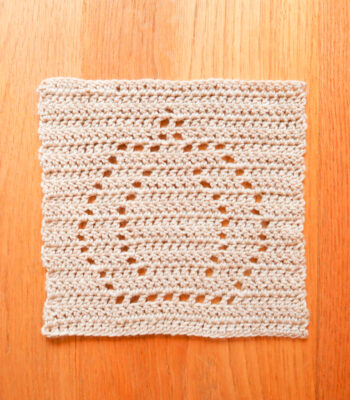
The Diamond Stitch is an elegant crochet lace stitch for beginners. Scroll down for ideas on how to use this stitch, along with the step-by-step pattern.
No time right now? Pin this Diamond crochet stitch tutorial for later!
*This post contains affiliate links (only for products I love, use and spend my own money on obviously). This means I earn some yarn money if you make a purchase through one of these links (of course at no extra cost for you!), which I promise to use to create more awesome patterns like this one. All opinions are my own. See my full disclosure here.
What to make with the Diamond Crochet Stitch
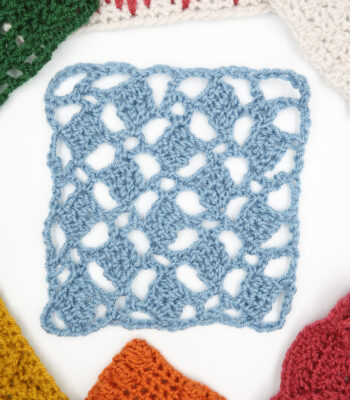
This elegant lace crochet stitch is perfectly reversible, making it a great choice for scarves and shawls. The tiny diamonds and squares create a uniformed pattern with an airy feel that would look great used in a beach cover up or as detail on a garment.
Crochet Stitch Bundle
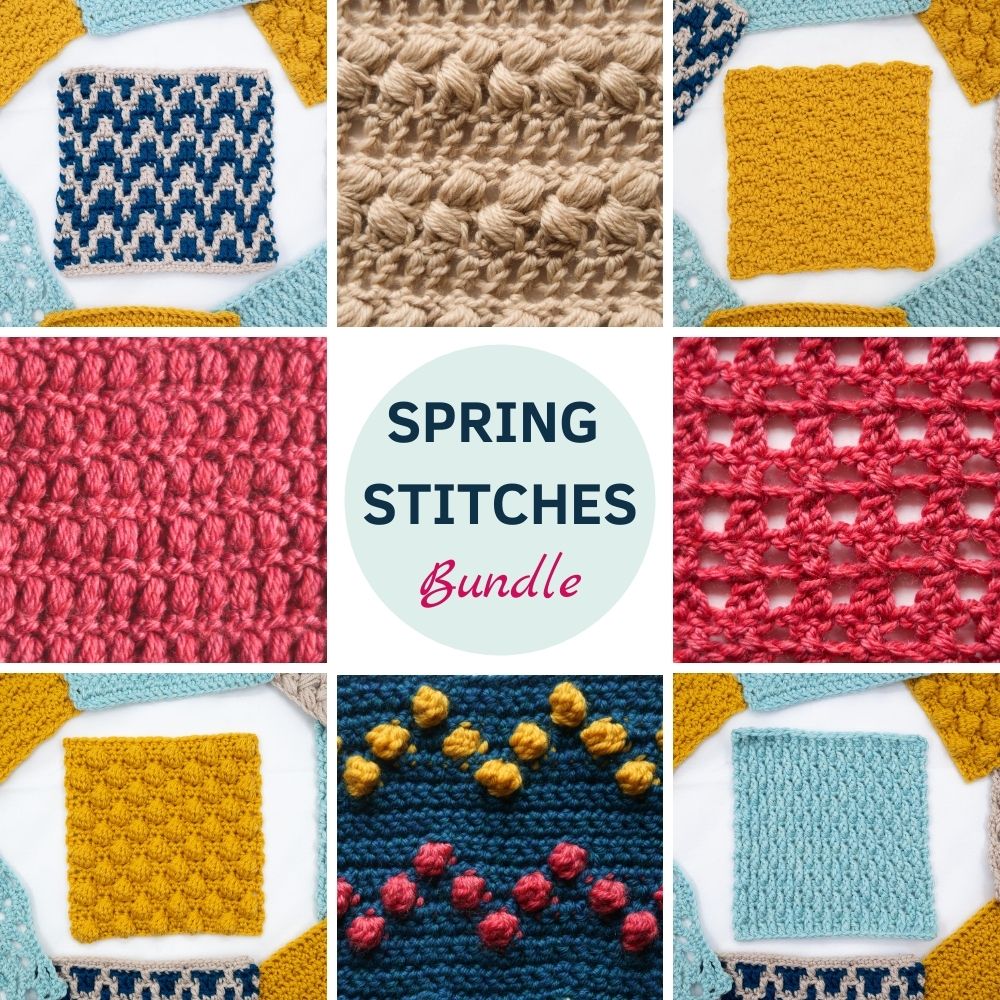
This easy crochet stitch is part of the Spring Stitch CAL (crochet along). Join the fun and discover all-new crochet stitches here.
All stitch tutorials are available on our blogs but if you want a printable PDF version for easy recording and to take notes etc. You can grab the bundle with all 30 stitches here.
Sometimes it’s just easier to have a stitch dictionary on hand when you’re deciding on your next project rather than having to search online and remember where you saved that stitch you want to use.
Before You Start
Materials
- 5.5 mm / US I– 9 hook.
- Worsted weight yarn. I used WeCrochet Swish, it has an amazing stitch definition which really helps when learning new stitches.
- Tapestry needle to weave in the ends. I love this set as it has different eye sizes for different yarn thicknesses and it comes in a small tube which is very convenient so I don’t lose them.
Size
The pattern is written for a 15cm by 15cm / 6” by 6” square.
Stitch Multiple
The pattern needs a multiple of 3 + 1 number of stitches; your starting chain will be a multiple of 3 + 2 for an extra turning chain.
Gauge
The gauge for this pattern is 15 st by 9 rows in stitch pattern for a 10 cm by 10 cm square (4” by 4”).
Abbreviations
This pattern uses US notations.
- st = stitch
- ch = chain
- sc = single crochet
- dc = double crochet
- dc2tog = double crochet 2 stitches together (decrease)
- skip = miss
Notes
Work instructions between [ ] the indicated number of times or until the end of the row.
The final number of stitches is indicated at the end of the row between < >.
The turning ch 1, ch 2, ch 3 don’t count as a stitch throughout the pattern except if mentioned otherwise.
Stitches above a ch-1 space are worked in the ch-1 space.
The pattern is written in crochet shorthand. For example:
- “sc 1” means to single crochet in the next stitch,
- “sc 2” means to single crochet in each of the next 2 stitches,
- and “2 sc” means to single crochet twice in the next st.
All pictures show left-handed crochet. All stitches are symmetrical and can be worked by both right- and left-handed crocheters.
The Diamond Crochet Stitch Tutorial
With your 5.5mm / US I- 9 hook ch 24,
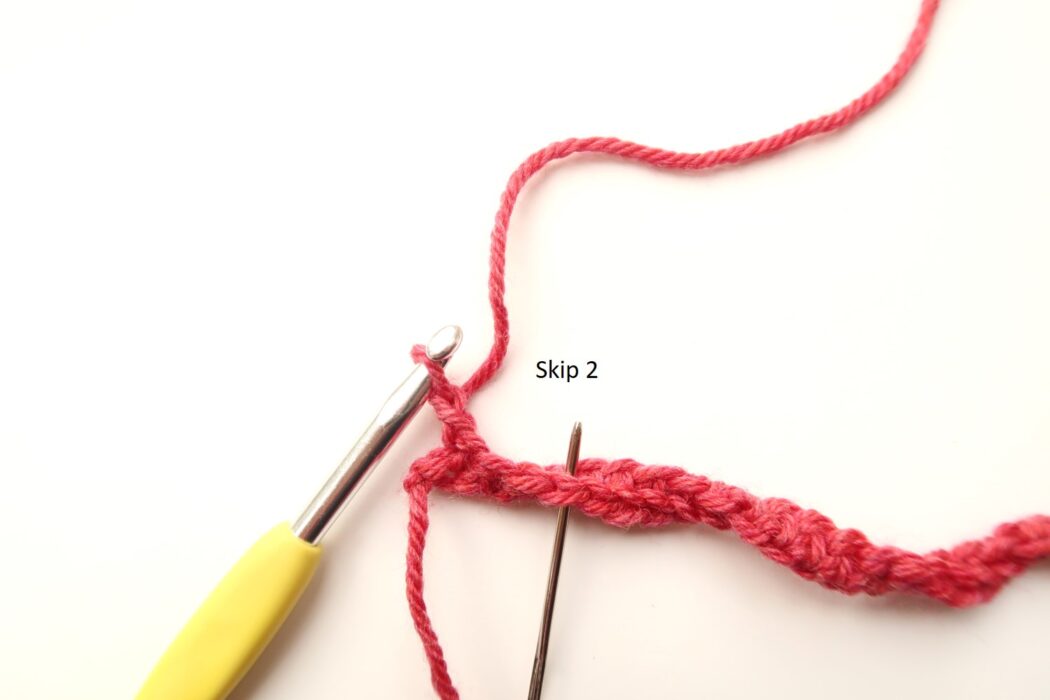
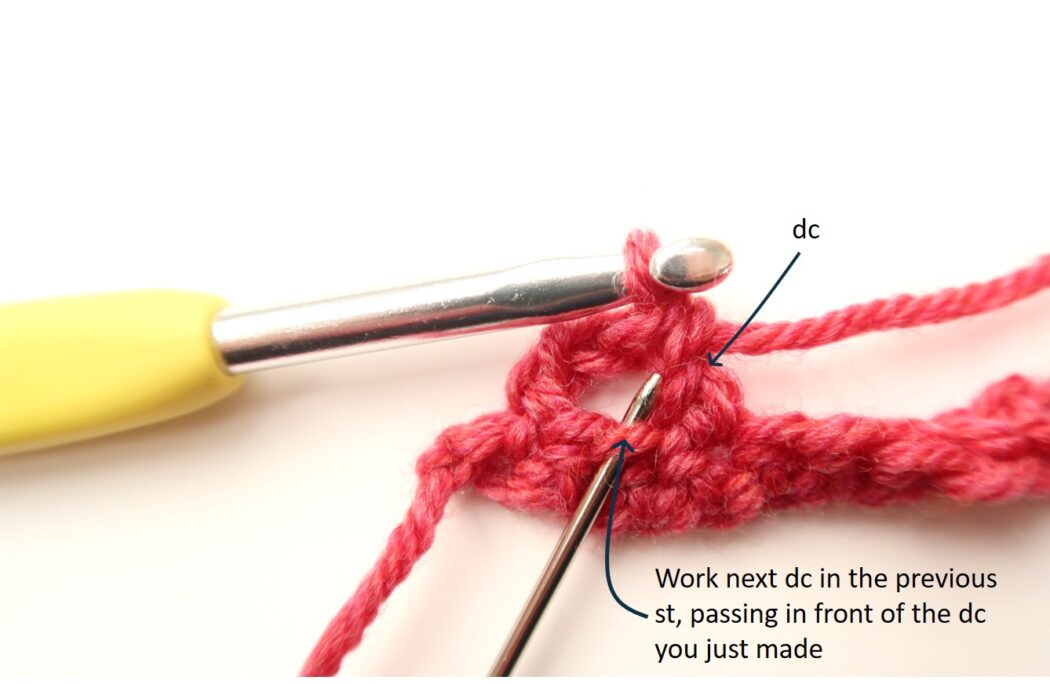
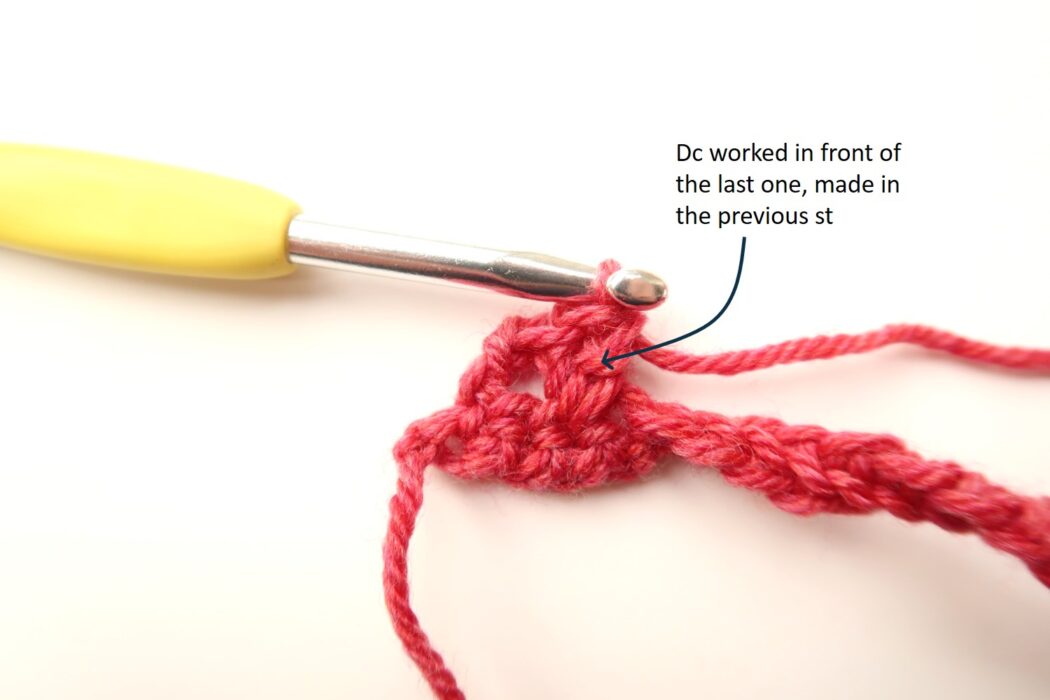
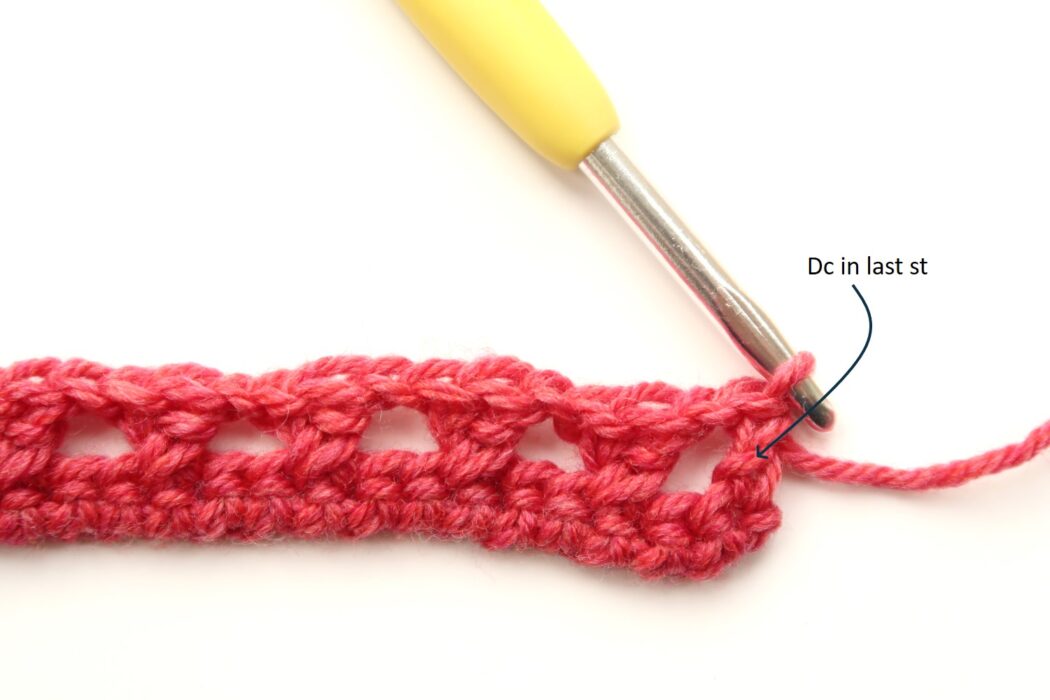
Row 1: Sc in 2nd ch from the hook, sc across, turn.Row 2: Ch 3 (counts as turning ch 2 + 1 st), [skip 2, dc, working in front of dc just made dc in previous st, ch 1] until last 2 st, skip 1, dc, turn.


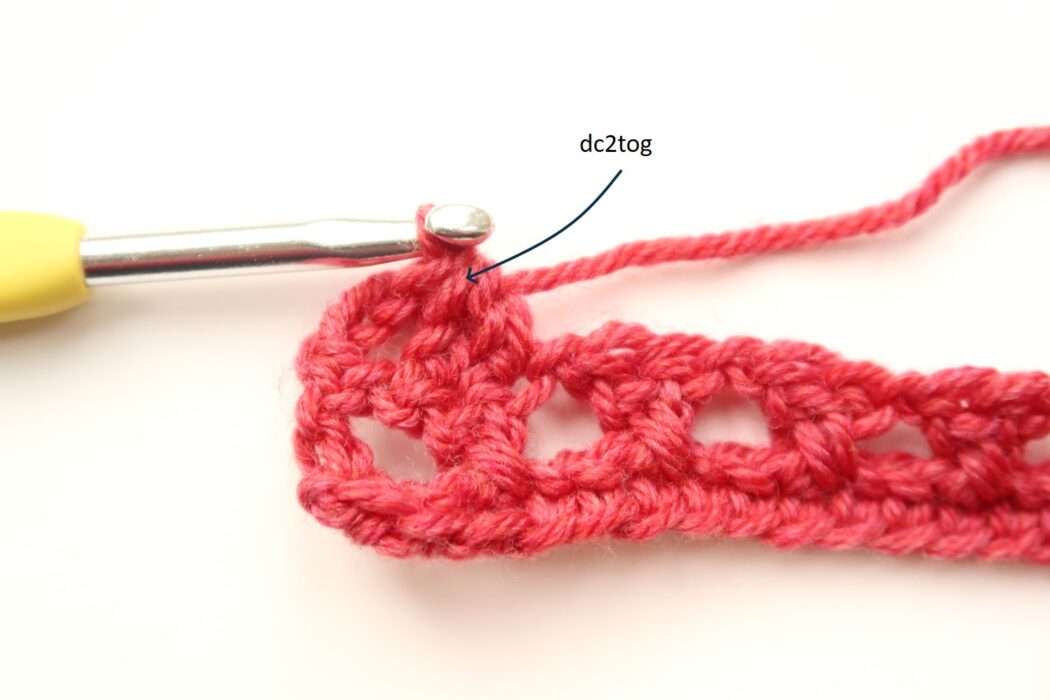
Row 3: Ch 3 (counts as turning ch 2 + 1 st), skip 1, [dc2tog, ch 2, skip 1] until last st, dc, turn.


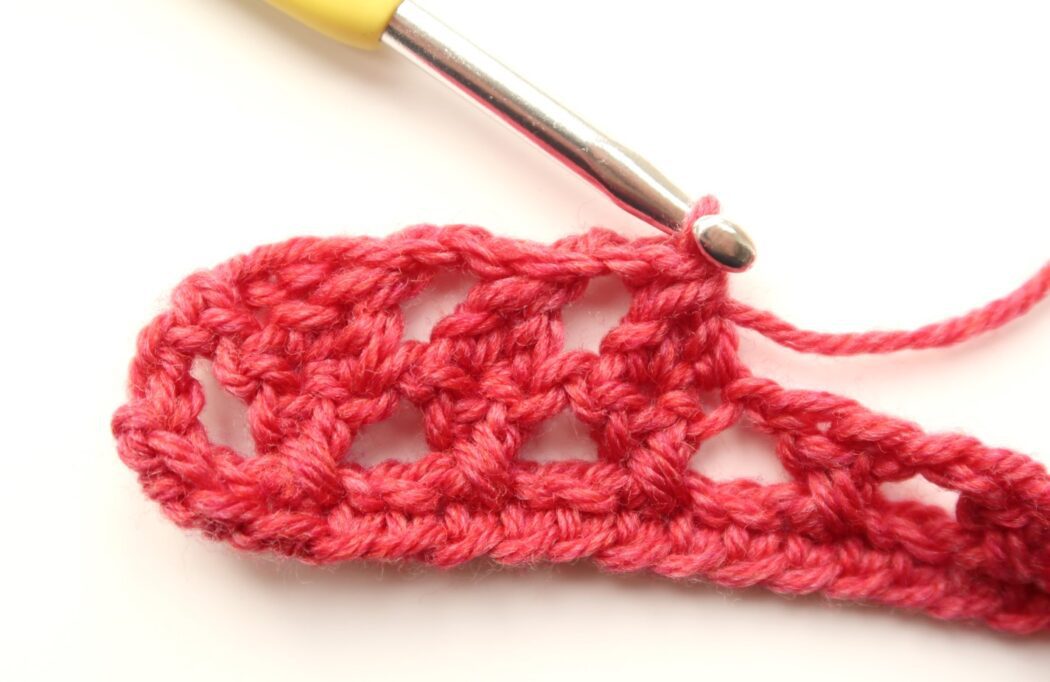
Repeat Row 2 & 3 until you reach 14.5 cm / 5.5.
Last Row: Ch 1, [2 sc in the gap, sc in the dc2tog below] across, 2 sc in the last gap, sc in the dc below.
Blocking
When you’re done with the crocheting part, make sure to weave in all the ends.
To make your stitch pattern even prettier and help straighten your edges block your project lightly.
Don’t skip this step as it can make a huge difference. Read my detailed tutorial on why block, how-to, and all my tips and tricks if you need help.

