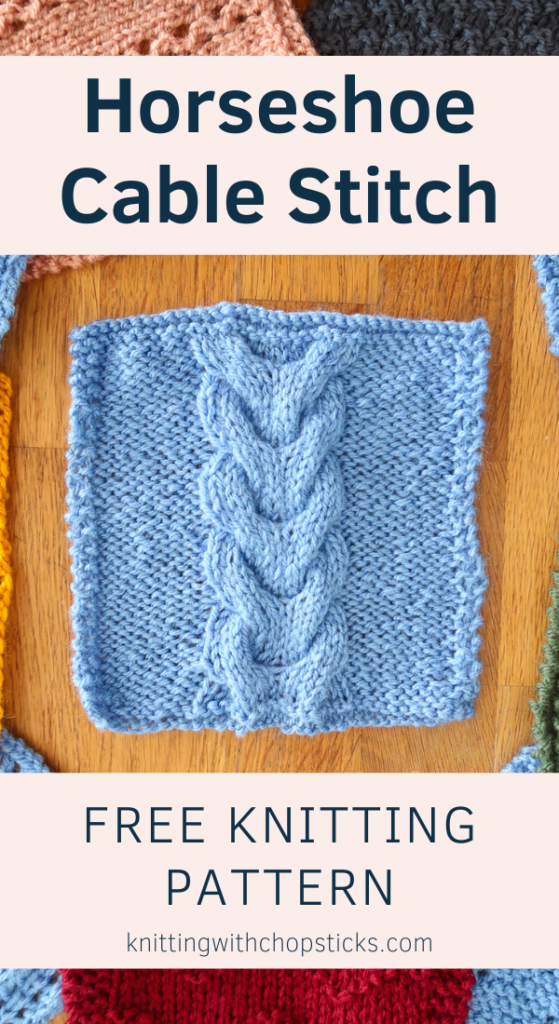
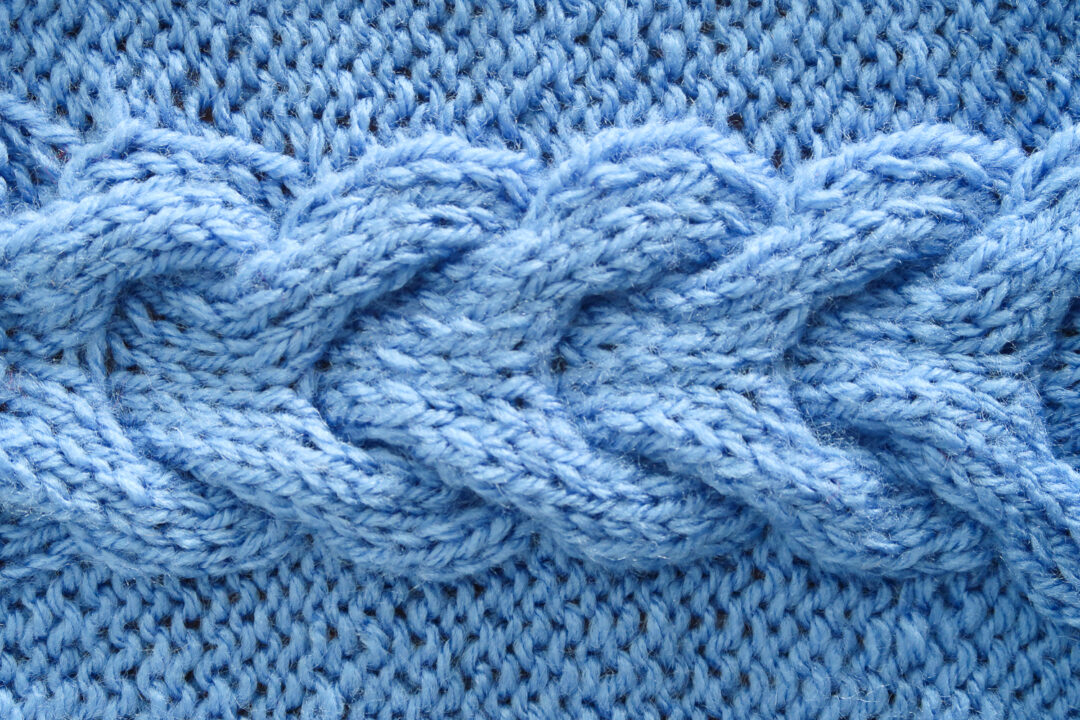
Learn how to knit the Horseshoe Cable stitch with this easy knit stitch pattern tutorial. This fun bold stitch really pops on solid-colored garments and blankets.
The best part is, it’s truly easier than it looks! Check out the detailed step-by-step instructions below.
No time right now? Pin this unique knit stitch pattern for later!
*This post contains affiliate links (only for products I love, use and spend my own money on obviously). This means I earn some yarn money if you make a purchase through one of these links (of course at no extra cost for you!), which I promise to use to create more awesome patterns like this one. All opinions are my own. See my full disclosure here.
What to Make with the Horseshoe Cable Knit Stitch Pattern
The horseshoe cable stitch is an impressive looking (but it’s much easier than you’d think!) cable stitch which looks great on sweaters and blankets.
Note, the cable forms a hole at the center, this is completely normal and not visible in the finished fabric.
For example, I used it for the central cable of the Easy Cable Sweater (find the free pattern here)

Charity Cozy Fall MAL
This blanket square knitting pattern is part of the Charity Cozy Fall MAL.
20 unique knit square designs are released throughout the month of October 2022 to form a cozy fall blanket.
Stitch Exploration
This easy knit stitch is part of a fun stitch exploration. You can find all 10 stitches here.
Or grab the convenient PDF bundle with all stitch patterns here.

Before You Start
Materials
- 4.5 mm/ US 7 knitting needles. I use circular needles for convenience but you can use straight needles. Confused about all these types of knitting needles? Here’s a complete overview that will answer all your questions.
- Worsted weight Zeeman Royal yarn (100% acrylic, 241m /264yd, 100g)
- Tapestry needle to weave in the ends. I love this set as it has different eye sizes for different yarn thicknesses and it comes in a small tube which is very convenient so I don’t lose them.
- Cable Needle
- Optional: Stitch Markers
Because the yarn I used is not available everywhere, and I know how painful it is to try to find equivalent yarn which will give you the same effect I have selected a few equivalent yarns for you. I haven’t tried them out myself, but they look so pretty, check them out!
- Lion Brand Wool-Ease They have this yarn in about 20 colors, I’m sure you’ll fall in love with more than one.
- La Mia Just Wool
elann Wool Mate- RED HEART Super Saver Yarn. This yarn also exists in more than 60 colors.
Size
The pattern is written for a 15cm by 15cm / 6” by 6” square.
You can easily adapt the size to your desired project size. The cable is 16 stitches wide and I recommend at least 4 stitches on each side.
Gauge
The gauge for this pattern, in stockinette stitch, is 24 st by 46 rows for a 10 cm by 10 cm square (4” by 4”).
Confused on how to make or measure gauge? Check out my detailed post all about knitting gauge.
Abbreviations and Instructions
- st = stitch
- k = knit
- p = purl
- CxF = Cable x stitches wide, hold stitches to the front (if needed, refer to this tutorial for more details).
- CxB = Cable x stitches wide, hold stitches to the back (if needed, refer to this tutorial for more details).
- p2tog = purl 2 stitches together
Repeat instructions between [ ] the indicated number of times or until the end of the round/row.
The final number of stitches is indicated at the end of the round/row between < >.
Special Stitches and Techniques
For videos and a detailed explanation on how to knit cables, refer to this tutorial.
The video below shows you how to make the horseshoe cable (C8B, C8F)
The Actual Knit Stitch Pattern
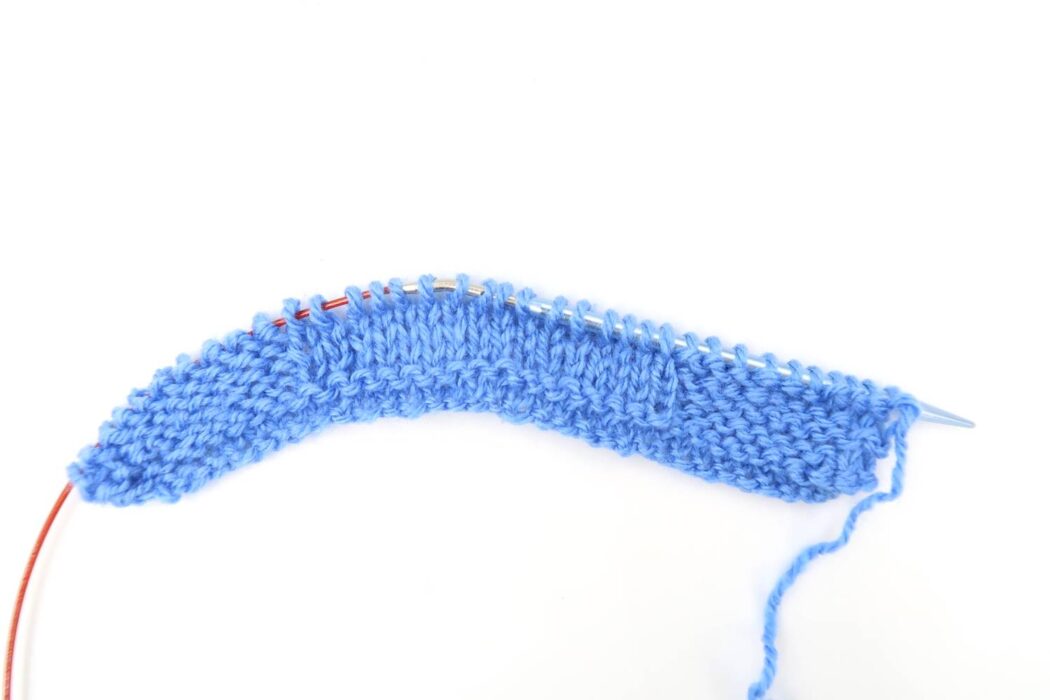
Cast on 38 (48) stitches.
Row 1-2: Knit across
From here onwards we start the cable repeat which is an 8 row repeat. The horseshoe cable is made by having two simple cables directly next to each other and going in opposite directions.
Row 3 (Right Side): K3, p8 (13), k16, p8 (13), k3.
Row 4 (Wrong Side): K3, k8 (13), p16, k8 (13), k3.
Row 5-8: Repeat Rows 3 and 4.

Row 9: K3, p8 (13), C8B, C8F, p8 (13), k3.

Row 10: Repeat Row 4.
Row 11-12: Repeat Rows 3 and 4.

Repeat these 8 rows (rows 5 to 12) until you reach a total length of 15 (20) cm / 6 (8) “.
Finish with 2 knit rows.
Cast off.
Blocking and Assembly
You’re done with the knitting part. Make sure to weave in all the ends.
To make your stitch pattern even prettier and help straighten your edges block your project lightly.
Don’t skip this step as it can make a huge difference. Read my detailed tutorial on why block, how-to, and all my tips and tricks if you need help.
