How To Make A Knitted Swimsuit: 8 Important Steps
If you want to add a splash of color and style to your summer wardrobe with a unique knitted swimsuit, then this guide is for you. With just a few basic materials and simple instructions, you can learn how to make your own knitted swimsuit in no time. It’s a great way to spend a few hours of your day, and you’ll have the satisfaction of knowing that your swimsuit is truly one of a kind. Here are the 8 important steps to creating your very own knitted swimsuit.
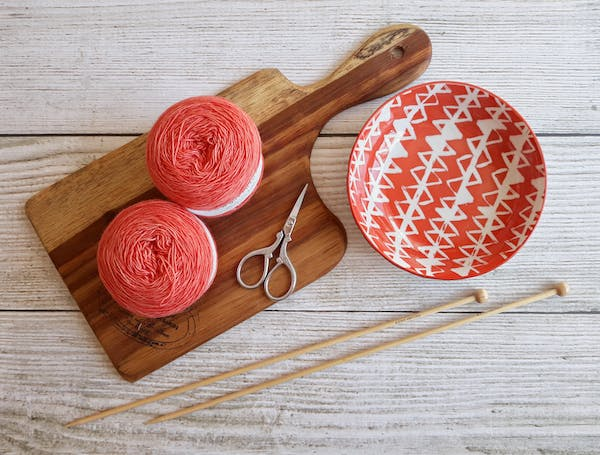
1. Gather your supplies
You will need a knitting loom and knitting needles of the appropriate size, as well as some swimsuit yarn. Choose your yarn carefully – it should be durable enough to withstand repeated exposure to water while allowing you to breathe easily. For example, the kids swimwear by SweetHoney Clothing is made from soft, breathable, and extremely durable materials. While it’s tempting to use a cheap, synthetic yarn for your swimsuit, you should avoid this as it will likely rip or fall apart after only a few uses. It’s also important to have plenty of other materials on hand, such as a measuring tape, scissors, and a yarn needle.
2. Determine your size and shape
Before you can start on the actual knitting, you first need to decide what size and shape of swimsuit you want to create. Consider your body type and what parts of the body you wish to accentuate or hide. For example, if you have a large bust, then you may want to opt for an empire waist style that will help balance out your proportions. Once you know your size and shape requirements, sketch out some design ideas on paper so that they are easily followed as you knit. If you’re not sure how to do this, there are many online tutorials that can help.
3. Choose your design
There are many different styles and patterns to choose from when it comes to knitting a swimsuit. If you simply want to create a basic, solid-color swimsuit, then you can utilize a simple rectangular pattern that will result in a one-piece suit. However, if you’re looking for something with more style or flair, then consider using complex shaping or different stitch types such as cables and lace. Whatever you decide on, be sure that the size and shape of your swimsuit will allow for easy movement while swimming or playing in the water.
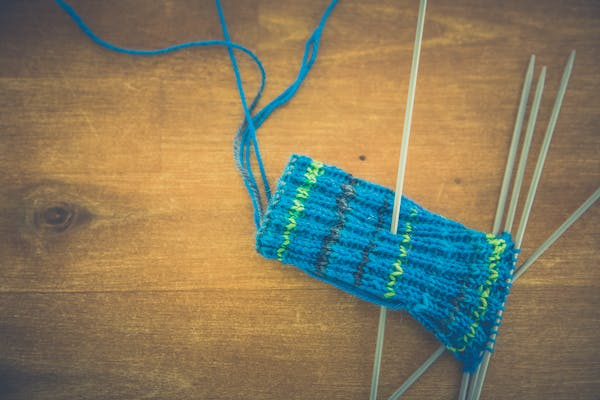
4. Start knitting
Once you have your design planned out, it’s time to start knitting! This can take hours depending on the complexity and size of your garment; however, don’t rush through this step since it’s important to get the right fit and design. For best results, it’s recommended that you knit your swimsuit in one piece rather than assembling it later. It will be much more difficult to make adjustments or repairs if you need to add or subtract stitches at a later stage in the process. Additionally, if you have a complex pattern, then it’s best to follow the knitting instructions closely, as skipping steps or incorrectly following a pattern can result in an irregularly-shaped swimsuit or one that is too tight or loose.
5. Check for any loose ends or other errors
Once you have completed knitting your swimsuit, it’s important to check over all of your work carefully before moving on to the next step. This means looking for any loose threads, gaps in stitching, and other areas where your garment may be falling apart. You can use a yarn needle and matching thread to repair these errors; however, it is best not to leave them as they can catch on water and make the swimsuit more likely to tear in the future. Additionally, it’s a good idea to wash your completed swimsuit to ensure that it fits well and is free of errors before wearing it in the water.
6. Add straps, ties, or other accessories
Depending on the style of your swimsuit, you may want to add straps or ties for extra support. If you are planning to use this swimsuit in a pool or other body of water, then it’s important to have some kind of closure that will keep it from falling off; however, if you are using it as loungewear or pajamas, then you may not need any additional features. Consider adding buttons and loops to allow for adjustable strap lengths or hooks and clasps for more complex closures. Whatever design you choose, be sure that the materials you use are durable enough to withstand repeated exposure to moisture.
7. Rinse and dry your swimsuit
Once your swimsuit is completed and fitted properly, rinse it well with clean water. This will remove any soap residue or other chemicals from the knitting process that could irritate your skin when you wear it in the water. If you are not planning to swim in your new knitted swimsuit, then it’s a good idea to wash it after rinsing and hang it out to dry before wearing. This will prevent the garment from developing a musty odor over time.
I also recommend you block your swimsuit for the best fit.
8. Put on your swimsuit and enjoy
Finally, once you have completed all of these steps, you can put on your finished knitted swimsuit and enjoy some fun in the sun! Whether you’re swimming laps at the pool or splashing around with friends at the beach, this unique garment is sure to turn heads with its original style and craftsmanship. Just be sure to take good care of it by following the washing instructions carefully and storing it properly when you are not wearing it. With a little bit of care, your knitted swimsuit will last for years to come and be a treasured part of your wardrobe.
At this point, you should have a completed knitted swimsuit that fits well and is ready to use in the water. Whether you are planning to lounge by the pool or swim laps at the local gym, this unique garment will help you stand out from the crowd and feel confident and comfortable in your own skin. Just be sure to take good care of it by following the washing instructions carefully, and storing it properly when you are not wearing it.