How to Read Crochet Patterns: All About Gauge
Crochet gauge is arguably the most intimidating part of reading a crochet pattern (especially for garments). No need to panic! I’m breaking down everything you need to know about gauge: what it is, why you need it, how to make and measure it, and what to do if your gauge swatch doesn’t match the pattern’s gauge.
No time right now? Pin this gauge tutorial for later!
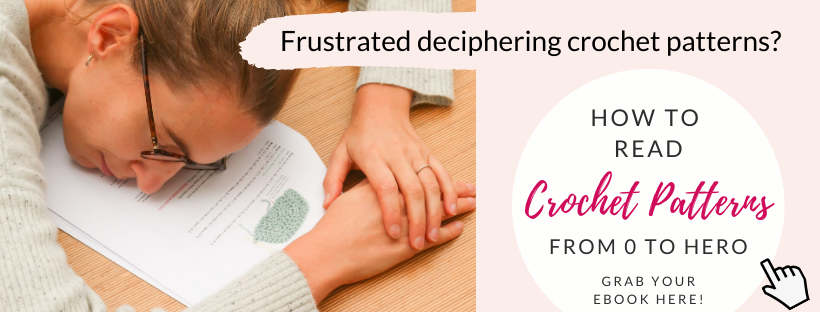
Scroll down for the free gauge tutorial, but if you’d prefer an ad-free printable PDF tutorial, this blog post is a sample chapter from my newest ebook, How to Read Crochet Patterns, which will teach you everything you need to know to decipher patterns and tackle more difficult projects.
What is Crochet Gauge?
Simply put, the pattern gauge is how many stitches and how many rows you should have (using the recommended yarn and hook) in a 10cm or 4” square. Please take note that while 10cm/4” is the traditional size, some designers may not follow this, so double check what size they indicate in the pattern.
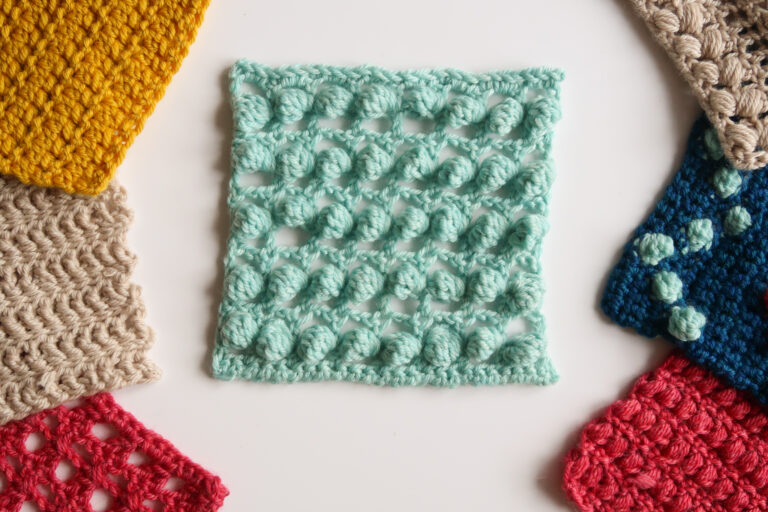
Example: The gauge for this pattern is 16 st by 20 rows in double crochet stitches for a 10cm/4” square. This means if you chain 16 stitches and crochet in rows of double crochet stitches for 20 rows, you should have a 10cm/4” square.
It’s important to follow the stitch pattern given in the gauge measurement as some stitch patterns are much tighter than others.
Why You Need a Gauge Swatch
When you’re ready to start a new pattern, making a gauge swatch is the first thing you should do. I know it’s boring, frustrating, and feels like a waste of time, but I promise it’s worth it! (An exception to this rule is a pattern where the final size doesn’t matter, like a blanket, scarf, or shawl. As long as you’re using the recommended yarn weight and hook size, your final product should end up close enough to the intended size.)
For fitted garments and socks, or any time you choose a different yarn or hook than what the pattern recommends, a gauge swatch is a must. Creating one before you start will help you ensure the final product is the intended size, and give you an idea of how your yarn will behave (drape, stretch, bleeding, etc).

How to Make a Gauge Swatch
Now that we’re clear on why making a gauge swatch is important, how do you actually make one?
Start by chaining the recommended number of stitches plus 5-10 extras. We add the extra stitches because the edges always behave differently than the stitches in the middle, which can skew your final measurements.
Now, start crocheting the given number of rows plus 5-10 extras (for the same reason). It’s very important to make sure you follow the stitch pattern given in the gauge, meaning if the gauge calls for double crochet, you aren’t using single crochet. Typically, the designer will give the gauge in the main stitch pattern that’s used in the design (it’s easier for us as designers since that’s the gauge we use to make calculations for different sizes in the design, and it makes it more precise for you).
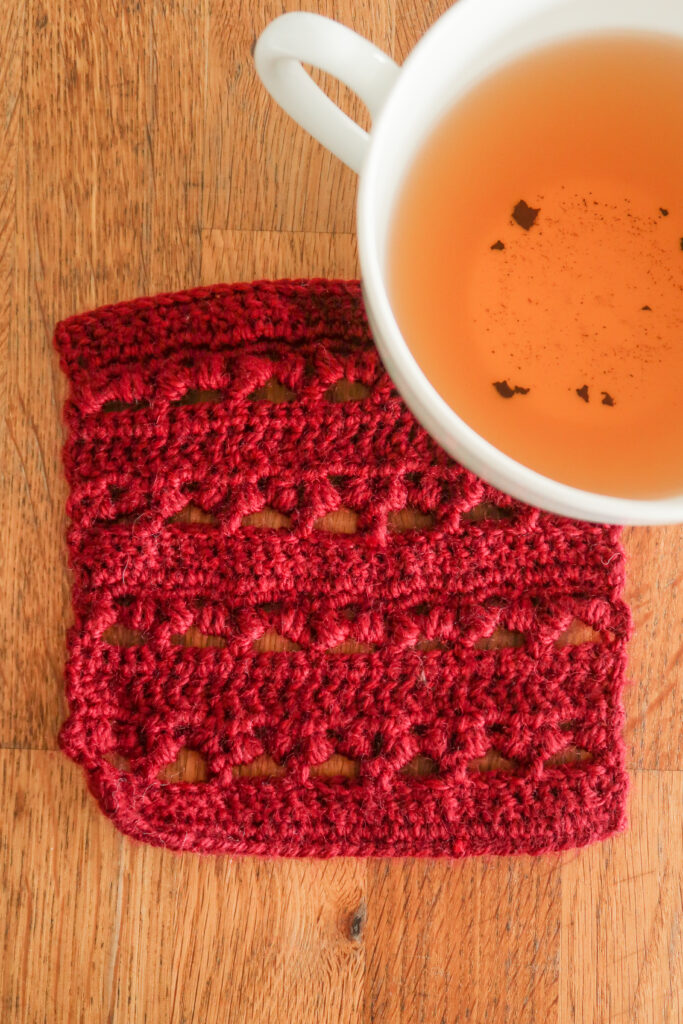
So you’re done crocheting and you have a nice little square. The next step is to block your square. (Refer to page 39 on blocking if you’re unsure how to do that.) I’ll admit that in day-to-day crochet, I rarely block my gauge swatch out of pure laziness (and a desire to not waste a single scrap of precious yarn). Please, DO NOT BE LIKE ME. Even an experienced crocheter can get tripped up without blocking, as some yarns behave very differently once they’re blocked.
My advice is to start by doing things properly and blocking each and every gauge swatch. With time and experience, you’ll be able to estimate the impact of blocking (and be okay with a certain amount of frogging, or ripping out your project, due to this choice).
Measure Your Crochet Gauge Swatch
Once your square has been blocked, you measure it. Lay it flat on a surface and use a ruler to count how many stitches you have in 10cm/4”. Do the same horizontally, counting the rows. Make sure you’re measuring in the center of your swatch since the edges behave differently.
If you’re feeling unsure about reading your work (seeing how many stitches and rows you made), another option is to do a tiny bit of math. Don’t panic– I’ll explain! When you make your swatch, write down how many stitches you chained and how many rows you crocheted. Measure the square in both directions, then use a simple rule of 3 to calculate how many stitches for 10cm/4”.
Example: You chained 24 stitches and crocheted 30 rows. You measure the swatch to be 12cm wide x 15cm high.
Now divide the number of stitches by the width you measured. 24st / 12cm = 2 (stitches per cm). Since you need the number of stitches for 10cm, you then multiply 2st per cm by 10. 2*10 = 20 (stitches per 10cm). To figure out the rows, you divide the number of rows you counted by the height you measured. 25 rows / 15cm = 2.3 (rows per cm). Since you need the number of rows per 10cm, you multiple 2.3 rows per cm by 10 = 23 (rows per 10cm). The math is the exact same if you use inches, but instead of multiplying by 10 cm for everything, you’ll be multiplying by 4”.
Still confused? No worries. Here is a calculator to make your life easy!
Sick of all the yarn jargon and conversions?
US vs UK, abbreviations, imperial vs metric, yarn weights, etc?

[forminator_form id=”8549″]
This method is less precise than counting how many stitches and rows you have per 10cm/4”. I mentioned that the edges tend to behave differently than the center, so when you’re using this method, you’ll be ignoring that fact. This math method works just fine for simple designs that aren’t very fitted, but the first method is better overall.
When Your Crochet Gauge Doesn’t Match
When you’re measuring your completed swatch, this is probably the question in the back of your head. If you carefully measured it and you didn’t get the same result as the given gauge, don’t worry– it happens to everyone sometimes. What to do about it depends on the way in which your swatch is off from the designer’s gauge:
More Stitches
If you end up with more stitches per 10 cm/4”, it means you’re crocheting more tightly than the designer. Try going up one or two hook sizes. Alternatively, you could switch to a thicker yarn, but that may impact how the project looks and feels when it’s complete. Sometimes it can also help to switch hook material, while keeping the same size. I tend to crochet tighter with bamboo hooks than with metal ones. The impact will be more subtle than changing hook size.
Fewer Stitches
If you end up with fewer stitches per 10cm/4”, it means you’re crocheting looser than the designer. Try going down one or two hook sizes. Like above, switching your hook material may help as well.
More Rows
If you end up with more rows per 10cm/4”, it means your stitches are shorter than the designers and you’re crocheting more tightly. Adjusting the gauge height in crochet is trickier than adjusting the width. Loosening up your tension while you crochet can help, but generally, if your width is spot on, I wouldn’t worry too much about the height. This is why I give most of my instruction in measurements instead of rows, so your final result isn’t impacted by your height gauge.
Fewer Rows
If you end up with fewer rows per 10cm/4”, it means your stitches are longer than the designer’s and you’re crocheting more loosely. Try tightening up your tension when you crochet, but similar to above, it’s not easy to adjust.
Grab Your eBook Today!
If you’re a beginner knitter who knows the basic stitches, but can’t seem to make a pattern turn out the way it should, my newest ebook, How to Read Crochet Patterns, is for you. You now know all about crochet gauge, but there is so much more to learn!
With more than 40 pages chock full of information, photos, and real-life examples, I’ll take you from confused to confident. You’ll learn all the pattern jargon, tips and tricks, along with how to assemble and block your project at the end. Grab your copy now and open the door to endless projects!