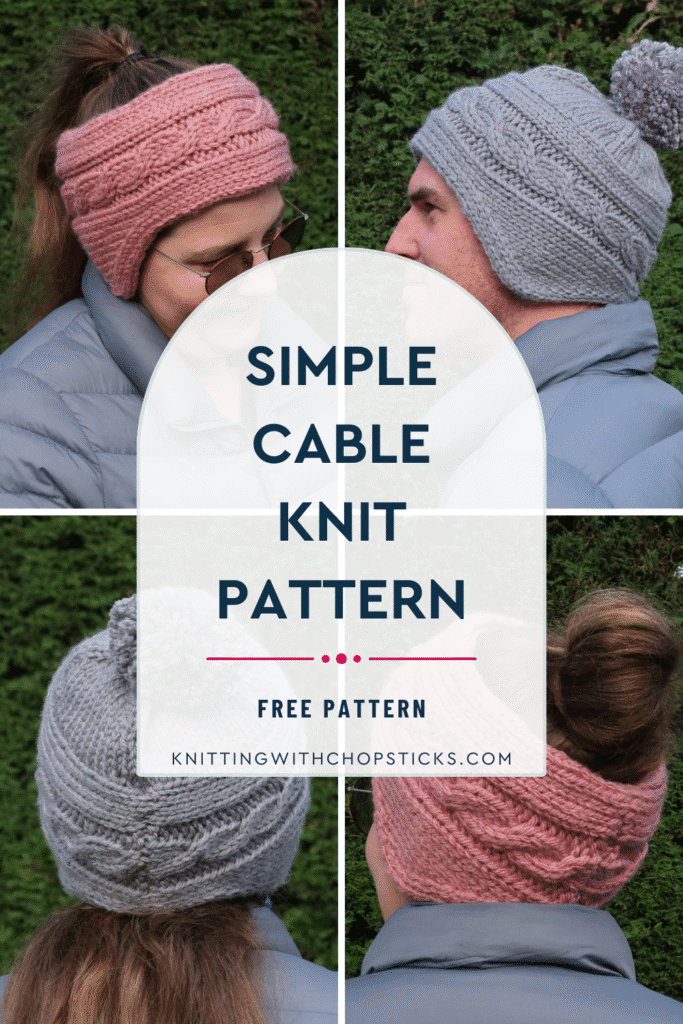
Glintpine Cable Knit Hat Pattern Free
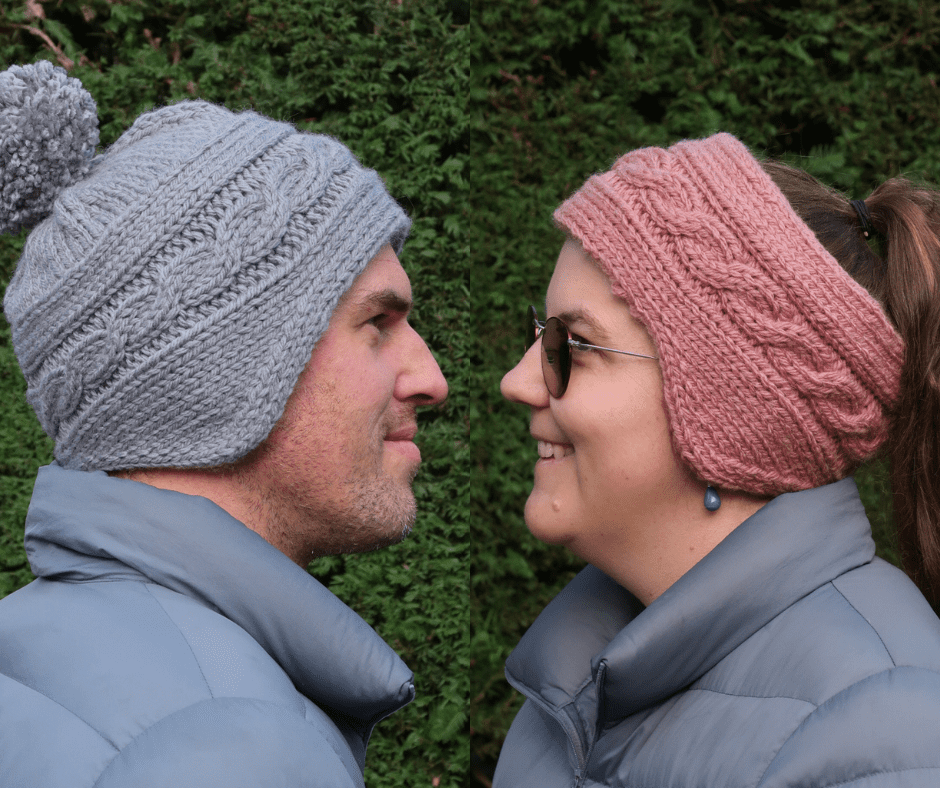
A new knitting pattern hat with ear flaps – the Glintpine Hat and Earwarmer – are now a free knitting patterns here on the blog. Read all about this cable knit beanie pattern and cable knit headband pattern, scroll down to view the full free pattern or purchase an ad free PDF from the links below.
No time right now? Pin this simple cable knit pattern free for later!
*This post contains affiliate links (only for products I love, use and spend my own money on obviously). This means I earn some yarn money if you make a purchase through one of these links (of course at no extra cost for you!), which I promise to use to create more awesome patterns like this one. All opinions are my own. See my full disclosure here.
This new free knitting pattern is a cozy and fun project featuring a simple cable design that adds just the right amount of texture. It includes instructions for both a cable knit beanie and a matching headband, so you can knit one or make the full chunky set. The cable detail looks impressive but is totally doable for adventurous beginners — it’s an easy-level pattern that keeps things simple and enjoyable.
The construction is a little different : you knit the headband portion first, then pick up stitches to create the crown if you’re making the full hat. Using chunky yarn and a double-layer design, it’s extra warm and structured, covering the ears nicely — with optional earflap coverage for those windy, extra-cold days. Perfect for both men and women, this hat and headband combo works up quickly and makes a stylish, practical winter staple.
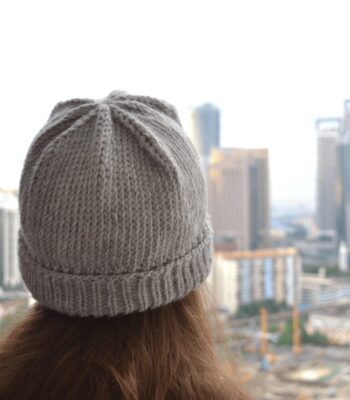
Cable Knit Hat Pattern Construction
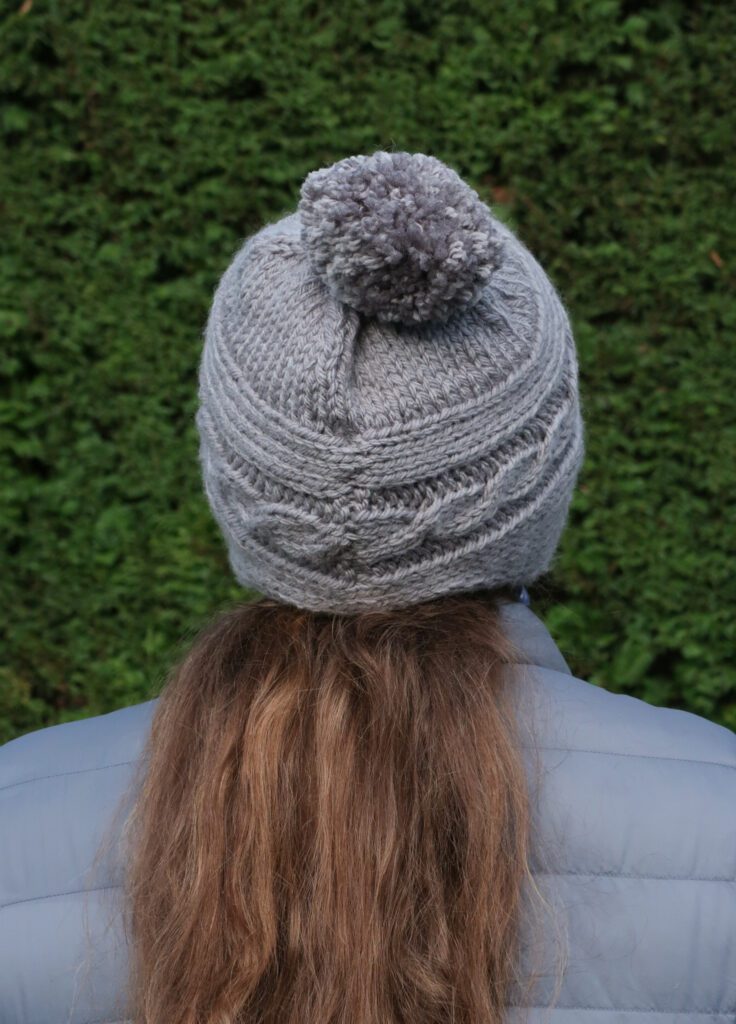
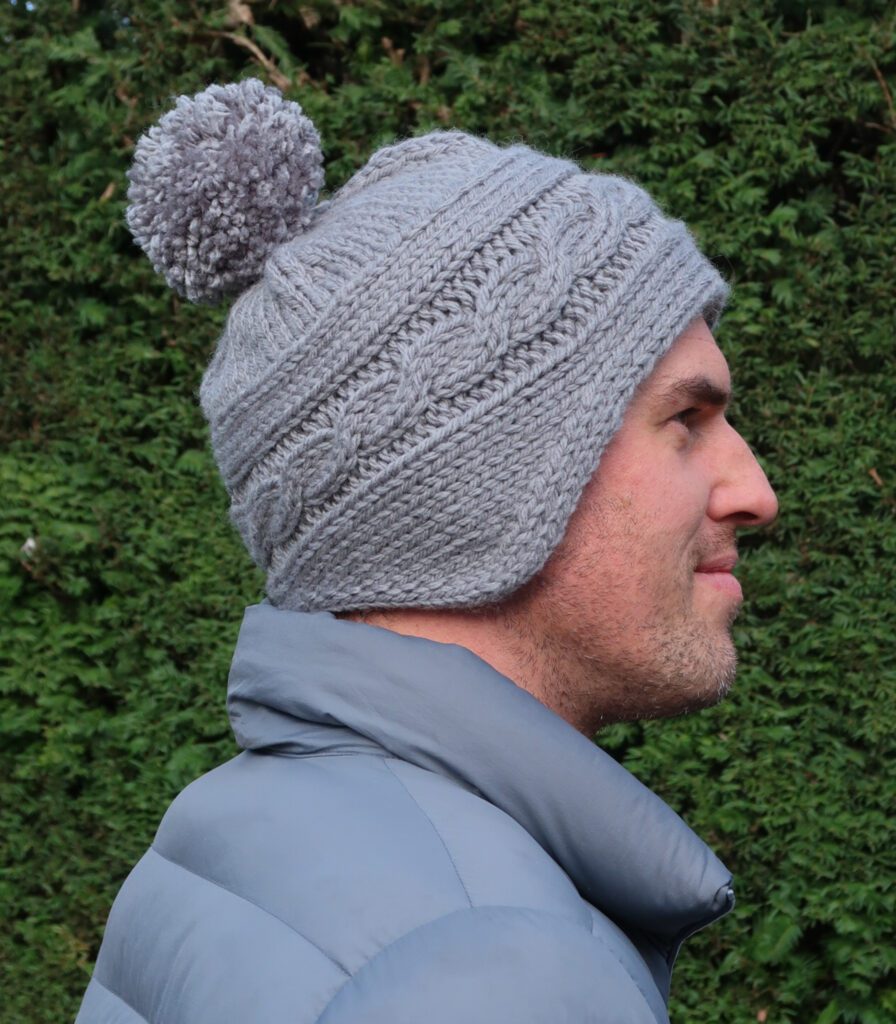
The hat starts in the same way as the headband. Before sewing the ends, the yarn is fed through the tube and stitches are picked up along a column of stitches on the straight side of the headband. These stitches are worked in the round with four sets of evenly spaced decreases to form the crown and the center is closed by cinching the final round stitches with the yarn end.
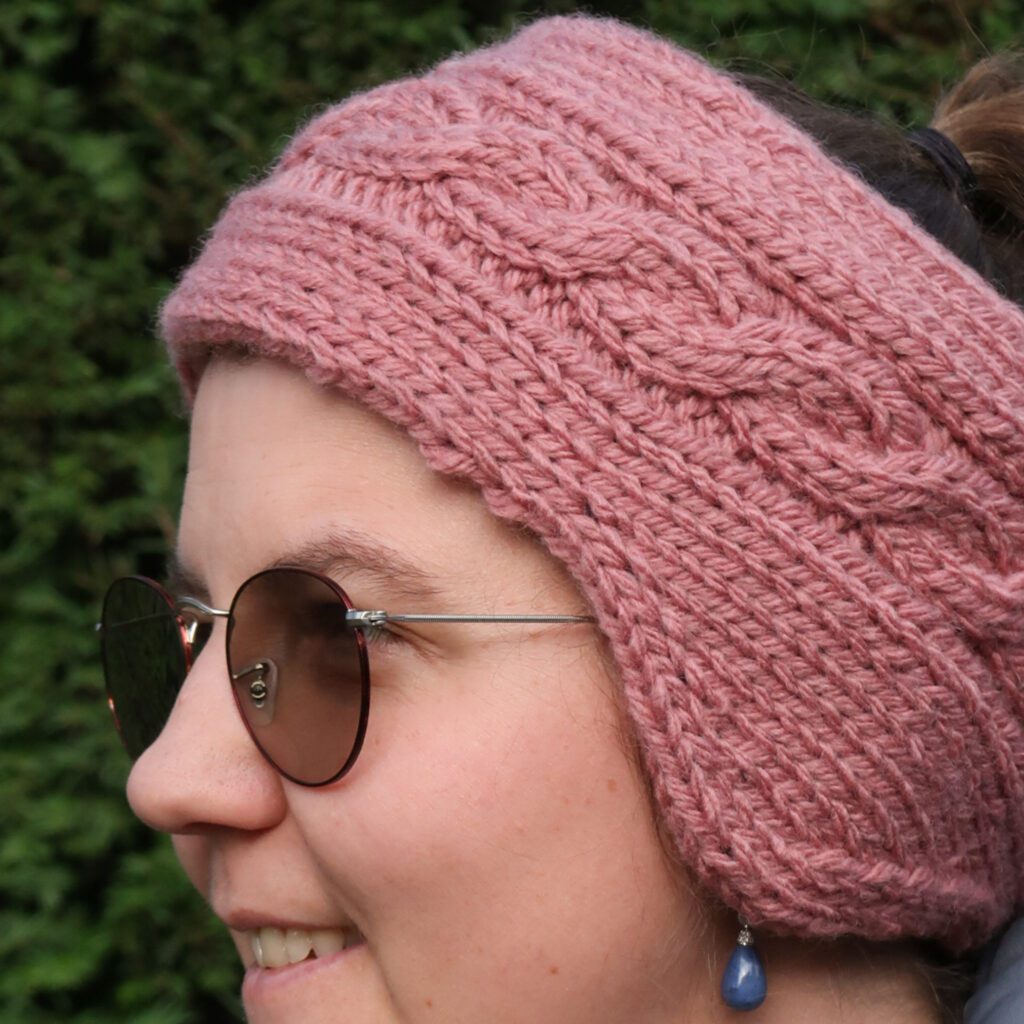
Cable Knit Headband Pattern Construction
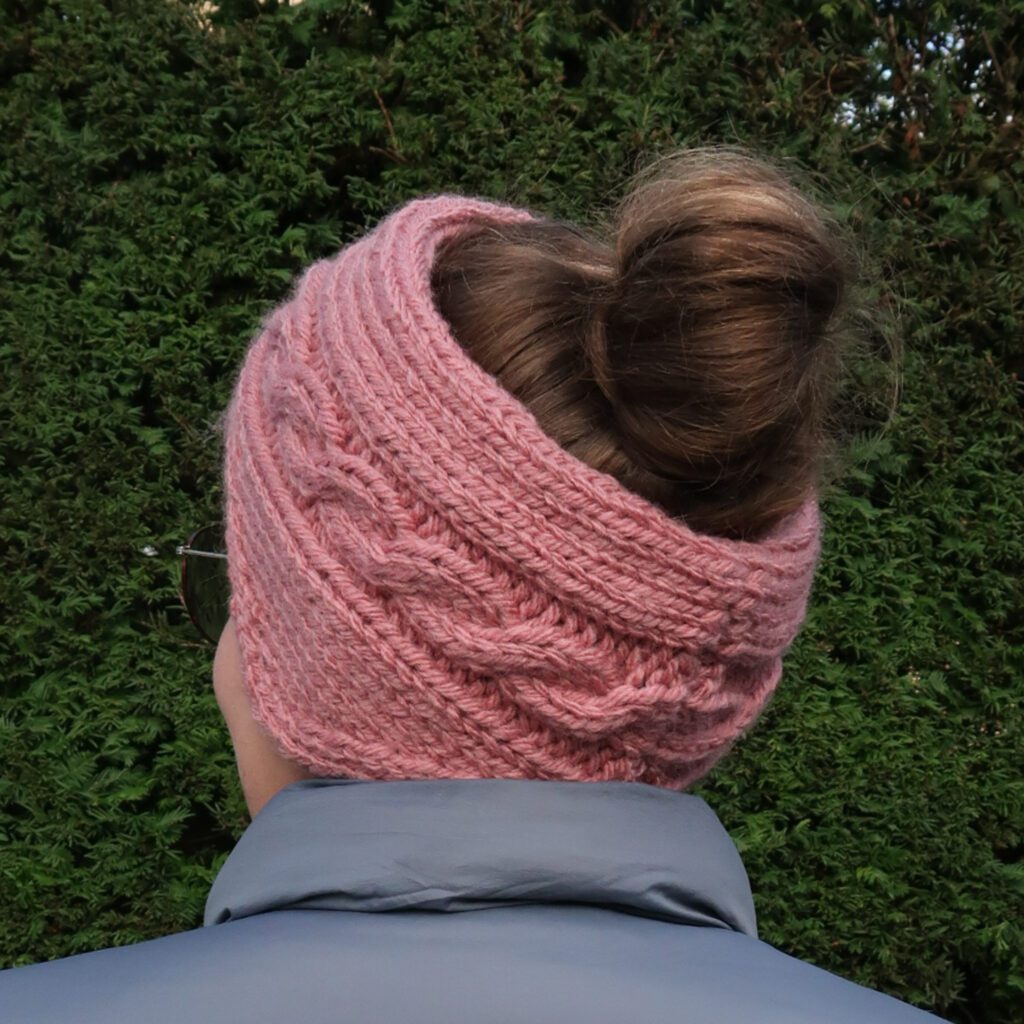
The headband is knitted as a tube in the round always from the right side. It widens and narrows to form the earflaps on one side. The cast on and cast off ends are sewn together.

Downloadable PDF for Glintpine Hat & Headband Knitting Pattern
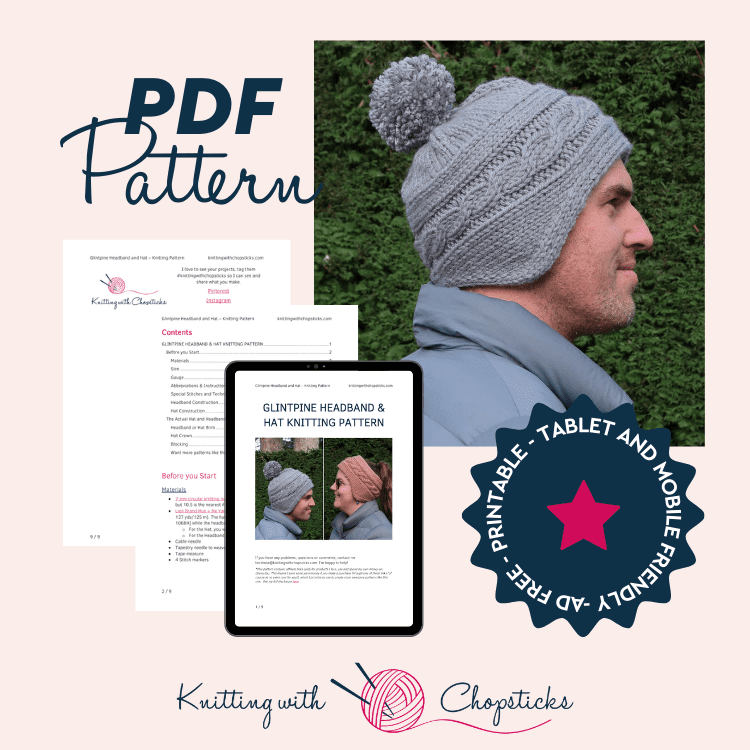
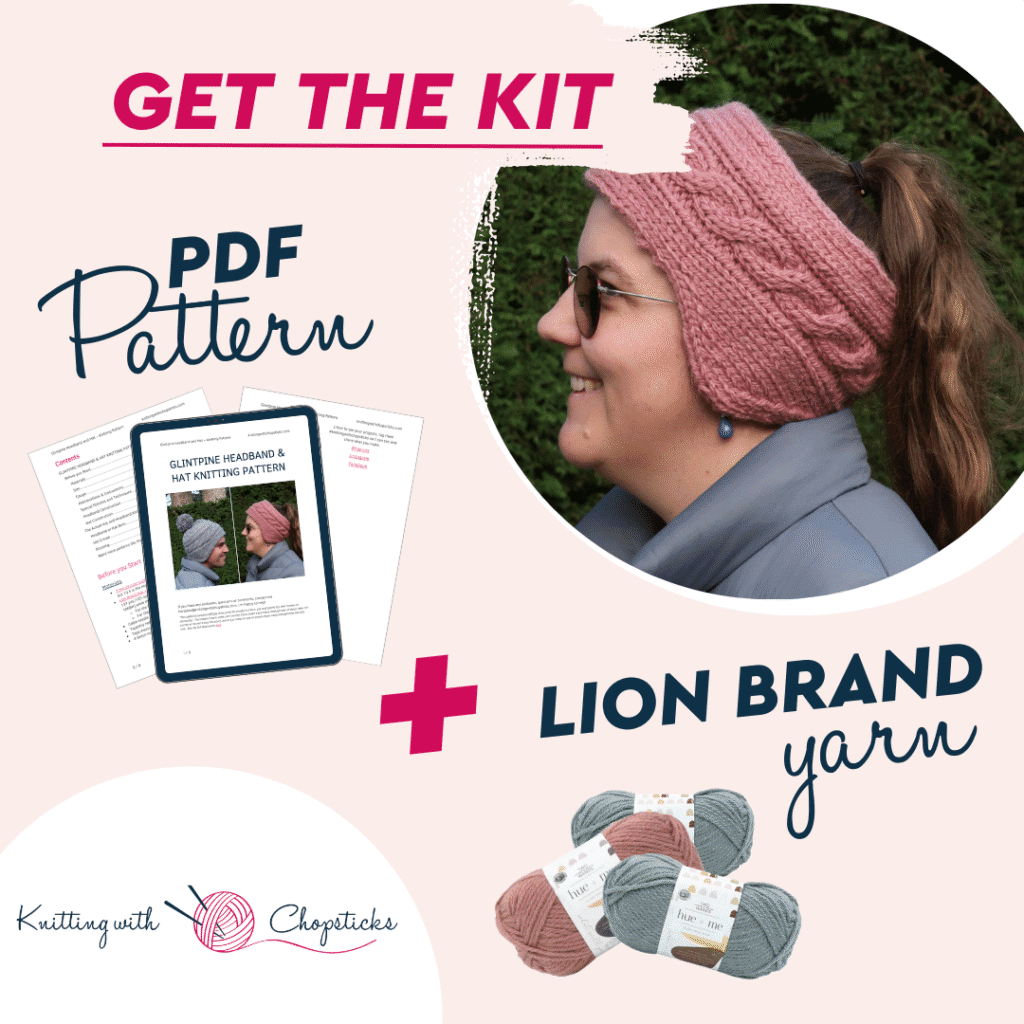
Grab the printable PDF of the Glintpine Hat & Headband Knit Pattern now in my shop, Etsy shop, on Ravelry shop or as aLion Brand Kit:
Glintpine Hat & Headband Knitting Pattern Lion Brand Kit
Wrap yourself in cozy texture with the Glintpine Headband & Hat — a warm winter set that’s just as fun to knit as it is to wear. Featuring bold cable detail and soft, squishy fabric, this pattern keeps things interesting without feeling overwhelming. The slightly unique construction makes it a great confidence boost for adventurous beginners ready to try something new. Hat shown Hue & Me shade Harbor, headband shown Hue & Me shade Pink Earth. This kit includes everything you need to make a striped cardigan you’ll love knitting and wearing again and again.
More Knitted Patterns you'll love


Before You Start Your Glintpine Cable Knit Hat Pattern Free
Materials
- 7 mm circular knitting needles or DPNs. There is no exact US size equivalent but 10.5 is the nearest if you don’t have 7 mm needles.
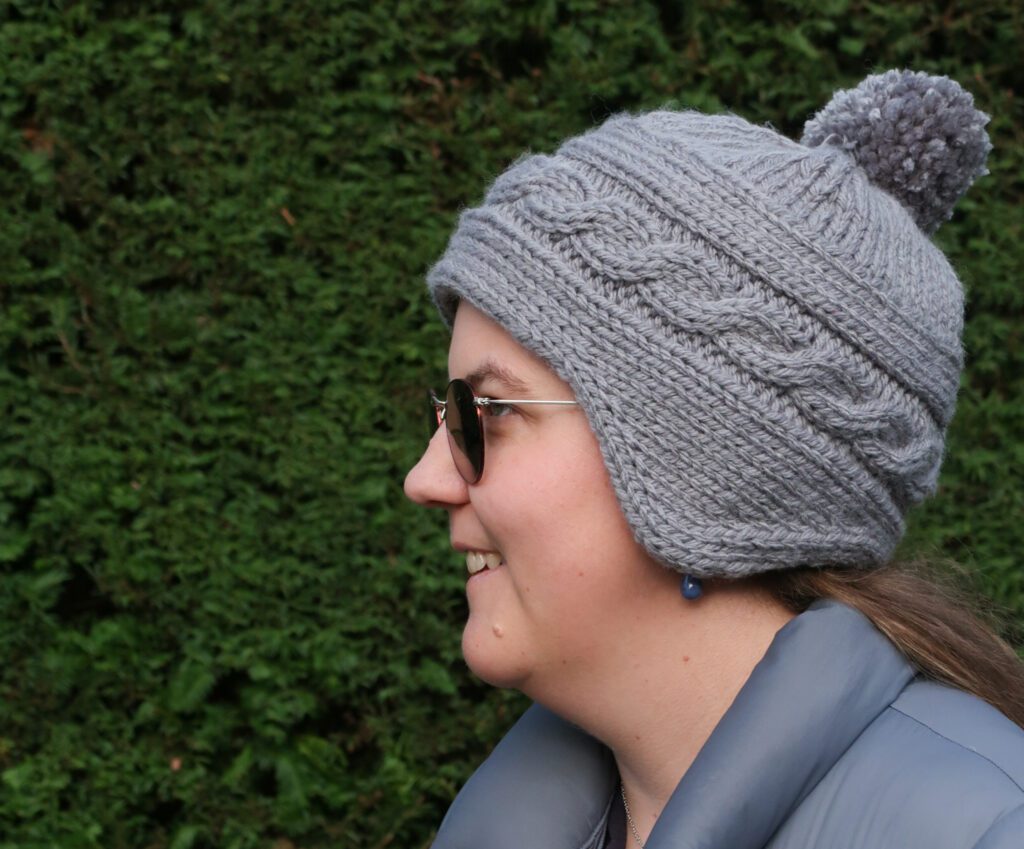
- Lion Brand Hue + Me Yarn (125g, 80% Acrylic, 20% Wool, 137 yds / 125 m). The hat in the sample photos uses the shade Harbor [617-106BH] while the headband features the color Pink Earth [617-195U].
- For the Hat, you will need 1.5 skeins.
- For the Headband, you will need 1 skein.
- Cable needle
- Tapestry needle to weave in the ends
- Tape measure
- 4 Stitch markers
Size
The headband/hat knitting pattern is designed in one size, to fit head circumferences between: 56 and 61 cm / 22 and 24”.
Final measurements are:
- Circumference: 58 cm / 23”.
- Hat height (excluding earflap) 22 cm / 8.5”.
- Headband width (straight section): 12 cm /5”.
- Headband width (earflap section): 15 cm /6”.
It’s designed to be worn with between 2.5 cm / 1” negative ease and 2.5 cm / 1” positive ease.
Gauge
The gauge for this pattern with 7mm needles, in stockinette stitch, is 11 st by 16 rounds for a 10 cm by 10 cm square (4” by 4”).
Abbreviations & Instructions
- st = stitch
- k = knit
- p = purl
- k2tog = knit 2 stitches together; right leaning decrease
- ssk = slip, slip, knit; left leaning decrease
- M1L = Make 1 left; left leaning increase
- M1R = Make 1 right; right leaning increase
- C2F = hold 2 sts to the front on a cable needle, knit the next 2 sts, knit the 2 sts from the cable needle
Repeat instructions between [] the indicated number of times or until the end of the round/row.
The final number of stitches is indicated at the end of the round/row between < >.
Sick of all the yarn jargon and conversions?
US vs UK, abbreviations, imperial vs metric, yarn weights, etc?

Special Stitches and Techniques
Cable Pattern including purl channels either side of cable, worked over 8 stitches
- Round 1 – 5: P2, k4, p2.
- Round 6: P2, C2F, p2.
Headband Construction
Sick of all the yarn jargon and conversions?
US vs UK, abbreviations, imperial vs metric, yarn weights, etc?
The headband is knitted as a tube in the round always from the right side. It widens and narrows to form the earflaps on one side. The cast on and cast off ends are sewn together.
Hat Construction
The hat starts in the same way as the headband. Before sewing the ends, the yarn is fed through the tube and stitches are picked up along a column of stitches on the straight side of the headband. These stitches are worked in the round with four sets of evenly spaced decreases to form the crown and the center is closed by cinching the final round stitches with the yarn end.

The Actual Glintpine Chunky Knit Headband Pattern and Cable Knit Hat Pattern Free
Headband or Hat Brim
With your 7mm needles, cast on 32 sts and join in the round.
Nape Section First Side
Rounds 1 – 5: k4, p2, k4, p2, k20. <32 sts>
Round 6: k4, p2, C2F, p2, k20.
Earflap Increases
Note: continue working the cable and the purl channels either side of it (following the instructions in the Special Stitches section), along the same 8 sts, taking care to work the C2F every six rows during all remaining sections.
Work an increase round every other round for 12 rounds (6 increases) as follows:
[Increase Round: k1, M1L, knit in pattern until last st, M1R, k1. <1 st increased>
Knit one round in pattern.] six times. <38 st>
Earflap Straight Section
Knit in pattern for 4 rounds.
Earflap Decreases
Work a decrease round every other round for 12 rounds (6 decreases) as follows:
[Decrease Round: k1, ssk, knit in pattern until last 3 st, k2tog, k1. <1 st decreased>
Knit one round in pattern.] six times. <32 st>
Front Section
Knit in pattern for 32 rounds. <32 sts>
Second Earflap
Repeat Earflap increases, Straight Section and Decreases to form second earflap. <32 sts>
Nape Section Second Side
Knit in pattern for 6 rounds. <32 sts>
Cast off and follow the instructions in the next sections for the method of fastening off fastening off.
Hat Brim only
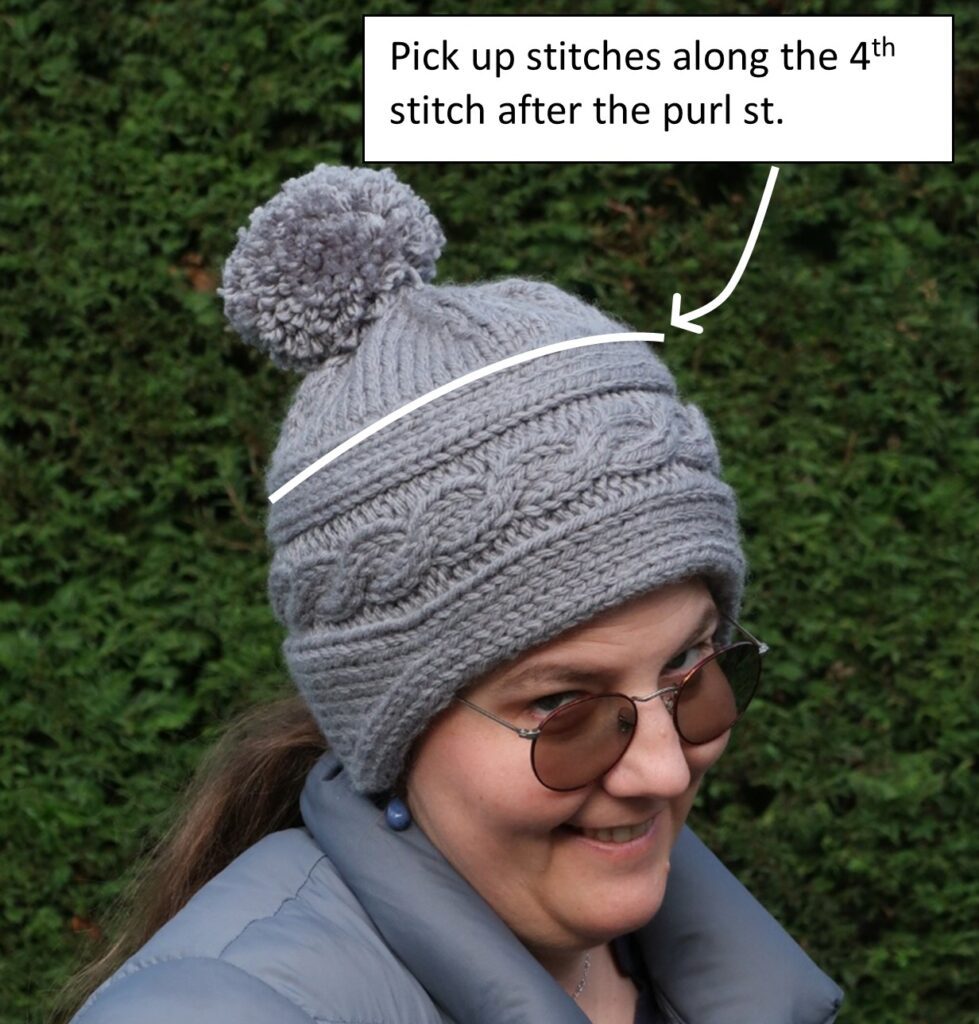
Before sewing the brim closed, pass your skein through center of the tube and pick up 60 stitches using the strand of yarn inside the Hat Brim, along the 4th stitch after the purl stitches on the top of the headband (the straight side).
To get the stitches evenly spaced, you’ll want to check you are picking up 9-10 stitches in each 10cm / 4” along.
Hat Brim and Headband
Fasten off, leaving a long tail for sewing, and sew the cast off edge to the cast on edge.
Hat Crown
Join to work in the round. <60 st>
Add a stitch marker every 15 stitches. You could add locking markers before starting or loop style markers as you knit the first round.
Straight Section
Knit in the round for 3cm / 1.25”.
Crown Decreases
Decrease Round: [ssk, knit until 2 st from next marker, k2tog] across. <52 st>
Knit 2 rounds.
Repeat Decrease Round.
Knit 1 round. <44 st>
Repeat Decrease Round 5 times. <12 st>
K2tog around. <6 st>
Cut yarn, leaving a tail of at least 15cm / 6”, and use a yarn needle to thread this through remaining stitches to cinch the top closed.
Blocking
You are done with the knitting part. Make sure to weave in all the ends.
To make your accessories even prettier and help even your stitches wet block your project.
Don’t skip this step as it can make a huge difference. Read my detailed tutorial on why block, how-to, and all my tips and tricks if you need help.