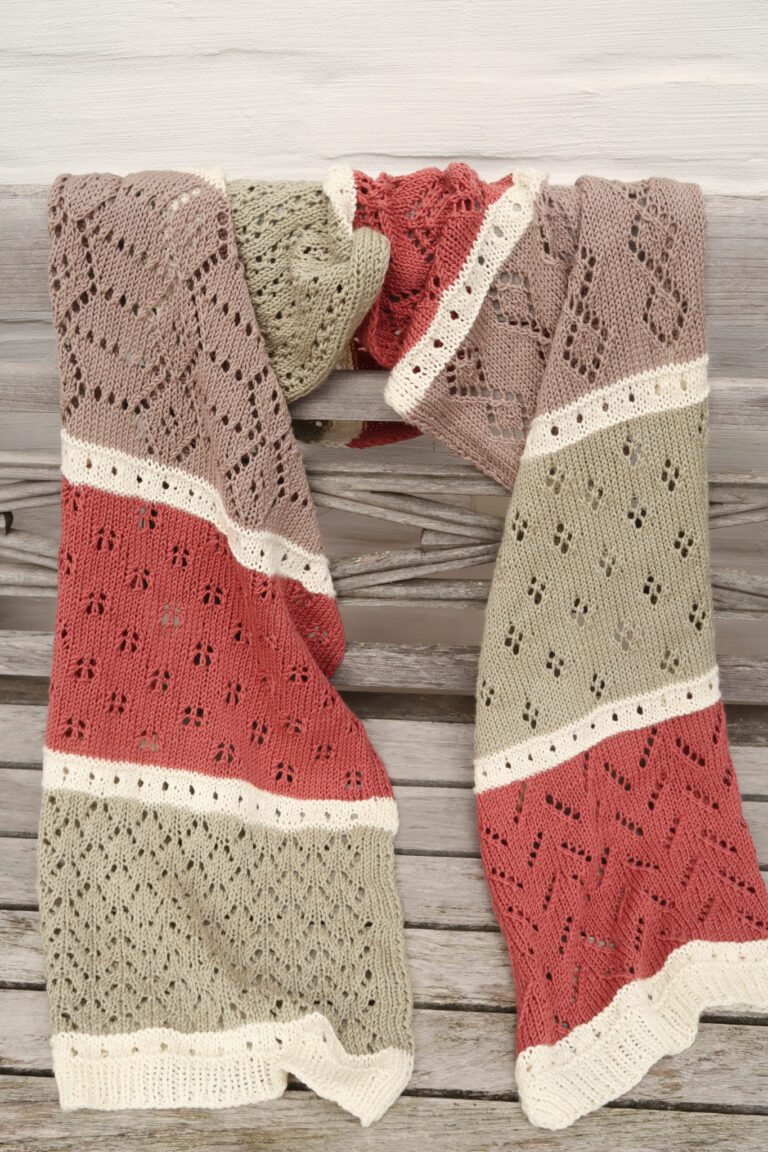
The Seed Rib Stitch

The Seed Rib Stitch is a play on the traditional rib stitch. With this knit stitch tutorial, you’ll end up with thick textured rows you’ll want to incorporate into everything.
This stitch is completely reversible, which means it looks great on both sides. Check out the complete knitting stitch tutorial for beginners below.
No time right now? Pin this ladder knit stitch pattern for later!

*This post contains affiliate links (only for products I love, use and spend my own money on obviously). This means I earn some yarn money if you make a purchase through one of these links (of course at no extra cost for you!), which I promise to use to create more awesome patterns like this one. All opinions are my own. See my full disclosure here.
What to Make with the Seed Rib Stitch
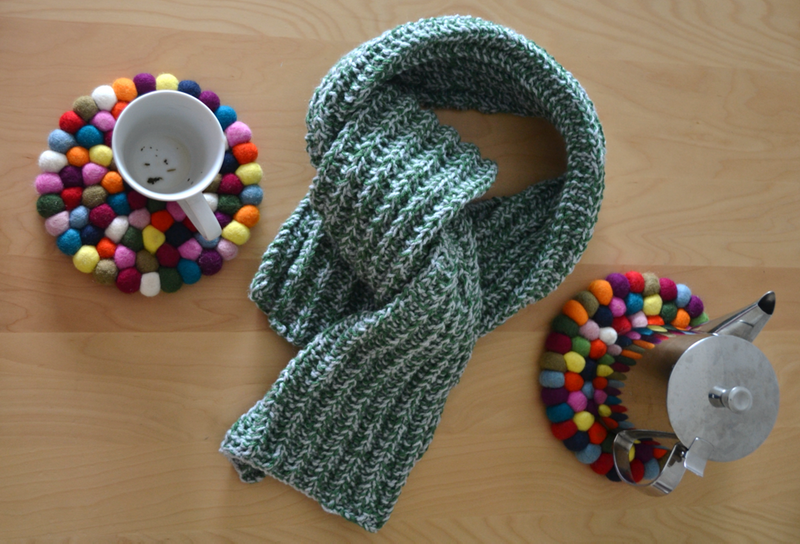
The seed rib stitch is a very versatile stitch. It works up easily and makes wide open ribs. It’s completely reversible which is an added bonus. It looks great in scarves or blankets.
I’ve use it for example in the His Scarf pattern.
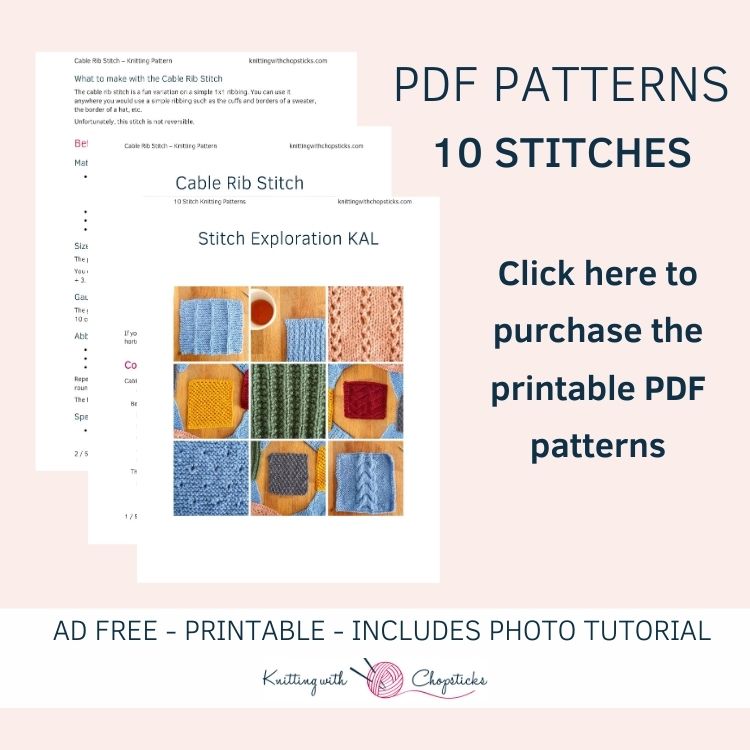
Knit Stitch Bundle
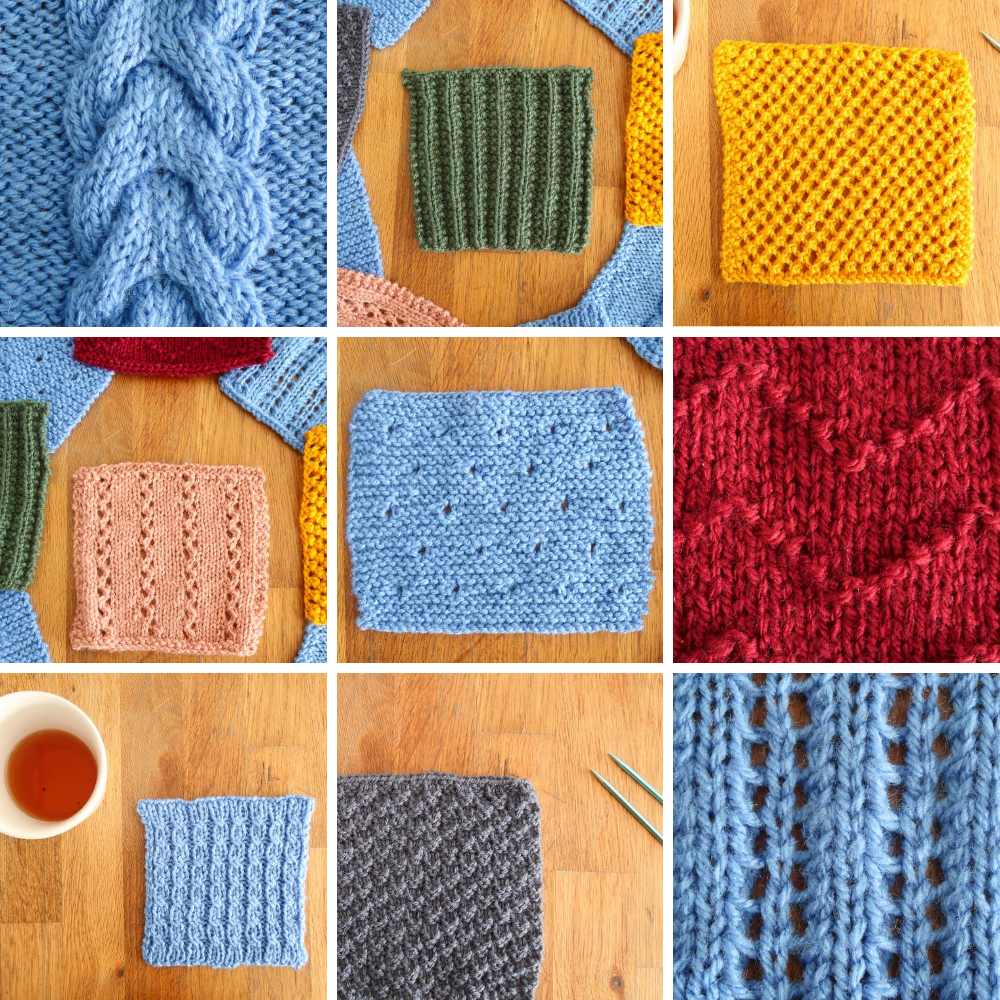
This easy knit stitch is part of a fun stitch exploration. You can find all 10 stitches here.
Or grab the convenient PDF bundle with all stitch patterns here.
Before You Start
Materials
- 4.5 mm/ US 7 knitting needles. I use circular needles for convenience but you can use straight needles. Confused about all these types of knitting needles? Here’s a complete overview that will answer all your questions.
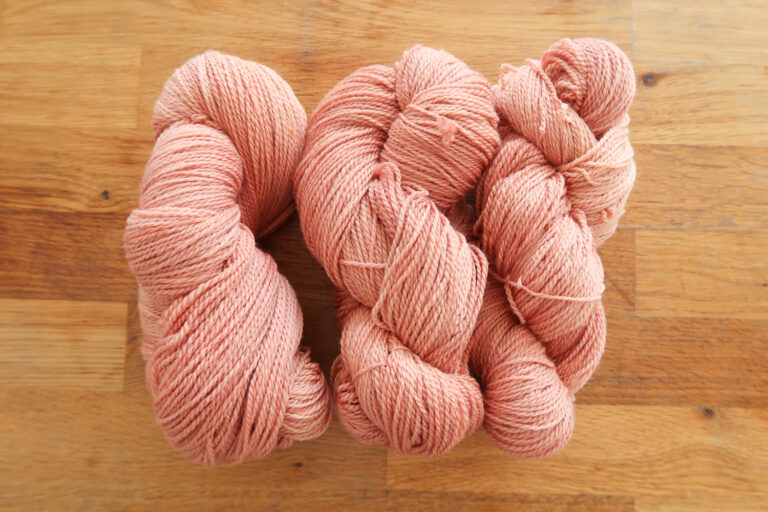
- Worsted weight Zeeman Royal yarn (100% acrylic, 241m /264yd, 100g)
- Tapestry needle to weave in the ends – I love this set as it has different eye sizes for different yarn thicknesses and it comes in a small tube which is very convenient so I don’t lose them.
Because the yarn I used is not available everywhere, and I know how painful it is to try to find equivalent yarn which will give you the same effect I have selected a few equivalent yarns for you. I haven’t tried them out myself, but they look so pretty, check them out!
- Lion Brand Wool-Ease They have this yarn in about 20 colors, I’m sure you’ll fall in love with more than one.
- La Mia Just Wool
elann Wool Mate- RED HEART Super Saver Yarn. This yarn also exists in more than 60 colors.
Size
The pattern is written for a 15cm by 15cm / 6” by 6” square.
You can easily adapt the size to your desired project size. The pattern needs a multiple of 4 + 3 number of stitches.
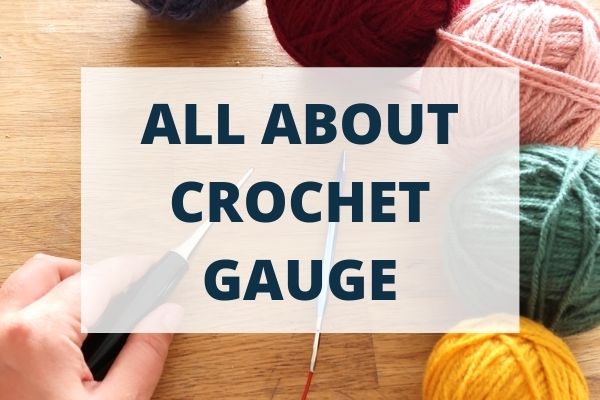
Gauge
The gauge for this pattern, in stockinette stitch, is 20.5 st by 26 rows for a 10 cm by 10 cm square (4” by 4”).
Confused on how to make or measure gauge? Check out my detailed post all about knitting gauge.
Abbreviations and Instructions
- st = stitch
- k = knit
- p = purl
Repeat instructions between [ ] the indicated number of times or until the end of the round/row.
The final number of stitches is indicated at the end of the round/row between < >.
The Actual Knitting Stitch Pattern
-
Cast on 31 stitches.
-
Row 1: [k3, p1] repeat until last 3 st, k3.
-
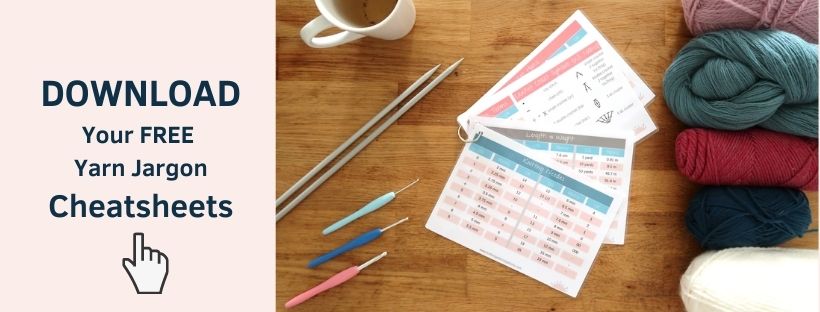
Sick of all the yarn jargon and conversions?
US vs UK, abbreviations, imperial vs metric, yarn weights, etc?
Row 2: K1, p1, [k3, p1] repeat until last st, k1.
-
Repeat Rows 1 and 2 until you reach 15 cm / 6”.
Cast off and weave in the ends.


Blocking and Assembly
You’re done with the knitting part. Make sure to weave in all the ends.
To make your stitch pattern even prettier and help straighten your edges block your project lightly.
Don’t skip this step as it can make a huge difference. Read my detailed tutorial on why block, how-to, and all my tips and tricks if you need help.