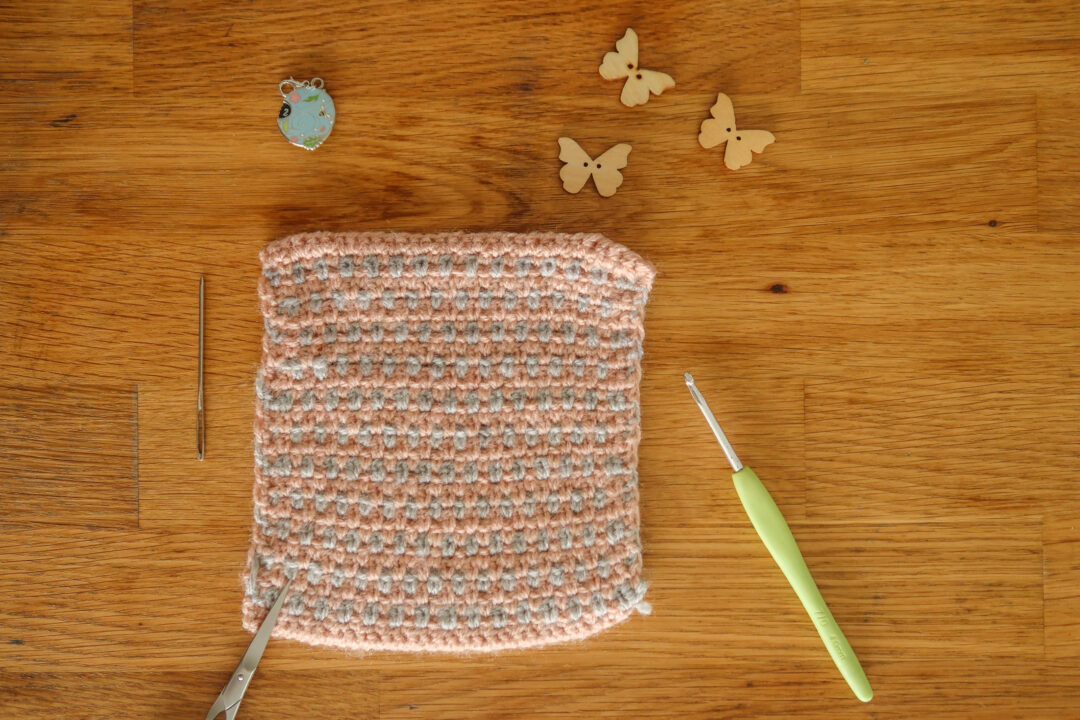
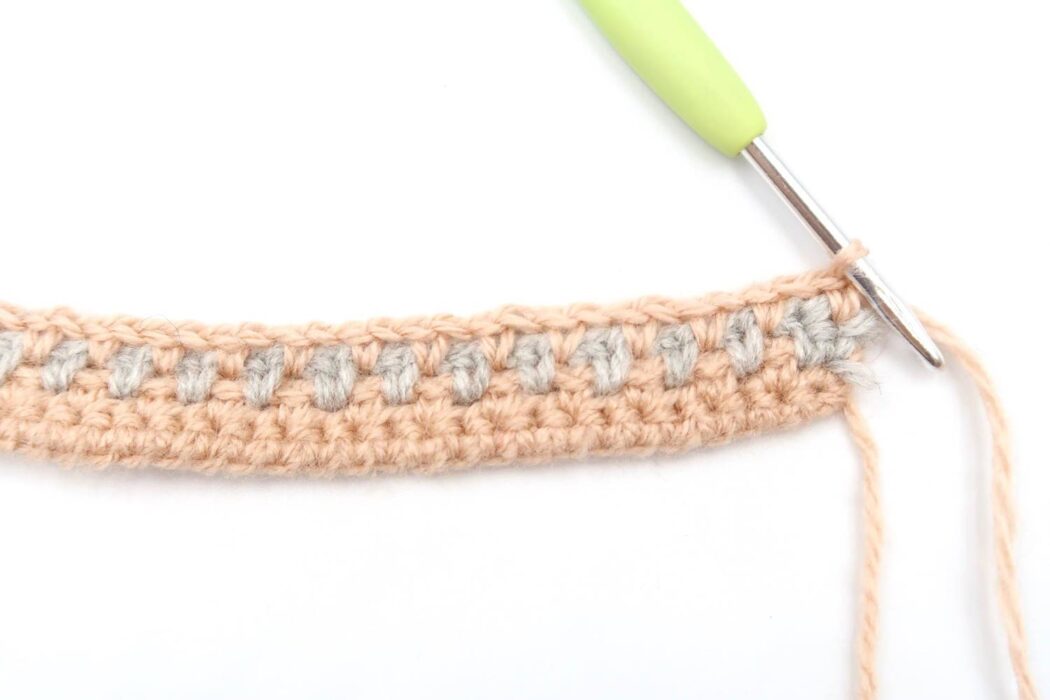
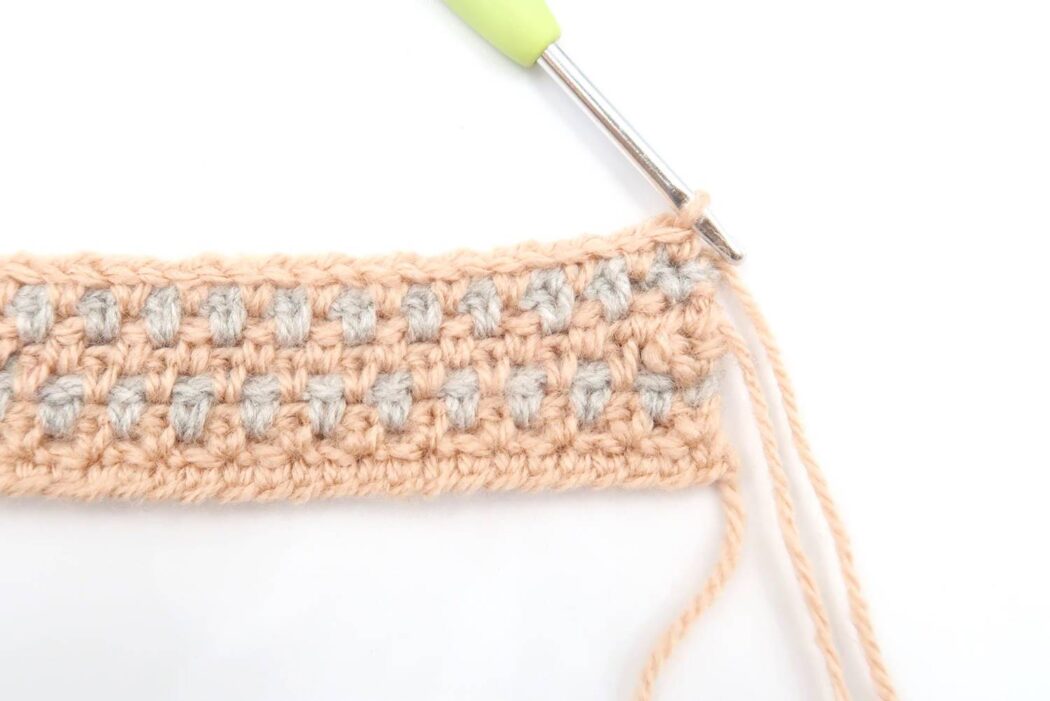
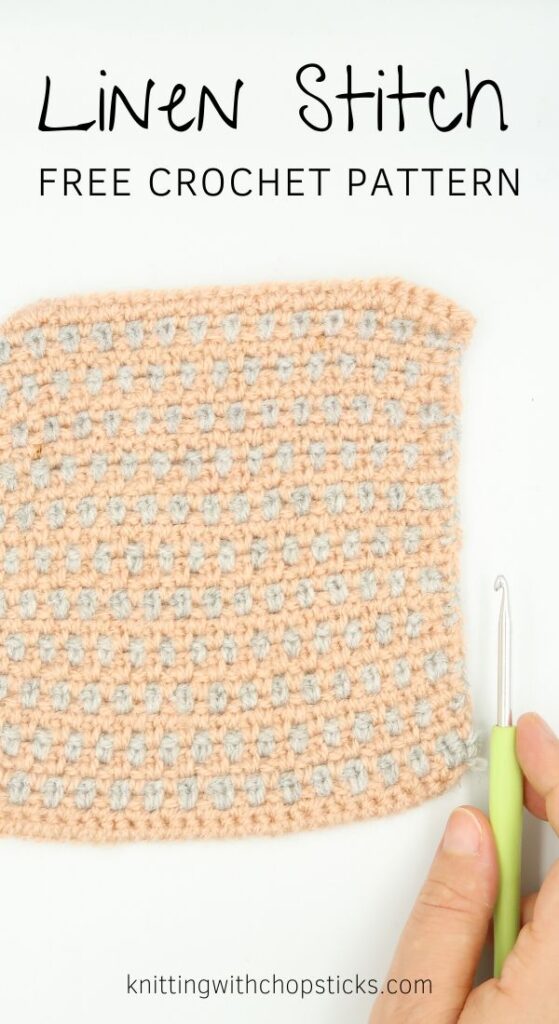
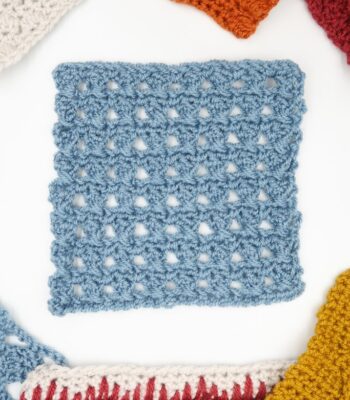
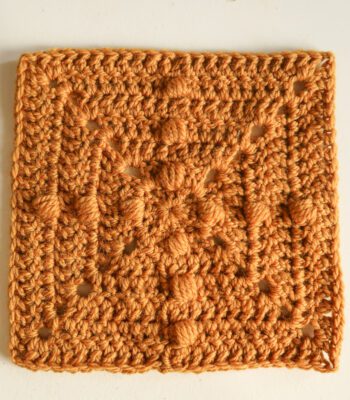
The crochet linen stitch is an easy crochet stitch perfect for beginners. It combines single crochet and chains to make a woven look fabric.
No time right now? Pin this crochet linen stitch tutorial for later!
*This post contains affiliate links (only for products I love, use and spend my own money on obviously). This means I earn some yarn money if you make a purchase through one of these links (of course at no extra cost for you!), which I promise to use to create more awesome patterns like this one. All opinions are my own. See my full disclosure here.
What to make with the crochet Linen Stitch
The linen stitch creates a thick fabric so it is great for any project where that is the desired effect such potholders, placemats, bags etc.
It is really hard to get nice drape with it so it’s not ideal for garments, scarves etc.
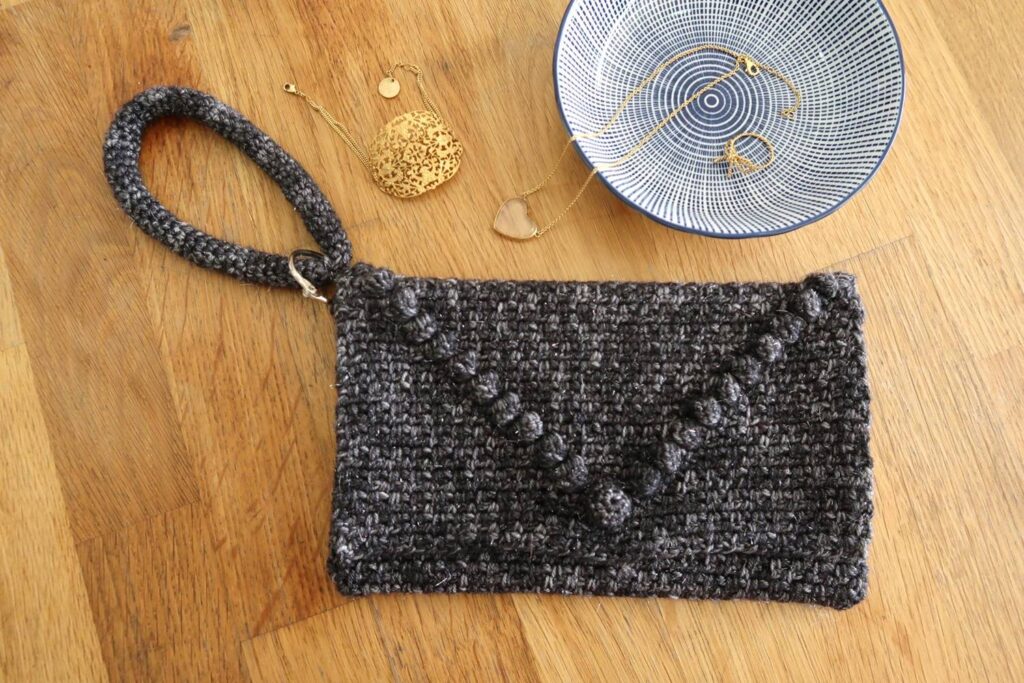
It looks great made with one color or a combination of different colors. It also looks great with speckled or semisolid colors such as in the Date Night Purse.
For this sample I’ve used 2 colors to highlight the different rows and show you some fun effects you can get from it.
Crochet Stitch Bundle
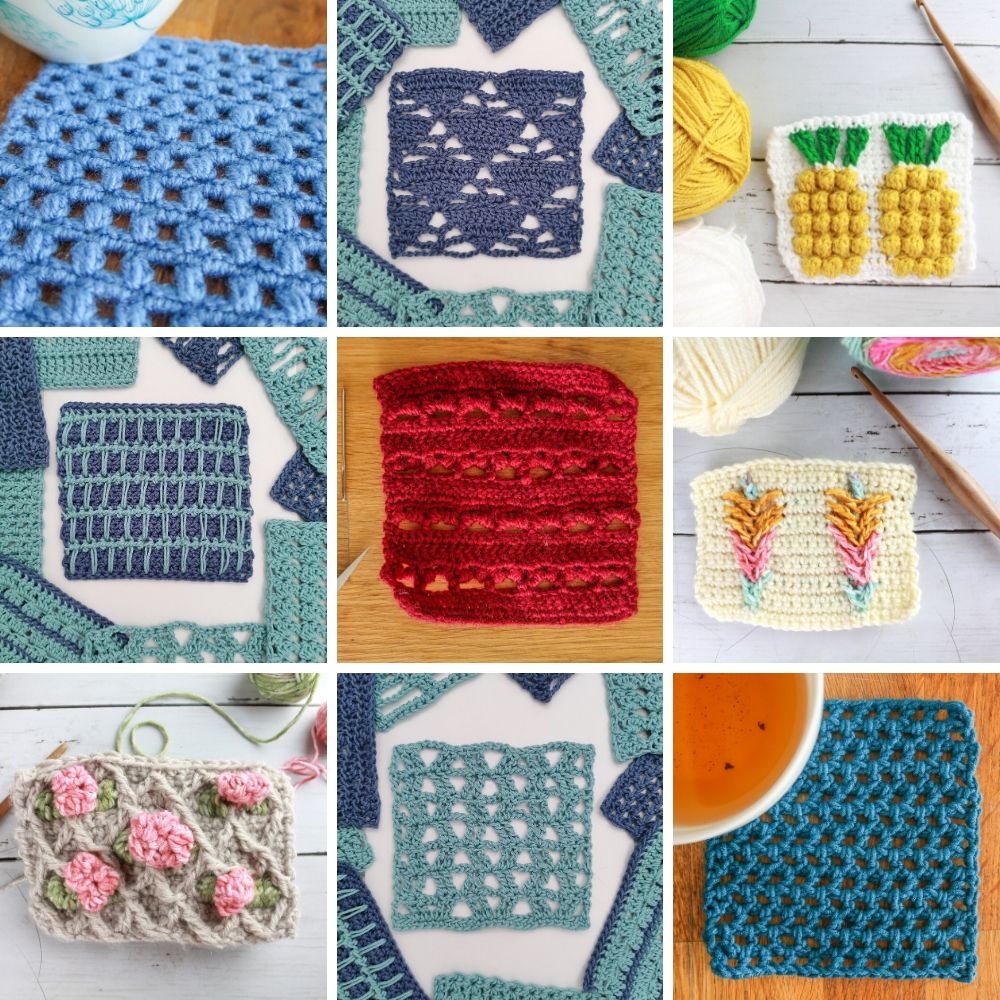
This easy crochet stitch is part of a fun stitch exploration. You can find all 30 stitches here.
Or grab the convenient PDF bundle with all stitch patterns here.
Sometimes it’s just easier to have a stitch dictionary on hand when you’re deciding on your next project rather than having to search online and remember where you saved that stitch you want to use.
Before you Start
Materials
- 4 mm / US G – 6 hook.
- Worsted weight yarn.
- Tapestry needle to weave in the ends. I love this set as it has different eye sizes for different yarn thicknesses and it comes in a small tube which is very convenient so I don’t lose them.
Size
The pattern is written for a 15cm by 15cm / 6” by 6” square.
You can easily adapt the size to your desired project size. The pattern needs a multiple of 2 + 1 number of stitches; your starting chain will be a multiple of 2 + 2 for an extra turning chain.
Gauge
The gauge for this pattern, in alternating rows of dc, is 20 st by 23 rows for a 10 cm by 10 cm square (4” by 4”).
Confused on how to make or measure gauge? Check out my detailed post all about crochet gauge.
Abbreviations
This pattern uses US notations.
- st = stitch
- ch = chain
- sc = single crochet
- skip = miss
Notes
Work instructions between [] the indicated number of times or until the end of the row / round.
The final number of stitches is indicated at the end of the row / round between < >.
The turning ch 1 doesn’t count as a stitch throughout the pattern except if mentioned otherwise.
Stitches above a ch-1 space are worked in the ch-1 space.
The pattern is written in crochet shorthand. For example:
- “sc 1” means to single crochet in the next stitch,
- “sc 2” means to single crochet in each of the next 2 stitches,
- and “2 sc” means to single crochet twice in the next st.
Tips and Tricks
To avoid endless ends to weave in I carried over the yarn from one row to the next.
I used 2 strands of main color as they alternate sides.
The Actual Crochet Linen Stitch Pattern
With your 4mm / US G- 6 hook ch 31 + 1,
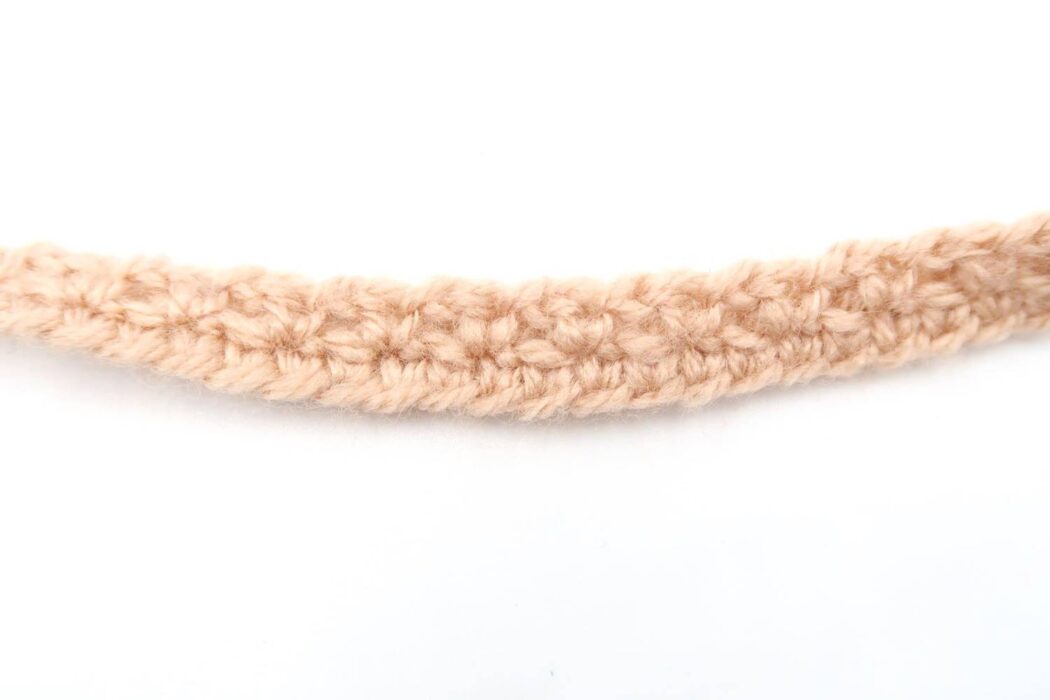
Row 1: In the 2nd ch from the hook sc, sc across, turn.Row 2: Ch 1, [sc, ch 1, skip 1] until last st, sc, turn.

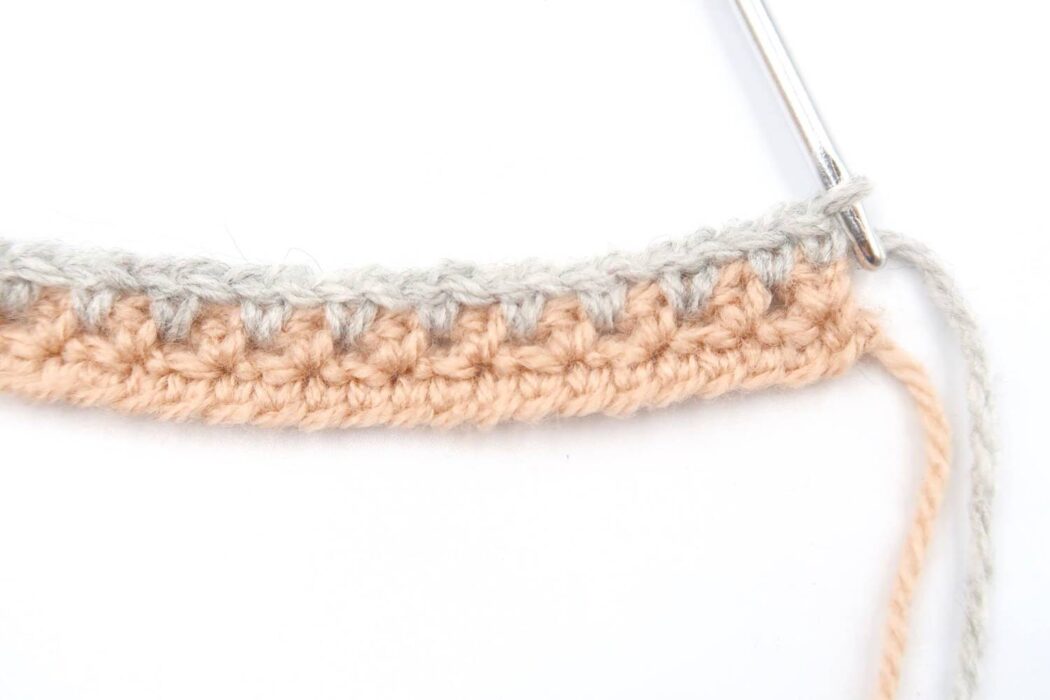
Switch to your contrasting color.
Row 3: Ch 1, sc, [sc in the ch-1 space, ch 1, skip 1] until last 2 st, sc 2, turn.
Switch back to your main color.
Row 4: Repeat Row 2.
Row 5: Repeat Row 3.
Switch to your contrasting color.
Row 6: Repeat Row 2.Switch to your main color.
Row 7: Repeat Row 3.
Row 8: Repeat Row 2.
Switch to your contrasting color.
Repeat Rows 3-8 until you reach 14.5 cm / 5.75″, finish on a row 2.Final Row: Ch 1, sc across.
Fasten off and weave in the ends.
Blocking
You’re done with the crocheting part. Make sure to weave in all the ends.
To make your stitch pattern even prettier and help straighten your edges, block your project lightly.
Don’t skip this step as it can make a huge difference. Read my detailed tutorial on why block, how-to, and all my tips and tricks if you need help.

