Free Knitting Pattern for Mens Sweater: the Out & About Sweater
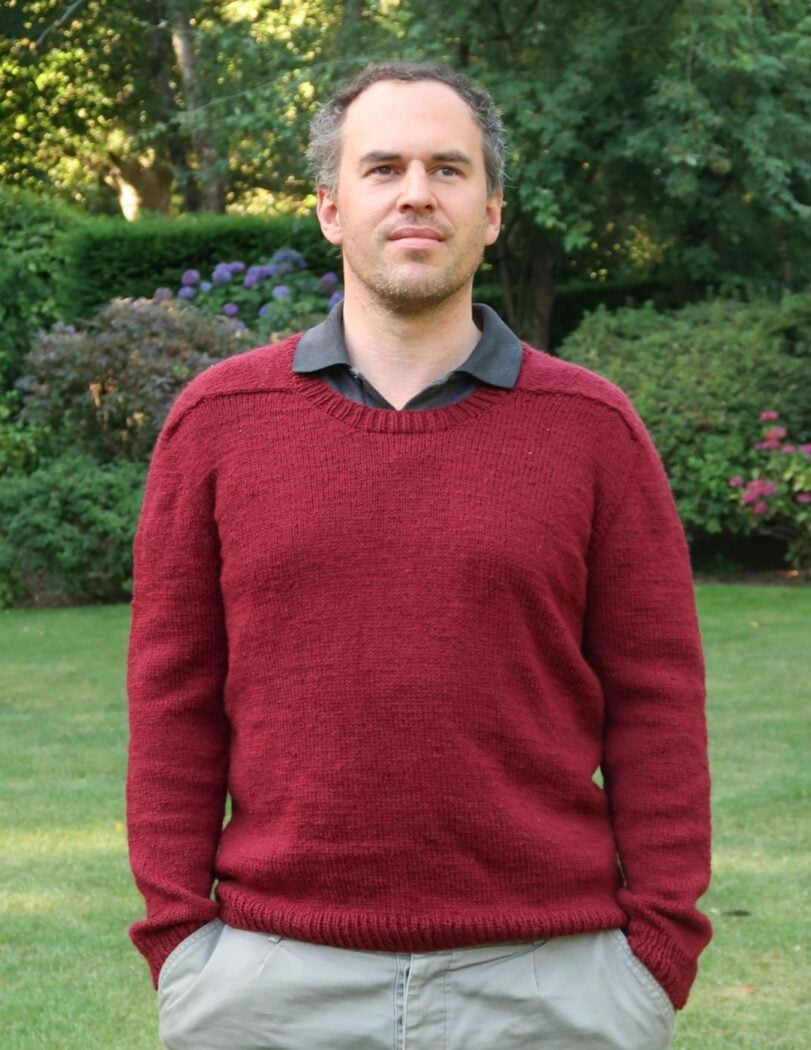
A new men’s sweater knitting pattern, the Out & About Men’s Sweater, is now a free knitting pattern for mens sweater sizes S to 5XL here on the blog. Read all about the yarn, the top down saddle shoulder construction, and how to get the right fit, scroll down to view the full free pattern, or purchase an ad free PDF from the links below.
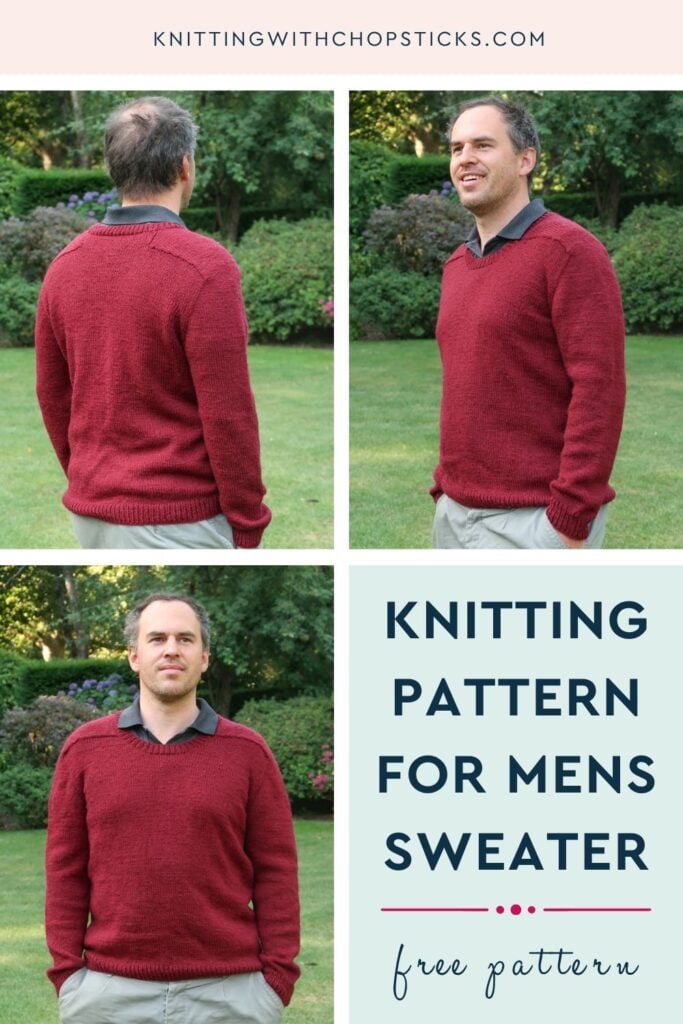
No time right now? Pin this raglan sweater knitting pattern for later!
*This post contains affiliate links (only for products I love, use and spend my own money on obviously). This means I earn some yarn money if you make a purchase through one of these links (of course at no extra cost for you!), which I promise to use to create more awesome patterns like this one. All opinions are my own. See my full disclosure here.
The Yarn: Lion Brand Wool-Ease DK
The Out & About Men’s Sweater is knit in Lion Brand Wool-Ease DK, a light weight 3 yarn made of 80% acrylic and 20% wool. It has the warmth and structure of wool with the easy care of acrylic, so the finished sweater can go through the washing machine without drama. That matters for a sweater meant to be worn out and about, not saved for special occasions.
The sample is knit in the Redwood colorway, a deep brick red that looks dressy over a collared shirt and just as good with jeans. You will need 4 (5, 5, 6, 6, 7, 7, 8) skeins depending on your size.
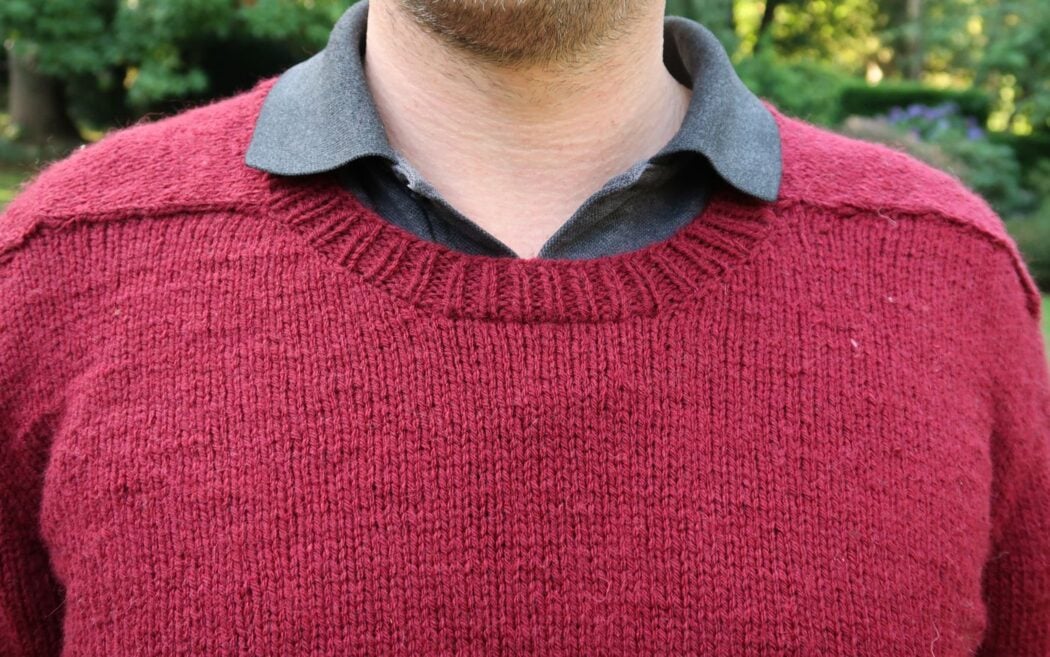
A Top Down Raglan Sweater Knitting Pattern with Saddle Shoulders
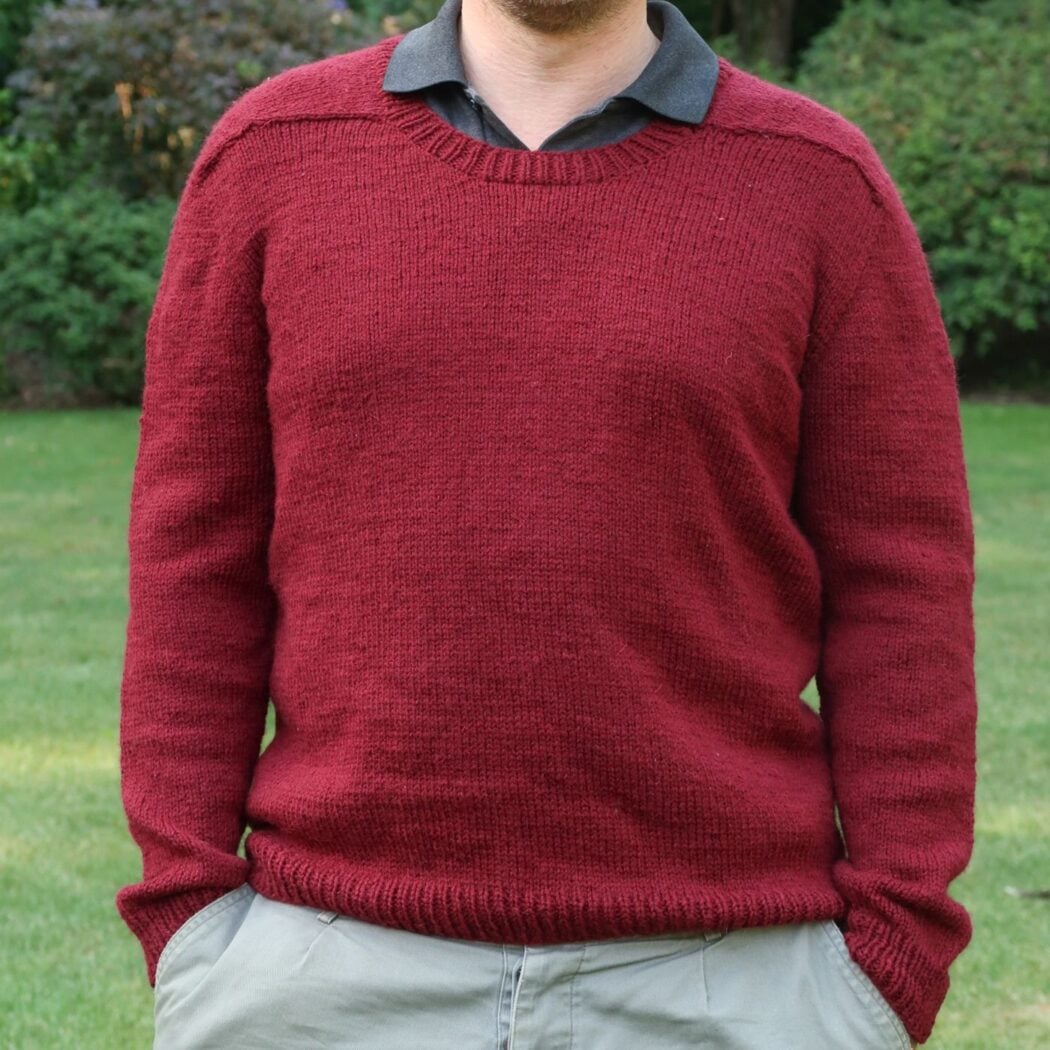
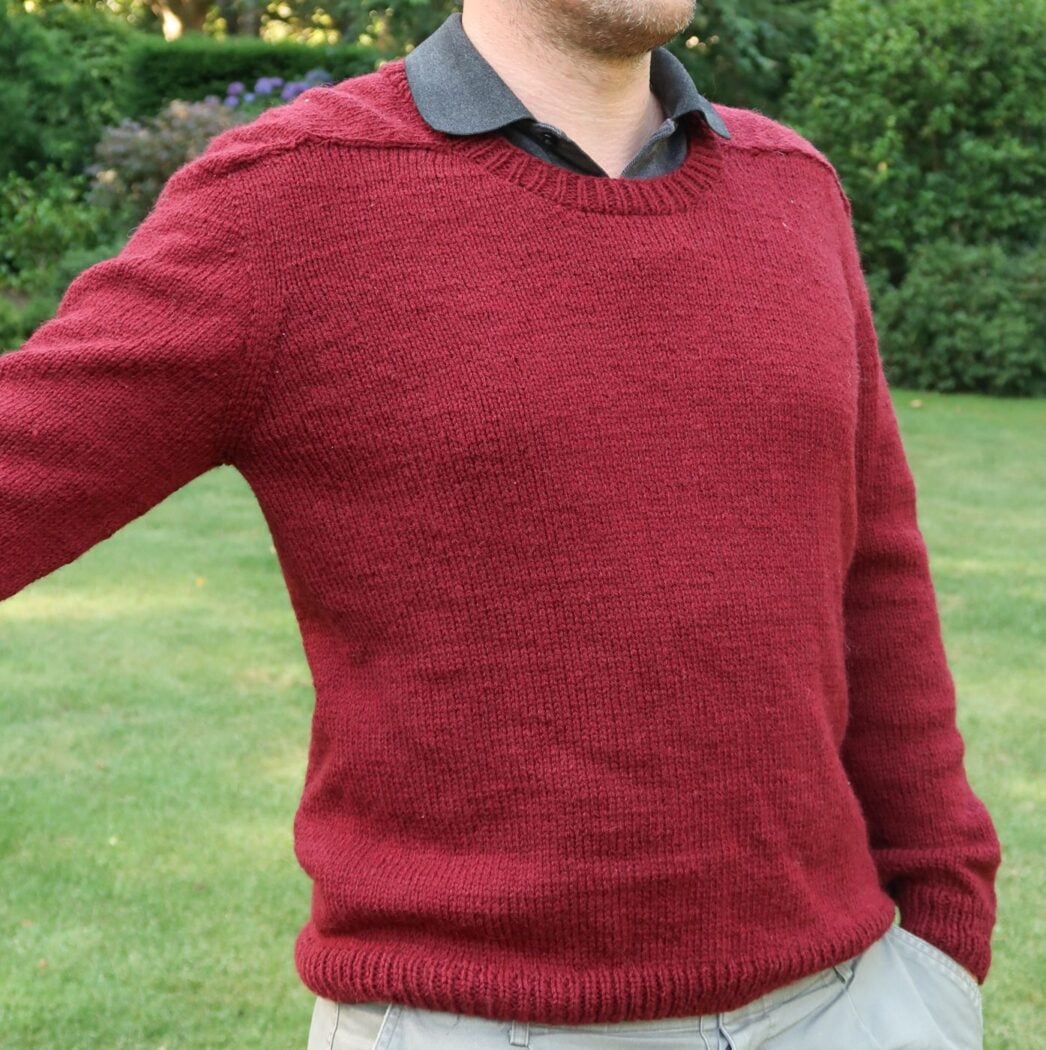
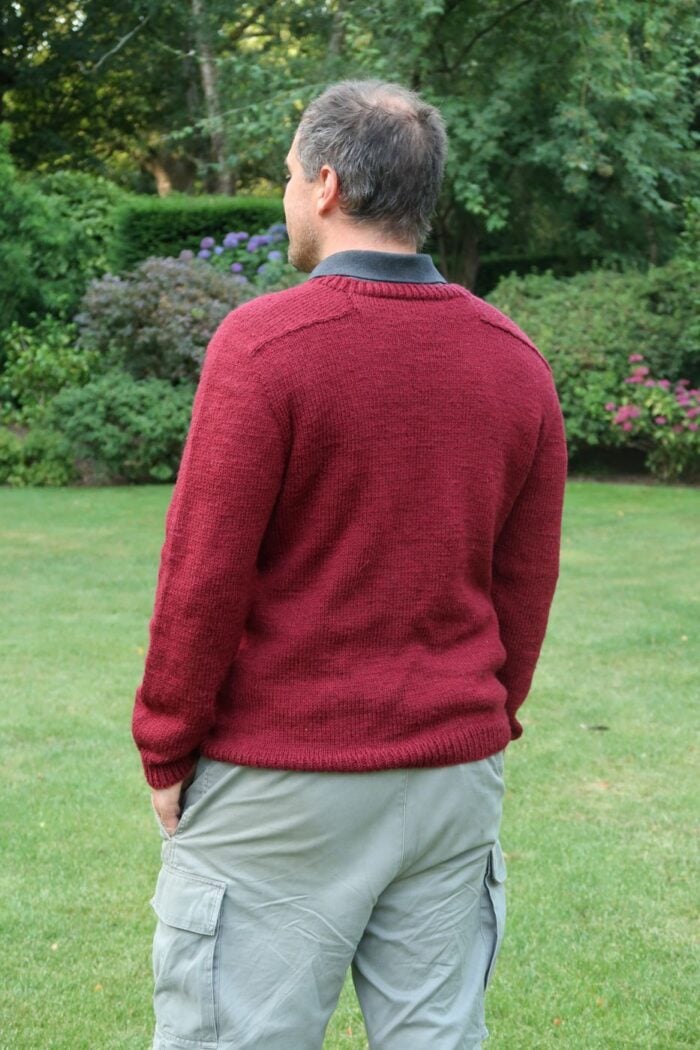
This sweater is a saddle shoulder raglan combo, worked top down. You start with two small shoulder flaps and a back neck extension, pick up stitches around them, and then knit the whole sweater in one piece, in the round, from the neck down. There are no side seams, just a short bit of sewing where the back panel meets the shoulder flaps.
The saddle shoulders give the sweater a tailored, classic menswear look that a plain raglan sweater knitting pattern does not have, and the top down construction means you can try it on as you go. If it looks familiar, that is because it is the grown up version of my Out & About Boy Sweater, sized up for men and reworked in DK weight.
Sizing and Fit for This Mens Jumper Knitting Pattern
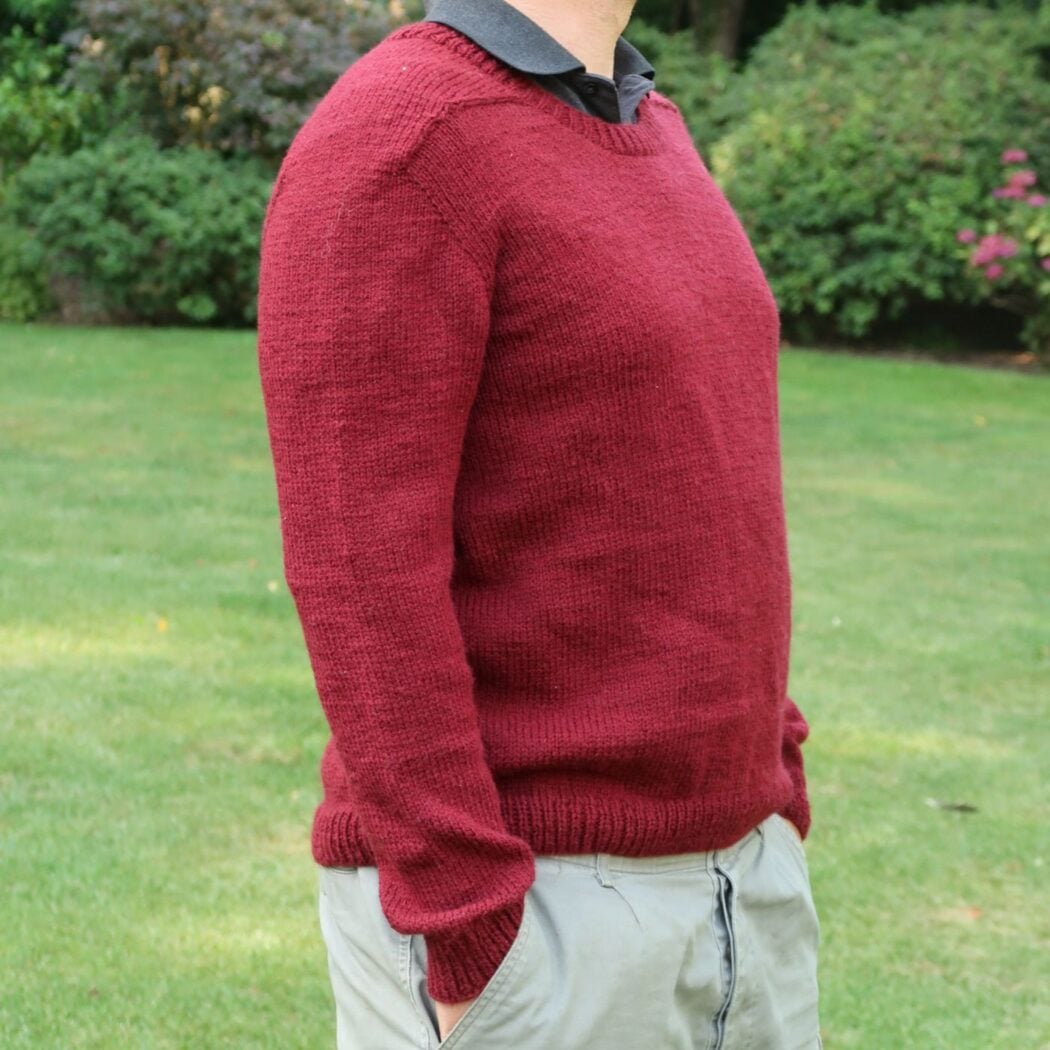
The pattern is graded for sizes S to 5XL, with a finished chest of 40 to 67.25 inches and about 4 inches of positive ease built in for a standard, comfortable fit. The pictures show size L.
The length is easy to adjust: simply work more or fewer rows in the main body before starting the ribbing. And if you are knitting for someone who already has this one, my other knitting patterns for men make good follow up projects.
Downloadable PDF for the Out & About Men’s Sweater
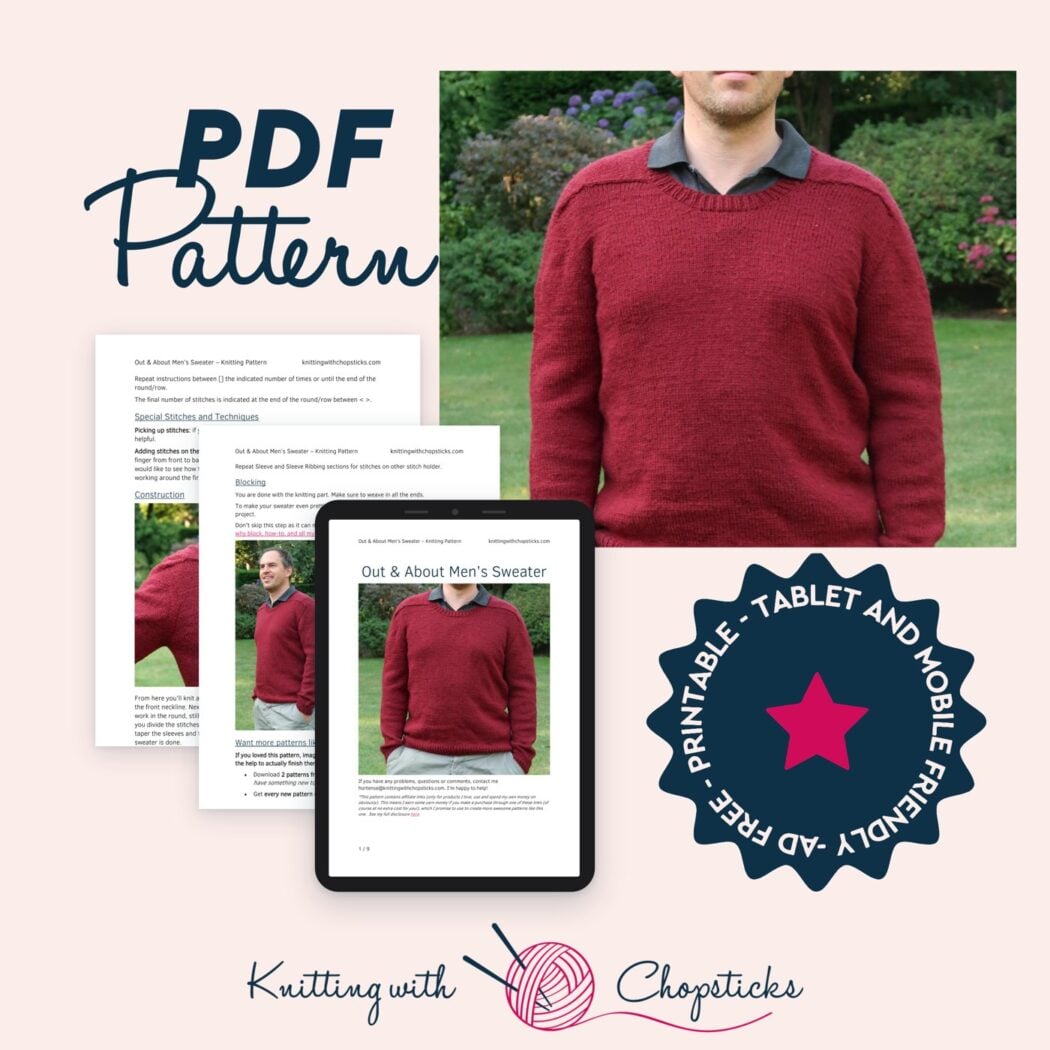
This men’s jumper knitting pattern is free right here on the blog. If you prefer a printable, ad free version with everything in one tidy file, you can grab the PDF from my shop, Etsy shop, Ravelry shop or get the Lion Brand Kit(yarn & pattern):
Out & About Men’s Sweater PDF & Lion Brand Yarn Kit
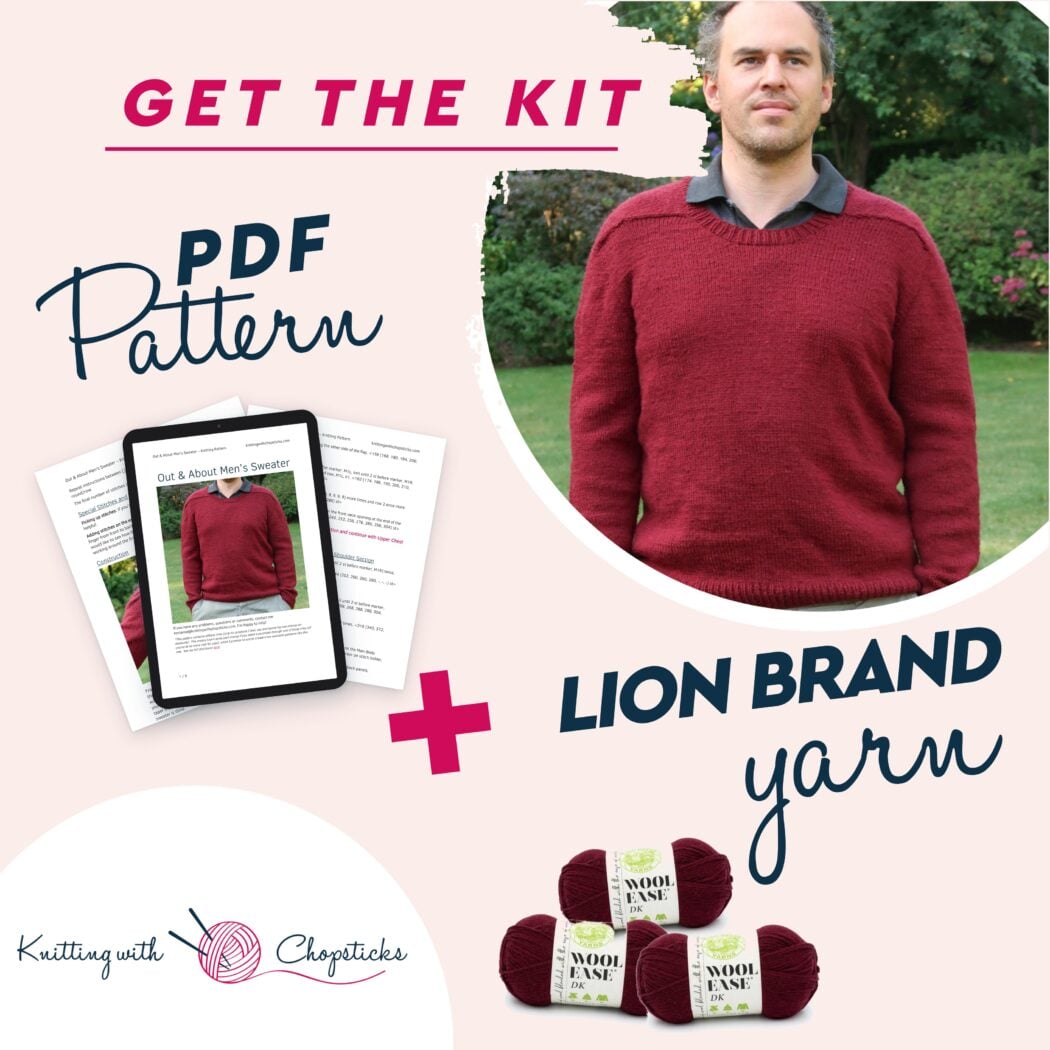
Prefer to have everything ready to go in one box? The Out & About Men’s Sweater is also available as a Lion Brand Yarn kit: the ad free printable PDF plus all the Wool-Ease DK yarn in Redwood you need for your size.
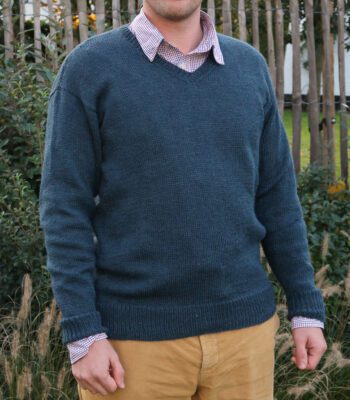
More Easy Men's Sweater Patterns you'll love


Before You Start the Out & About Men’s Sweater
Materials
- 3.75 mm / US 5 circular knitting needles
- 3 mm / US 2.5 circular knitting needles
- Lion Brand Wool-Ease DK (DK/Light weight 3, 85g, 80% acrylic, 20% wool, 232 yds/212 m) you will need 4 (5, 5, 6, 6, 7, 7, 8) skeins in Redwood 636-114E.
- Tapestry needle to weave in the ends
- 3 Stitch holders
- 4 stitch markers
- Tape measure
Note: I like to use an unused cable from my interchangeable needle set as a stitch holder but you can also use a scrap of yarn.
Size
This men’s sweater knitting pattern is available in the following sizes: S, M, L, XL, 2XL, 3XL, 4XL, 5XL.
Sizes are noted throughout the pattern in the following way: S (M, L, XL, 2XL, 3XL, 4XL, 5XL). If only one number is given, it applies to all sizes.
The pictures illustrate size L.
Final garment measurements are:
- Chest circumference: 101.5 (111.5, 121.5, 132, 142, 152, 162, 170.5) cm/40 (44, 47.75, 52, 56, 59.75, 63.75, 67.25)”
- Length (from shoulder to hip): 59 (64, 66.5, 69, 71, 74, 74, 77) cm/23.25 (25.25, 26.25, 27.25, 28, 29.25, 29.25, 30.25)”
The sweater is designed with a standard fit of around 10 cm/4″ ease at the chest. You can adjust the length easily by working more or fewer rows in the main body section before starting the ribbing section.
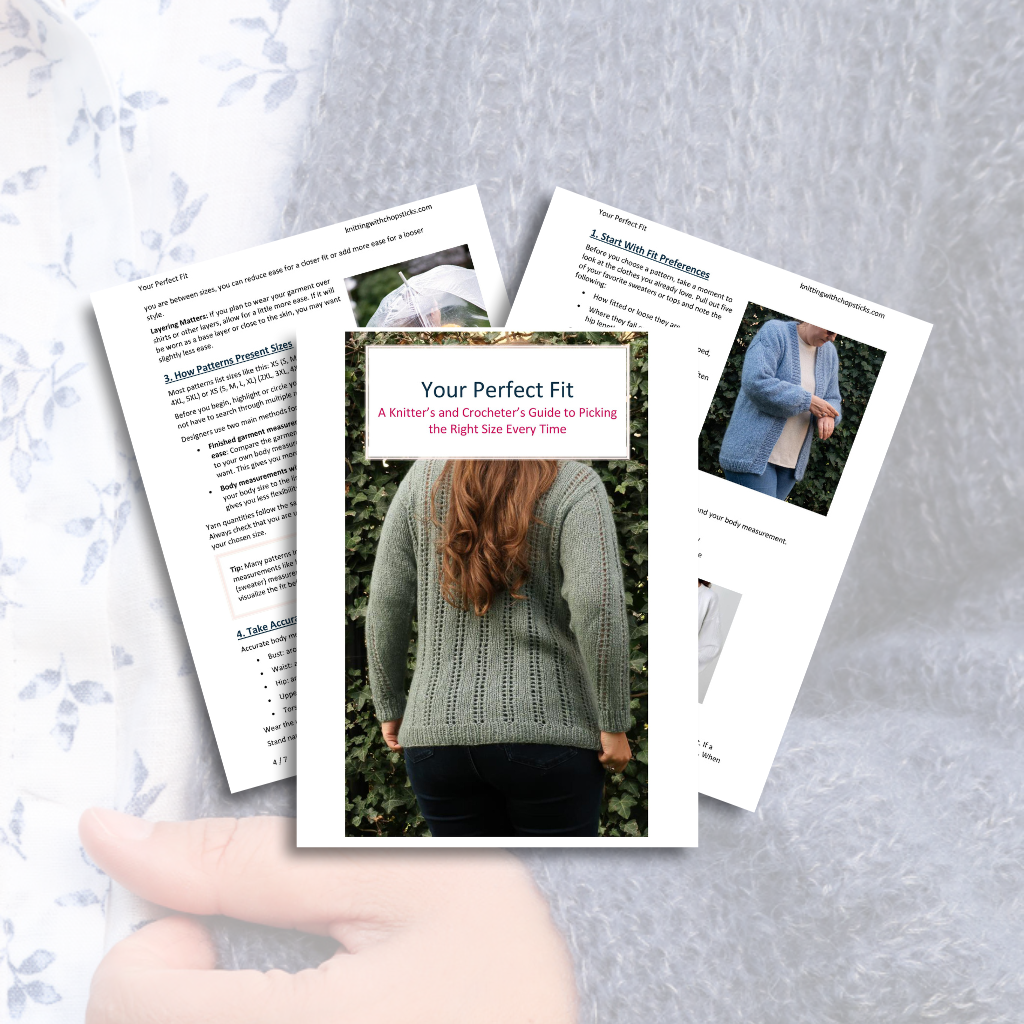
Perfect Fit Guide
Always guessing your size when knitting or crocheting garments?
Gauge
The gauge for this pattern with 3.75 mm/US 5 needles, in stockinette stitch, is 18 st by 26 rows for a 10 cm by 10 cm square (4″ by 4″), blocked.
Abbreviations & Instructions
- st = stitch
- k = knit
- p = purl
- M1R = make one stitch right; right leaning increase
- M1L = make one stitch left; left leaning increase
- k2tog = knit 2 stitches together; right leaning decrease
- ssk = slip, slip, knit; left leaning decrease
Repeat instructions between [] the indicated number of times or until the end of the round/row.
The final number of stitches is indicated at the end of the round/row between < >.
Special Stitches and Techniques
Picking up stitches: if you’re not familiar with this technique, this tutorial is very helpful.
Adding stitches on the end of a row: This is done by looping the yarn over your index finger from front to back and sliding the loop knitwise onto the working needle. If you would like to see how the stitches for the back and front neckline are cast on after working around the first Saddle Shoulder Flap, there is a video on my website.
Construction
You’ll work the shoulder section flat first, then knit the rest of the sweater in one piece, in the round, from the neck down.
Start by making two little flaps for the saddle shoulders and one for the back neck, and pop the live stitches onto stitch holders to keep them safe. Then you’ll build the upper chest and shoulders. Pick up stitches along the row ends of one shoulder flap, from the cast on edge down to the live stitches, slip those live stitches back onto your needle, and keep picking up along the row ends on the other side of the same flap. Add the live stitches from the back neck flap, then work your way around the second shoulder flap in exactly the same way.
From here you’ll knit a few rows of increases to shape the shoulders and gently curve the front neckline. Next you’ll add a few stitches for the front neckline and join to work in the round, still increasing for the shoulders and, a little later, the chest. Once you divide the stitches, you’ll work the sleeves and body in the round, decreasing to taper the sleeves and finishing with ribbing. Add ribbing to the neckline and your sweater is done.
The Actual Sweater Knitting Pattern
Saddle Shoulder Flaps (make 2)
With your 3.75 mm/US 5 needles, cast on 32 (34, 36, 36, 38, 40, 40, 42) st.
Starting with a knit row, *work in stockinette stitch for 4 (4, 4, 4, 6, 6, 6, 6) rows, ending on a purl row
Decrease Row (RS): k1, ssk, knit to last 2 sts, k2tog, k1. <total of 2 st decreased>
Purl one row *
Repeat from * to * 5 more times. <20 (22, 24, 24, 26, 28, 28, 30) sts>
Sizes L, XL, 4XL, 5XL only
Work six more rows in stockinette stitch
Do not cast off. Fasten off yarn and place the live stitches on a stitch holder.
Back Neck Extension (make 1)
With your 3.75 mm/US 5 needles, cast on 34 (34, 34, 34, 38, 38, 38, 38) st and work in stockinette stitch for 2.75 (3, 3.5, 3.5, 4, 4.25, 4.75, 5) cm/1 (1.25, 1.5, 1.5, 1.5, 1.75, 1.75, 2)”, ending with a WS/purl row.
Decrease Row (RS): Ssk, knit to last st, k2tog. <32 (32, 32, 32, 36, 36, 36, 36) st>
Do not cast off. Fasten off yarn and place the live stitches on a stitch holder.
Saddle Shoulder and Neckline
The following instructions are written for picking up stitches along the Saddle Shoulder Flaps with the right side of the Saddle Shoulder Flap facing you and the working yarn held at the back of the Saddle Shoulder Flap.
If you would like to see how the stitches for the back and front neckline are cast on after working around the first Saddle Shoulder Flap, watch this video.
Work around the first shoulder flap by starting at the cast on edge of one of the flaps, pick up 21 (23, 25, 26, 28, 28, 32, 33) st along the side, add marker, knit 20 (22, 24, 24, 26, 28, 28, 30) st on holder, add marker, pick up 21 (23, 25, 26, 28, 28, 32, 33) st along the other side of the flap, add the back neck extension by knitting 32 (32, 32, 32, 36, 36, 36, 36) st on holder, work around the second shoulder flap by picking up 21 (23, 25, 26, 28, 28, 32, 33) st along its side (from cast on edge), add marker, knit 20 (22, 24, 24, 26, 28, 28, 30) st on holder, add marker, pick up 21 (23, 25, 26, 28, 28, 32, 33) st along the other side of the flap. <156 (168, 180, 184, 200, 204, 220, 228) st>
Row 1: Purl across.
Row 2: K1, M1R, [knit until 2 st after marker, M1L, knit until 2 st before marker, M1R, k2] twice, knit until 1 st from end of row, M1L, k1. <162 (174, 186, 190, 206, 210, 226, 234) st; total of 6 st increased>
Row 3: Purl across.
Repeat Row 2 and 3 another 9 (9, 9, 9, 9, 9, 9, 9) more times and row 2 once more. <216 (228, 240, 244, 260, 264, 280, 288) st>
Add 12 (12, 12, 12, 16, 16, 16, 16) st for the front neck opening at the end of the row and join to work in the round. <228 (240, 252, 256, 276, 280, 296, 304) st>
Sizes 3XL, 4XL and 5XL, skip next section and continue with Upper Chest and Underarm.
Sizes S, M, L, XL, 2X only: Lengthen Shoulder Section
[Row 1: [Knit until 2 st after marker, M1L, knit until 2 st before marker, M1R] twice, knit to end of round. <total of 4 st increased>
Row 2: Knit around.] 4 (3, 2, 1, 1, -, -, -) times <244 (252, 260, 260, 280, -, -, -) st>
All Sizes: Upper Chest and Underarm
Row 1: [Knit until 2 st before marker, M1R, k4, M1L, knit until 2 st before marker, M1R, k4, M1L] twice, knit to end of round. <252 (260, 268, 268, 288, 288, 304, 312) st; total of 8 st increased>
Row 2: Knit around.
Repeat Row 1 and 2 another 8 (10, 13, 16, 17, 21, 22, 25) times. <316 (340, 372, 396, 424, 456, 480, 512) st>
Divide for Sleeves
You will now place the two Sleeves on stitch holders ready to knit the Main Body section. Knit until st marker, [place st between this and next marker on stitch holder, knit until next marker] twice.
Move beginning of round marker until junction between front and back panels.
Main Body
Knit in the round for 54 (59, 61.5, 64, 66, 69, 69, 72) cm/21.25 (23.25, 24.25, 25.25, 26, 27.25, 27.25, 28.25)”.
Switch to 3mm/US 2.5 needles.
[K1, p1] around for 5 cm/2″
Cast off loosely and fasten off.
Back Flap Sewing
Before working the neckline, sew the 2.75 (3, 3.5, 3.5, 4, 4.25, 4.75, 5) cm/1 (1.25, 1.5, 1.5, 1.5, 1.75, 1.75, 2)” of the back panel sides to the shoulder flaps.
Neckline Edging
With 3mm/US 2.5 needles, pick up 1 stitch in each of the stitches of the back neckline cast on edge, 1 stitch in each of the stitches of the first Shoulder Flap, 21 st along the front neckline rows, 1 stitch in each of the stitches of the front neckline cast on edge, 21 st along the front neckline increase rows, 1 stitch in each of the stitches of the second Shoulder Flap. <116 (120, 122, 122, 132, 134, 132, 136)>
[K1, p1] around for 3 cm/1.25″.
Cast off loosely and fasten off.
Sleeve
Place the stitches from one stitch holder on your 3.75 mm/US 5 needles and join to work in the round. <66 (70, 76, 80, 84, 92, 94, 102) st>
Sizes – (M, L, XL, 2XL, 3XL, -, 5XL) only
Work 3 more rounds in stockinette stitch.
All Sizes
[Knit 6 (6, 6, 5, 5, 5, 5, 4) rounds in stockinette.
[K1, k2tog, knit until last 3 st, ssk, k1]] 15 (15, 16, 19, 20, 20, 21, 25) times. <36 (40, 44, 42, 44, 52, 52, 52) st>
Sleeve Ribbing
Switch to 3mm/US 2.5 needles.
[K1, p1] around for 5 cm/2″.
Cast off loosely.
Repeat Sleeve and Sleeve Ribbing sections for stitches on other stitch holder.
Blocking
You are done with the knitting part. Make sure to weave in all the ends.
To make your sweater even prettier and help even your stitches wet block your project.
Don’t skip this step as it can make a huge difference. Read my detailed tutorial on why block, how-to, and all my tips and tricks if you need help.
Want More Patterns Like This Plus Support to Finish Them?
If you loved this pattern, imagine having two more ready for you every month and the help to actually finish them. As a Stitching Squad member, you can:
- Download 2 patterns from my library of 180+ each month, so that you always have something new to make without spending hours searching
- Get every new pattern release, so that you’re never missing out on fresh ideas
- Join our monthly live workshops (with replays), so that you can build your skills step by step
- Attend Sip & Stitch sessions to knit & crochet with others and get priority pattern help, so that you’re not stuck figuring things out alone
- Be part of a supportive worldwide community of knitters & crocheters, so you’re never crafting alone
Since you already grabbed this pattern, take 25% off your first month.
Join the Squad and get more out of your making time >>
Please Respect My Work
You may not share, sell or claim my patterns as your own. You can make finished items to sell (i.e. on Etsy, at craft fairs) from my patterns but I ask that you link back to my blog knittingwithchopsticks.com and provide credit for the pattern.
I love to see your projects, tag them #knittingwithchopsticks so I can see and share what you make.