Mia Tee Knitting Pattern

A new top knitting pattern – the Mia Tee – is now a free knitting pattern here on the blog! Read about my inspiration, the gorgeous speckled yarn, and the easy construction or scroll down for the free version.
No time right now? Pin this free knit top pattern for later!

*This post contains affiliate links (only for products I love, use and spend my own money on obviously). This means I earn some yarn money if you make a purchase through one of these links (of course at no extra cost for you!), which I promise to use to create more awesome patterns like this one. All opinions are my own. See my full disclosure here.
I love a cute outfit but sometimes I just want to wear a simple tee and a pair of jeans; no-fuss.
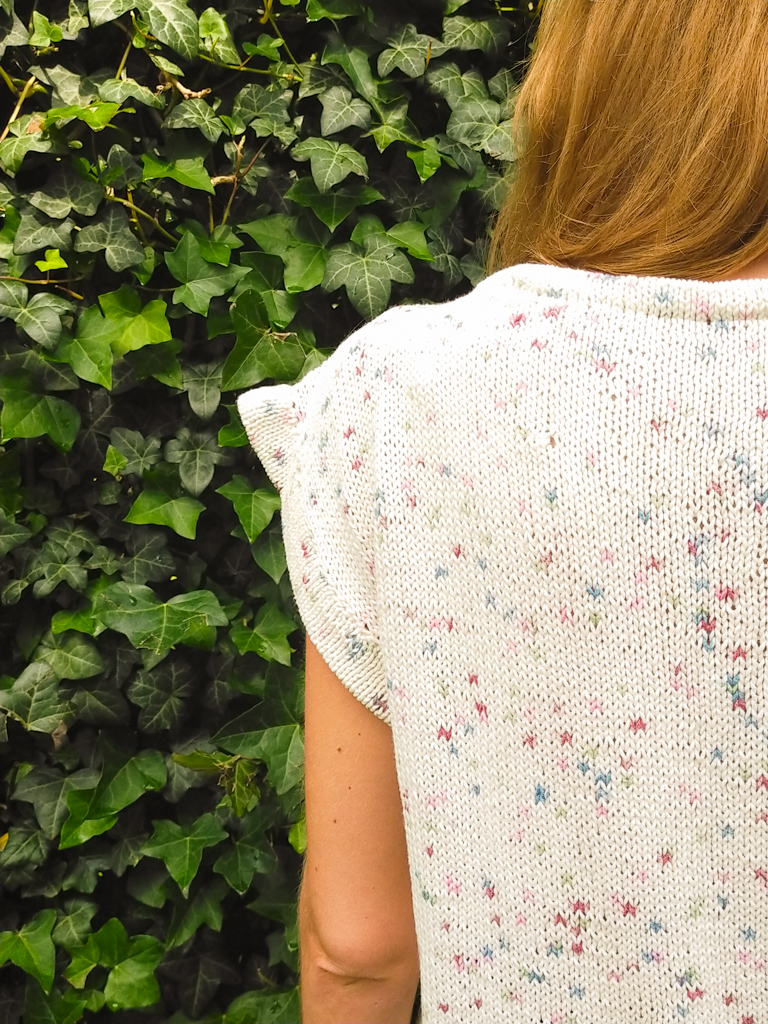
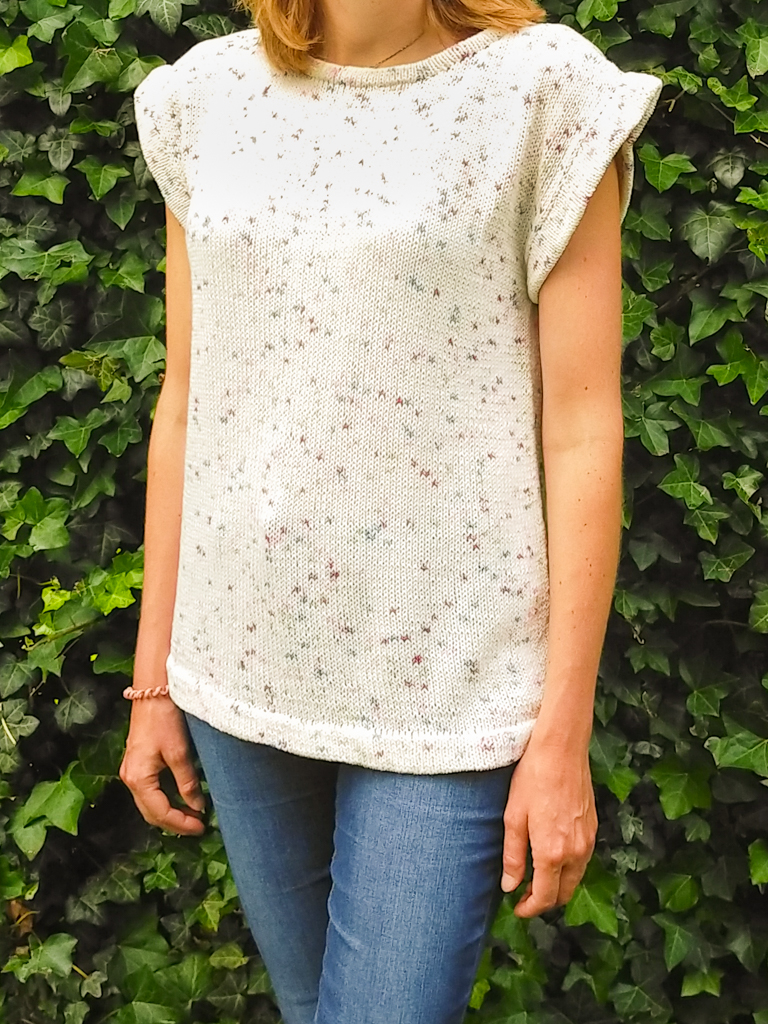
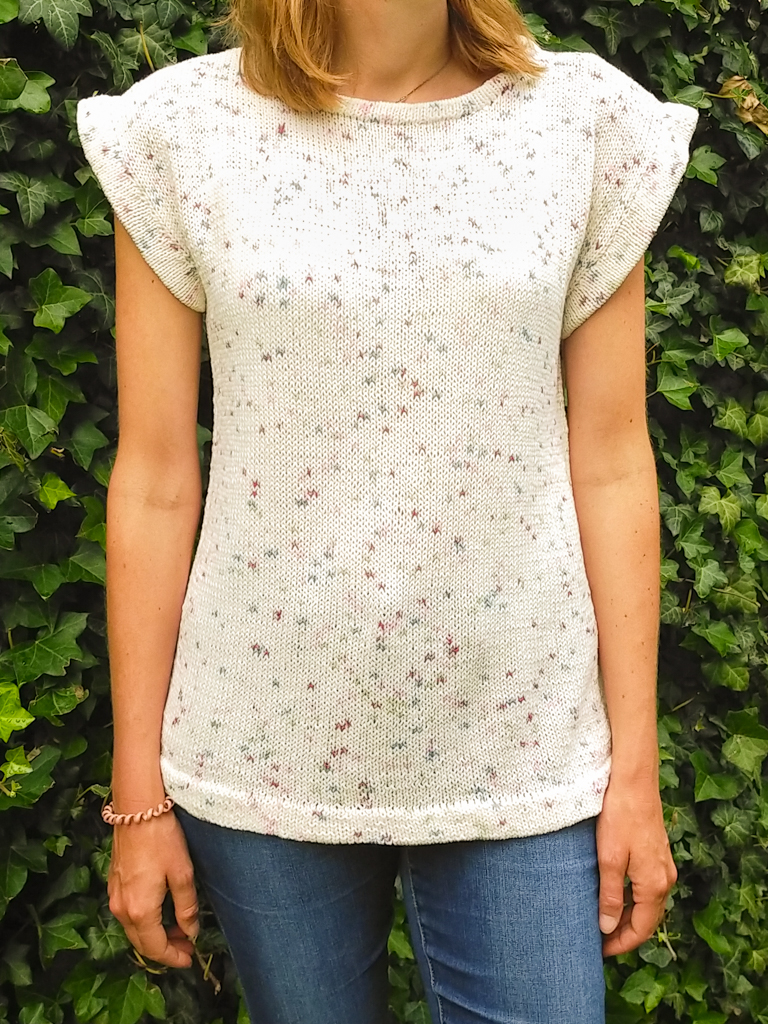
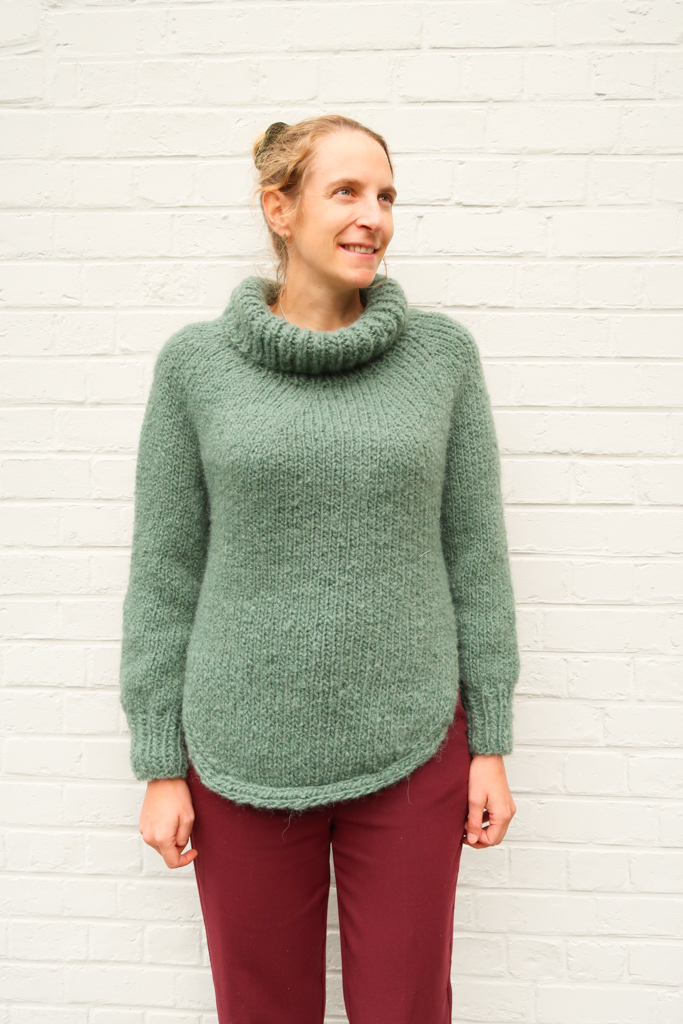
That’s where the Mia Tee knitting pattern comes in. It’s a classic tee with just a little bit more to it. It has a light flattering shaping from the waist down and wide bound edges for a perfect feminine finish. Wide short sleeves give it a modern twist you’ll love wearing.
The Yarn
If you thought speckles were only for fancy hand-dyed yarns, think again! I’m obsessed with speckles and was so happy when I discovered this much more affordable option.
For this Mia Tee knitting pattern I used Katia Yarns Sonajero, it’s a 60% cotton, 40% acrylic blend with gorgeous speckles of teal blue, light green and raspberry pink. It’s available in 6 different shades of speckles on the same off-white background.
The cotton blend makes it perfect for summer makes. Worked on bigger needles it has an amazing drape too!
The Knit Top Pattern Construction
The Mia Top knitting pattern is a classic tee with a little flattering shaping at the waist. It is worked in 2 flat panels which are then sewed together.
Stitches are picked up around the bottom edge, collar and armholes to make the bound edges. These edges are worked in the round but you can work them flat and add a small seam if you prefer.
Downloadable PDF

Why I Recommend You Purchase the PDF Pattern
If you’ve never used PDF patterns before, you are missing out on so much convenience!
- You don’t need to take screenshots of the pattern
- You don’t need to have your computer, phone or tablet around to work on your project.
- You don’t need to panic if your husband accidentally closed the page
- You can take notes, highlight your size and write down where you are.
- When your best friend begs you to make her the same sweater, you have the pattern ready.
- It’s a great way to support the blog so I can continue to bring you knitting tutorials.
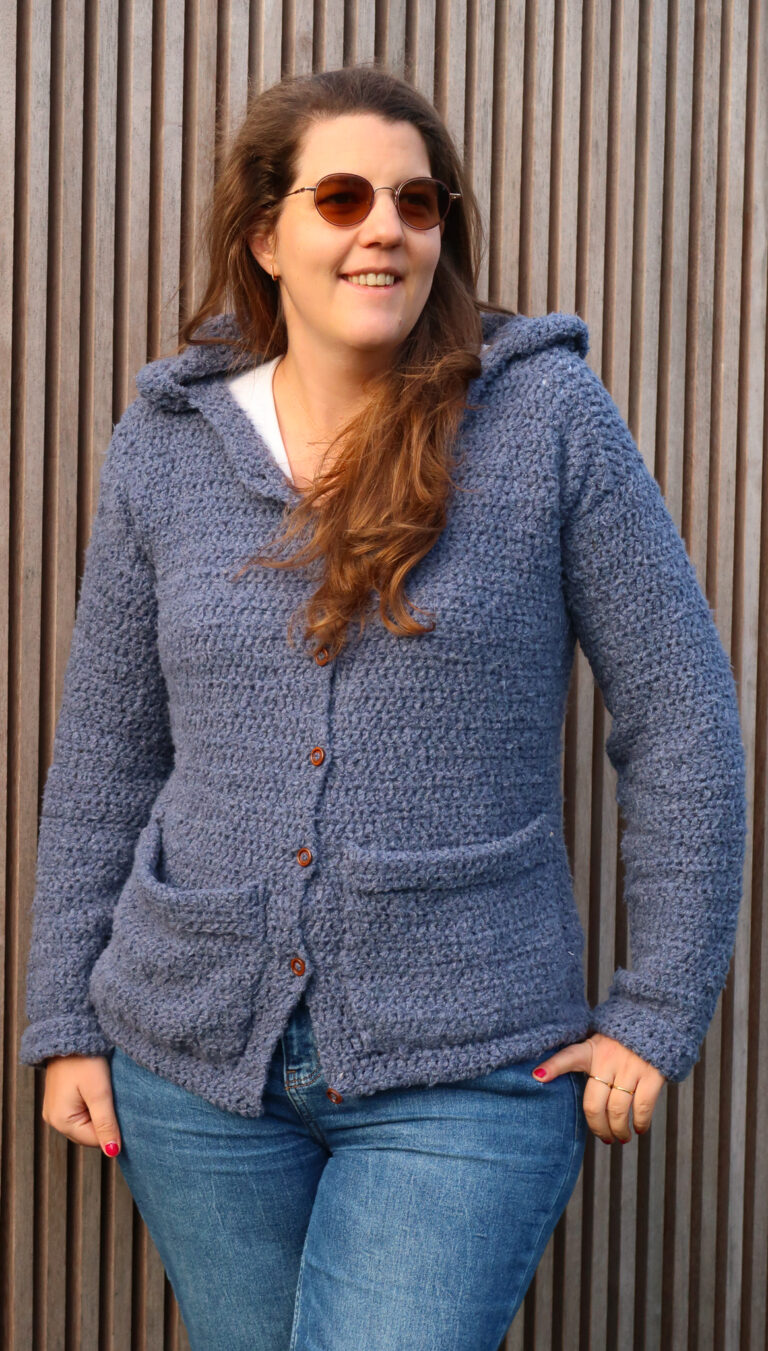
Grab the printable PDF of the Ariel Summer Cardigan now in my shop, on Etsy shop or on Ravelry:
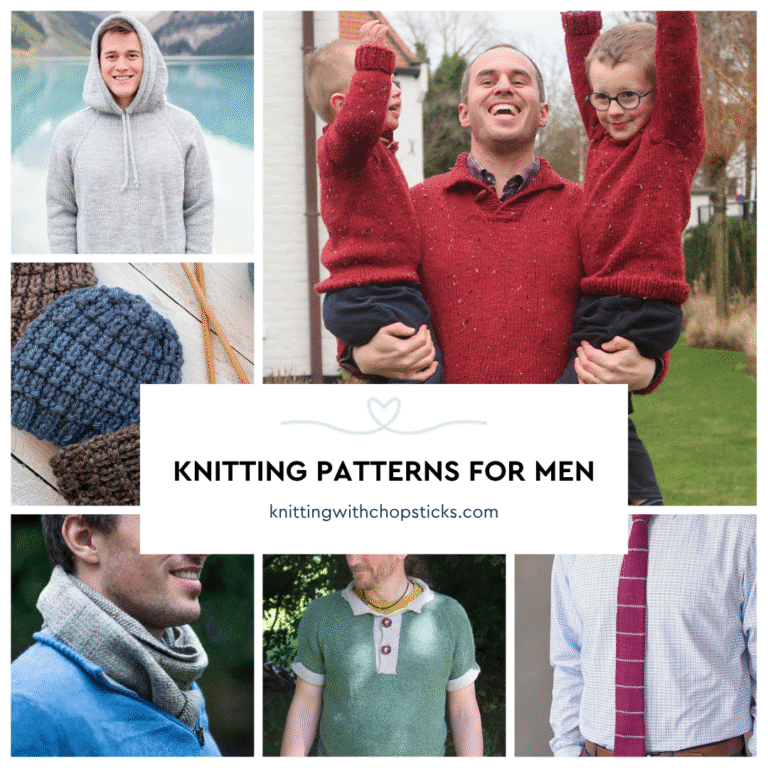
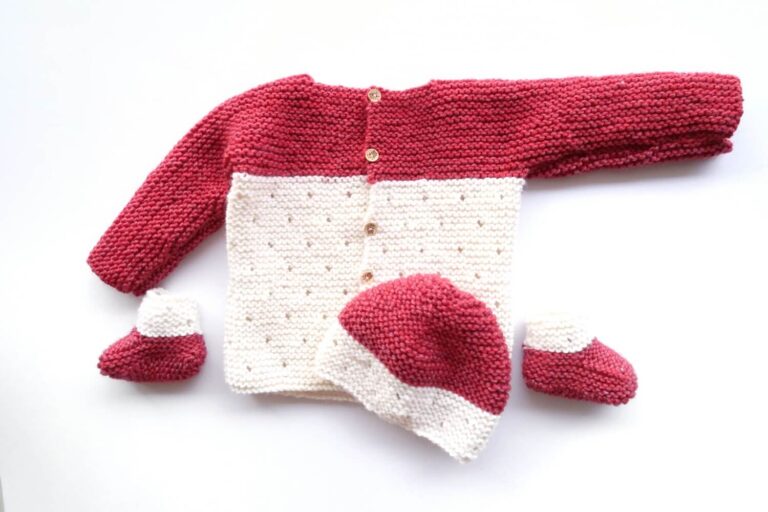
More Top Patterns You'll Love View All


Before you Start
Materials
- 4 mm/ US 6 circular knitting needles (straight needles option included)
- Katia Yarns Sonajero (DK weight, 60% cotton, 40% acrylic, 145m/159yd, 50g/1.8oz) in colorway 202
- XS, S, M: 5 skeins
- L, XL: 6 skeins
- 2XL & 3XL: 7 skeins
- 4XL, 5XL: 8 skeins
- Tapestry needle to weave in the ends. I love this set as it has different eye sizes for different yarn thicknesses and it comes in a small tube which is very convenient so I don’t lose them.
Size
The Tee is available in the following sizes: XS to 5XL. Sizes are noted throughout the pattern in the following way: XS (S, M, L, XL, 2XL, 3XL, 4XL, 5XL). The pictures illustrate the Large size.
Final garment measurements are:
- XS: 80 cm / 31.5” bust, 90 cm / 35.5” hip, 20 cm / 7.75” armhole depth
- S: 90 cm / 35.5” bust, 100 cm / 39.25” hip, 21 cm / 8.25” armhole depth
- M: 100 cm / 39.25” bust, 110 cm / 43.25” hip, 23 cm / 9” armhole depth
- L: 110 cm / 43.25” bust, 120 cm / 47.25” hip, 24 cm / 9.5” armhole depth
- XL: 120 cm / 47.25” bust, 130 cm / 51.25” hip, 25 cm / 9.75” armhole depth
- 2XL: 130 cm / 51.25” bust, 140 cm / 55” hip, 27 cm / 10.5” armhole depth
- 3XL: 140 cm / 55” bust, 150 cm / 59” hip, 28 cm / 11” armhole depth
- 4XL: 150 cm / 59” bust, 154 cm / 60.5” hip, 29 cm / 11.5” armhole depth
- 5XL: 160 cm / 63” bust, 164 cm / 64.5” hip, 30 cm / 11.75” armhole depth
The Tee is designed with a normal fit 5 – 10 cm / 2” – 4” ease at the bust.
Total Tee length is 64 cm / 25.25”.
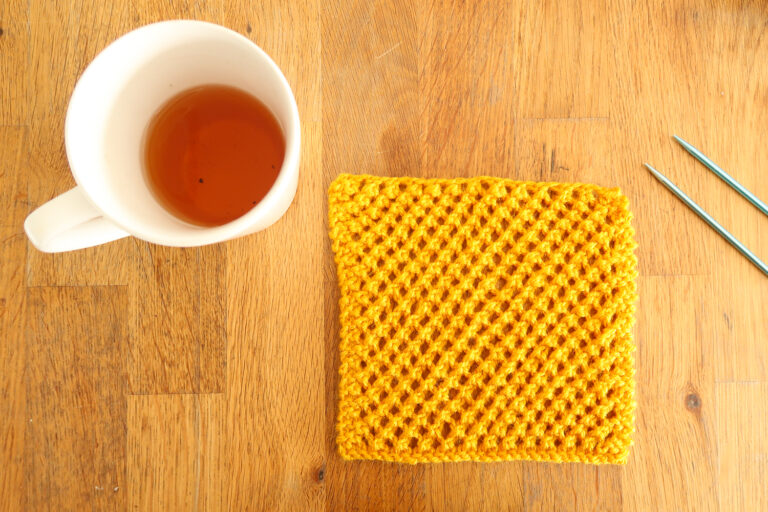
Gauge
The gauge for this pattern, in stockinette stitch, is 20 st by 26 rows for a 10 cm by 10 cm square (4” by 4”).
Abbreviations & Instructions
- st = stitch
- k = knit
- p = purl
- k2tog = knit 2 stitches together, single right-leaning decrease
- ssk = slip 2 stitches knitwise, knit these 2 stitches together through back loops; single left-leaning decrease.
Repeat instructions between [] the indicated number of times or until the end of the round/row.
Sick of all the yarn jargon and conversions?
US vs UK, abbreviations, imperial vs metric, yarn weights, etc?

The final number of stitches is indicated at the end of the round/row between < >.
Special Stitches and Techniques
- Stockinette stitch:
- Worked in rows: knit on the right side and purl on the wrong side of your project.
- Worked in the round: knit all rounds.
- Pick up stitches: if you’re not familiar with this technique, this tutorial is very helpful.
- I recommend using the sloped bind off technique for the collar shaping. If you’re not familiar with this technique, this tutorial is very helpful.
- The Mia Tee knitting pattern features folded collar. Find the detailed video tutorial here.
The Actual Top Knitting Pattern
Back Panel
With your 4 mm / US 6 knitting needles, cast on 90 (100, 110, 120, 130, 140, 150, 154, 164) st.
[Knit in stockinette st for 8 cm / 3”.
Decrease row: k1, ssk, knit until last 3 st, k2tog, k1] 5 (5, 5, 5, 5, 5, 5, 2, 2) times (approximately 40 cm / 15.75”). <80 (90, 100, 110, 120, 130, 140, 150, 160) st>
Continue in stockinette stitch until you reach 60 cm / 23.5”.
Collar Shaping
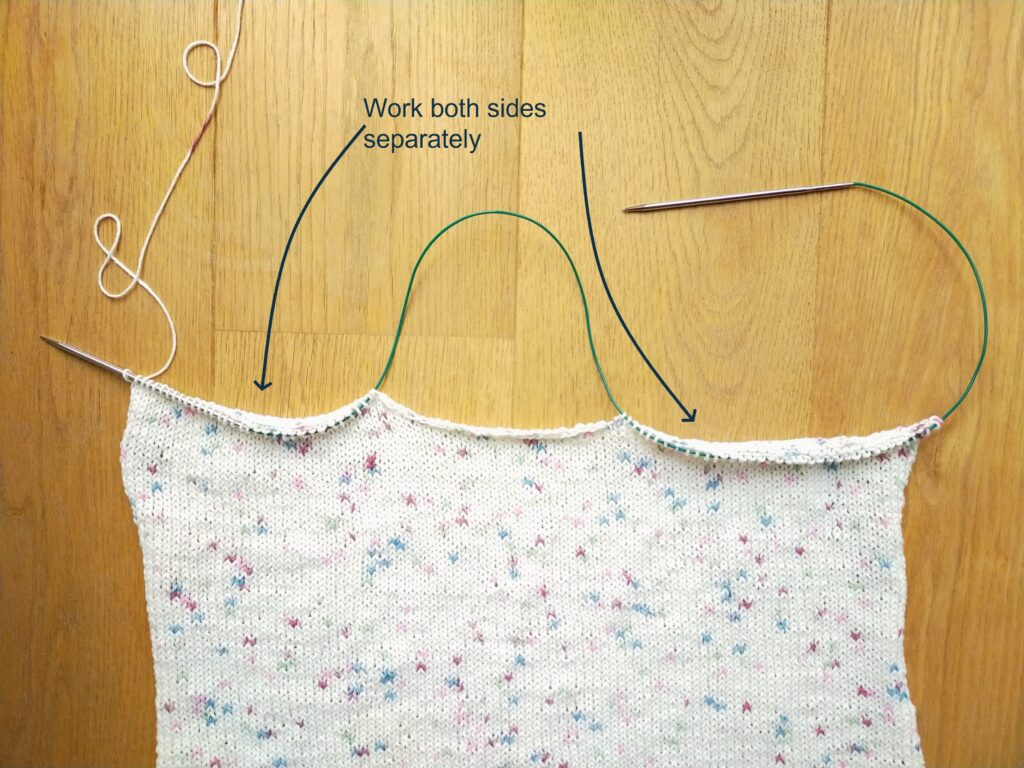
On the next right-side row: knit 25 (30, 35, 40, 45, 50, 55, 60, 65), cast off 30, knit 25 (30, 35, 40, 45, 50, 55, 60, 65).
Work both sides separately from here onwards starting with the side where you ended the previous row.
Row 1: Purl across. <25 (30, 35, 40, 45, 50, 55, 60, 65) st>
Row 2: Cast off 10 st, knit across. <15 (20, 25, 30, 35, 40, 45, 50, 55) st>
Row 3: Purl across.
Cast off all remaining stitches.
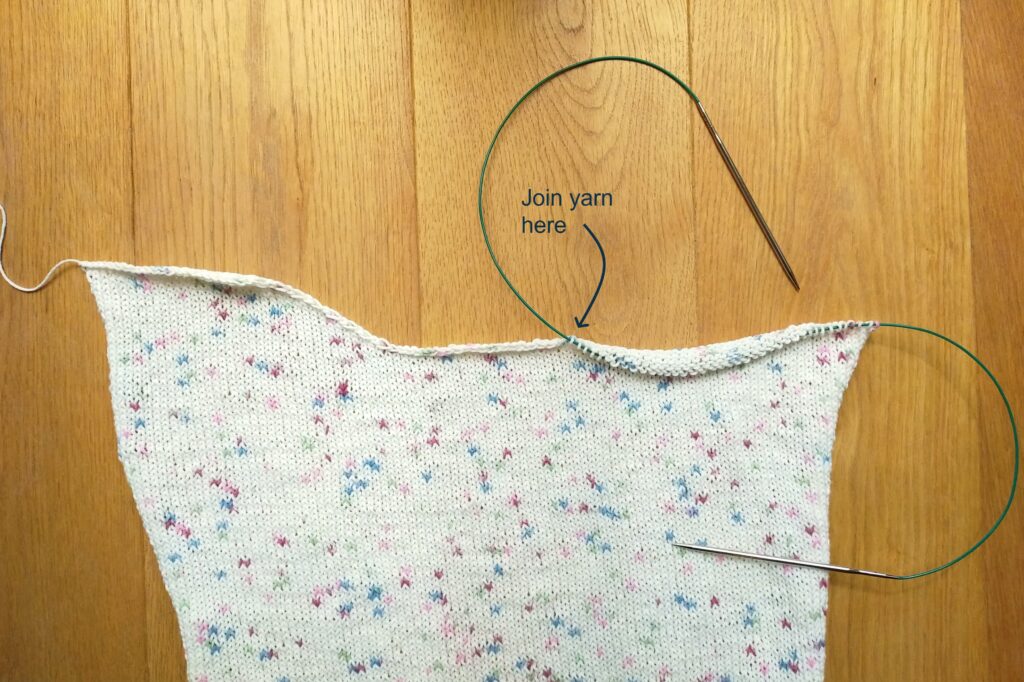
With right side facing join yarn at other shoulder to work the other side.
Row 1: Knit across.
Row 2: Cast off 10 st, purl 15 (20, 25, 30, 35, 40, 45, 50, 55) st. <15 (20, 25, 30, 35, 40, 45, 50, 55) st>
Row 3: Knit across.
Cast off all remaining stitches.
Front panel
With your 4 mm / US 6 knitting needles, cast on 90 (100, 110, 120, 130, 140, 150, 154, 164) st.
[Knit in stockinette st for 8 cm / 3”.
Decrease row: k1, ssk, knit until last 3 st, k2tog, k1] 5 (5, 5, 5, 5, 5, 5, 2, 2) times (approximately 40 cm / 15.75”). <80 (90, 100, 110, 120, 130, 140, 150, 160) st>
Continue in stockinette stitch until you reach 55 cm / 21.5”.
Collar Shaping
On the next right-side row: knit 29 (34, 39, 44, 49, 54, 59, 64, 69), cast off 22, knit 29 (34, 39, 44, 49, 54, 59, 64, 69).
Work both sides separately from here onwards starting with the side where you ended the previous row.
Row 1: Purl across. <29 (34, 39, 44, 49, 54, 59, 64, 69) st>
Row 2: Cast off 2, knit until end of row. <27 (32, 37, 42, 47, 52, 57, 62, 67) st>
Row 3: Purl across.
Repeat Row 2 and 3 six times. <15 (20, 25, 30, 35, 40, 45, 50, 55) sts
Cast off all remaining stitches.
Join yarn back at the neckline to work the other side (start on a wrong side row).
Row 1: Cast off 2, purl until end of row. <27 (32, 37, 42, 47, 52, 57, 62, 67) st>
Row 2: Knit across.
Repeat Row 1 and 2 six times.
Cast off all remaining stitches.

Assembly
Attach both panels together. Start by sewing the shoulder seams; sew up to the start of the collar shaping.
Sew the sides leaving 20 (21, 23, 24, 25, 27, 28, 29, 30) cm / 7.75 (8.25, 9, 9.5, 9.75, 10.5, 11, 11.5, 11.75)” unseamed for the armholes.
Weave in all the ends.
Bound Edges

The bound edges are formed by picking up stitches along the edge. Knitting a section in stockinette stitch then sewing the end of this section back on the inside to the picked-up stitches.
Straight needles option: Instead of working these sections in the round you can pick up only half the stitches. Work that section as indicated then pick up the other half of the stitches and work them. Finally, sew both of these sections together at both ends before closing the bound edge back on the inside.

Bottom Edge
Pick up 180 (200, 220, 240, 260, 280, 300, 308, 328) st around the bottom edge.
Knit in the round for 16 rows.
Cast off.
Fold this little addition in half and sew the end to the picked up stitch seam on the inside.
Collar
Pick up 100 st around the neckline
Knit in the round for 8 rows.
Cast off.
Fold this additional section in half and sew the end to the picked-up stitch seam on the inside
Sleeves
Repeat for both sleeves
Pick up 80 (84, 92, 96, 100, 108, 112, 116, 120) st around the armhole.
Knit in the round for 16 rows.
Cast off.
Fold this additional section in half and sew the end to the picked up stitch seam on the inside
Blocking
You are done with the knitting part. Make sure to weave in all the ends.
To make your summer top even prettier, help even your stitches and flatten your seams, block your project.
Don’t skip this step as it can make a huge difference. Read my detailed tutorial on why block, how-to, and all my tips and tricks if you need help.
Copyright 2021.
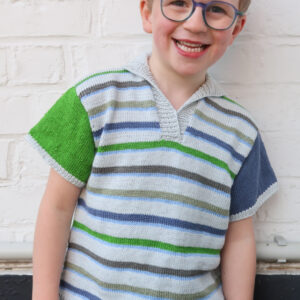 Sidekick Polo