Harbour Polo Sweater Knitting Pattern
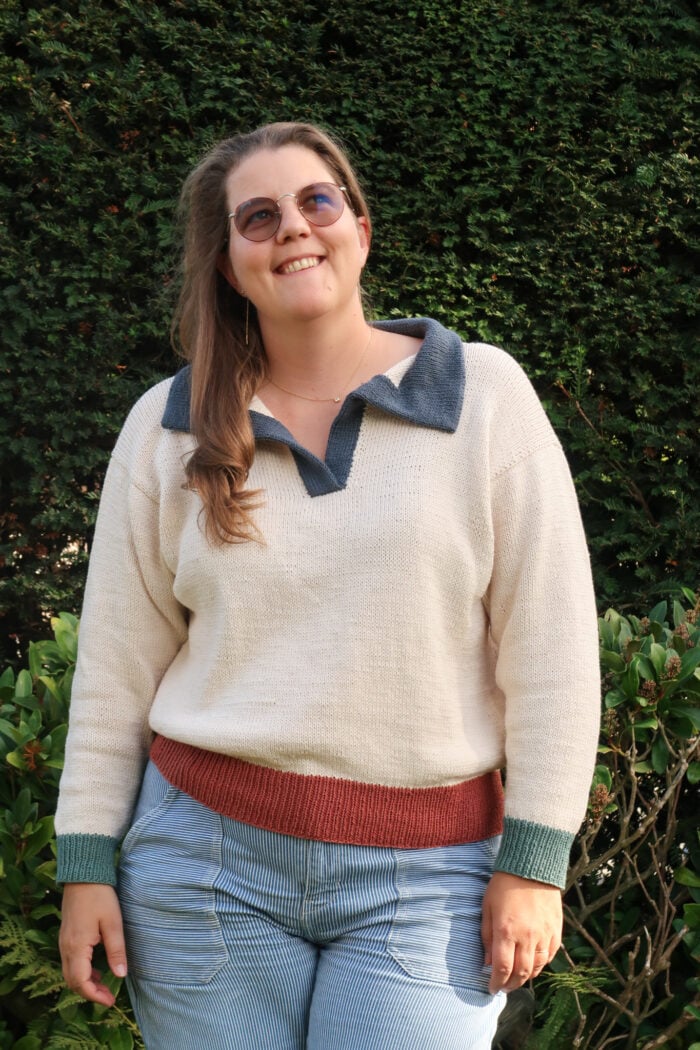
A new women’s sweater pattern, the Harbour Polo Sweater, is now a free polo sweater knitting pattern here on the blog. Read all about the statement collar, the top down construction and the oversized fit, or scroll down for the free pattern.
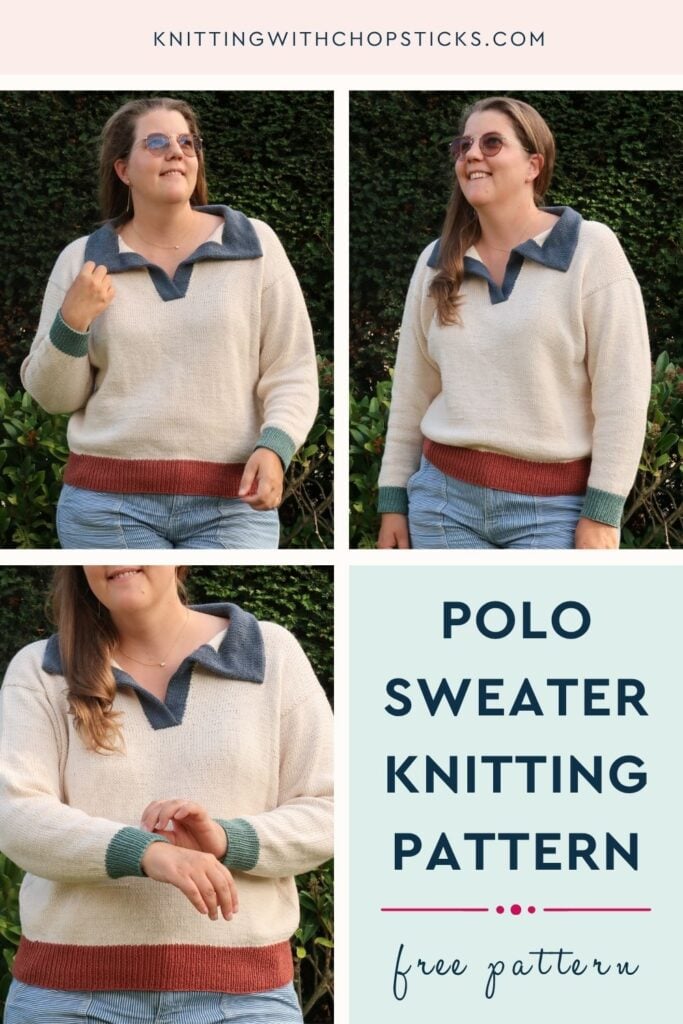
No time right now? Pin this polo sweater knitting pattern for later!
*This post contains affiliate links (only for products I love, use and spend my own money on obviously). This means I earn some yarn money if you make a purchase through one of these links (of course at no extra cost for you!), which I promise to use to create more awesome patterns like this one. All opinions are my own. See my full disclosure here.
A Polo Sweater Knitting Pattern with a Statement Collar
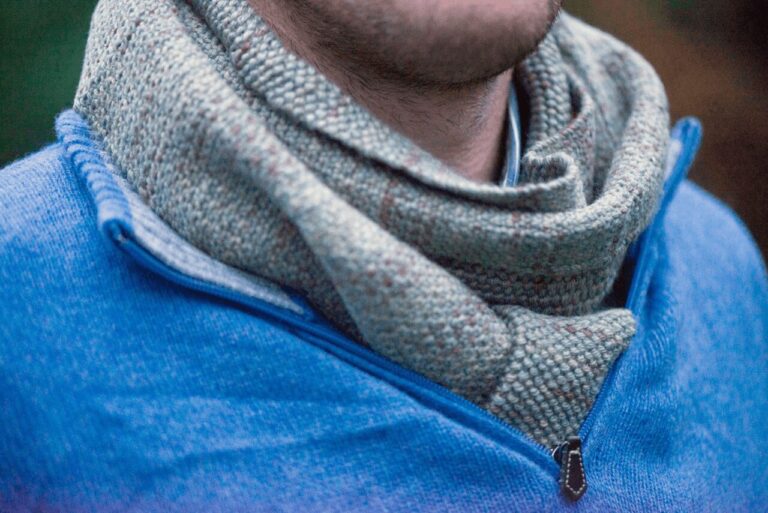
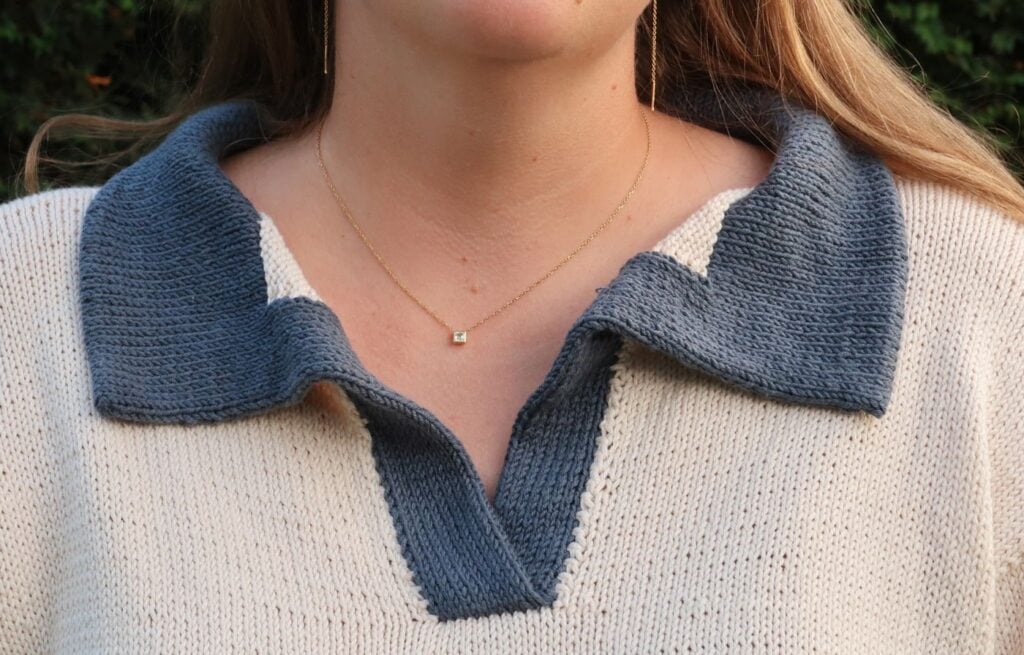
The collar is the star of this sweater. It is knitted double, so it sits nicely and doesn’t curl, and the two front flaps fold into a neat V placket in a contrasting color. It has that vintage rugby sweater feel, but you knit it all in one piece with no sewing at all.
I’ll be honest, the collar construction is a little unusual. You start with Judy’s Magic Cast-On, work both layers of the collar together in the round, then knit the front flaps separately. Take it one step at a time and it all comes together. There’s also a full video tutorial of the collar section on my YouTube channel if you’d like to knit along with me.
A Top Down Sweater Knitting Pattern, Worked Seamlessly
Once the collar is done, the rest is a classic top down sweater knitting pattern. You shape the shoulders, work the back and front separately down to the underarms, then join everything in the round and knit the body straight down to the hem.
The sleeves are picked up around the armholes and knitted top down too, so you can try the sweater on as you go and adjust the body and sleeve length to your liking. There are no seams to sew at the end, just a few ends to weave in and a good wet block (here is my blocking tutorial if you need it).
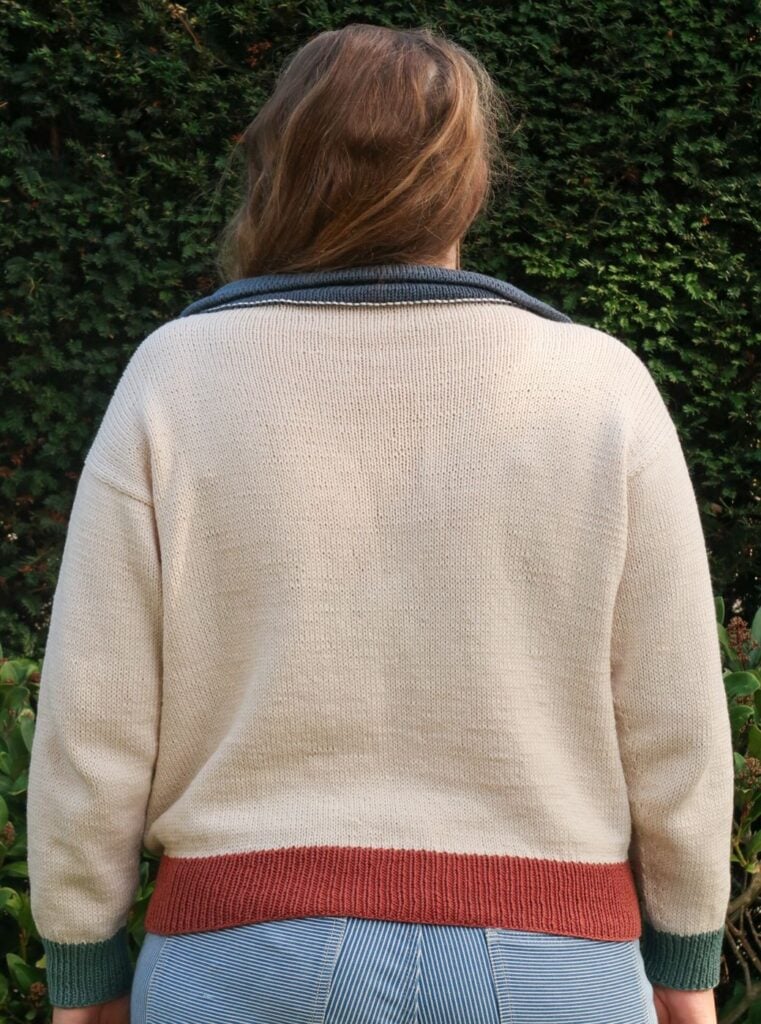
An Oversized Sweater Knitting Pattern in Four Colors
The Harbour Polo Sweater is designed as an oversized sweater knitting pattern, with 13 to 22 cm/5 to 8.75″ of positive ease at the bust. It is comfy and relaxed, and it layers easily over a shirt or a tee. The pattern comes in 9 sizes, from XS to 5XL.
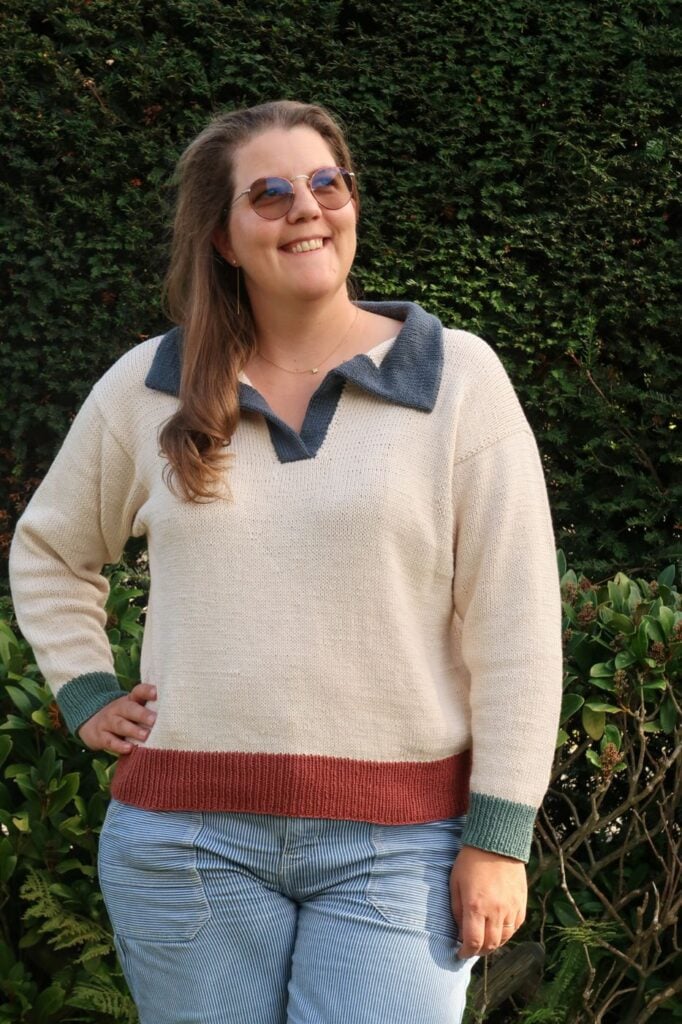
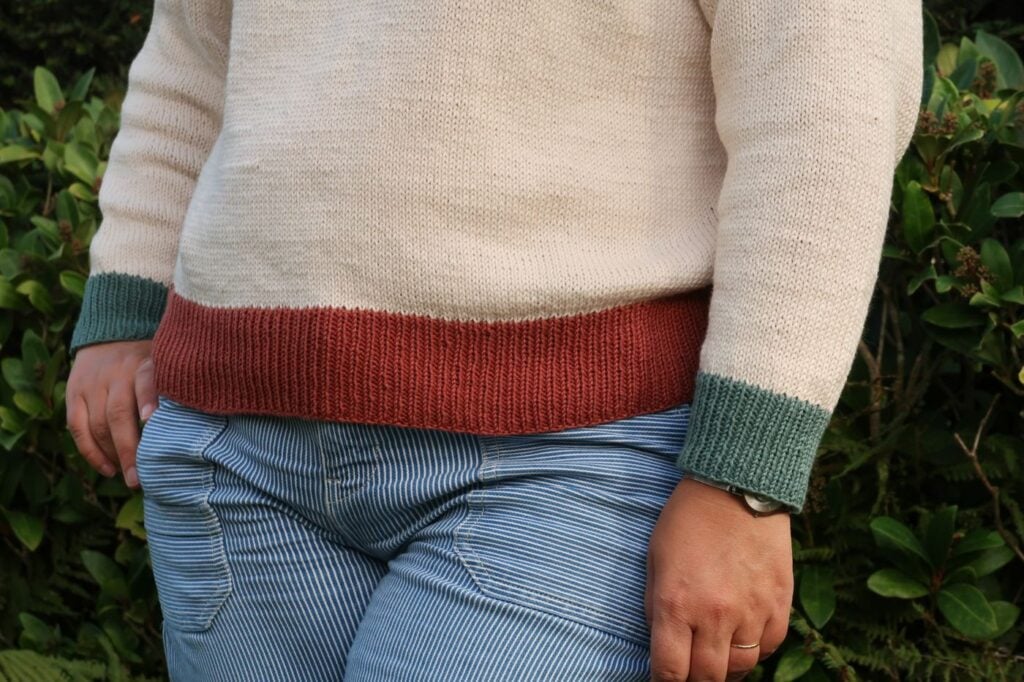
I knitted mine in Lion Brand Cottino, a DK weight cotton and merino blend that is soft, breathable and shows off stockinette beautifully. The body is Goose Down, with Dusk for the collar, Sedona for the hem and Mineral for the cuffs. It is a fun way to play with color without any colorwork. If you love color blocking, you’ll also like my Color Divide Sweater.
Downloadable PDF for the Harbour Polo Sweater Knitting Pattern
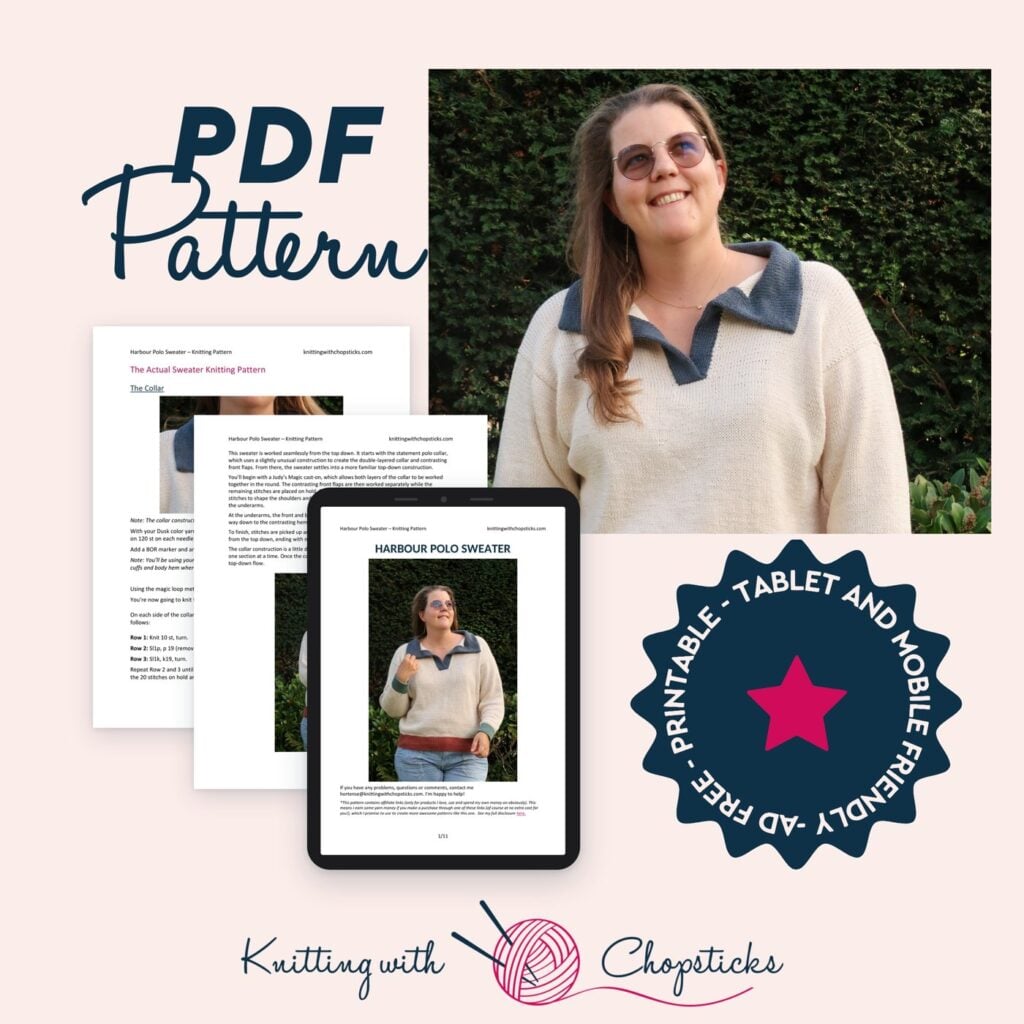
Grab the printable, ad-free PDF of the Harbour Polo Sweater in my shop, on Etsy or on Ravelry. It has all 9 sizes and the full instructions in one tidy file, perfect to print or keep on your tablet while you knit.
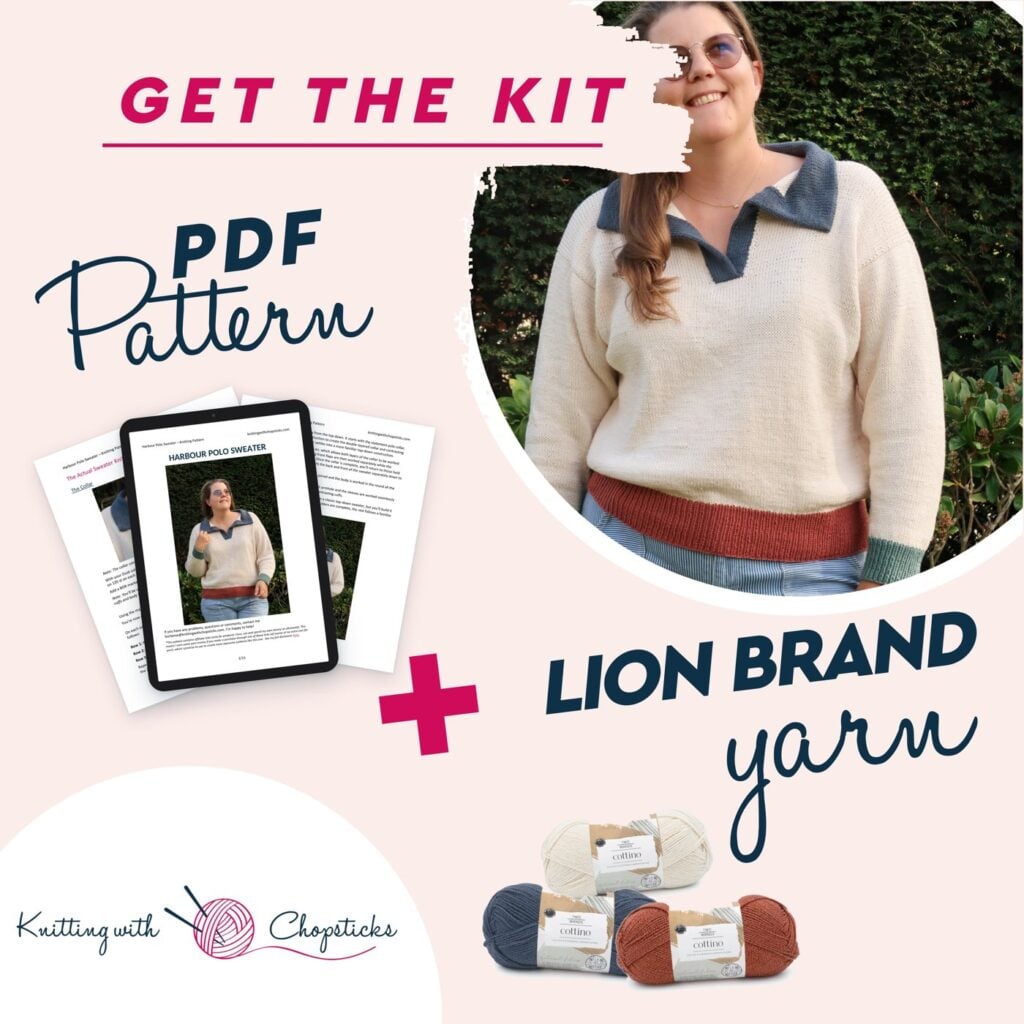
Harbour Polo Sweater Knitting Pattern PDF & Lion Brand Yarn Kit
Want everything in one box? The Lion Brand kit comes with the Cottino yarn in all four colors (Goose Down, Sedona, Dusk and Mineral) plus the pattern, so you can cast on as soon as it arrives.
More Women's Sweater Patterns You'll Love


Before You Start Your Harbour Polo Sweater Knitting Pattern
Materials
- 3.75 mm/US 5 circular knitting needles
- Note: You will need an additional circular knitting needle in this size for the collar. If you don’t have 2 3.75 mm/US 5 needles, you can use a slightly different size.
- 3.25 mm/US 3 circular knitting needles
- Lion Brand Cottino (DK weight (3), 100g, 55% cotton, 45% Merino Wool, 296 yds/271 m): you will need
- 3 (3, 4, 4, 5) (5, 5, 6, 6) skeins in Goose Down [614-098BE]
- 1 (1, 1, 1, 1) (1, 1, 1, 1) skein in Sedona [614-134G]
- 1 (1, 1, 1, 1) (1, 1, 1, 1) skein in Dusk [614-109AF]
- 1 (1, 1, 1, 1) (1, 1, 1, 1) skein in Mineral [614-176L]
- Measuring Tape
- Tapestry needle to weave in the ends
Size
This women’s sweater knitting pattern is available in the following sizes: XS, S, M, L, XL, 2XL, 3XL, 4XL and 5XL.
Sizes are noted throughout the pattern in the following way: XS (S, M, L, XL) (2XL, 3XL, 4XL, 5XL).
The pictures illustrate size L.
Final garment measurements are:
- Bust circumference: 92 (101, 112, 122.5, 132.5) (142, 152, 162.5, 173.5) cm/36.25 (39.75, 44, 48.25, 52.25) (55.75, 59.75, 64, 68.25)”.
- Armhole depth: 20 (21, 22.5, 24, 26.5) (26.5, 27.5, 29, 30) cm/7.75 (8.25, 8.75, 9.5, 10.5) (10.5, 10.75, 11.5, 11.75)”.
- Sleeve length: 36 (37, 38.5, 40, 40) (42.5, 43.5, 45, 46) cm/14.5 (14.75, 15.25, 16, 16.25) (16.75, 17.25, 17.75, 18.25)”.
- Length: 57 (58, 59.5, 61, 62) (63.5, 64.5, 66, 67) cm/22.5 (23, 23.5, 24, 24.5) (25, 25.5, 26, 26.5)”.
The sweater is designed to be worn with a loose oversized fit, with 13-22 cm/5-8.75” positive ease at the bust.
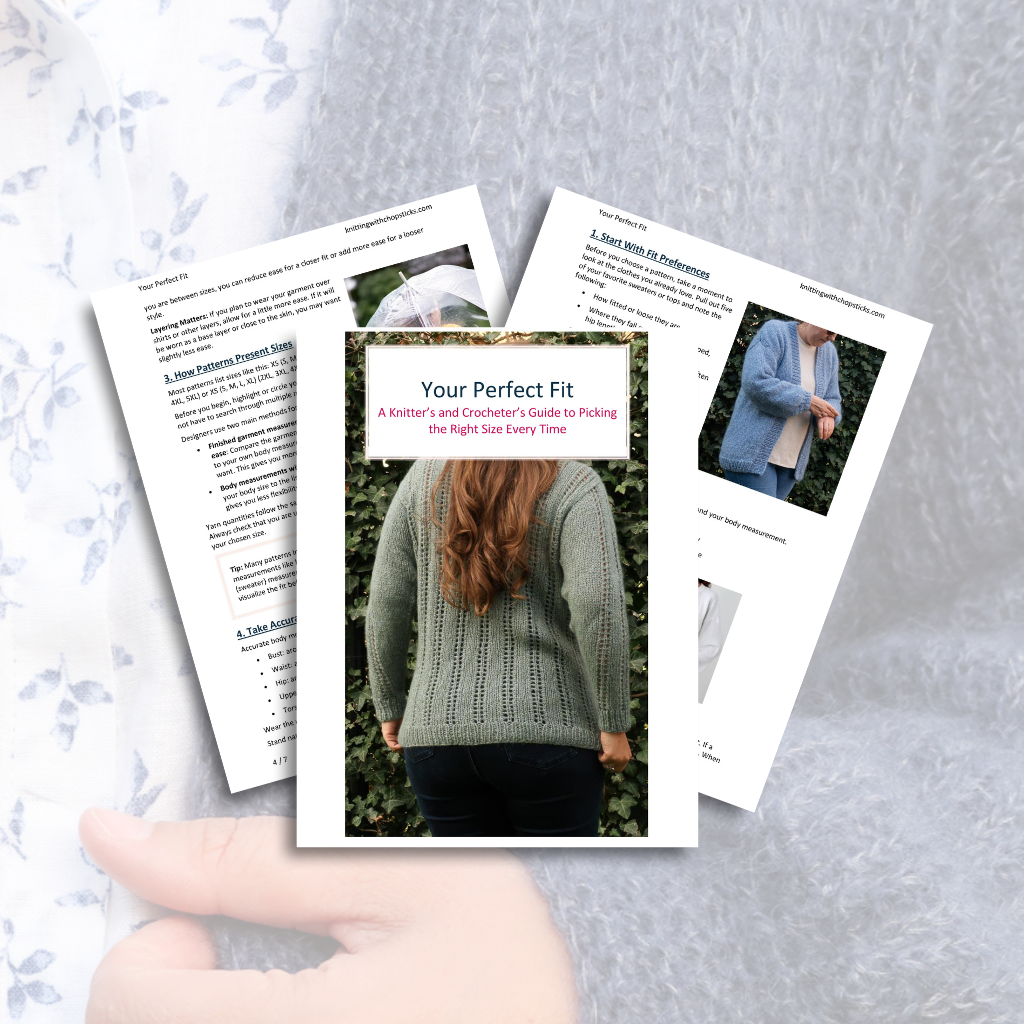
Perfect Fit Guide
Always guessing your size when knitting or crocheting garments?
Gauge
The gauge for this pattern with 3.75 mm/US 5 needles, in stockinette stitch, is 22 st by 28 rows for a 10 cm by 10 cm/4” by 4” blocked square.
Abbreviations & Instructions
- k: knit
- k2tog: knit 2 stitches together; single right-leaning decrease
- p: purl
- sl1k: slip 1 knitwise
- sl1p: slip 1 purlwise
- ssk: slip 2 stitches knitwise, knit these 2 stitches together through back loops; single left-leaning decrease
- st: stitch
- BOR = Beginning of round
Repeat instructions between [] the indicated number of times or until the end of the round/row.
The final number of stitches is indicated at the end of the round/row between < >.
Special Stitches and Techniques
A complete video tutorial of the collar section of the pattern is available on my Youtube channel.
Picking up stitches: if you’re not familiar with this technique, this tutorial is very helpful.
Judy’s Magic Cast-On: if you’re not familiar with this technique, this video tutorial is very helpful.
Magic Loop: Pull a loop of your circular needle’s cable out between the stitches to split your round into two halves. Slide the first half down onto the needle tip you’re working from, letting the rest sit on the cable, and knit across as normal. When you reach the end of that half, pull the empty needle tip through so it’s ready to work, slide the second half of stitches into place, and pull out another loop of cable to bridge the gap again. Repeat around.
Adding stitches on the end of a row: This is done by looping the yarn over your index finger from front to back and sliding the loop knitwise onto the working needle.
(Optional) Twisted Ribbing: For a more polished ribbing, I like to half twist my ribbing working all the purl stitches through the back loop and knitting the knit stitches regularly. Here is a detailed video tutorial showing you how to do it as well as comparing regular, half twisted and full twisted ribbing.
Video Tutorial
How to knit Polo Collar tutorial here:
Sweater Construction
This sweater is worked seamlessly from the top down. It starts with the statement polo collar, which uses a slightly unusual construction to create the double-layered collar and contrasting front flaps. From there, the sweater settles into a more familiar top-down construction.
You’ll begin with a Judy’s Magic cast-on, which allows both layers of the collar to be worked together in the round. The contrasting front flaps are then worked separately while the remaining stitches are placed on hold. Once the collar is complete, you’ll return to those held stitches to shape the shoulders and work the back and front of the sweater separately down to the underarms.
At the underarms, the front and back are joined and the body is worked in the round all the way down to the contrasting hem.
To finish, stitches are picked up around each armhole and the sleeves are worked seamlessly from the top down, ending with matching contrasting cuffs.
The collar construction is a little different from a classic top-down sweater, but you’ll build it one section at a time. Once the collar and shoulders are complete, the rest follows a familiar top-down flow.
The Actual Sweater Knitting Pattern
The Collar
Note: The collar construction is the same for all sizes.
With your Dusk color yarn and 3.75 mm/US 5 needles, using Judy’s Magic Cast-on method cast on 120 st on each needle. <240 sts total, but keep 120 on each side>
Add a BOR marker and an easy to differentiate marker after the first half of the stitches.
Note: You’ll be using your 3.75 mm/US 5 needles throughout the pattern until you get to the cuffs and body hem where you’ll switch to 3.25 mm/US 3 needles.
Using the magic loop method, knit in the round for 25 rounds.
You’re now going to knit the front sections of the collar.
On each side of the collar you’ll keep working the 10 stitches in blue for the front section as follows:
Row 1: Knit 10 st, turn.
Row 2: Sl1p, p 19 (removing the BOR marker in the process), turn.
Row 3: Sl1k, k19, turn.
Repeat Row 2 and 3 until this little section reaches 17 cm/6.75” from the rest of the collar. Put the 20 stitches on hold and cut the yarn leaving a long tail.
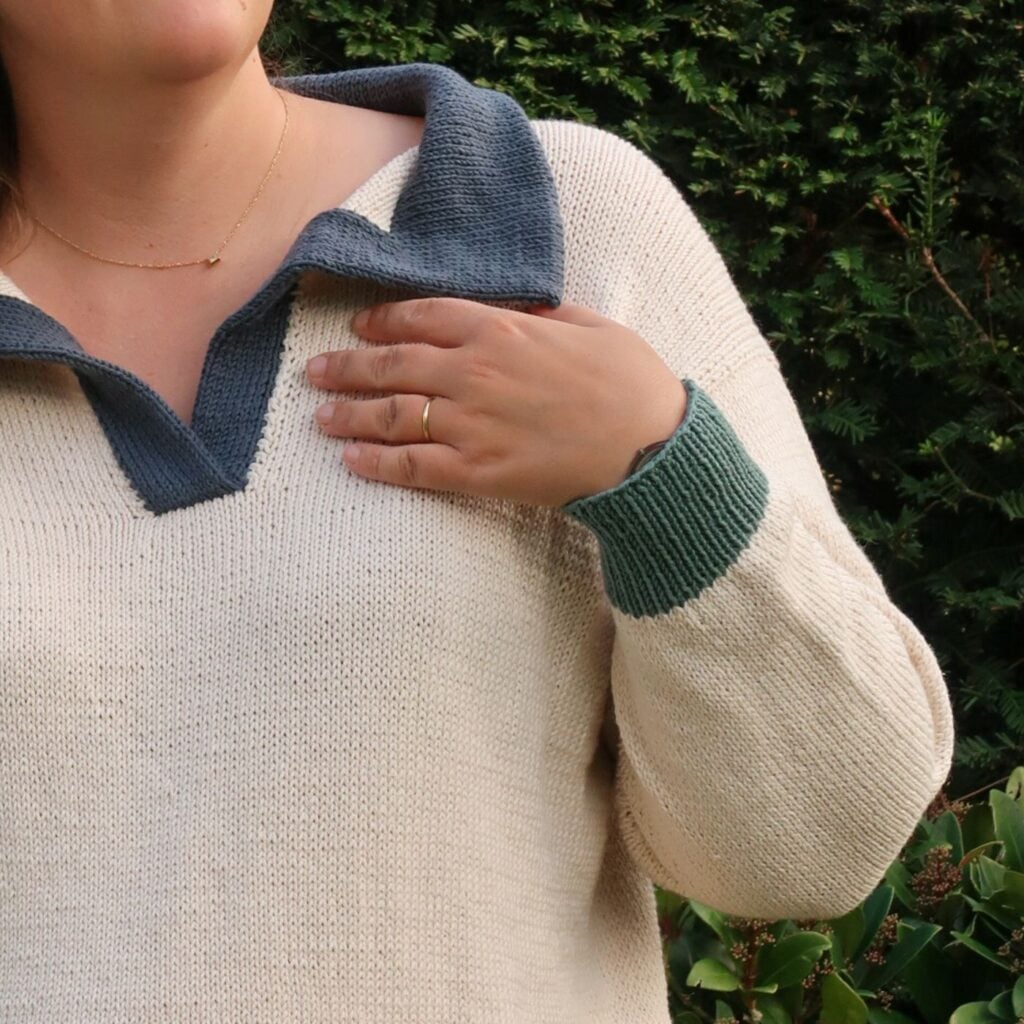
Next you’ll use the Goose Down color yarn to join the folded collar together as follows: Go back to the main collar stitches, join Goose Down Color and knit 100 stitches working through both the front and back half of round stitches together using a 3rd needle (similar to a three needle bindoff but without binding off the stitches) so you close the double folded collar leaving 10 unworked stitches on each needle.
Don’t cut the Goose Down yarn, but let it hang there, you’ll get back to it later.
Join back the Dusk color yarn and knit the 20 remaining stitches (you can remove the mid round marker) flat in stockinette repeating Row 2 and 3 above until that section measures 17cm/6.75” from the rest of the collar. Cut the Dusk color yarn and leave a long tail, place the 20 stitches on a stitch holder.
Note: You now have 2 times 20 dusk color stitches on a holder and 100 Goose Down color stitches on your needles.
Back Panel
Go back to the Goose Down color yarn thread and knit 78 st, then add 20 (21, 24, 27, 29) (30, 30, 32, 32) st, turn. Leave remaining 22 st on a holder.
Purl 76 (77, 80, 83, 85) (86, 86, 88, 88) st and add 20 (21, 24, 27, 29) (30, 30, 32, 32) st. Leave remaining 22 st on a holder.
Keep working these 96 (98, 104, 110, 114) (116, 116, 120, 120) st flat in stockinette until your white panel measures 20 (21, 22.5, 24, 26.5) (26.5, 27.5, 29, 30) cm/7.75 (8.25, 8.75, 9.5, 10.5) (10.5, 10.75, 11.5, 11.75)”.
Leave stitches on hold.
Front Panel 1
With Goose Down color yarn, with RS of the back facing you with collar at the top, start on the left-hand shoulder end by picking up the 20 (21, 24, 27, 29) (30, 30, 32, 32) added stitches along the top of the white panel (picking up 1 stitch in each stitch you added previously). Knit across the 22 white stitches on hold at the collar then insert your left needle through the Dusk color edge stitch on both layers of the fabric and pull up a stitch.
Note: We’re folding the dusk section in 2 to pick up through 2 stitches at the same time.
Slip the last stitch of the row over this new stitch, turn. <42 (43, 46, 49, 51) (52, 52, 54, 54) st>
*Purl 1 row.
On the next row, knit across then insert your left needle through the Dusk color edge stitch on both layers of the fabric and pull up a stitch. Slip the last stitch of the row over this new stitch, turn.
Repeat from * until you’ve joined all the 17 cm/6.75” of the Dusk color flap.
Finish with a purl row. Leave stitches on hold.
Front Panel 2
You’re going to repeat the same process for the other shoulder as follows:
With Goose Down color yarn, join at the blue flap, knit across the 22 white stitches on hold then pick up 20 (21, 24, 27, 29) (30, 30, 32, 32) stitches along the top of the white panel by picking up 1 st in each stitch you added. <42 (43, 46, 49, 51) (52, 52, 54, 54) st>
*Purl across then insert your left needle through the Dusk color edge stitch on both layers of the fabric and pull up a stitch. <43 (44, 47, 50, 52) (53, 53, 55, 55) st>
Turn your work and slip 2 st then slip the first one over the 2nd one and knit across. <42 (43, 46, 49, 51) (52, 52, 54, 54) st>
Repeat from * until you’ve joined all the 17 cm/6.75” of the blue flap.
Finish with one more purl row. Cut the yarn leaving a tail to weave in the end.
Joining Front Panels
You’re now going to join both front panels together. You’ll start with knitting the stitches of the first panel, then knit all 4 layers of the blue flaps together, then finish with the second front panel as follows:
- Knit across the front panel 1 stitches.
- In order to be able to knit all 4 layers of the Dusk color flaps you will need to place them on different needles: 10 st per needle, all facing the same direction (towards panel 1). Place the panel 2 flap over the panel 1 flap.
Note: If you don’t have enough 3.75 mm/US 5 needle tips, it’s ok to use a slightly different size. Smaller is going to be easier.
With your right needle insert your needle through the first stitch on all 4 left hand needles and knit a stitch. Repeat until you’ve knit all 10 blue stitches. - Finish the row by knitting the panel 2 stitches across.
Continue knitting flat in stockinette until total length from shoulder pickup stitches is 20 (21, 22.5, 24, 26.5) (26.5, 27.5, 29, 30) cm/7.75 (8.25, 8.75, 9.5, 10.5) (10.5, 10.75, 11.5, 11.75)” finishing after a purl row.
Join Back and Front in the Round
On the next row, knit across front panel stitches, add 6 (14, 20, 26, 33) (41, 52, 60, 72) st, knit across back panel stitches, add 6 (14, 20, 26, 33) (41, 52, 60, 72) st. <202 (222, 246, 270, 292) (312, 334, 358, 382) st>
Continue knitting stockinette in the round until total length is 49 (50, 51.5, 53, 54) (55.5, 56.5, 58, 59) cm/19.25 (19.75, 20.25, 20.75, 21.25) (21.75, 22.25, 22.75, 23.25)”.
Bottom Ribbing
Switch to Sedona color yarn and knit 1 round.
Optional: For a more polished ribbing purl through the back loop on all purl stitches in ribbing (work the knits regularly).
Switch to 3.25 mm/US 3 needles and [k1, p1] around for 8 cm/3.25”.
Cast off and weave in the ends.
Sleeves
With your Goose Down color yarn and 3.75 mm/US 5 needles, pick up 88 (94, 100, 106, 118) (118, 122, 128, 132) stitches around the armhole (omit horizontal added stitches at the underarm), picking up approximately 3 stitches every 4 rows.
You’ll first work flat in rows back and forth to cover the armhole shaping indent before joining in the round:
Row 1: Purl across.
Row 2: Knit across then insert your needle through the first unjoined horizontal stitch and pull up a stitch. Slip the last stitch of the row over this new stitch.
Row 3: Purl across then insert your needle through first unjoined horizontal stitch and pull up a stitch. Turn your work and slip 2 st then slip the first one over the 2nd one.
Repeat Row 2 and 3 until no horizontal stitches remain, join in the round and continue in stockinette.
Continue working in stockinette in the round shaping the tapered sleeve:
[Decrease round: k1, k2tog, knit until last 3 st, ssk, k1.
Knit 4 (4, 3, 3, 2) (2, 2, 2, 2) rounds] 14 (17, 20, 23, 29) (29, 31, 34, 36) times.
Knit in stockinette until total sleeve length from underarm (where you joined in the round) is 30 (31, 32.5, 34, 34) (36.5, 37.5, 39, 40) cm/12 (12.25, 12.75, 13.5, 13.75) (14.25, 14.75, 15.25, 15.75)”.
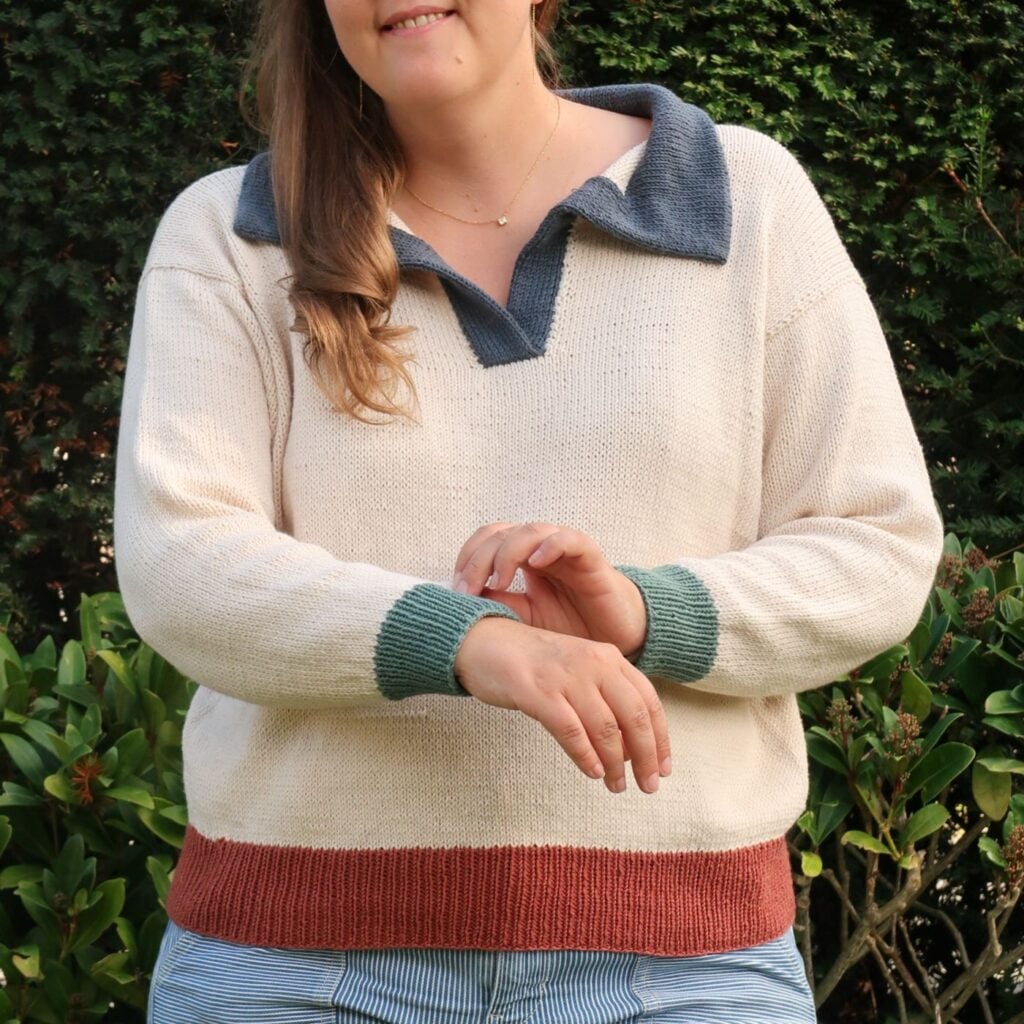
Switch to Mineral color yarn.
Knit one round.
Optional: For a more polished ribbing look, work all purl stitches through the back loop (twisting them).
Switch to 3.25 mm/US 3 needles.
[K1, p1] around for 6 cm/2.5”.
Cast off and weave in the ends.
Repeat for the other sleeve.
Blocking
You are done with the knitting part. Make sure to weave in all the ends.
To make your sweater even prettier and help even out your stitches, wet block your project. Don’t skip this step as it can make a huge difference. Read my detailed tutorial on why block, how-to, and all my tips and tricks if you need help.