X Marks the Spot Blanket Square

A new blanket square knitting pattern, X Marks the Spot, is now a free knitting pattern here on the blog! Read about the construction and Cozy Fall MAL it is a part of, or scroll down for the free knit pattern.
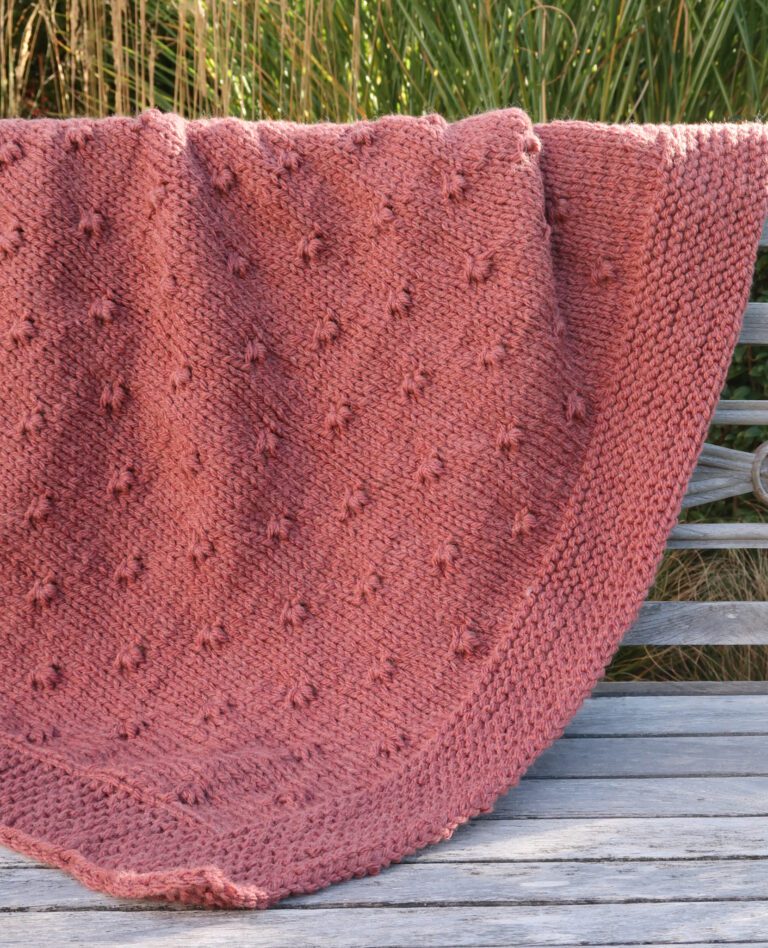
No time right now? Pin this free knitted afghan square pattern for later!

*This post contains affiliate links (only for products I love, use and spend my own money on obviously). This means I earn some yarn money if you make a purchase through one of these links (of course at no extra cost for you!), which I promise to use to create more awesome patterns like this one. All opinions are my own. See my full disclosure here.
Cozy Fall Charity MAL
This blanket square knitting pattern is part of the Charity Cozy Fall MAL.
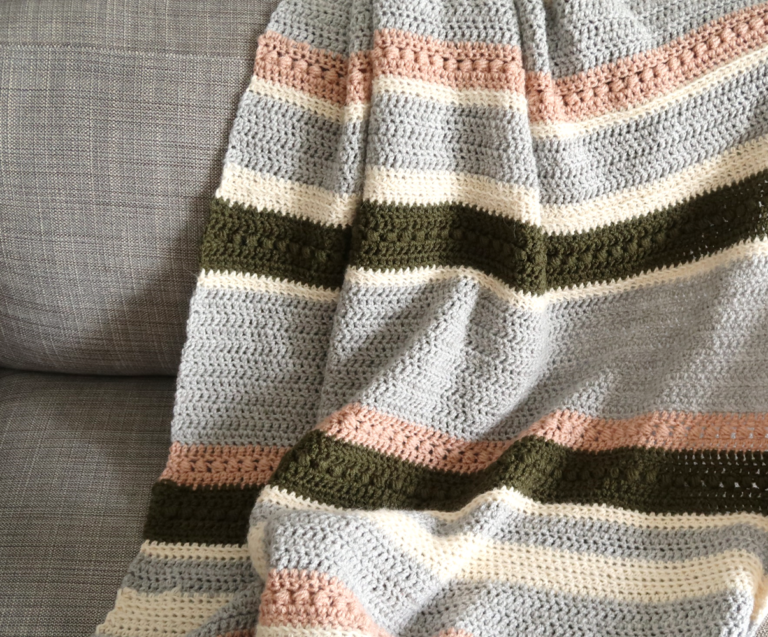
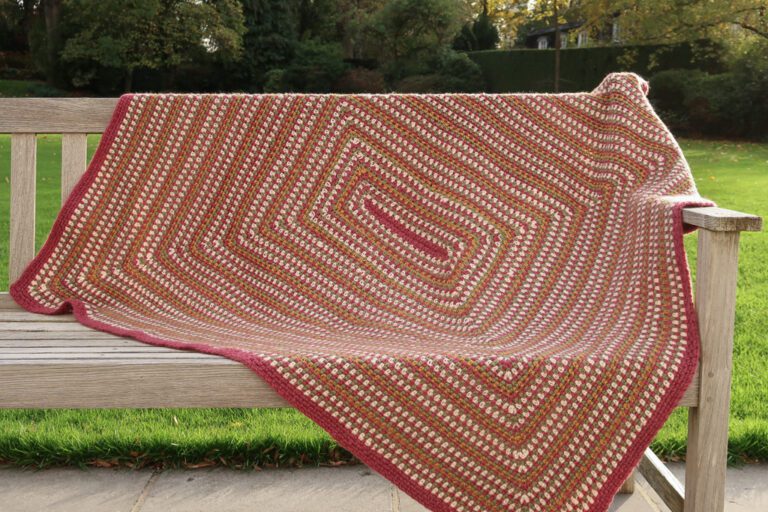
20 unique knit square designs are released throughout the month of October to form a cozy fall blanket.
You can find all the MAL info and all the knit square patterns here
The Knit Square Construction
The X pattern is made with simple cables: by crossing 2 stitches the diagonal is formed. The video tutorial included in the pattern below will show you how to work the cables.
The rest of the square is a simple garter stitch background to help the cable pop.
The square is designed in worsted weight for an 8″ square. However, the instructions are written in such a way you can easily adjust to any yarn weight and square size (instructions included)
More Knit Squares You'll love
Downloadable PDF
Why I Recommend You Purchase the PDF Pattern
If you’ve never used PDF patterns before, you are missing out on so much convenience!
- You don’t need to take screenshots of the pattern
- You don’t need to have your computer, phone or tablet around to work on your project.
- You don’t need to panic if your husband accidentally closed the page
- You can take notes, highlight your size and write down where you are.
- When your best friend begs you to make her the same sweater, you have the pattern ready.
- It’s a great way to support the blog so I can continue to bring you knitting tutorials.
Grab the printable PDF of the X Marks the Spot Square now in on my shop or on Ravelry:
Before you Start
Materials
- 4.5 mm/ US 7 knitting needles
- WeCrochet Swish (worsted weight, 100% fine superwash merino wool, 50g/1.75oz, 100m/110yd)
- Tapestry needle to weave in the ends
- 3 stitch markers (1 to be used as cable needle)
Size
The Square is 20 cm / 8” square. You can easily adjust the size by casting on an uneven number of stitches that will get you the desired square size.
Gauge
The gauge for this pattern, in garter stitch, is 19 st by 36 rows for a 10 cm by 10 cm square (4” by 4”).
Abbreviations & Instructions
- st = stitch
- k = knit
- p = purl
- RS = right side
- WS = wrong side
- Sl1p = slip 1 stitch purlwise
- C2F = put 1 st on the cable needle and keep it in front of your work, k1, k1 from your cable needle.
- C2B = put 1 st on the cable needle and keep it in the back of your work, k1, k1 from your cable needle.
If you’re new to cable knitting, this detailed tutorial will help you.
The final number of stitches is indicated at the end of the round/row between < >.
Special Stitches and Techniques
- Stockinette stitch: knit on the right side and purl on the wrong side of your project.
- Garter stitch: knit on both sides of your project.
The following video gives you an overview of how the cables are formed throughout the square.
Note: In the instructions below, I’ve added a stitch marker to help you identify which stitch to purl on the WS.
The Actual Square Knitting Pattern
With your 4.5 mm / US 7 knitting needles, cast on 37 st.
Sick of all the yarn jargon and conversions?
US vs UK, abbreviations, imperial vs metric, yarn weights, etc?

Row 1 (RS): Sl1p, knit across. <37 st>
Row 2: Sl1p, knit until end of row.
Row 3: Sl1p, C2F, place st marker, knit until last 3 st, C2B, place st marker, k1.
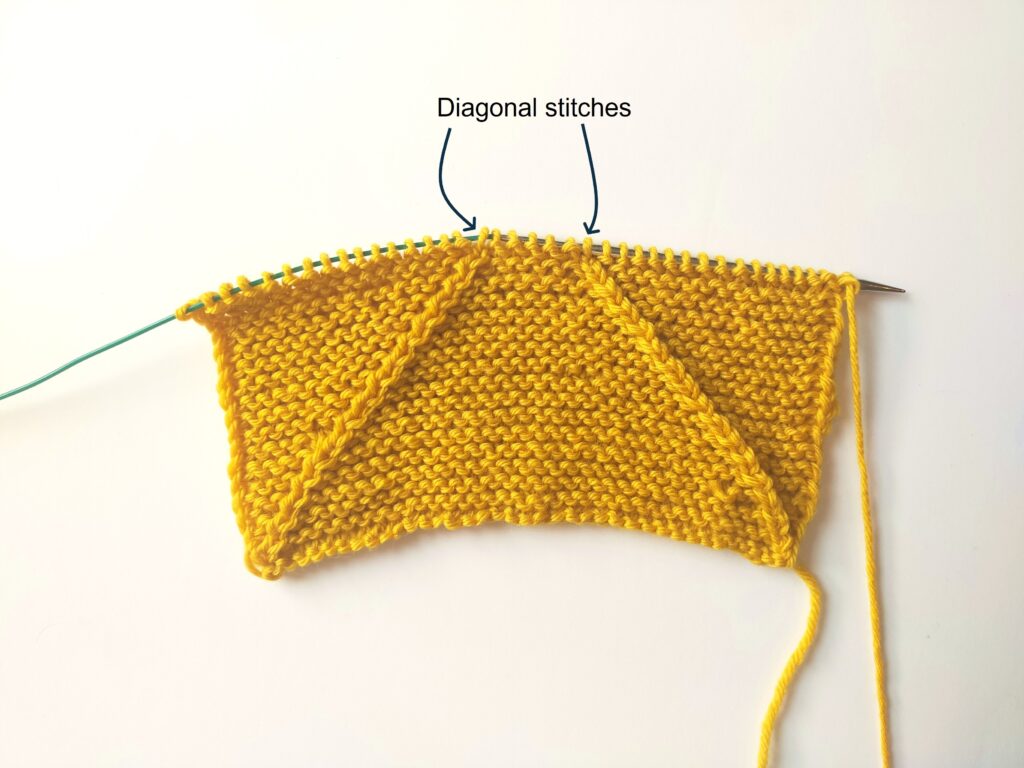
You will see a stockinette stitch diagonal forming. This stitch is referred to as the diagonal st in the rest of the instructions.
Row 4: Sl1p, k until st marker, k1, p diagonal st, k until next st marker, p diagonal st, k until end of row.
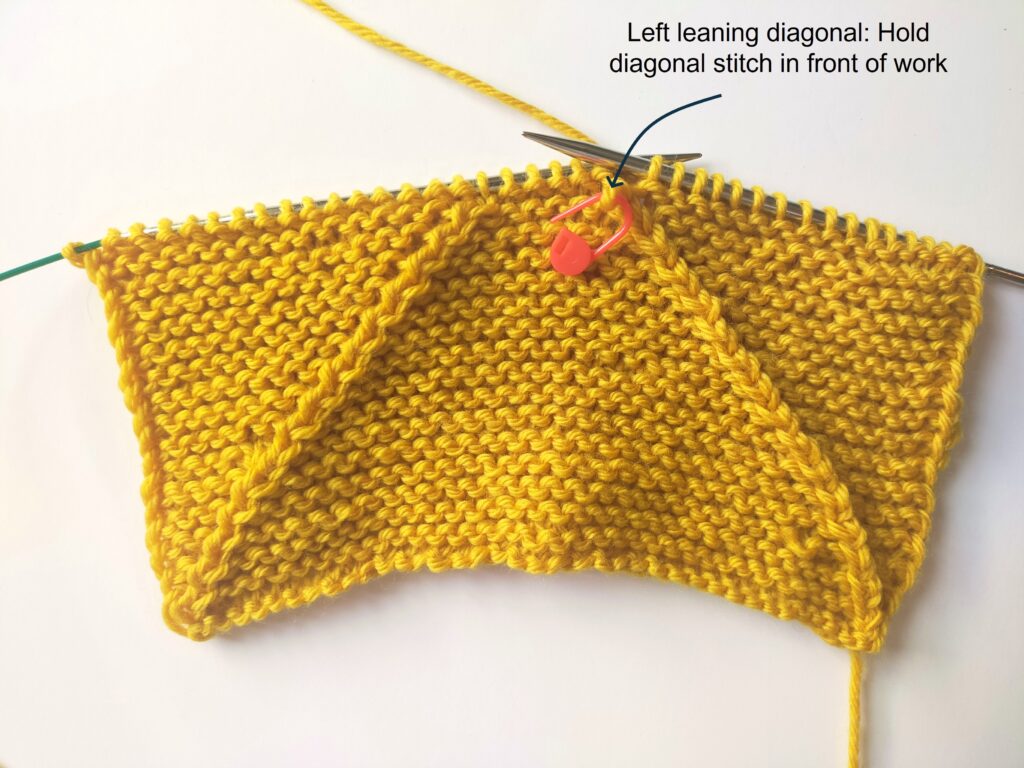
Row 5: Sl1p, k until diagonal st, C2F placing diagonal st on cable holder, place st marker, k until st before diagonal st, C2B, place st marker, k until end of row.
Repeat Row 4 and 5 until only 1 st remains between both diagonal stitches.
Row 6: Sl1p, k until diagonal st, place it on cable needle and keep it in the front of your work, place the next stitch on another cable needle and hold it in the back of your work, knit the 2nd diagonal stitch, knit the stitch on the cable needle in the back then knit the first diagonal st from your cable needle in the front, k until end of row.
Row 7: Sl1p, k until diagonal st, p diagonal st, k until diagonal st, p diagonal st, k until end of row.
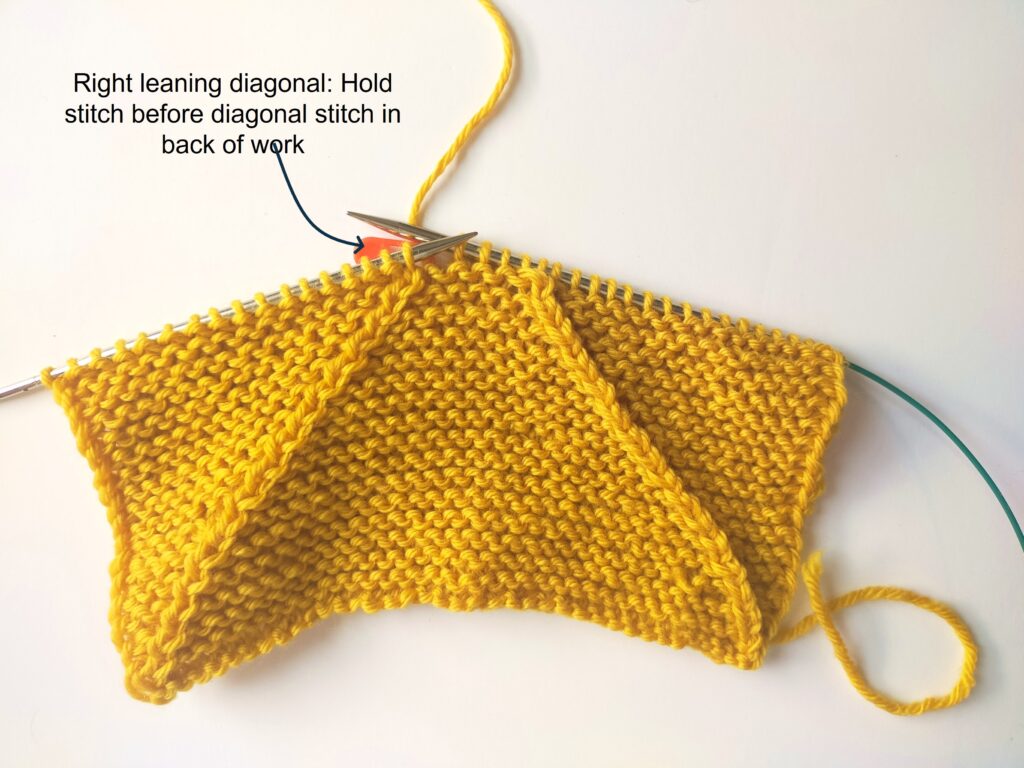
Row 8: Sl1p, k until st before diagonal st, C2B, k until next diagonal st, C2F, k until end of row.
Repeat Rows 7 and 8 until the diagonal stitches are 1 st from the edges (2nd and 1 before last st)
Cast off.
Blocking
You are done with the knitting part. Make sure to weave in all the ends.
To make your square nice and flat, help even your stitches and flatten your edges, block your project.
Don’t skip this step as it can make a huge difference. Read my detailed tutorial on why block, how-to, and all my tips and tricks if you need help.

 Trio Sweater
  Mia Tee