Katrina Sweater Knitting Pattern
A new free sweater knitting pattern, the Katrina Knit Sweater, is now a free pattern here on the blog. Read all about the unusual sweater construction and color combination recommendations or scroll down for the free knitting pattern.
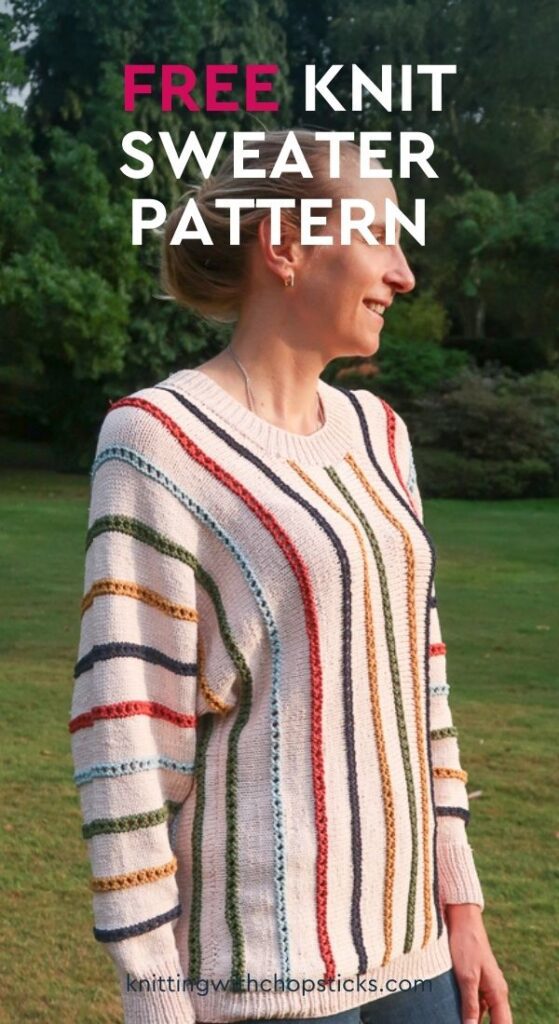
No time right now? Pin this loose sweater knitting pattern free for later!
*This post contains affiliate links (only for products I love, use and spend my own money on obviously). This means I earn some yarn money if you make a purchase through one of these links (of course at no extra cost for you!), which I promise to use to create more awesome patterns like this one. All opinions are my own. See my full disclosure here.
The best time to wear a striped sweater is most definitely all the time, right?!
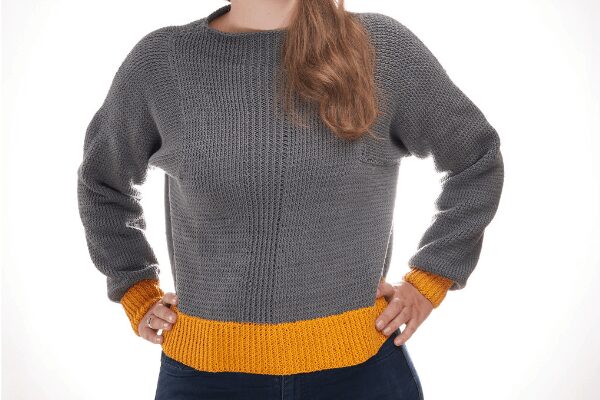
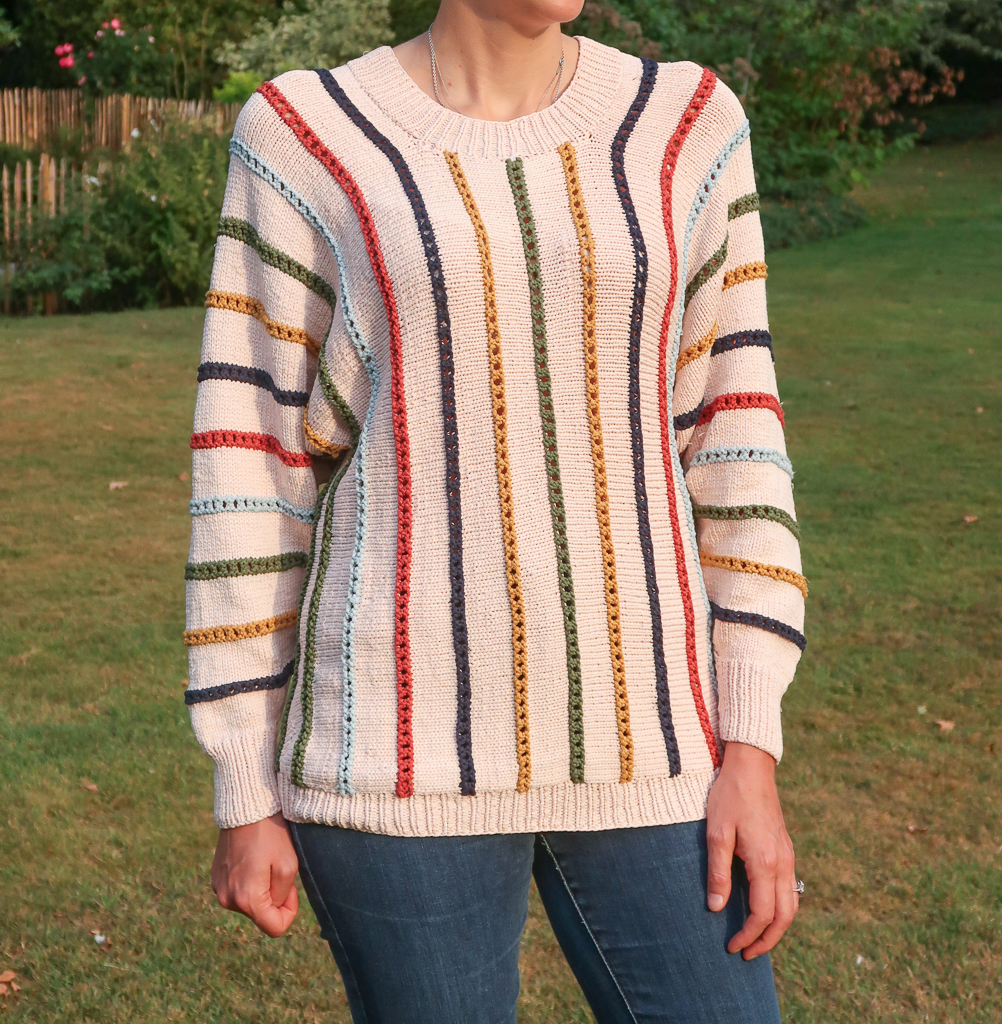
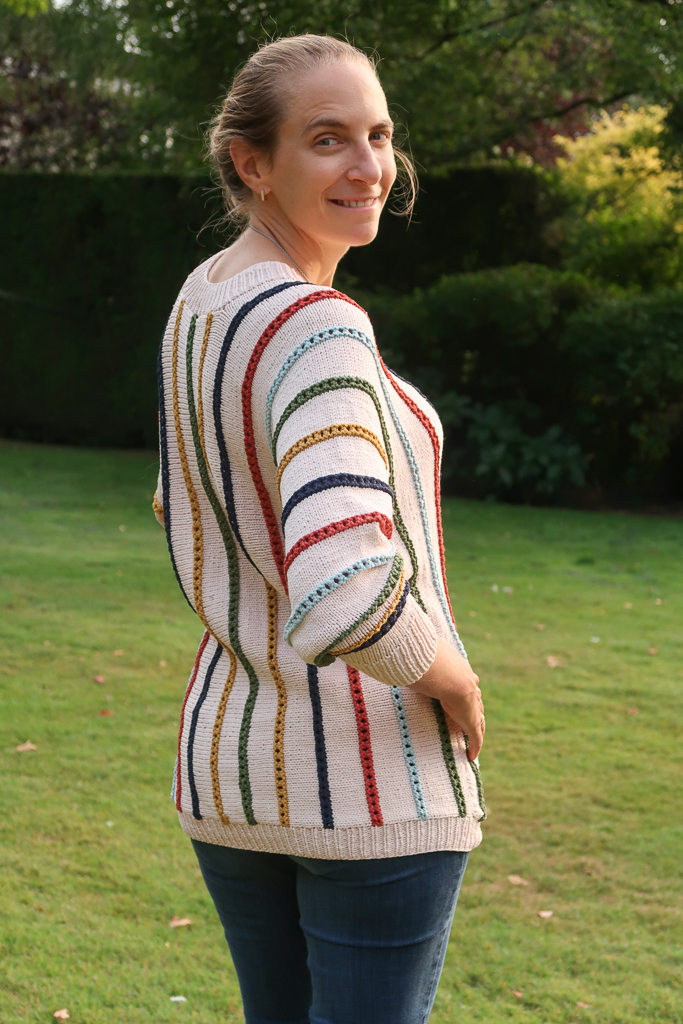
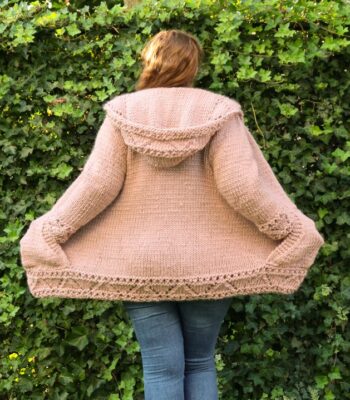
This loose, knit Katrina sweater is a must for your wardrobe.
With its batwing sleeves and loose fit, it is wildly comfy and puts every other striped sweater knitting pattern to shame. Maybe that is a BIT of an exaggeration, but trust me—you need this level of comfort in your life.
In all realness, the Katrina sweater knitting pattern makes a comfortable, loose, fairly lightweight (DK weight yarn), stylish, easy-to-knit sweater.
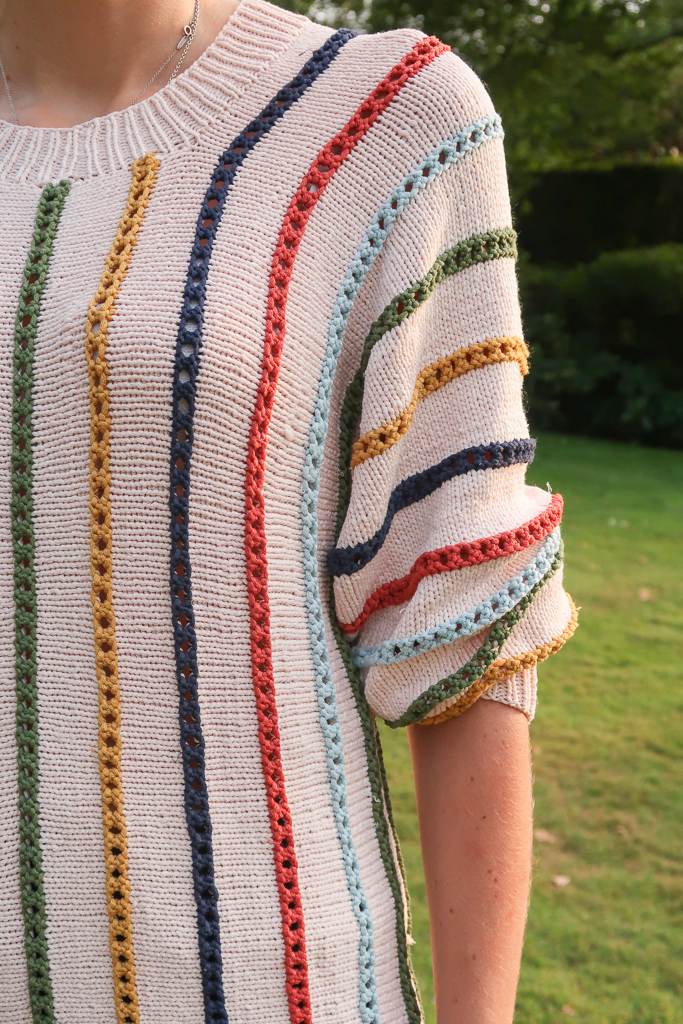
Working the sweater sideways (from one cuff to the other), gorgeous vertical color and eyelet textured lines are made possible (and actually easy to knit!).
Katrina Sweater Knitting Pattern Construction
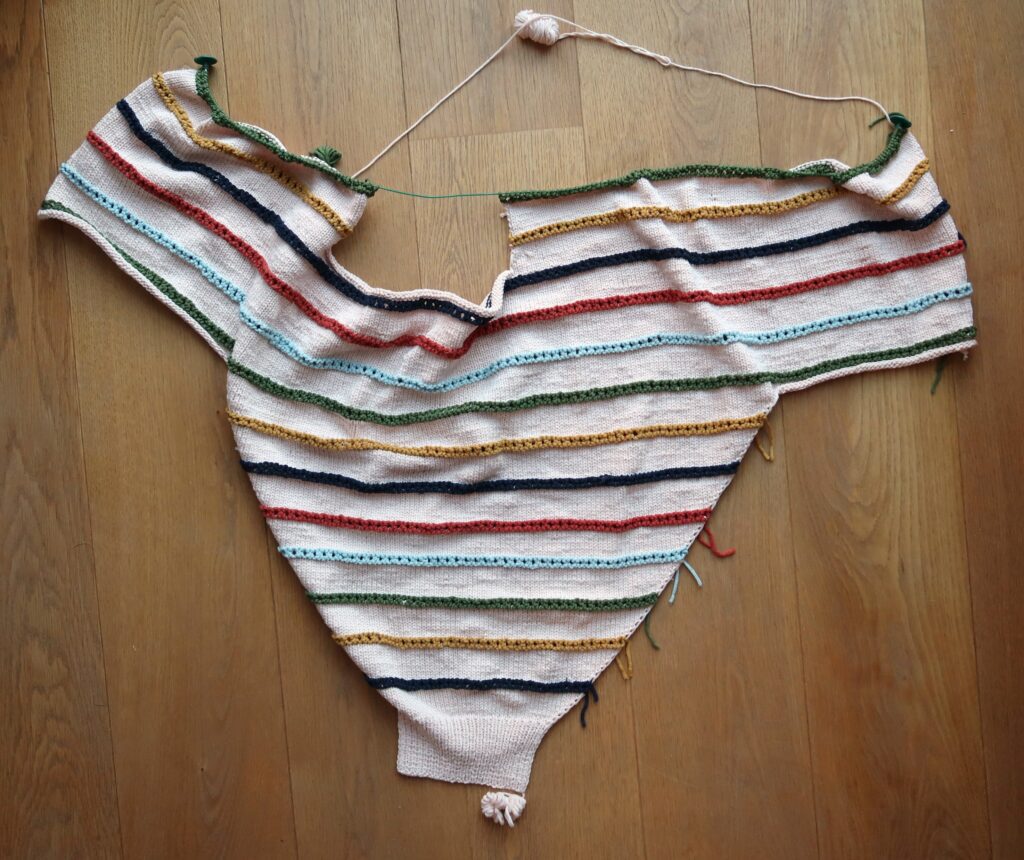
The Katrina Sweater is made using an unusual construction. Instead of a more classic bottom up or top down approach, I choose to work from one cuff to the other one. This is how those gorgeous vertical color and eyelet textured lines are made possible (and actually easy to knit!)
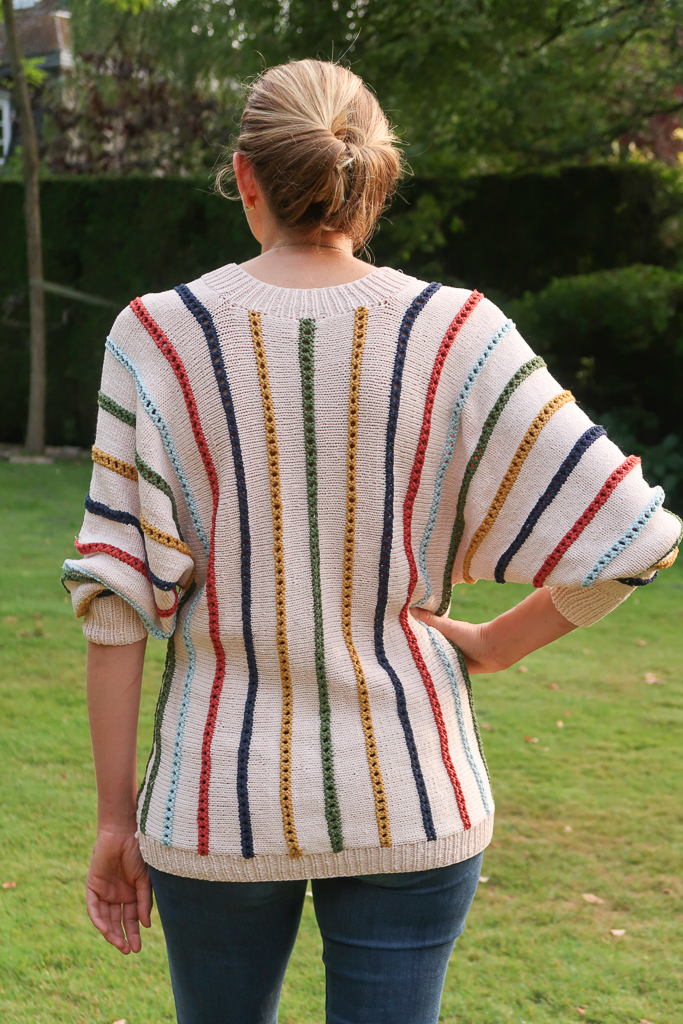
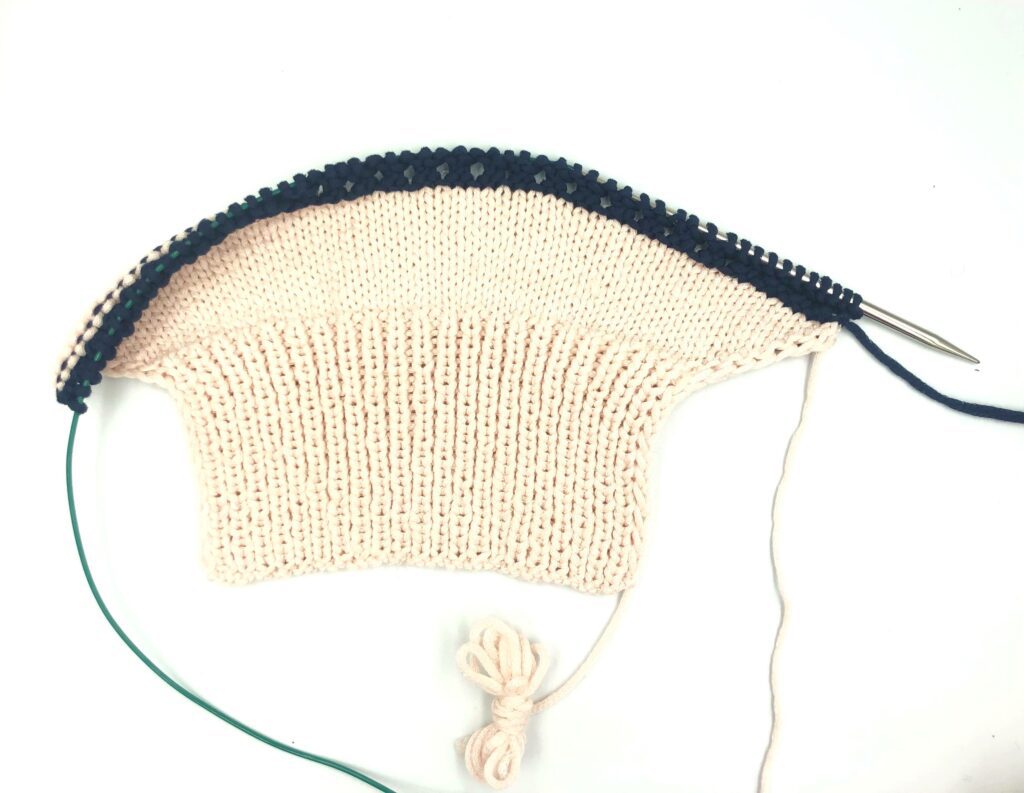
The sweater is worked in 2 panels sewed together. Both panels are nearly symmetrical (slight difference at the neck area for the stripe pattern to be consistant), worked from the cuff to the middle of the sweater.
Starting at the cuff you’ll make increases to shape the sleeve and work your way upwards to the shoulder. Stitches are then added at both ends to give the sweater its total length and shaping for the neck. The first panel will follow Neck Opening 1, the second panel will follow Neck Opening 2.
After assembling the panels, stitches are picked up for the neckline and bottom ribbing.
Color Combinations
The free sweater knitting pattern is designed with one main color and 5 contrasting colors but you can easily modify that and choose to work with only one contrasting color or up to 12 (13, 14, 15, 26) depending on your size.
I recommended using a more neutral color for the main color. This leaves a lot of room for fun colors for the stripes. You can either work with a light color and use darker, more pronounced colors for the contrasting colors like I’ve done in this sample. Or you can go the other way around and use a dark neutral as main color combined with lighter, brighter contrasting colors.
But you could also decide to go for a colorfull color instead and have the stripes in a variety of neutrals.
Whichever combination you choose, having a lot of contrast between the main color and the contrasting colors will make the stripe pattern come out more and highlight the beautiful eyelet details.
Downloadable Katrina Sweater Knitting Pattern
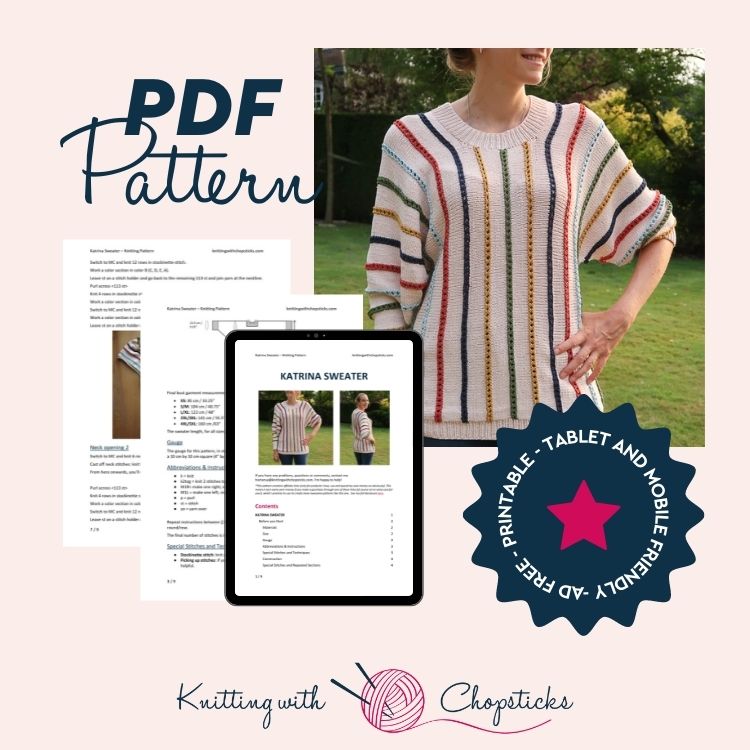
Grab the printable PDF of the Katrina Sweater knitting pattern now in my shop, on Etsy shop or on Ravelry.
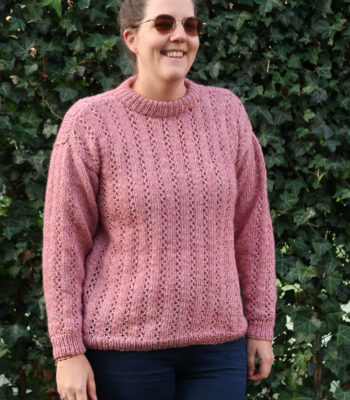
More Women Sweater Knitting Patterns You'll Love View All

Before you Start your Sweater Knitting Pattern
Materials
- 4 mm / US 6 circular knitting needles
- 4.5 mm / US 7 knitting needles
- Katia Sweet Cocoon (DK weight 3, 65% viscose, 35% polyamide, 145m/158yd, 50g/1.75oz):
- 8 (9, 10, 12, 13) skeins in light pink (85) (MC)
- 1 skein each in
- ocean blue (93) – color A
- ochre (88) – color B
- grass green (91) – color C
- pastel blue (83) – color D
- red orange (90) – color E
- Tapestry needle to weave in the ends. I love this set as it has different eye sizes for different yarn thicknesses and it comes in a small tube which is very convenient so I don’t lose them.
Sweater Size
The sweater knitting pattern is available in 5 hybrid sizes: XS, S/M, L/XL, 2XL/3XL, 4XL/5XL. Sizes are noted throughout the pattern in the following way: XS (S/M, L/XL, 2XL/3XL, 4XL/5XL).
Sick of all the yarn jargon and conversions?
US vs UK, abbreviations, imperial vs metric, yarn weights, etc?

The pictures illustrate the S/M size.
The sweater is designed with a loose fit, 10 – 15 cm / 4 – 6” ease at the bust.
Final bust garment measurements are:
- XS: 85 cm / 33.25”
- S/M: 104 cm / 40.75”
- L/XL: 122 cm / 48”
- 2XL/3XL: 141 cm / 55.5”
- 4XL/5XL: 160 cm /63”
The sweater length, for all sizes, is 66 cm / 26”.
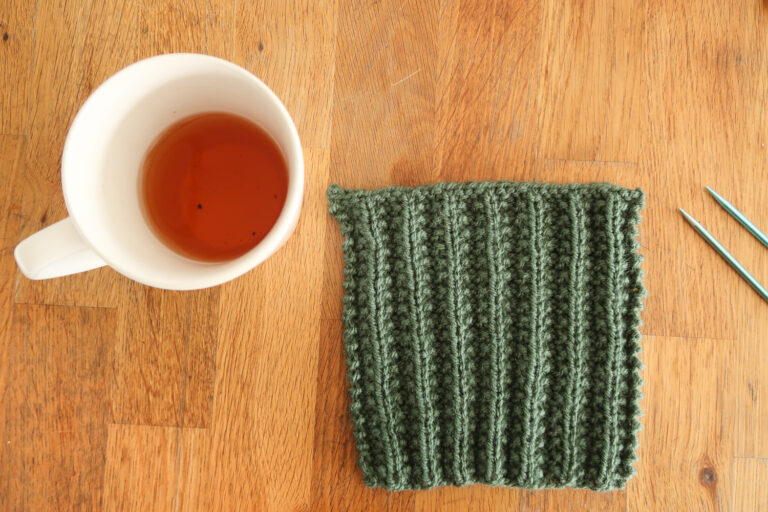
Gauge
The gauge for this pattern, in stockinette with 4.5 mm / US 7 needles, is 19 st by 34 rows for a 10 cm by 10 cm square (4” by 4”).
Need help figuring out your gauge and how to adjust it? Find out all you need to know about knitting gauge here.
Abbreviations & Instructions
- k = knit
- k2tog = knit 2 stitches together, single right-leaning decrease
- M1R= make one right; single right-leaning knit increase
- M1L = make one left; single left-leaning knit increase
- p = purl
- st = stitch
- yo = yarn over
Repeat instructions between [] the indicated number of times or until the end of the round/row.
The final number of stitches is indicated at the end of the round/row between < >.
Special Stitches and Techniques
- Stockinette stitch: knit on right side rows, purl all stitches on wrong side rows.
- Picking up stitches: if you’re not familiar with this technique, this tutorial is very helpful.
- M1R: Insert your left needle from back to front, under the bar between the stitches (thus lifting it onto the left needle). Knit this bar through the front loop (this twists it into a nice little tight loop)
- M1L: Insert the left needle from front to back, under the bar between the stitches (thus lifting it onto the left needle). Knit this bar through the back loop (this twists it into a nice little tight loop).
If you are not familiar with this increase technique, I find this video tutorial very helpful.
- Three needle bind off: if you’re not familiar with this technique, this tutorial is very helpful
- Add X st at the end of the row: cast on X additional stitch at the end of the row. Refer to video below.
- If you’re new to knitting eyelets, don’t let them intimidate you! All you need to do is yarn over then knit 2 stitches together. Check out this video for a quick tutorial:
Special Stitches and Repeated Sections
Pink section
Switch to MC if that’s not the current color.
[Increase Row: k1, M1L, k until last st, M1R, k1.
Purl 1 row.]
Repeat last 2 rows five times. <+12 st>
Color section
Switch to indicated color.
Knit 2 rows.
[k1, yo, k2tog] across.
Knit 1 row.
The Actual Sweater Knitting Pattern
Both panels are worked the same up to the neck opening section. Make one panel with each opening section. You will then join them together to form the sweater.
With your 4 mm / US 6 needles and MC yarn cast on 45 st.
Row 1: [k1, p1] across
Row 2: [p1, k1] across
Repeat Row 1 and 2 for 8 cm / 3.25”.
Switch to 4.5 mm / US 7 needles
Work a pink section. <57 st>
Work a color section in color A.
Work a pink section. <69 st>
Work a color section in color B.
Work a pink section. <81 st>
Work a color section in color C.
Work a pink section. <93 st>
Work a color section in color D.
Work a pink section. <105 st>
Work a color section in color E.
Work a pink section. <117 st>
Work a color section in color A.
Work a pink section. <129 st>
Work a color section in color B.
Switch to MC yarn.
[Increase: k1, M1L, k until last st, M1R, k1
Purl 1 row]
Repeat last 2 rows twice. <135 st>
You’re done with the sleeve increases and will now start shaping the body section of the sweater.
Add 55 sts at the end of the row. <190 st>
Knit across and add 55 sts at the end of the row. <245 st>
Purl 1 row.
Knit 4 rows in stockinette st.
Work a color section in color C.
Switch to MC and knit 12 rows in stockinette stitch.
Work a color section in color D.
Switch to MC and knit 12 rows in stockinette stitch.
Work a color section in color E.
For size XS skip to neck opening.
Switch to MC and knit 12 rows in stockinette stitch.
Work a color section in color A.
For size S/M skip to neck opening.
Switch to MC and knit 12 rows in stockinette stitch.
Work a color section in color B.
For size L/XL skip to neck opening.
Switch to MC and knit 12 rows in stockinette stitch.
Work a color section in color C.
For size 2XL/3XL skip to neck opening.
Switch to MC and knit 12 rows in stockinette stitch.
Work a color section in color D.
Neck opening 1
Switch to MC and knit 6 rows in stockinette st.
Cast off neck stitches: knit 113 st (for the back), cast off 35, knit 97 (for the front).
From here onwards, you’ll work both sides separately.
Purl across <97 st>
Knit 4 rows in stockinette st.
Work a color section in color A (B, C, D, E).
Switch to MC and knit 12 rows in stockinette stitch.
Work a color section in color B (C, D, E, A).
Leave st on a stitch holder and go back to the remaining 113 st and join yarn at the neckline.
Purl across <113 st>
Knit 4 rows in stockinette st.
Work a color section in color A (B, C, D, E).
Switch to MC and knit 12 rows in stockinette stitch.
Work a color section in color B (C, D, E, A).
Leave st on a stitch holder and make the second panel using neck opening 2 instructions.
Neck opening 2
Switch to MC and knit 6 rows in stockinette st.
Cast off neck stitches: knit 97 st, cast off 35, knit 113.
From here onwards, you’ll work both sides separately.
Purl across <113 st>
Knit 4 rows in stockinette st.
Work a color section in color A (B, C, D, E).
Switch to MC and knit 12 rows in stockinette stitch.
Leave st on a stitch holder and go back to the remaining 97 st and join yarn at the neckline.
Note: You finished the first panel on a color section which is left out of this panel on purpose so your sweater keeps the stripe pattern from one panel to the other when joined
Purl across <97 st>
Knit 4 rows in stockinette st.
Work a color section in color A (B, C, D, E).
Switch to MC and knit 12 rows in stockinette stitch.
Assembly
Use the 3 needle bind off technique to attach both panels together for both the front (97 st) and back (113 st) sections.
Sew up the sleeves and sides.
Collar
With your 4 mm / US 6 needles, pick up 120 stitches around the neckline and join in the round.
[k1, p1] around for 4.5 cm / 1.75”.
Cast off and weave in your ends.
Bottom Edge
With your 4 mm / US 6 needles, pick up approximately 1 stitch per every 2 rows around the bottom edge and join in the round. The exact number of stitches doesn’t matter.
[k1, p1] around for 4.5 cm / 1.75”.
Cast off and weave in your ends.
Blocking
You’re done with the knitting part. Make sure to weave in all the ends.
To make your sweater even prettier, help even your stitches, open up the lace and make the textures come out even more, block your project.
Don’t skip this step as it can make a huge difference. Read my detailed tutorial on why block, how-to, and all my tips and tricks if you need help.