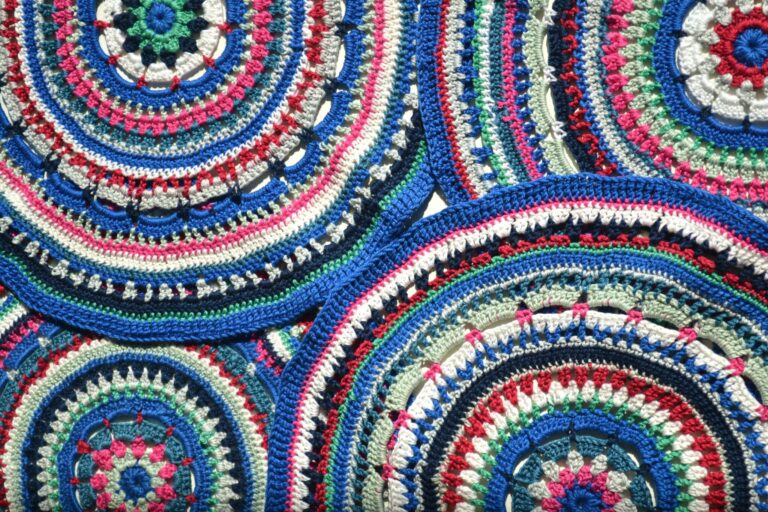
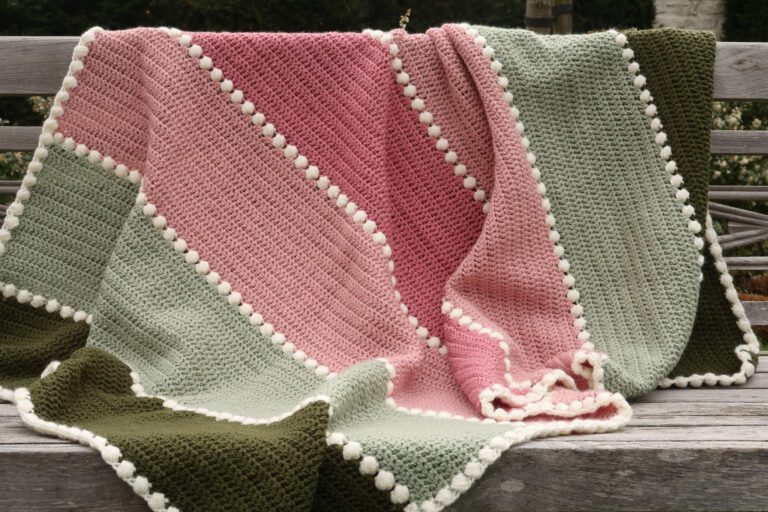
Border Crochet Blanket Section
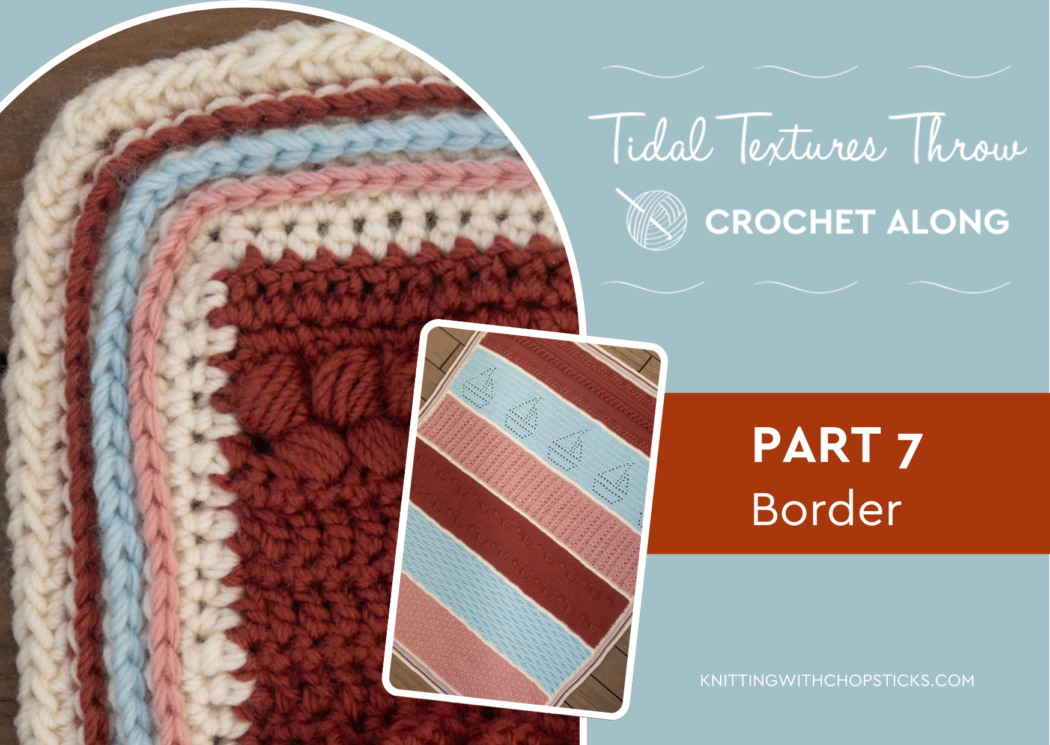
A new crochet blanket stripe pattern, the Border, part of the Tidal Textures Throw Crochet-Along Pattern, is now a free crochet pattern here on the blog. Read all about the stripe design and crochet along or scroll down for the free crochet blanket stripe pattern.
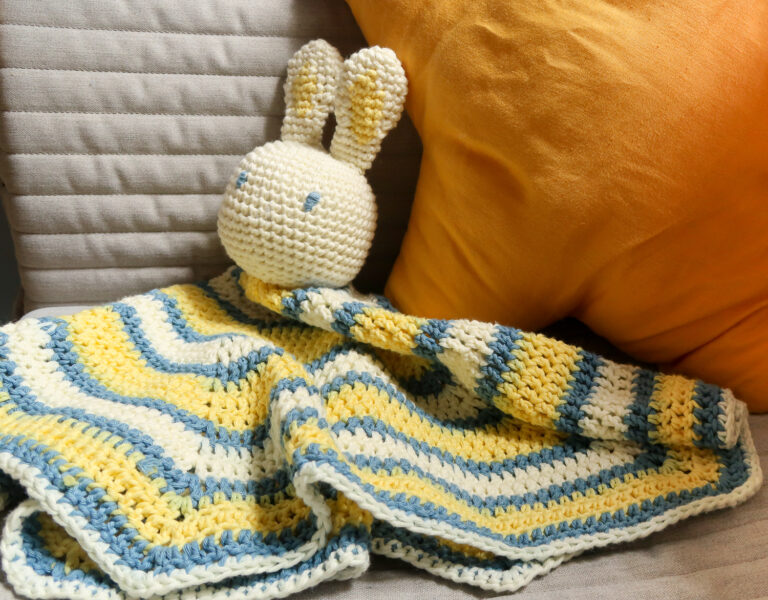
No time right now? Pin this cozy blanket border free crochet pattern for later!

*This post contains affiliate links (only for products I love, use and spend my own money on obviously). This means I earn some yarn money if you make a purchase through one of these links (of course at no extra cost for you!), which I promise to use to create more awesome patterns like this one. All opinions are my own. See my full disclosure here.

The Tidal Textures Throw Crochet-Along (CAL)
The Border crochet blanket stripe pattern is the 7th section in the Tidal Textures Throw Crochet-Along (CAL).
The crochet-along blanket is made out of 6 stripes (each stripe is approx. 23 cm / 9.5” high and 127 cm / 50” wide) that are worked on top of each other (no joining or sewing here!). Each stripe is separated from the next one with a divider section, except the last one. The divider section is approximately 1 cm / 0.5” tall and 127 cm / 50 inches wide.
Every Wednesday 1 new blanket stripe crochet pattern is released for free here on the blogs. Divider section for this crochet blanket will also be released for free on the blog on the 1st week of this CAL.
Each section comes with written instructions, photo tutorials and a video tutorial. For relevant stripes a stitch chart will also be provided.

Upgrade Your Crochet-Along Experience
We know not everyone likes to jump around the website to follow the CAL because of the ads, so I have put together an eBook for the Tidal Textures Throw Blanket which includes all the 6 different blanket stripe patterns, divider for in between stripes and a border pattern. With over 45 pages of detailed instructions, step-by-step photo tutorials for any special stitches (as well as charts and videos) the blanket eBook is very convenient to follow along.
In addition the eBook, you can choose to upgrade to the Journey Pass for the FULL Crochet-along experience with exclusive Sip & Stitch parties, ad-free access to the videos, a 30-day free trial to the Stitching Squad as well as 1 bonus stripe designs!
You can already get a head start and upgrade here.
Whether:
- You don’t want to wait until January 15, ’25 to get started
- You don’t want to have to wait for each section to be released
- You don’t want to jump around the website to follow the different section’s instructions
- You just want to get the patterns without ads
- You want the extra guidance and support
- You’d like more section options to make your blanket truly unique
- Or you just want to get the entire pattern to make at a later date
The upgrade is for you!

Before you Start the Tidal Textures Throw Border Free Crochet Pattern
Materials
- 6 mm / US J – 10 hook
- Rosarios Amor-Perfeito (50% wool, 50% acrylic, 100g/3.5oz, 120m/131yd):
- about 230g/276m/301yd in off-white (02)
- about 25g/30m/33yd in blue (07)
- about 25g/30m/33yd in Pink (21)
- about 25g/30m/33yd in rust (30)
- Tapestry needle
- Measuring tape
Size
The Blanket section is approximately 1.5 inch / 4 cm wide.
The border stitch doesn’t require any specific stitch multiple.
Gauge
The gauge for this pattern, in stitch pattern, is 12 st for 10 cm / 4”.
Abbreviations
This pattern uses US notations.
- st = stitch
- sl st = slip stitch
- ch = chain
- sc = single crochet
- hdc = half double crochet
- blo = back loop only
- RS = right side
- WS = wrong side
Notes
Work instructions between [] the indicated number of times or until the end of the row / round.
The final number of stitches is indicated at the end of the row / round between < >.
Sick of all the yarn jargon and conversions?
US vs UK, abbreviations, imperial vs metric, yarn weights, etc?

The turning ch 1, ch 2 don’t count as stitches throughout the pattern except if mentioned otherwise.
The pattern is written in crochet shorthand. For example:
- “dc 1” means to double crochet in the next stitch,
- “dc 2” means to double crochet in each of the next 2 stitches,
- and “2 dc” means to double crochet twice in the next st.
Video Tutorial
Find the right-handed video tutorial for this section of Tidal Textures Throw here on my YouTube channel:
Find the left-handed video tutorial for this section of Tidal Textures Throw here on my YouTube channel:
The Actual Blanket Border Free Crochet Pattern
Starting on the RS in the middle of the last row.
Round 1: Hdc around making 1 st in every stitch of the top and bottom edges and 180 st per side (30 per stripe + divider) + 3 in each corner (mark the middle st), for a total of 672st, join in the round.
Note: The exact stitch count doesn’t matter for the following rounds repeats so you don’t need to worry if you are a few stitches off.
Round 2: Ch 1, [hdc until marked st, hdc 3 in marked st] around, hdc until end of round, turn.
Switch to pink color yarn.
Note: Don’t cut the off-white yarn off, you’ll pick it back up for the next round.Round 3: Ch 1, sl st in the 3rd loop of the hdc below around, turn.

Switch back to off-white color yarn.Round 4: Ch 1, [blo hdc in the hdc below until marked st, blo hdc 3 in marked hdc below] around, blo hdc in hdc below until end of round, turn.

Switch to blue color yarn and repeat round 3 and 4.
Switch to rust color yarn and repeat round 3 and 4.
Final round: Ch 1, [hdc until marked st, hdc 3 in marked st] around, hdc until end of round, turn.
Bind off and weave in all the ends.
Blocking
You’re done with the crocheting part, make sure to weave in all the ends. To make your blanket even prettier, help even your stitches, block your project.
Don’t skip this step as it can make a huge difference. Read my detailed tutorial on why block, how-to, and all my tips and tricks if you need help.