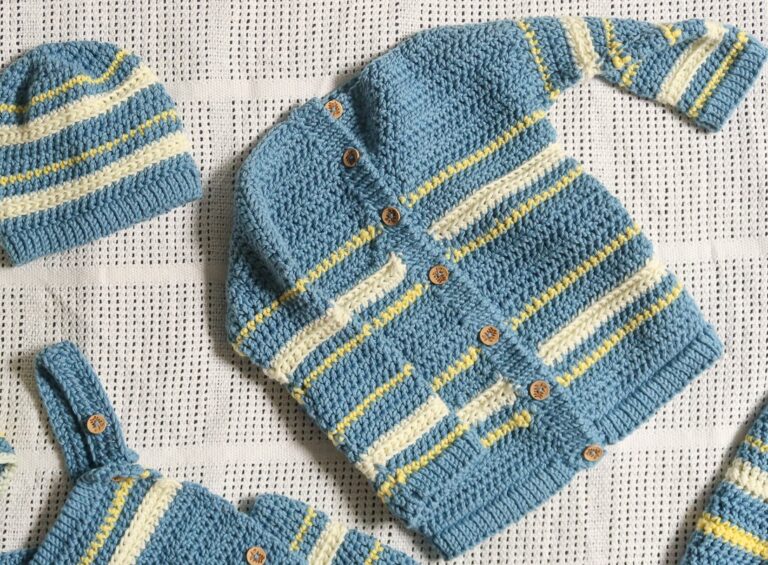
Out & About Boy Sweater Knitting Pattern Free
A new boy sweater knitting pattern – the Out & About Sweater – is now a free knitting pattern here on the blog. Read all about what you need to make this children’s sweater, scroll down to view the full free pattern or purchase an ad free PDF from the links below.
No time right now? Pin this baby boy sweater knitting pattern free for later!
*This post contains affiliate links (only for products I love, use and spend my own money on obviously). This means I earn some yarn money if you make a purchase through one of these links (of course at no extra cost for you!), which I promise to use to create more awesome patterns like this one. All opinions are my own. See my full disclosure here.
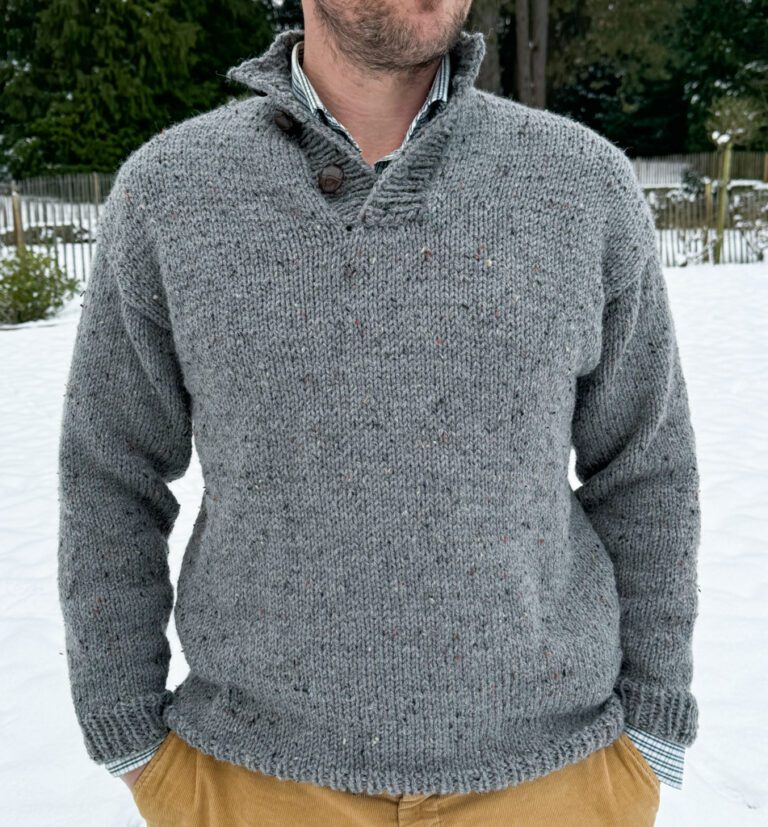
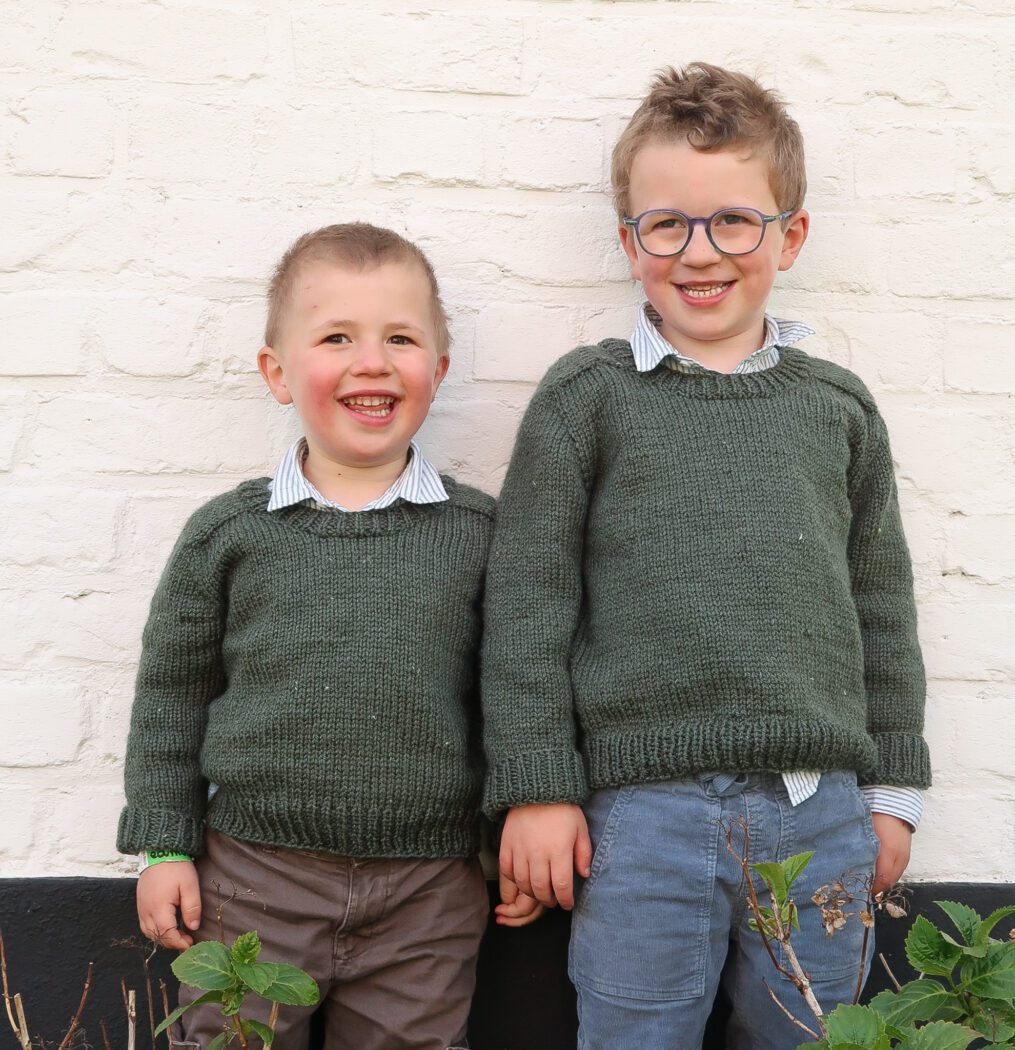
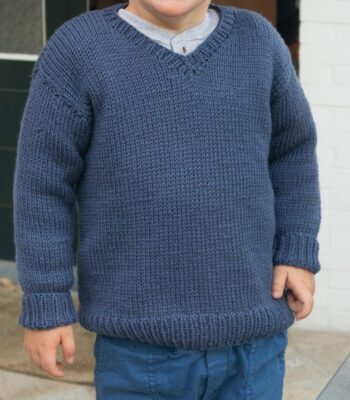
This classic top-down sweater knitting pattern is a cozy and practical design for babies and kids, perfect for everyday wear. Featuring saddle shoulder construction and seamless knitting in the round, it’s a comfortable fit with a clean, timeless look for boys and girls alike.
The pattern includes sizes from 3 months to 16 years, making it a great option for knitting matching sweaters for growing children. With simple shaping and step-by-step construction, this is a beginner-friendly knitting pattern that’s enjoyable to make and easy to wear.
Boy Sweater Knitting Pattern Construction
The sweater begins with the shoulder section worked flat, then continues seamlessly in the round from the neck down.
First, two saddle shoulder flaps are knitted and the live stitches are placed on holders. Stitches are then picked up around the shoulder flaps to shape the upper chest and back neck. Short rows and increases create the shoulders and front neckline before the work is joined in the round.
From there, the sweater is worked top-down in one piece, with increases shaping the chest. The body and sleeves are then separated and worked in the round, with sleeve decreases and ribbed edges completing the design. Finally, ribbing is added to the neckline.
Downloadable PDF for Out & About Kids Sweater Knitted Pattern
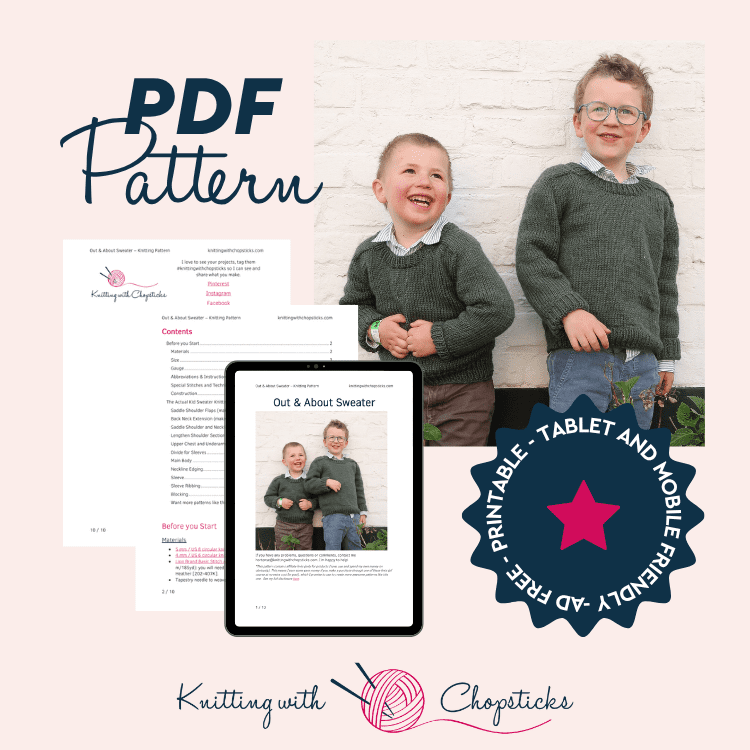
Grab the printable PDF of the Out & About Baby sweater Pattern now in my shop, Etsy shop, on Ravelry shop or as a Lion Brand Kit:
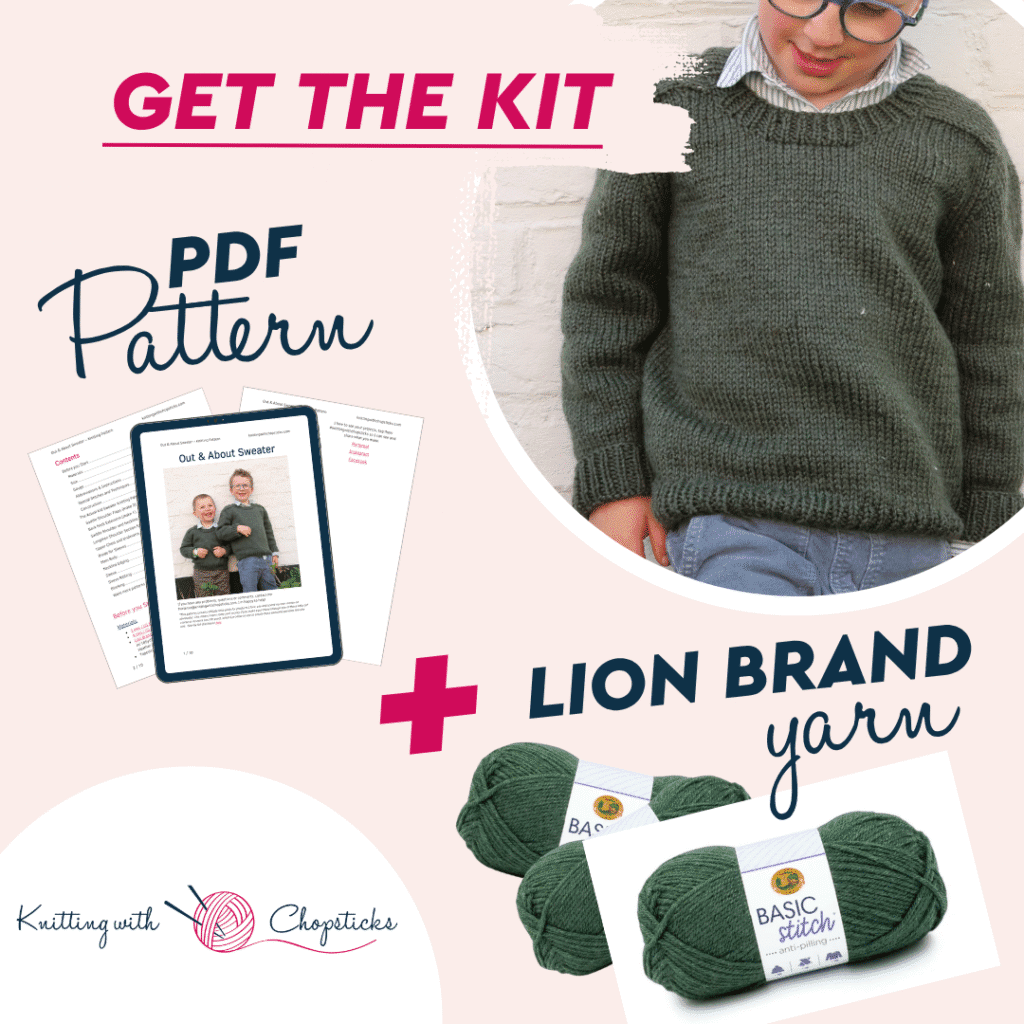
Out & About Sweater Knitting Pattern Lion Brand Kit
The Out & About Sweater is a cozy, relaxed knit made for easy, feel-good stitching. Knit with Lion Brand Basic Stitch Anti Pilling Yarn , this sweater is soft, lightweight, and perfect for layering. This kit includes everything you need to make a toddler sweater you’ll love knitting and they’ll love wearing it again and again.
More Kids Sweater Patterns you'll love


Before You Start Your Out & About Baby Boy Sweater Knitted Pattern Free
Materials
- 5 mm / US 8 circular knitting needles
- 4 mm / US 6 circular knitting needles
- Lion Brand Basic Stitch Anti Pilling Yarn (100g / 3.5 oz, 100% acrylic, 170 m/185yd): you will need 1 (2, 2, 2, 2) (2, 3, 3, 3, 4, 4, 5, 5) skeins in Pine Heather [202-407K].
- Tapestry needle to weave in the ends
- 2 Stitch holders
- 4 stitch markers
- Tape measure
Note: I like to use an unused cable from my interchangeable needle set as a stitch holder but you can also use a scrap of yarn.
Size
The baby/kid sweater knitting pattern is available in the following sizes: 3 months, 6 months, 12 months, 18 months, 24 months, 3 years, 4 years, 6 years, 8 years, 10 years, 12 years, 14 years, and 16 years.
Sizes are noted throughout the pattern in the following way: 3 (6, 12, 18, 24) months (3, 4, 6, 8, 10, 12, 14, 16) years.
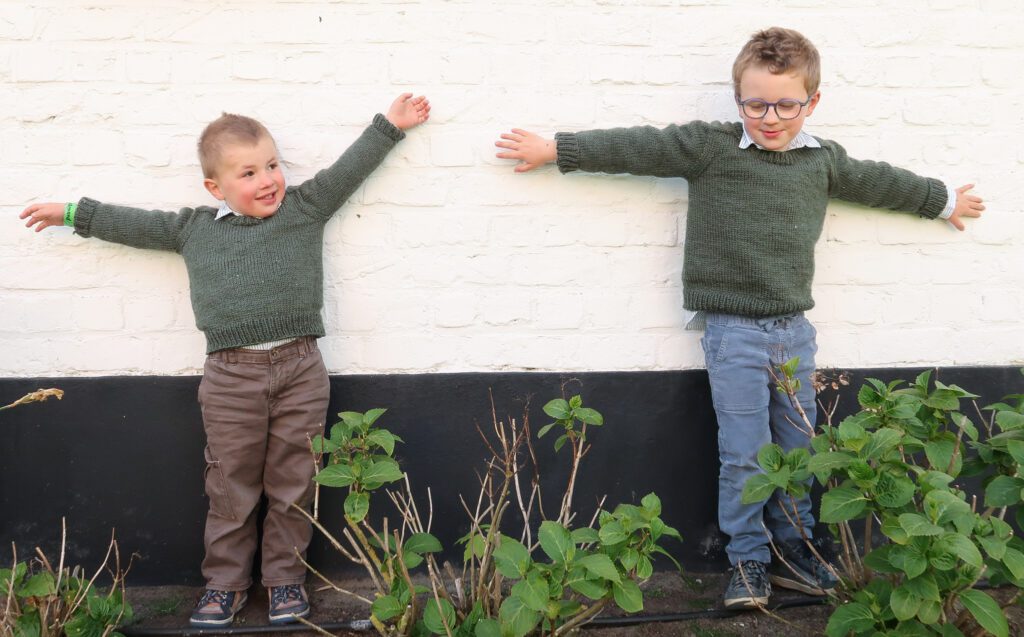
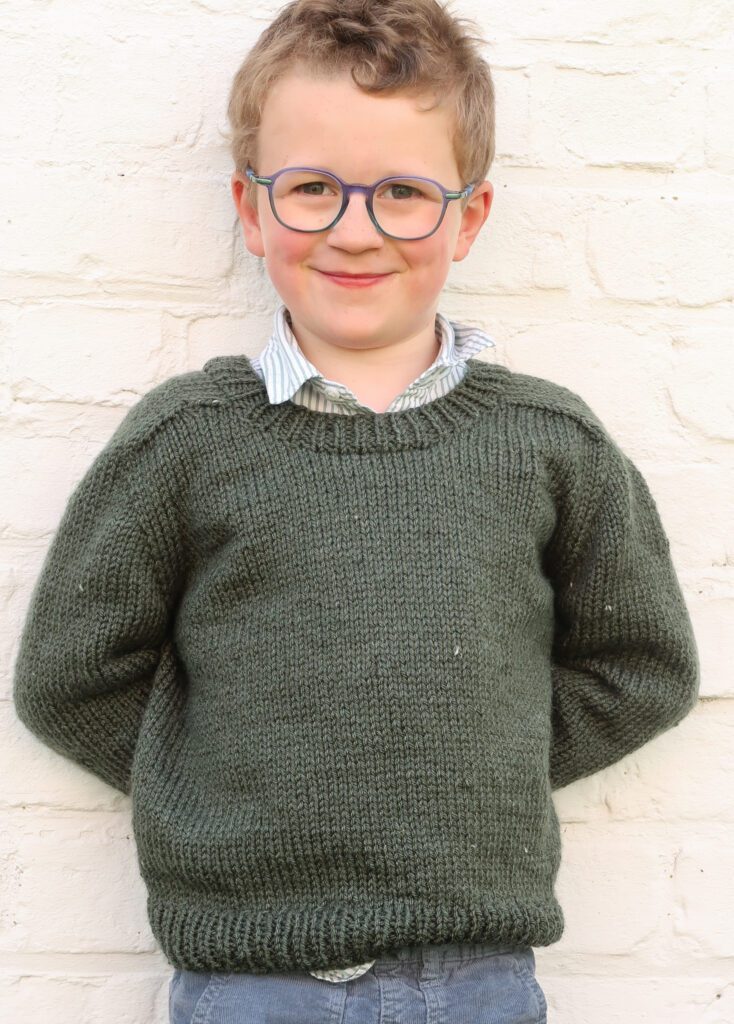
The pictures illustrate the 4- and 8-year sizes. 3- and 6-month sizes have shorter hemline ribbing to balance the proportions and ages 10-16 years have a back neck extension to avoid a low neck.
Final garment measurements are:
- Chest circumference: 47.5 (50, 52.5, 55, 57.5) (61.5, 65.5, 70.5, 74, 78, 83, 87, 89.5) cm/18.75 (19.75, 20.75, 21.75, 22.75) (24.25, 25.75, 27.75, 29.25, 30.75, 32.75, 34.25, 35.25)”.
- Length (from shoulder to hip): 20.5 (24.5, 28, 31.5, 34.5) (37.5, 40.5, 43, 48, 53, 55.5, 57, 59) cm/8 (9.75, 11, 12.5, 13.5) (14.75, 16, 17, 19, 20.75, 21.75, 22.5, 23.25)”
The sweater is designed with a standard fit of around 7 cm/2.75” ease at the chest. You can adjust the length easily by working more or fewer rows in the main body section before starting the ribbing section.
Gauge
The gauge for this pattern with 5 mm/US 8 needles, in stockinette stitch, is 16.5 st by 25 rows (blocked) for a 10 cm by 10 cm square (4” by 4”).
Abbreviations & Instructions
- st = stitch
- k = knit
- p = purl
- M1R = make one stitch right; right leaning increase
- M1L = make one stitch left; left leaning increase
- k2tog = knit 2 stitches together; right leaning decrease
- ssk = slip, slip, knit; left leaning decrease
- RS = right side
- WS = wrong side
Repeat instructions between [] the indicated number of times or until the end of the round/row.
Sick of all the yarn jargon and conversions?
US vs UK, abbreviations, imperial vs metric, yarn weights, etc?

The final number of stitches is indicated at the end of the round/row between < >.
Special Stitches and Techniques
Picking up stitches: if you’re not familiar with this technique, this tutorial is very helpful.
Adding stitches on the end of a row: This is done by looping the yarn over your index finger from front to back and sliding the loop knitwise onto the working needle. If you would like to see how the stitches for the back and front neckline are cast on after working around the first Saddle Shoulder Flap, watch this video.
Construction
After working the shoulder section flat, the rest of the sweater is knitted in the round in one piece, from the neck down.
Firstly, you will make two flaps for the saddle shoulders and place the live stitches on stitch holders.
Next, you’ll work the upper chest and shoulder section by picking up stitches along the row ends of the shoulder flaps, from the cast on edge to the live stitches, return the live stitches to your needle and pick up stitches along the row ends of the other side of the same shoulder flap. After adding some stitches for the back of the neck, you’ll add stitches around the other shoulder flap in the same way.
Now you’ll work a few rows adding increases to create the shoulders and a curve to the front neckline. Next, you’ll add stitches to create the front neckline and join to work in the round, continuing to make increases for the shoulders and eventually the chest.
After dividing the stitches, you’ll work the sleeves and body sections in the round, working decreases to taper the sleeves and ending with ribbing. You’ll complete the sweater by adding ribbing to the neckline.
Video Tutorial
Find the video tutorial for How To Shape the Neckline for Out & About Sweater Pattern here:
Or find the video tutorial here on my YouTube channel.
The Actual Out & About Boy Sweater Knitting Pattern Free
Saddle Shoulder Flaps (make 2)
With your 5 mm/US 8 needles, cast on 10 (12, 12, 14, 14) (16, 16, 16, 18, 20, 22, 22, 24) st and work in stockinette stitch for 3 (3.5, 4, 4.5, 4.5) (5, 6, 6.5, 6.5, 7.5, 8.5, 8.5, 9.5) cm/1.25 (1.5, 1.5, 1.75, 1.75) (2, 2.25, 2.5, 2.5, 3, 3.25, 3.25, 3.75)”.
Do not cast off. Fasten off yarn and place the live stitches on a stitch holder.
Back Neck Extension (make 1)
This section is for sizes 10-16 years only. Sizes 3 months to 8 years skip this section and continue with the Saddle Shoulder and Neckline section.
With your 5 mm/US 8 needles, cast on 26 st and work in stockinette stitch for – (-, -, -, -) (-, -, -, -, 2, 2.5, 2.5, 3.5) cm/- (-, -, -, -) (-, -, -, -, 0.75, 1, 1, 1.5)”, ending with a WS/purl row.
Decrease Row (RS): Ssk, knit to last st, k2tog. <24 st>
Do not cast off. Fasten off yarn and place the live stitches on a stitch holder.
Saddle Shoulder and Neckline
The following instructions are written for picking up stitches along the Saddle Shoulder Flaps with the right side of the Saddle Shoulder Flap facing you and the working yarn held at the back of the Saddle Shoulder Flap.
If you would like to see how the stitches for the back and front neckline are cast on after working around the first Saddle Shoulder Flap, watch this video.
Work around the first shoulder flap by starting at the cast on edge of one of the flaps, pick up 5 (6, 7, 7, 7) (8, 10, 11, 11, 12, 14, 14, 16) st along the side, add marker, knit 10 (12, 12, 14, 14) (16, 16, 16, 18, 20, 22, 22, 24) st on holder, add marker, pick up 5 (6, 7, 7, 7) (8, 10, 11, 11, 12, 14, 14, 16) st along the other side of the flap.
Sizes 3 months to 8 years only
For the back neckline, cast on 20 (20, 22, 22, 22) (22, 22, 22, 24, -, -, -, -) st.
Now continue from the section Work around the second Shoulder flap.
Sizes 10-16 years only
For the back neckline, knit 24 st on Back Neck Extension holder.
Now continue from the section Work around the second Shoulder flap.
All sizes
Work around the second shoulder flap by picking up 5 (6, 7, 7, 7) (8, 10, 11, 11, 12, 14, 14, 16) st along its side (from cast on edge), add marker, knit 10 (12, 12, 14, 14) (16, 16, 16, 18, 20, 22, 22, 24) st on holder, add marker, pick up 5 (6, 7, 7, 7) (8, 10, 11, 11, 12, 14, 14, 16) st along the other side of the flap. <60 (68, 74, 78, 78) (86, 94, 98, 104, 112, 124, 124, 136) st>
Row 1: Purl across.
Row 2: K1, M1R, [knit until 2 st after marker, M1L, knit until 2 st before marker, M1R, k2] twice, knit until 1 st from end of row, M1L, k1. <66 (74, 80, 84, 84) (92, 100, 104, 110, 118, 130, 130, 142) st; total of 6 st increased>
Row 3: Purl across.
Repeat Row 2 and 3 another 2 (2, 3, 3, 3) (4, 4, 4, 4, 4, 4, 4, 4) times and row 2 once more. <84 (92, 104, 108, 108) (122, 130, 134, 140, 148, 160, 160, 172) st>
Add 12 (12, 12, 12, 12) (10, 10, 10, 12, 12, 12, 12, 12) st for the front neck opening at the end of the row and join to work in the round. < 96 (104, 116, 120, 120) (132, 140, 144, 152, 160, 172, 172, 184) st>
Lengthen Shoulder Section for larger sizes
This section is for sizes 10-16 years only. Sizes 3 months to 8 years skip this section and continue with the Upper Chest and Underarm section.
Row 1: [Knit until 2 st after marker, M1L, knit until 2 st before marker, M1R] twice, knit to end of round. < 96 (104, 116, 120, 120) (132, 140, 144, 152, 164, 176, 176, 188) st; total of 4 st increased>
Row 2: Knit around.
Sizes 10-14 years continue with the Upper Chest and Underarm section.
Size 16 years only Rep Row 1 and 2 once more and then continue with the Upper Chest and Underarm section.
Upper Chest and Underarm
Row 1: [Knit until 2 st before marker, M1R, k4, M1L, knit until 2 st before marker, M1R, k4, M1L] twice, knit to end of round. <104 (112, 124, 128, 128) (140, 148, 152, 160, 172, 184, 184, 200) st; total of 8 st increased>
Row 2: Knit around.
Repeat Row 1 and 2 another 4 (4, 3, 4, 5) (5, 5, 6, 7, 7, 7, 9, 8) times. <136 (144, 148, 160, 168) (180, 188, 200, 216, 228, 240, 256, 264) st>
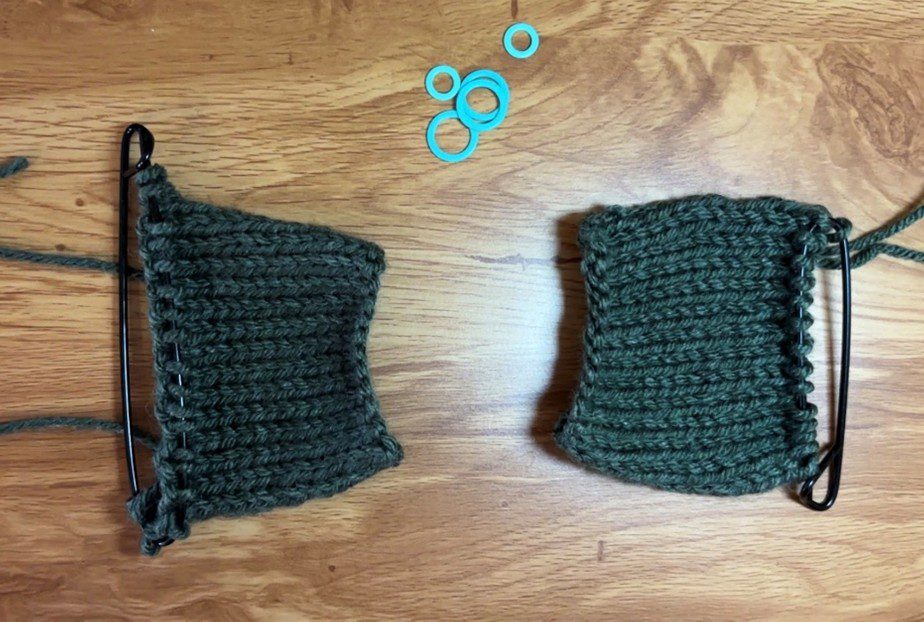
Divide for Sleeves
You will now place the two Sleeves on stitch holders ready to knit the Main Body section. Knit until st marker, [place sts between this and next marker on stitch holder, knit until next marker] twice.
Each sleeve: <28 (30, 30, 34, 36) (40, 40, 42, 46, 50, 52, 56, 58) st>
Main Body (includes front and back body sections): <80 (84, 88, 92, 96) (100, 108, 116, 124, 128, 136, 144, 148) st>
Move beginning of round marker to junction between front and back st panels.
Main Body
Knit in the round for 7.5 (11, 12.5, 15, 17) (19, 22, 23, 27, 30.5, 32.5, 32.5, 33.5)
cm/ 3 (4.25, 5, 6, 6.75) (7.5, 8.75, 9, 10.75, 12, 12.75, 12.75, 13.25)”.
Switch to 4mm/US 6 needles.
[k1, p1] around for 3 (3, 5, 5, 5) (5, 5, 5, 5, 5, 5, 5, 5) cm/ 1.25 (1.25, 2, 2, 2) (2, 2, 2, 2, 2, 2, 2, 2)”
Cast off loosely and fasten off.
Neckline Edging
With 4 mm/US 6 needles, pick up 1 stitch in each of the stitches of the back neckline cast on edge, 1 stitch in each of the stitches of the first Shoulder Flap, 4 (4, 5, 5, 5) (6, 6, 6, 6, 6, 6, 6, 6) st along the front neckline increase rows, 1 stitch in each of the stitches of the front neckline cast on edge, 4 (4, 5, 5, 5) (6, 6, 6, 6, 6, 6, 6, 6) st along the front neckline increase rows, 1 stitch in each of the stitches of the second Shoulder Flap. <60 (64, 68, 72, 72) (76, 76, 76, 84, 88, 92, 92, 96) st>
[k1, p1] around for 3 cm/1.25“.
Cast off loosely and fasten off.
Sleeve
Place the stitches from one stitch holder on your your 5 mm/US 8 needles. <28 (30, 30, 34, 36) (40, 40, 42, 46, 50, 52, 56, 58) st>
Knit 2 (2, 3, 3, 3) (3, 5, 5, 5, 5, 5, 5, 5) cm/ 0.75 (0.75, 1.25, 1.25, 1.25) (1.25, 2, 2, 2, 2, 2, 2, 2)” in stockinette.
[k1, k2tog, knit until last 3 st, ssk, k1] 4 (4, 4, 4, 4) (5, 4, 4, 4, 5, 6, 6, 6) times. <20 (22, 22, 26, 28) (30, 32, 34, 38, 40, 40, 44, 46) sts>
Knit 1 (2, 0, 2, 3) (1, 0, 2, 5, 2, 0, 3, 4) cm/0.5 (0.75, 0, 0.75, 1.25) (0.5, 0, 0.75, 2, 0.75, 0, 1.25, 1.5)” in stockinette.
Sleeve Ribbing
Switch to 4mm/US 6 needles.
[k1, p1] around for 5 cm/2”.
Cast off loosely.
Repeat Sleeve and Sleeve Ribbing sections for stitches on other stitch holder.
Blocking
You are done with the knitting part. Make sure to weave in all the ends.
To make your sweater even prettier and help even your stitches wet block your project.
Don’t skip this step as it can make a huge difference. Read my detailed tutorial on why block, how-to, and all my tips and tricks if you need help.