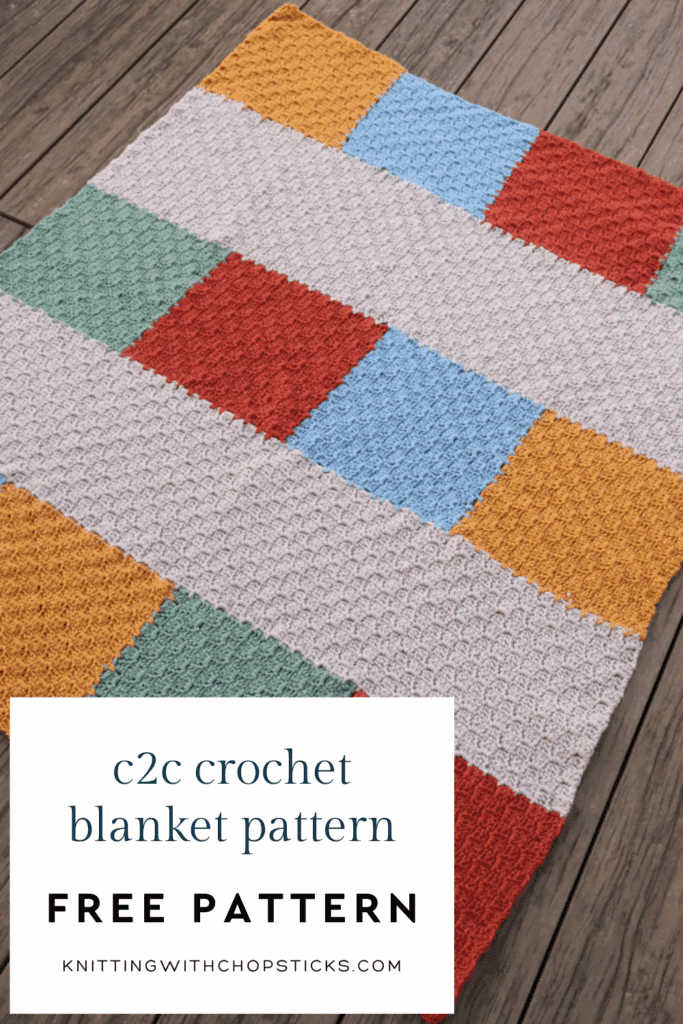
Building Blocks C2C Crochet Blanket Pattern

A new corner to corner crochet pattern – the Building Blocks Blanket – is now a free crochet blanket pattern here on the blog. Read all about this simple c2c blanket pattern, scroll down to view the full free pattern or purchase an ad free PDF PDF from my shop, Etsy shop or Ravelry shop.
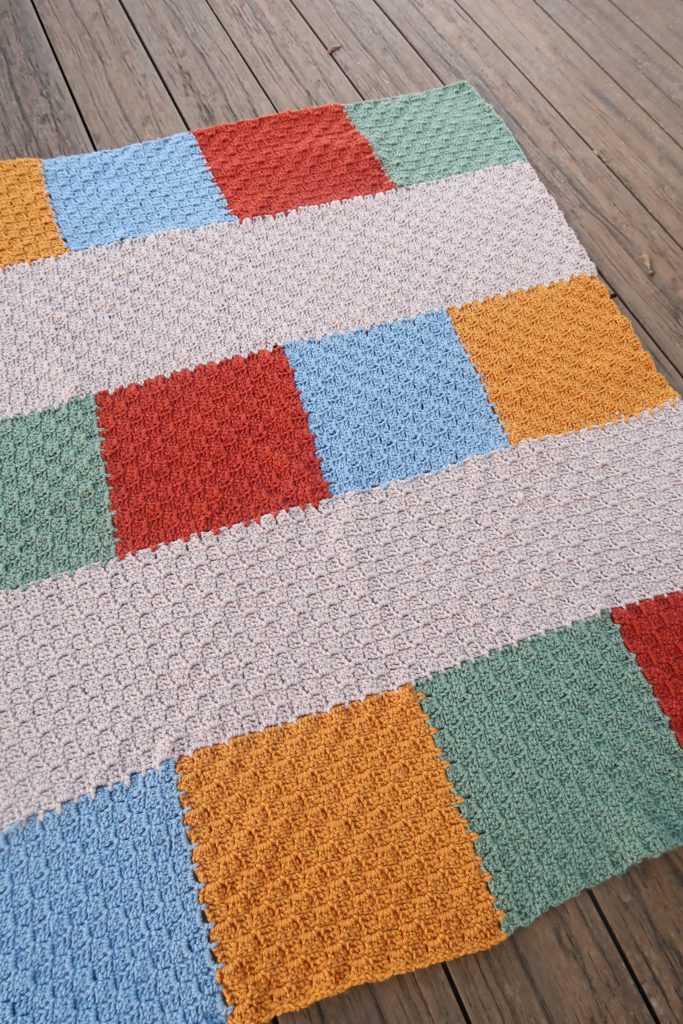
No time right now? Pin this c2c crochet blanket pattern free for later!
*This post contains affiliate links (only for products I love, use and spend my own money on obviously). This means I earn some yarn money if you make a purchase through one of these links (of course at no extra cost for you!), which I promise to use to create more awesome patterns like this one. All opinions are my own. See my full disclosure here.

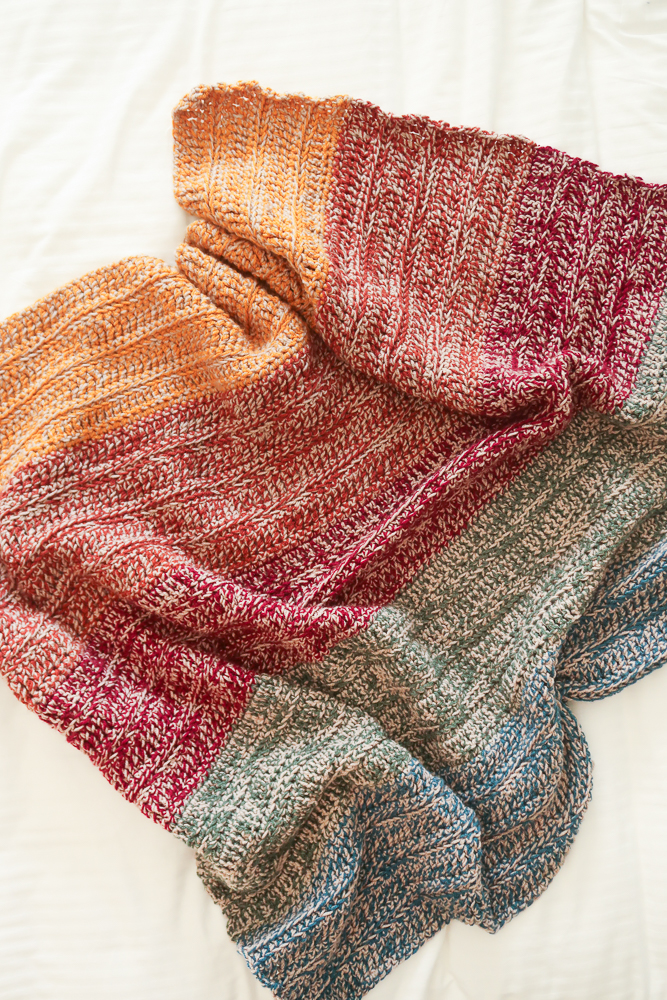
If you love colorful crochet projects, you’re going to have so much fun with this C2C (corner to corner) crochet blanket pattern! It’s made up of cute little color block squares that you join together as you go — so no piles of pieces waiting to be sewn later (yay for less finishing work!). You can mix and match yarn colors to create your own look — go bold and bright or keep it soft and cozy.
The free pattern is available right here on the blog, and it’s written for a baby-size blanket, but you can easily adjust it to make it smaller or larger. Just add or take away squares depending on the size you want. It’s a super fun project whether you’re new to C2C crochet or already hooked on it (pun intended!). Grab your yarn, pick your colors, and let’s get started on your new favorite blanket!
Corner-to-Corner (C2C) Crochet Technique
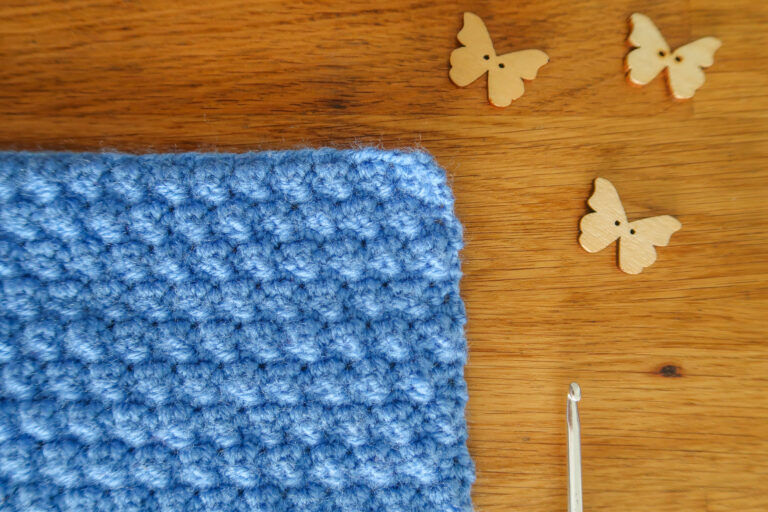
The Corner-to-Corner (C2C) crochet technique is such a fun and relaxing way to make a blanket! Instead of crocheting in straight rows, you start at one corner and work your way diagonally across, building cute little blocks as you go. It’s super satisfying to watch your blanket grow from one corner outwards! This method is perfect if you love playing with color — those color block squares really pop when you mix and match different shades. Using worsted weight yarn in multiple colors gives you a soft, cozy texture that’s perfect for snuggling. And don’t worry if you’re more of a visual learner — you can follow along with either written instructions or a chart, so you can crochet the way that feels easiest for you.

Downloadable PDF for Building Blocks C2C Blanket Pattern
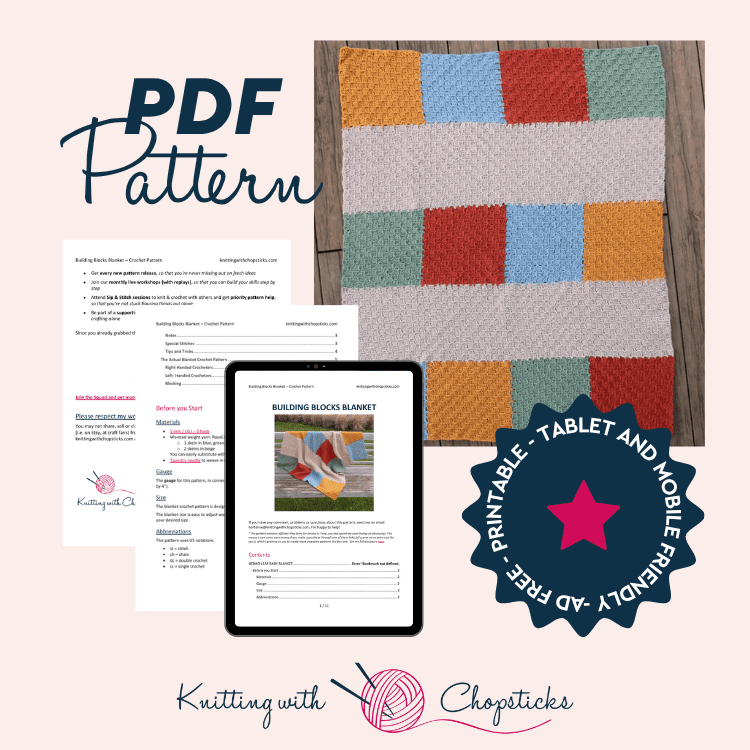
Grab the printable PDF of the Building Blocks C2C Crochet Blanket Pattern now in my shop, Etsy shop or on Ravelry shop:
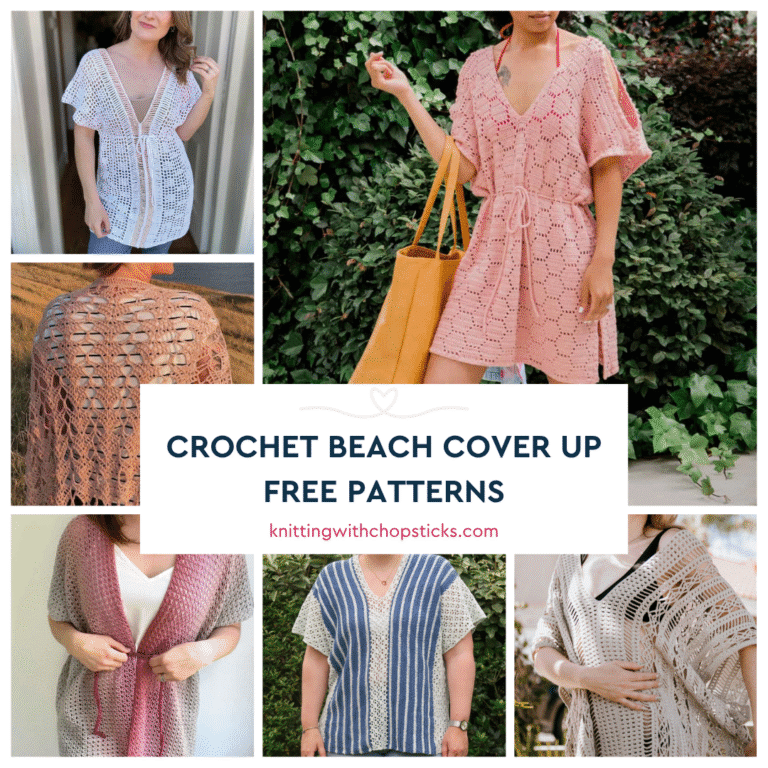
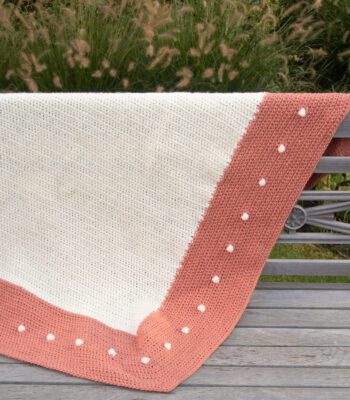
More Crochet Blanket Patterns you'll love

Before You Start Your Building Blocks C2C Blanket Pattern
Materials
- 5 mm / US H – 8 hook
- Worsted weight yarn: Royal Zeeman yarn (100% acrylic, 100g/3.5oz, 241m/264yd):
- 1 skein in blue, green, orange and yellow
- 2 skeins in beige
You can easily substitute with any worsted weight yarn you want.
- Tapestry needle to weave in the ends.
Gauge
The gauge for this pattern, in corner-to-corner (c2c) 6 squares for a 10 cm by 10 cm square (4” by 4”).
Size
The blanket crochet pattern is designed for baby blanket size 100 cm / 40” by 125 cm / 50”.
The blanket size is easy to adjust working more or less blocks or sections of 25 cm / 8” to make your desired size.
Abbreviations
This pattern uses US notations.
- st = stitch
- ch = chain
- dc = double crochet
- sc = single crochet
Notes
Work instructions between [] the indicated number of times or until the end of the row/round. Instructions between () are worked in the same stitch/space.
The final number of stitches is indicated at the end of the row/round between < >.
The turning ch 1, ch 2 don’t count as stitches throughout the pattern except if mentioned.
The pattern is written in crochet shorthand. For example:
- “dc 1” means to double crochet in the next stitch,
- “dc 2” means to double crochet in each of the next 2 stitches,
- and “2 dc” means to double crochet twice in the next st.
Special Stitches
- The pattern is worked with the diagonal box stitch (c2c) in double crochet stitches: one square refers to a ch 2 + 3 dc stitches.
- Beg/increasing square: Ch 5, dc in 3rd ch from hook and next 2 chs.
- Continuing square: sl st to ch-sp of next square, ch 2, 3 dc in same ch-sp.
- To decrease at beg of row: Do not work increasing square, turn, sl st across last square made to next ch-sp.
Tips and Tricks
- If you’re new to corner to corner crochet, this extensive tutorial will teach you how to work the corner to corner box stitch, how to increase & decrease as well as change colors.
- I’ve worked with 25 cm squares and stripes but you can play around with different stripe and block sizes to create the look and size you want.
Join As You Go Method Video Tutorials For C2C Blanket Pattern:
Join As You Go C2C Blanket Pattern Right-Handed Video Tutorial:
Join As You Go C2C Blanket Pattern Left-Handed Video Tutorial:
The Actual Building Blocks C2C Crochet Blanket Pattern Free
Base Block
Sick of all the yarn jargon and conversions?
US vs UK, abbreviations, imperial vs metric, yarn weights, etc?

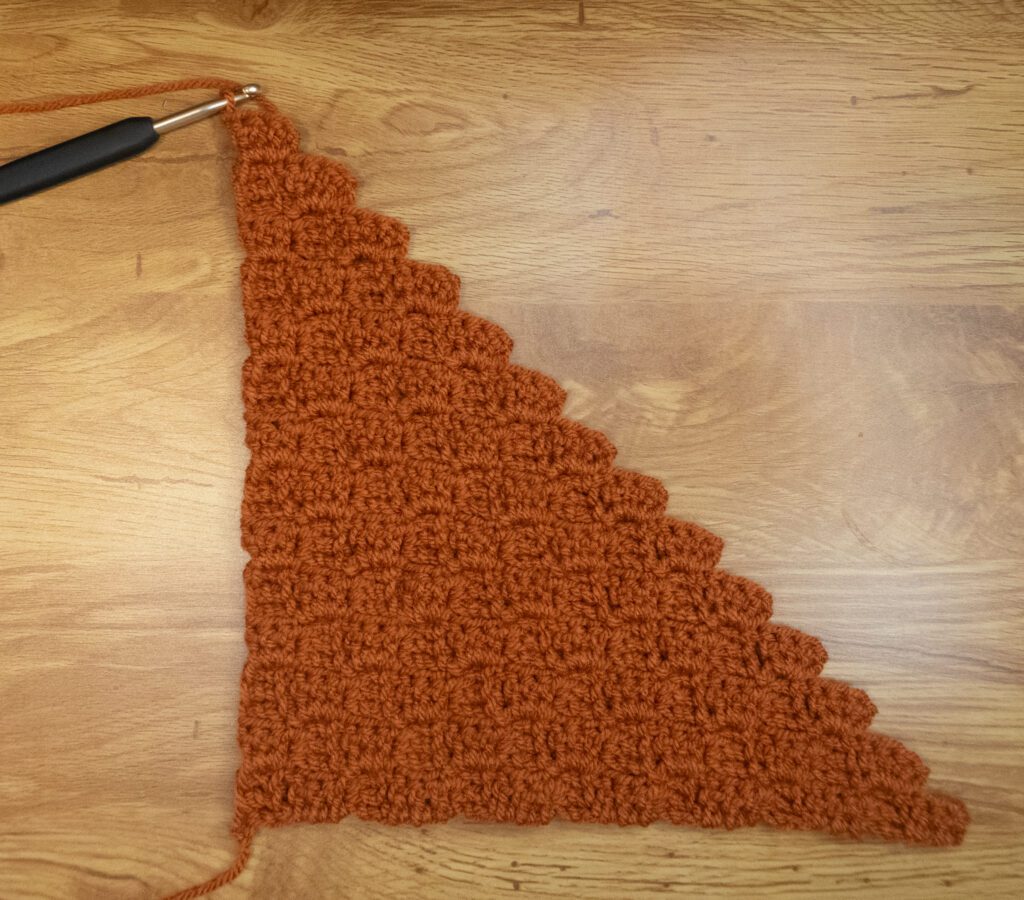
Starting with the orange color yarn you’ll start by working a classic c2c block of 14 squares wide and high.
Row 1: Work beginning square. <1 square>
Row 2: Work increasing square and continuing square. <2 squares>
Row 3: Work increasing square and continuing squares across all squares. <3 squares> Repeat Row 3 increasing 1 square with each row up to 14 squares.
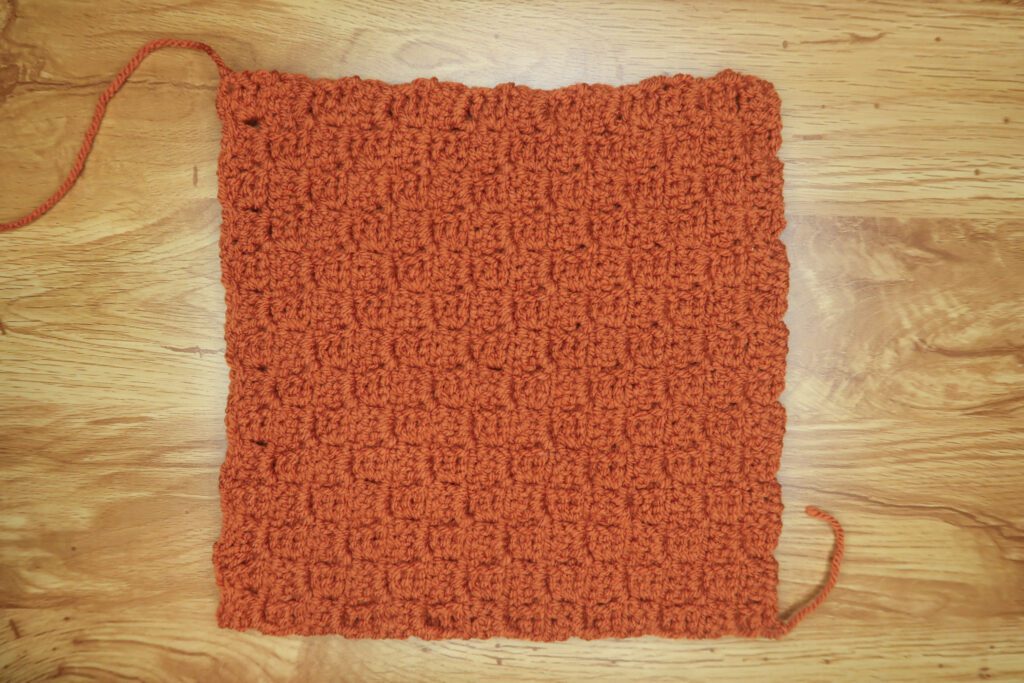
Row 15: Work as for decreasing at beginning of row. <13 squares> Repeat Row 15 decreasing 1 square with each row up to 1.
Next Block
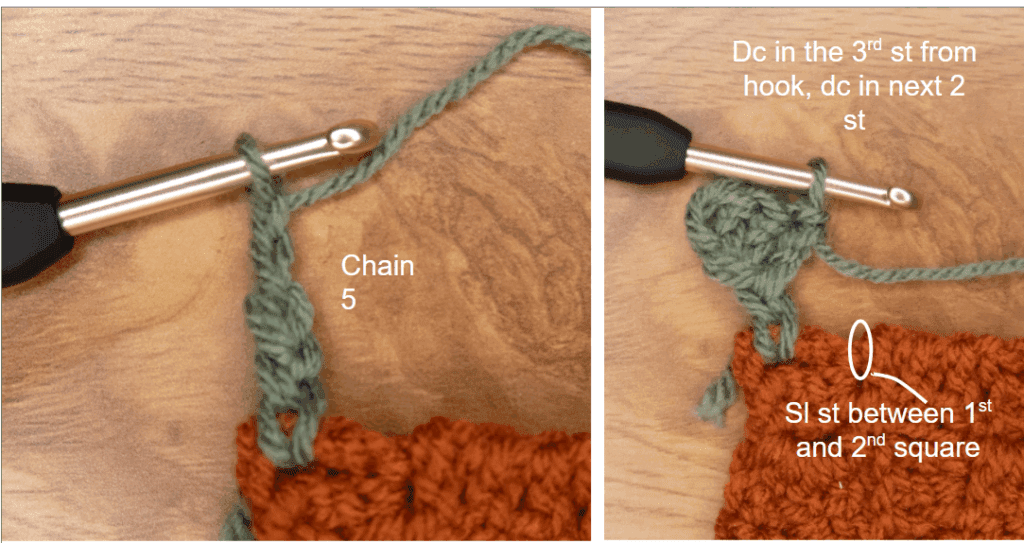
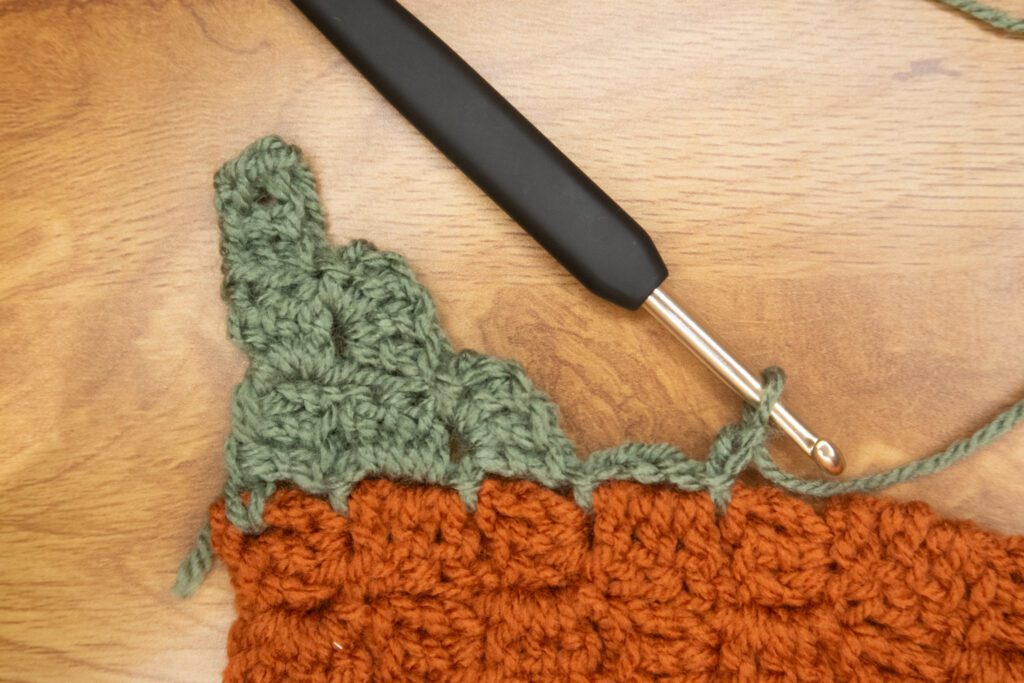
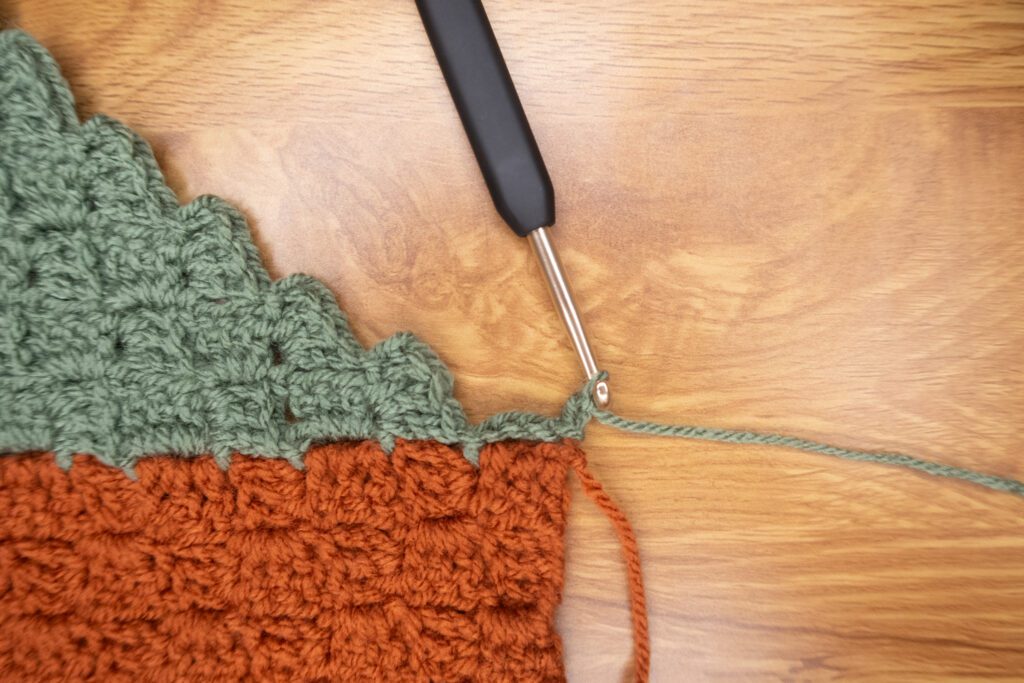
Switch to green color yarn. You’ll build your next block on top of the previous one, attaching it with slip stitches while you build it.
Row 1: Ch 5, dc in 3rd st from hook, dc 2, sl stitch between the 1st and 2nd square of the block below to attach it.
Row 2: Ch 3, sl st between 2nd and 3rd square of the block below, ch 2, turn. Work a normal increasing c2c row.
Keep working increase rows, joining the new block to the existing one as you go until you reach 14 squares.
Then decrease back to 1 square
Switch to blue color yarn and join a new block of 14 squares on top on the green block.
Switch to yellow color yarn and join a new block of 14 squares on top of the yellow block
Stripe
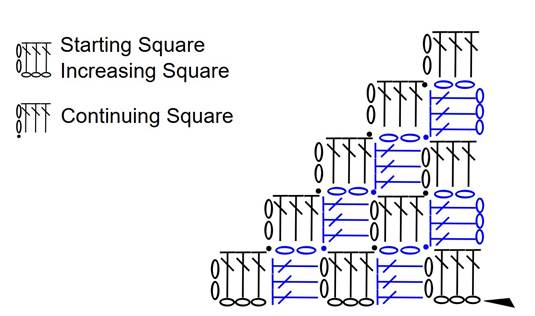
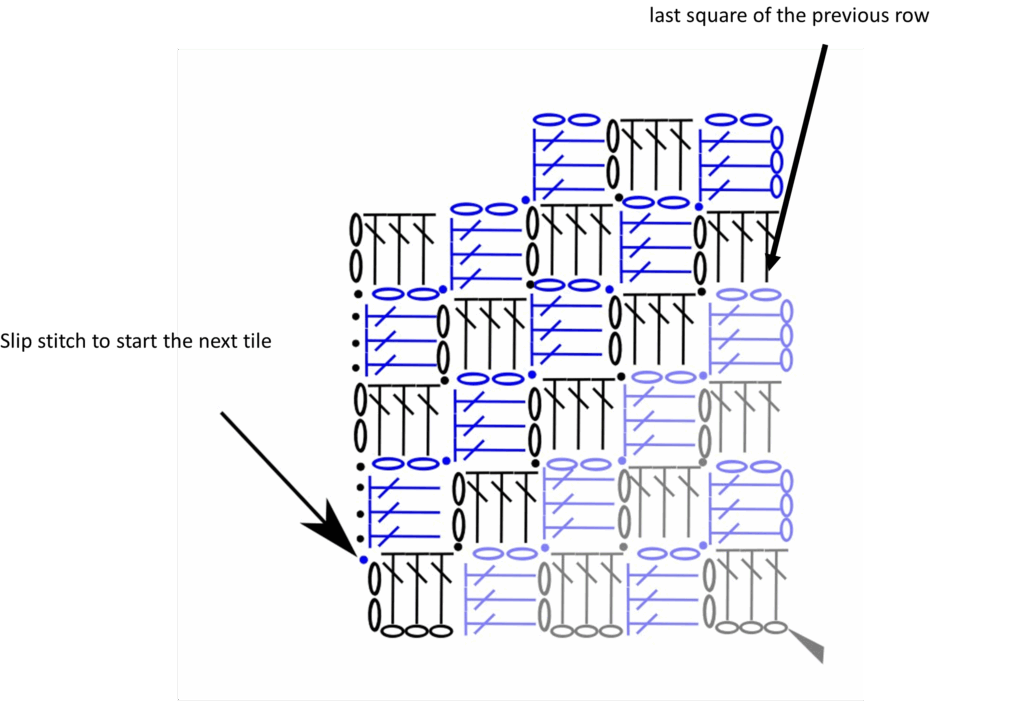
Instead of working on top of the previous block, you’ll now work on the side. You’ll work a rectangle in c2c joining as you go on the side.
You’ll start at the corner and increase while joining on one side until you have 14 blocks width. Next, you’ll continue working increases on the open side but not on the joined side to keep the straight line.
The chart below shows you how to work the sides of these rows (note you’ll be joining on one side to the existing blocks which isn’t represented here)
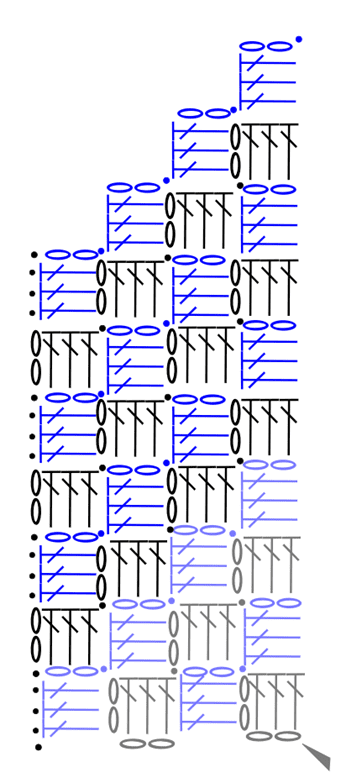
Continue working in this manner until you’ve joined to the last square then work decreasing rows to get back to 1 square.
Row of Blocks
Once you reach the end of the last block, you’ll once again work blocks of your 4 colors on top of each other, joining on the side as you go to the stripe.
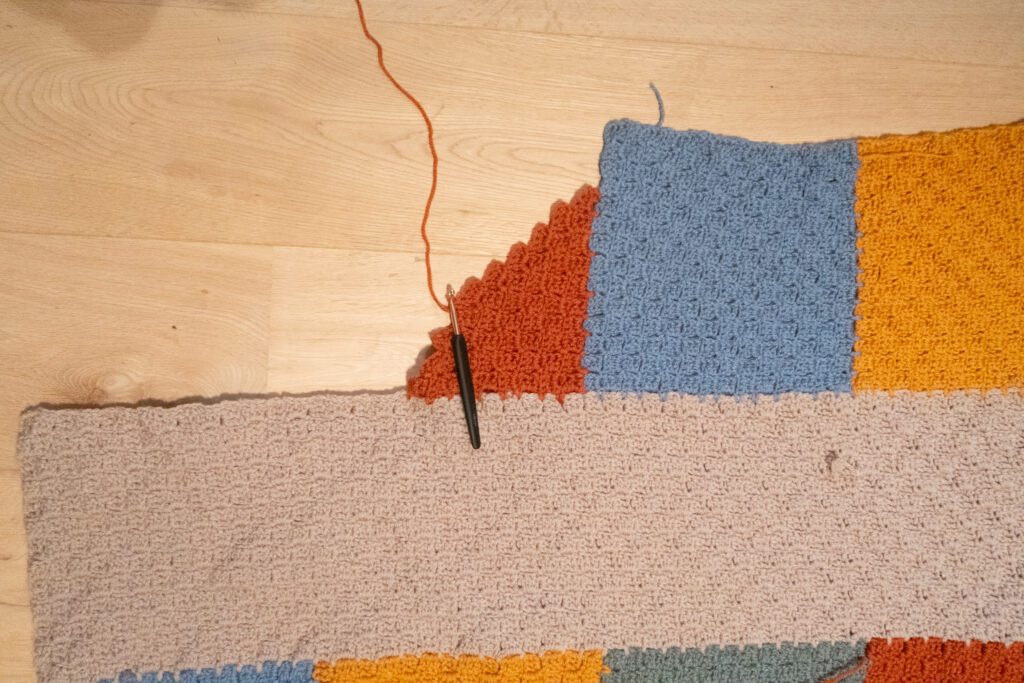
Repeat a stripe and a row of blocks to finish of the blanket.
Blocking
You’re done with the crocheting part, make sure to weave in all the ends.
To make your blanket even prettier and help straighten your edges block your project.
Don’t skip this step as it can make a huge difference. Read my detailed tutorial on why block, how-to, and all my tips and tricks if you need help.