Dash Blanket Border

A new crochet blanket border pattern, the Dash Blanket Border, part of the Blossoming Blanket Crochet Along Pattern, is now a free crochet border pattern here on the blog. Read all about the border design and crochet along it is a part of or scroll down for the free crochet blanket border pattern.
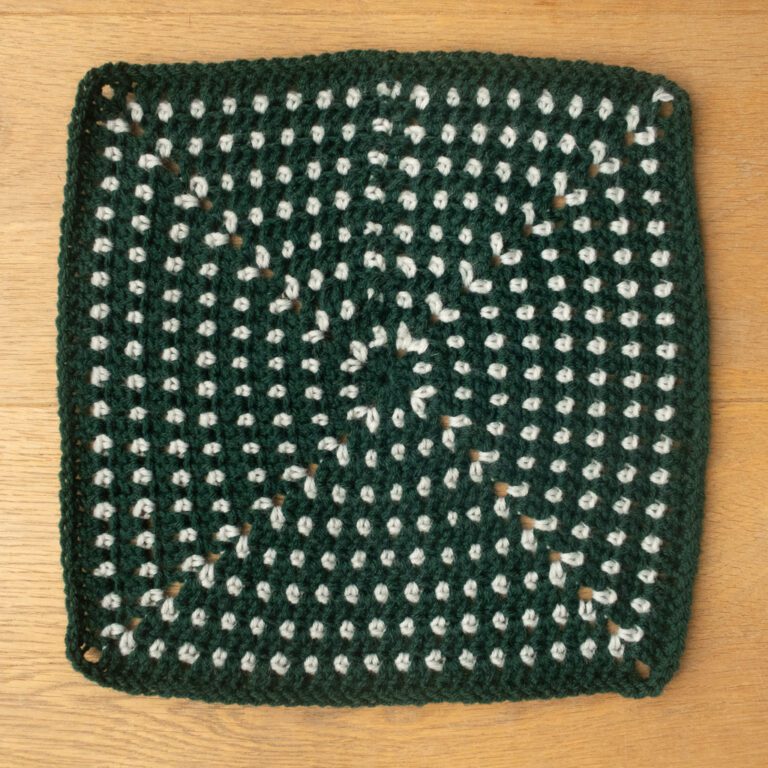
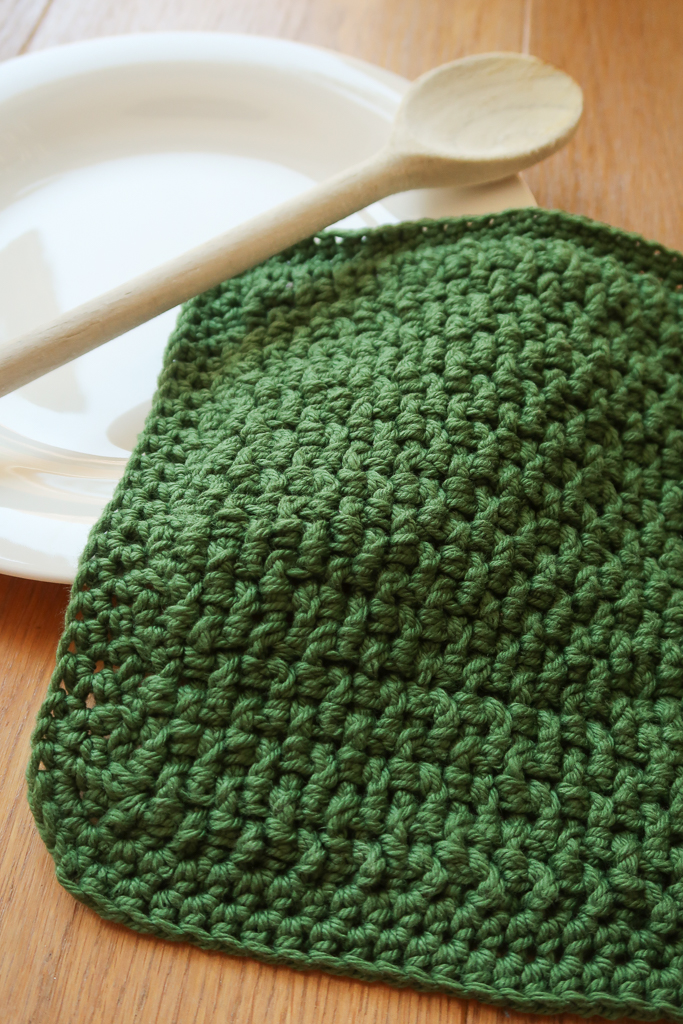
No time right now? Pin this easy crochet blanket border pattern for later!

*This post contains affiliate links (only for products I love, use and spend my own money on obviously). This means I earn some yarn money if you make a purchase through one of these links (of course at no extra cost for you!), which I promise to use to create more awesome patterns like this one. All opinions are my own. See my full disclosure here.

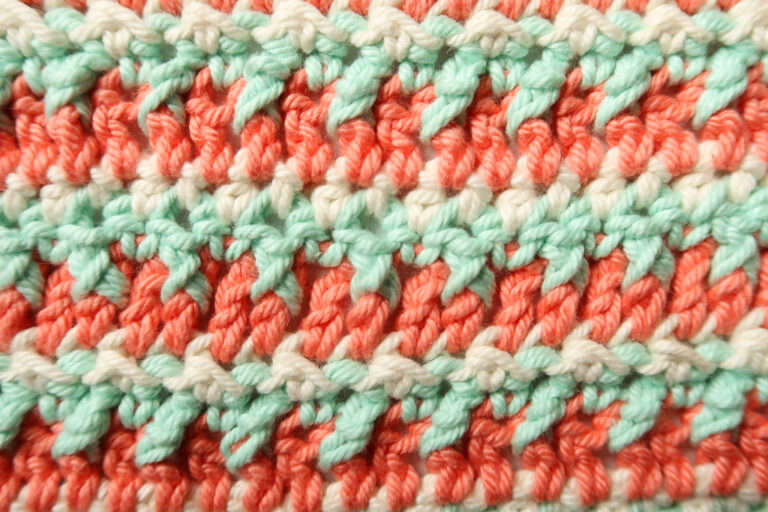
The Dash Blanket Border is a simple double crochet border with threads of all the blanket’s contrasting colors to bring it all together. Simple yet delicate, it’s a great modern border for any blanket that uses several colors.
Blossoming Blanket Crochet Along
The Flowers crochet blanket stripe pattern is the first section in the Blossoming Blanket Crochet Along.
This gorgeous blanket is a collaboration between 11 of your favorite online crochet designers. Each designer has designed a unique crochet blanket stripe pattern inspired by blossoming flowers and spring.
Every Tuesday and Friday from May 7th 2024 to June 18th 2024, a new blanket stripe crochet pattern is released for free on the designer’s blogs.
Find all the event details and sign up here >>

Blossoming Blanket eBook
If you prefer a convenient ad-free PDF of the entire Blossoming Blanket, including the Budding Leaves section, you can grab the Blossoming Blanket eBook here.
It includes 75+ pages of detailed instructions for all 12 stripe patterns and border in one beautifully formatted PDF. Each section includes step-by-Step photo tutorials for any special stitches as well as charts and videos for some of the sections.

Before You Start Your Crochet Blanket Border
Blocking
Once you’ve added all the sections you want, make sure to weave in all the ends. To make your blanket even prettier and help even your stitches block your blanket.
We recommend blocking your blanket before adding the final border. This will help ensure each stripe has the same width and height. It will then be easier to crochet an even border all around your blanket.
Don’t skip this step as it can make a huge difference. Read my detailed tutorial on why block, how-to, and all my tips and tricks if you need help.
Materials
- 4.5 mm / US H – 8 hook.
- Worsted weight yarn: WeCrochet Comfy Worsted (75% pima cotton, 25% acrylic, 50g/1.75oz, 100m/109yd):
You will need about 150g/300m/327yd of the main color and about 6m / 7yd of each contrasting color.*
*Blossoming Blanket Sample Yarn Usage: WeCrochet Comfy Worsted (75% pima cotton, 25% acrylic, 50g/1.75oz, 100m/109yd):
- Colorway Used:
- Ivory: Yarn Usage: 150g/300m/327yd
- Peony, Planetarium and Hollyberry: 6m / 7yd of each
Assume the highest usage to be sure you have enough yarn.
Size
The border is about 4cm/1.5” wide.
Gauge
Sick of all the yarn jargon and conversions?
US vs UK, abbreviations, imperial vs metric, yarn weights, etc?

The gauge for this pattern, in dc, is 14.5 st by 10 rows for a 10 cm by 10 cm / 4” by 4” square.
Abbreviations
This pattern uses US notations.
- ch = chain
- dc = double crochet
Notes
Work instructions between [] the indicated number of times or until the end of the row / round.
The final number of stitches is indicated at the end of the row / round between < >.
The turning ch 2 counts as a stitch throughout the pattern except if mentioned otherwise.
The pattern is written in crochet shorthand. For example:
- “dc 1” means to double crochet in the next stitch,
- “dc 2” means to double crochet in each of the next 2 stitches,
- and “2 dc” means to double crochet twice in the next st.
The Actual Blanket Border Crochet Pattern
Round 1: Join Ivory color yarn where you bound off the last section, ch 2 (counts as a st), dc in corner, dc 180 across, (2dc, ch 2, 2dc) in corner, dc 18 along the edge of each stripe, (2dc, ch 2, 2dc) in corner, dc 180 across, (2dc, ch 2, 2dc) in corner, dc 18 along the edge of each stripe, (2dc, ch 2) in corner, sl st in 2nd ch.
Round 2: Ch 2, dc in corner, [dc until next ch-2 space, (2dc, ch 2, 2dc) in ch-2 space] three times, dc until last corner, (2dc, ch 2) in last corner, sl st in 2nd ch
Repeat Round 2 twice. Bind off and weave in the end.
Finishing Touches
To bring all the blanket’s colors together, you’ll weave a thread of the contrasting colors through the off-white border. I’ve used the same technique for the border of the Adelie Blanket for which you can see the short video showing you how to do that here:
With your tapestry needle and 6m/7yd of hollyberry color yarn (I recommend using one single long thread for best results), thread the yarn over and under the dc posts of the 2nd round all around the blanket (nothing special in the corners, just keep the pattern of over 1 dc, under the next dc going). Make sure to spread the yarn and not have any added tension before securing the beginning and end with a triple knot and cut off the ends.

Repeat the process with peony color yarn and the 3rd round of dc. Make sure your first stitch is opposite to the previous round (go under the dc if you went over the dc in the previous round or opposite).
Repeat the process once more with planetarium color yarn and the 4th round of dc. Make sure your first stitch is opposite to the previous round (go under the dc if you went over the dc in the previous round or opposite).