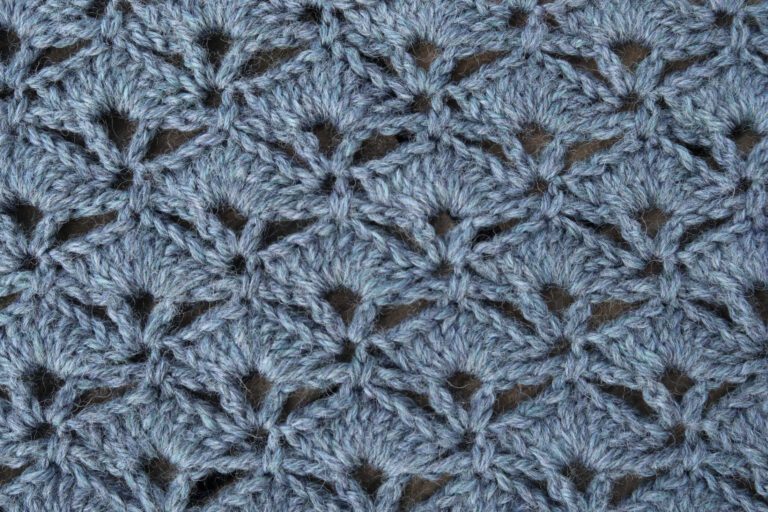
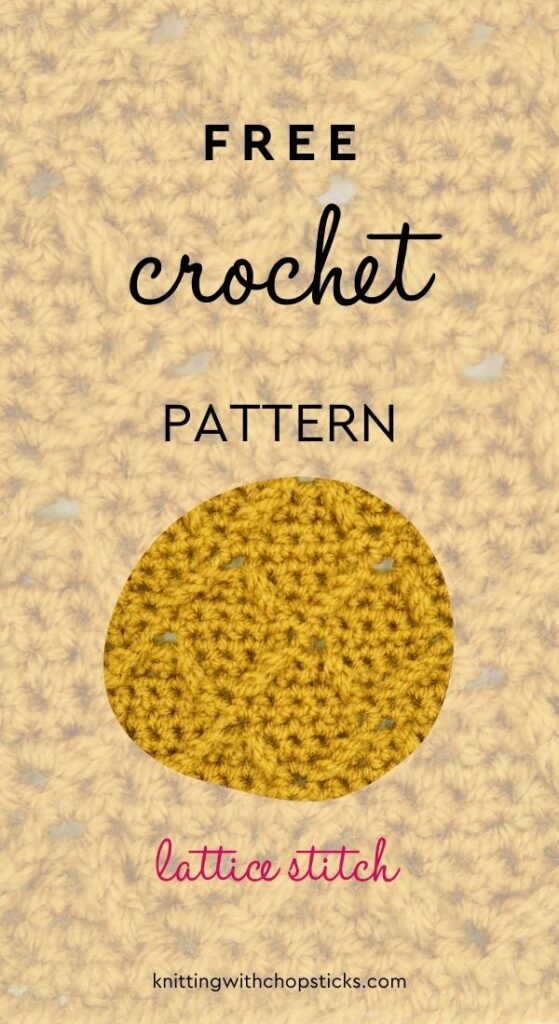
Lattice Stitch
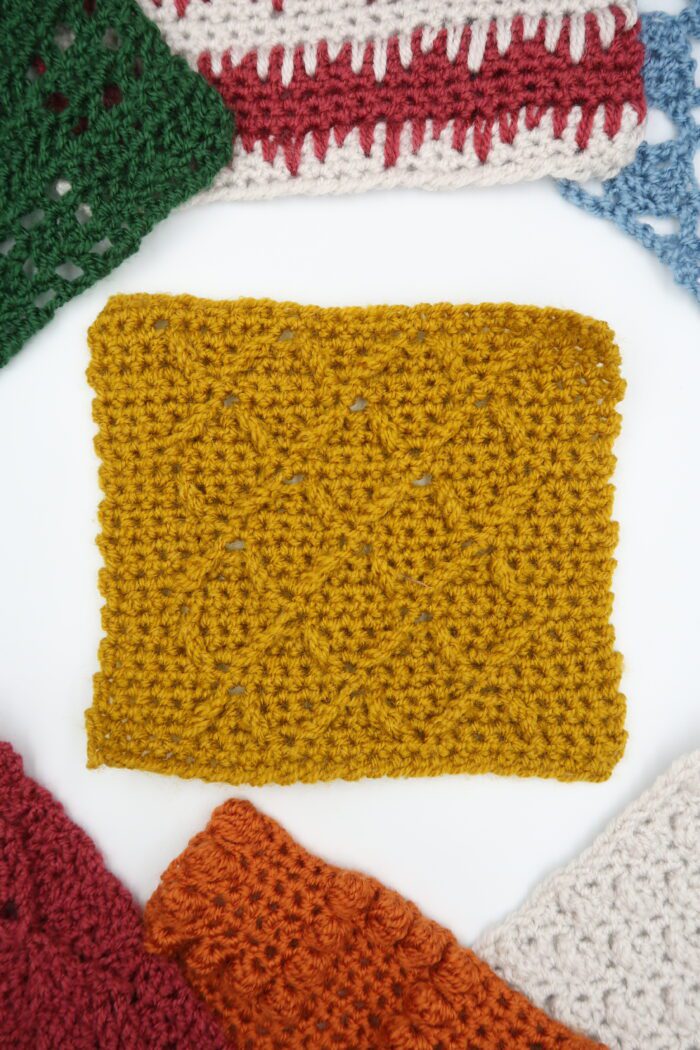
The Lattice Stitch is an easy textured crochet stitch forming a lattice pattern. Scroll down for ideas on how to use this stitch, along with the step-by-step crochet stitch pattern.
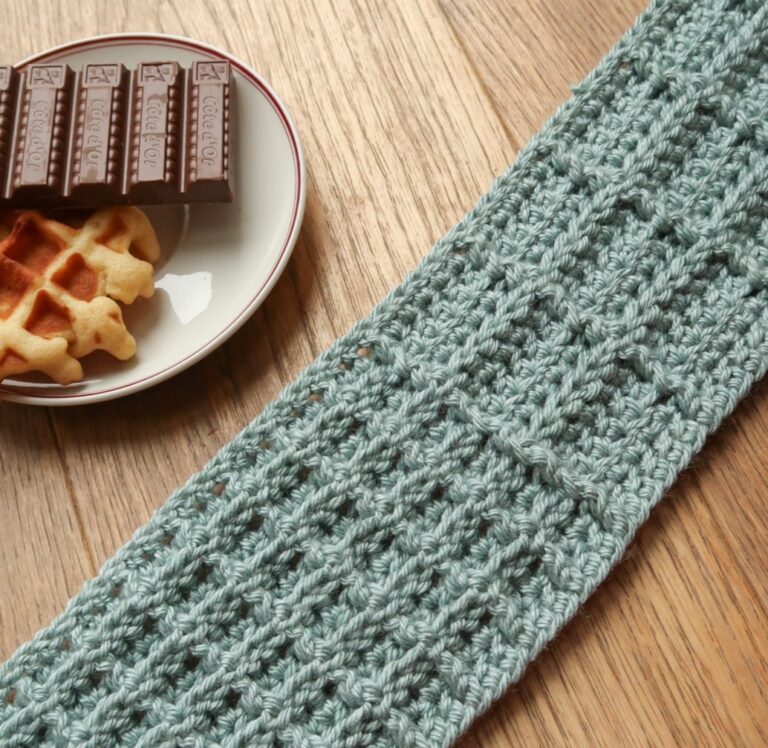
No time right now? Pin this Lattice crochet stitch tutorial for later!
*This post contains affiliate links (only for products I love, use and spend my own money on obviously). This means I earn some yarn money if you make a purchase through one of these links (of course at no extra cost for you!), which I promise to use to create more awesome patterns like this one. All opinions are my own. See my full disclosure here.
What to make with the Lattice Crochet Stitch
The Lattice stitch is a beautiful textured crochet stitch. It creates a thick yet not stiff fabric. The wrong side is plain and not particularly attractive, it is best used in projects where it is hidden such as pillows, rugs, or garments.
Crochet Stitch Dictionary
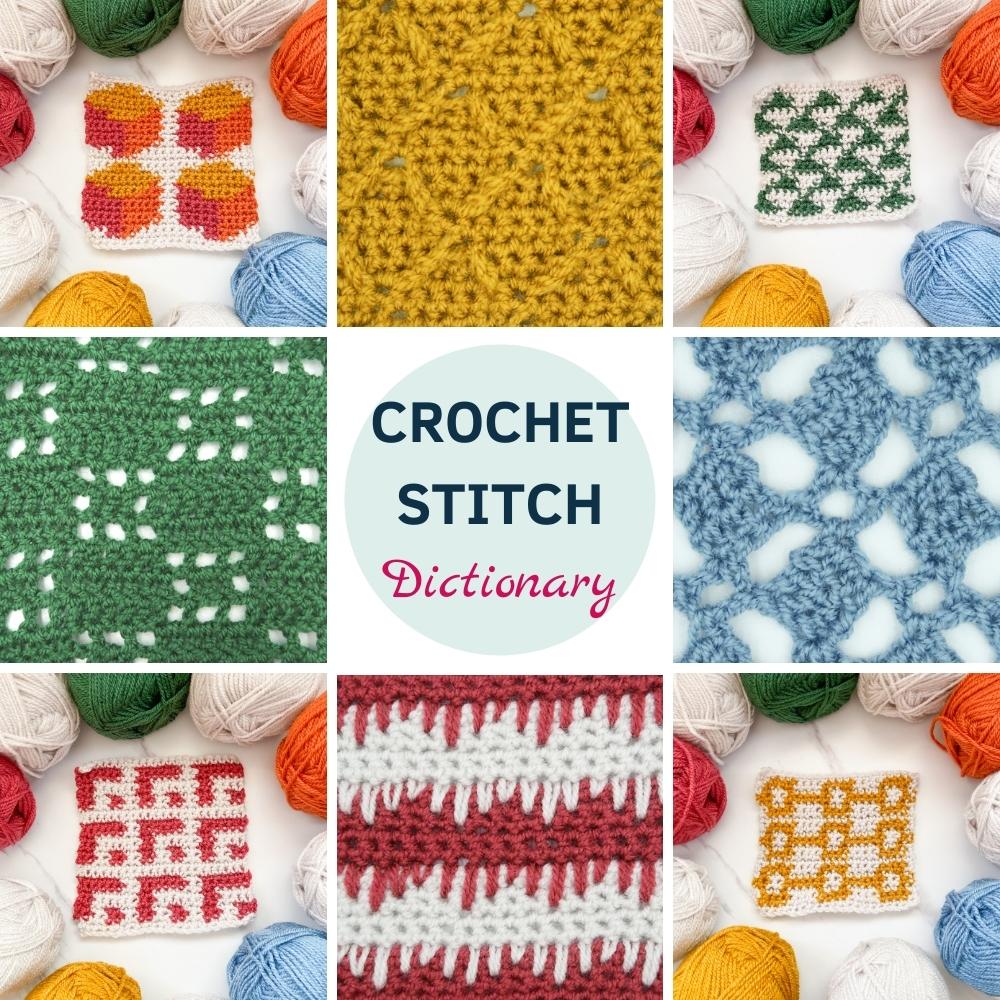
This easy crochet stitch is part of the Stitchometry CAL (crochet along). Join the fun and discover all-new crochet stitches here.
All stitch tutorials are available on our blogs but if you want a printable PDF version for easy recording and to take notes etc. You can grab the Stitchometry Dictionary with all 16 stitch patterns here.
Sometimes it’s just easier to have a stitch dictionary on hand when you’re deciding on your next project rather than having to search online and remember where you saved that stitch you want to use.
Before You Start your Lattice Crochet Stitch Pattern
Materials
- 5mm / US H-8 hook
- Hobbii Amigo (DK weight 3, 100% acrylic, 175 m / 191 yd, 50 g / 1.75 oz)
- Tapestry needle to weave in the ends. I love this set as it has different eye sizes for different yarn thicknesses, and it comes in a small tube which is very convenient so I don’t lose them.
- 6 stitch markers
Size
The patterns are written for a 15cm by 15cm / 6” by 6” square.
Stitch Multiple
The pattern needs a multiple of 6 number of stitches; your starting chain will be a multiple of 6 + 1 for an extra turning chain.
Gauge
The gauge for this pattern is 17 st by 16.5 rows in stitch pattern for a 10 cm by 10 cm square (4” by 4”).
Abbreviations
This pattern uses US notations.
- st = stitch
- ch = chain
- sc = single crochet
- fptr = front post treble crochet
- skip = miss
Notes
Work instructions between [] the indicated number of times or until the end of the row.
The final number of stitches is indicated at the end of the row between < >.
The turning ch 1, ch 2, ch 3 don’t count as a stitch throughout the pattern except if mentioned otherwise.
Stitches above a ch-1 space are worked in the ch-1 space except if mentioned otherwise.
The pattern is written in crochet shorthand. For example:
- “sc 1” means to single crochet in the next stitch,
- “sc 2” means to single crochet in each of the next 2 stitches,
- and “2 sc” means to single crochet twice in the next st.
All pictures show lefthanded crochet. All stitches are symmetrical and can be worked by both right and lefthanded crocheters.
Lattice Crochet Stitch Pattern

With your 5mm / US H-8 hook ch 25,
Sick of all the yarn jargon and conversions?
US vs UK, abbreviations, imperial vs metric, yarn weights, etc?

Row 1: Sc in 2nd ch from hook, sc across, turn. <24 st>
Row 2: Ch 1, sc 4, place marker around post of last sc made, [sc 5, place marker around post of last sc made, sc, place marker around post of last sc made] until last 8 st, sc 5, place marker around last sc made, sc 3, turn.
Note: Place the stitch markers on the other side so it will be easier to see them when you’ll need them.

Row 3 – 4: Ch 1, sc across, turn.

Row 5: Ch 1, sc 5, fptr around first marked sc 3 rows below, fptr around next marked sc 3 rows below, skip next 2 st on previous row behind post sts, [sc 4, [fptr around next marked st 3 rows below] twice, skip next 2 st on previous row behind post sts] to last 5 st, sc 5, turn.


Row 6: Ch 1, sc 6, [place marker around post of last sc made, sc in next st, place marker around post of last sc made, sc 5] until end of row.
Row 7 – 8: Ch 1, sc across, turn.
Row 9: Ch 1, sc 3, fptr around first marked sc 3 rows below, skip next sc, sc 4, [[fptr around next marked sc 3 rows below] twice, skip next 2 sts, sc 4] to last 4 st, fptr around next marked sc 3 rows below, skip next st, sc 3, turn.

Repeat Row 2 – 9 until you reach 15cm / 6″.
Final Row: Ch 1, sc across, turn. Fasten off and weave in the end.
Blocking
When you’re done with the crocheting part, make sure to weave in all the ends.
To make your stitch pattern even prettier and help straighten your edges block your project lightly.
Don’t skip this step as it can make a huge difference. Read my detailed tutorial on why block, how-to, and all my tips and tricks if you need help.