Eyelet Crochet Bag Pattern

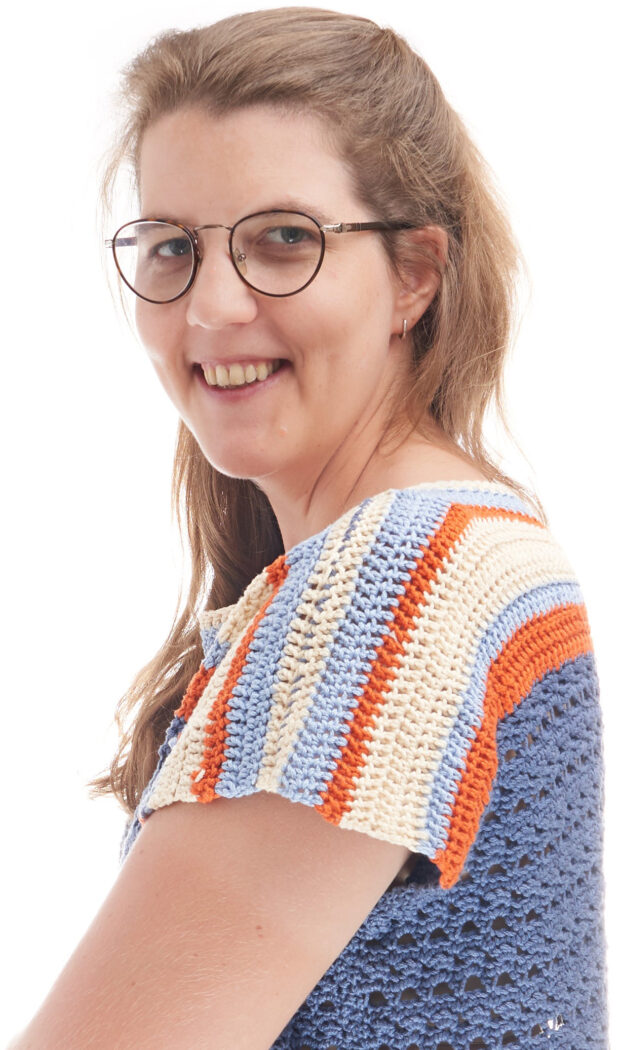
The Eyelet Purse is an easy, beginner-friendly crochet bag pattern. Every step is detailed with pictures and only basic stitches are used to make sure you can make this crochet boho bag, even if you’re not an expert yet.
No time right now? Pin this for later.

You only need one skein to make this cute bag. It’s a great stash buster project and perfect for last-minute gifts.
The clutch purse has the perfect size to fit your phone, a thin wallet and your keys. Wear it with a simple pair of jeans or dress it up with a cute dress for a summer date (why not with this Pretty Spring Dress ?).
It’s also a great crochet toddler purse free pattern for younger girls!
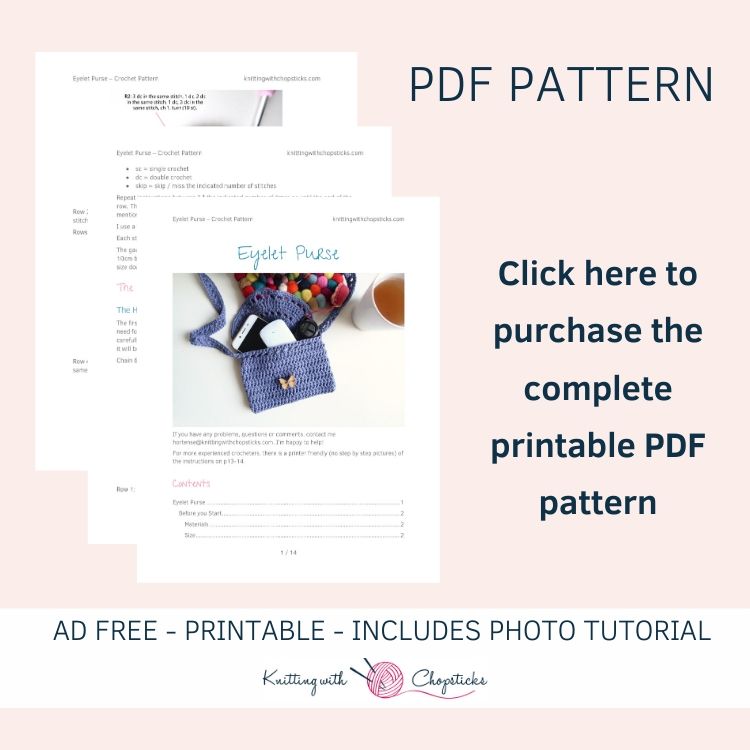
Scroll down for the free version but I recommend you purchase the ad-free PDF Pattern to get all the instructions and pictures in a nice PDF you can print and take notes on without relying on your phone or an internet connection, I’ve got you covered!
The Eyelet purse is now available in my shop, on Etsy and on Ravelry stores. Add it to your cart now before you forget!
*This post contains affiliate links (only for products I love, use and spend my own money on obviously). This means I earn some yarn money if you make a purchase through one of these links (of course at no extra cost for you!), which I promise to use to create more awesome patterns like this one. All opinions are my own. See my full disclosure here.
More Accessories You'll Love View All
Before you Start your Crochet Bag
Materials
- 4.5 mm / US 7 crochet hook. I use and love this simple set.
- 1 100g skein (170 m / 186 yards) of worsted weight cotton yarn. I used Lion Brand 24/7 cotton in jeans color which I am absolutely in love with (have you seen the Sunburst Top which is using the same yarn?). It’s the perfect yarn for this bag. Sturdy, simple cotton.
- 1 button. I used these butterfly buttons because I’m obsessed with butterflies. I’ve used it upside down with the simple wood up and hiding the colored details at the back. If butterflies are not your thing, you can use another button with the following approximate dimensions: 25mm long and 15 mm high.
I’ve made a selection for you of other buttons that would look great and have the right size:
- Tapestry needle to weave in the ends. I love this set as it has different eye sizes for different yarn thickness and it comes in a small tube which is very convenient so I don’t lose them.
- T-pins for blocking.
Size
The final crochet clutch is 16 cm (6 ½”) wide and 12 cm (4 ¾”) high. The perfect size to fit your phone, a thin wallet and your keys.
Abbreviations
- st = stitch
- ch = chain
- sc = single crochet
- dc = double crochet
- skip = skip / miss the indicated number of stitches
Repeat instructions between * * the indicated number of times or until the end of the row. The turning ch 1, ch 2 does not count as stitches throughout the pattern except if mentioned otherwise.
I use a turning ch 2 for dc stitches as I find it gives me a neater edge.
Each stitch is worked in a separate stitch unless specified otherwise.
The gauge for this crochet bag pattern, in alternating rows of sc and dc is 16 st by 8 rows for a 10cm by 10 cm square (4″ by 4″). I crochet quite tightly so you might need to go a hook size down to meet gauge.
The Actual Crochet Bag Pattern
The Half Circle Flap
The first part is the only one that is a little more tricky. It only uses simple stitches, no need for any special techniques here but you have to be attentive and follow each row carefully. Each row is detailed on the pictures to make this painless. It’s only 11 rows so it will be over in no time and then you can go back to Netflix I promise.
Chain 6. Work back and forth on the chain.

Row 1: sc 5, ch 2, turn (5 st).

Sick of all the yarn jargon and conversions?
US vs UK, abbreviations, imperial vs metric, yarn weights, etc?

Row 2: 3 dc in the same stitch, 1 dc, 2 dc in the same stitch, 1 dc, 3 dc in the same stitch, ch 1, turn (10 st).
Rows 3: 2 sc in the 1st st, sc in the next 8 st, 2 sc in the last st, ch 2, turn (12 st).

Row 4: 2 dc in the same st, 2 dc in the same st, 8 dc, 2 dc in the same st, 2 dc in the same st, ch 1, turn (16 st).

Row 5: 4 sc, 2 sc in the same st, * 3 sc, 2 sc in the same st * twice, 3sc, ch 2, turn (19 st).

Row 6: 2dc in the 1st st, *ch 1, skip1, 1 dc* repeat 8 times, ch 1, skip1, 2 dc in the same st, ch 1, turn (21 st)

Row 7: 2 sc, * 2 sc in the ch 1 space, sc * repeat 9 times, sc in the last st, ch 2, turn (30 st).

Row 8: 2 dc in the 1st st, dc 28, 2 dc in the last st, ch 1, turn (32 st).
Row 9: 2 sc in the 1st st, sc 15, 2sc in the same st, sc 14, 2 sc in the last st, ch 2, turn (35 st).

Row 10: 2 dc in the 1st st, *ch 1, skip1, 1 dc* repeat 16 times, ch 1, skip1, 2 dc in the same st, ch 1, turn (37 st).

Row 11: 2 sc, * 2 sc in the ch 1 space, sc * repeat 17 times, sc in the last st, ch 2, turn (54 st).
The Body of the Eyelet Crochet Bag
Row 1: Pick up 26 sc stitches along the straight edge (don’t worry if it is not perfectly straight yet, blocking will fix that instantly), 1 sc in the 1st stitch of the half circle, ch 2, turn


Row 2: dc 27, 1 dc in the first st of the half circle, ch 1, turn

The detailed part is over! Now you can go back to Netflix as promised.

Row 3: sc 28, ch2, turn
Row 4: dc 28, ch 1, turn
Repeat * rows 3 and 4 * until you reach 25 cm (9 3/4″) from the half circle (16 times)
Row 5: sc 28, ch2, turn

Row 6: *ch 1, skip 1, dc 1* repeat across
Row 7: sc 28.
Fasten off and leave a long tail for sewing.
The Strap of the Crochet Bag
Chain 200 + 1. Don’t worry, you don’t need to be precise and count 5 times. Just make sure it’s an uneven number.
Optional: You can also replace the chain and first row by 200 foundations single crochet.

Row 1: sc in each st, ch 2, turn
Row 2: skip 1, * dc, ch 1, skip 1, dc 1 * repeat until the end of the row, ch 1, turn
Row 3: sc in each st
Fasten off and leave a long tail for sewing.
Blocking
Block the 2 parts before assembly.
Don’t skip this step as it can make a huge difference. Read my detailed tutorial on why block, how-to, and all my tips and tricks if you need help.
Sewing
First, sew the bag together. To do so, fold the rectangle part in half and sew up the sides. Leave about 2cm (3/4″) off the straight section as part of the flap.


Add the button and the strap. For the button, close the bag and sew it in front of the buttonhole (which is the middle ch1 space created in the half-circle section). Sew the strap from the inside of the bag on both sides.
Enjoy your cute bag! If you liked this crochet bag pattern, don’t forget to share it with your yarn friends.


Thank you for a really cute purse! It is the perfect size.
I must say,,,, a delightful bag to behold. Suitable for both a solid color or mixture And would make wonderful gifts for any occasion. Thank you so much for sharing this little treasure SMILE
Hello, I saw this little bag today and thought it would be so cute for my granddaughter so I started it this morning. First have to say is I’m a beginner in crocheting. Everything was good until I hit the row 1 pick up 26 stitches along the straight edge, and 1 sc in the 1st st of the circle ch 2 turn. Am I suppose just eye up and sc 26 stitches and where am i to ch 2. I just this part more explained please.
Thank you
Mary
Oh yes!
I am the same, so confused right now..
Yes you just need to spread the 26 sc out along the edge to start making the rectangle part + 1 sc in the first st of the half circle (this helps to have a neat junction)
The ch 2 is the climbing chain / turning chain for the next row.