Gathering Driftwood Crochet Shawl Pattern
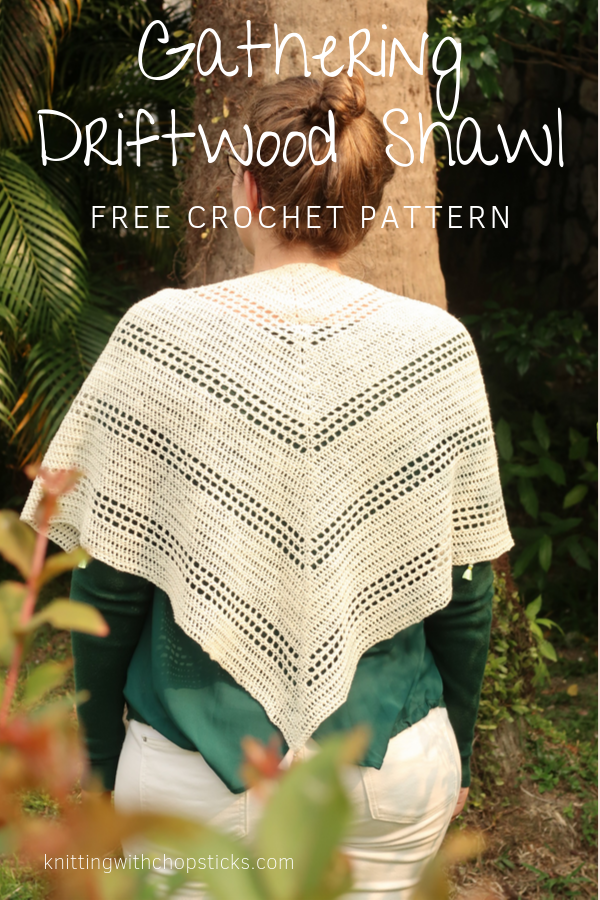
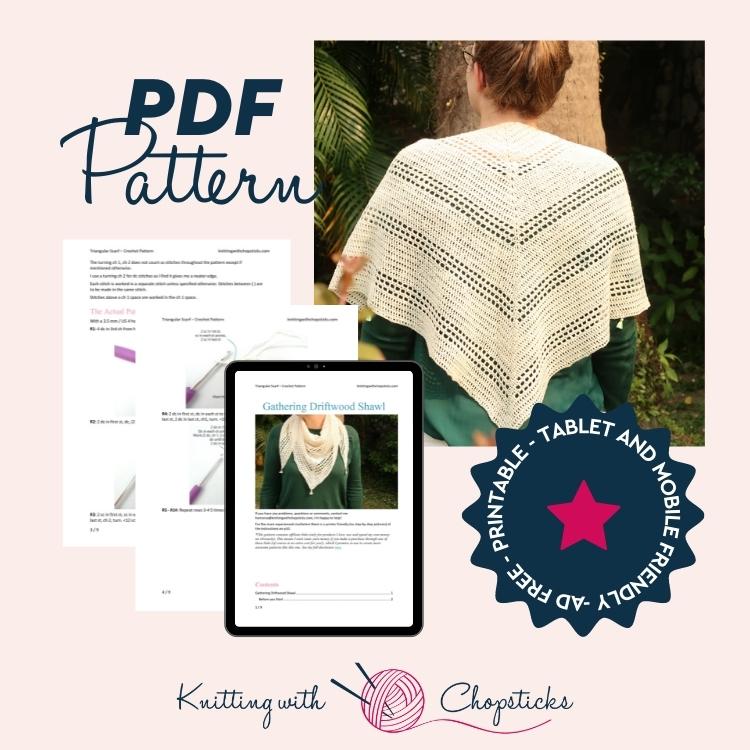
A new crochet shawl pattern – the Gathering Driftwood Shawl – is now a free crochet shawl pattern here on the blog. Read all about this crochet shawl pattern inspiration, scroll down to view the full free pattern or purchase an ad free PDF from the links below.
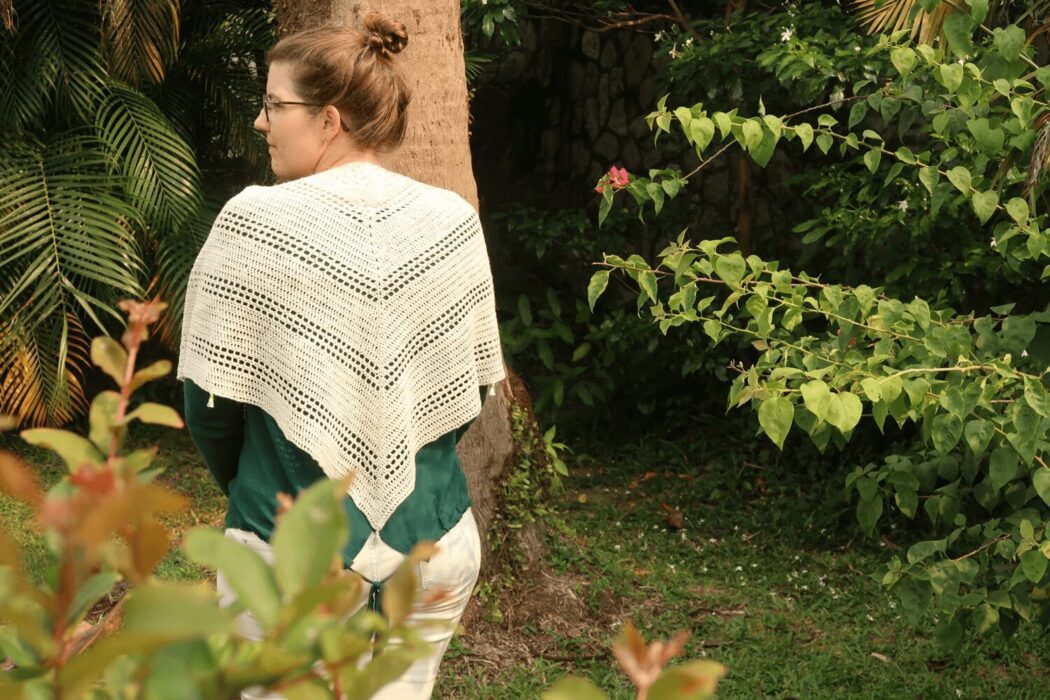
The end of winter is nearing and the evenings are getting wamer. The good news is, this means you can start crocheting spring and summer items. The Gathering Driftwood crochet shawl pattern is the perfect transition scarf. It’s an easy beginner triangle scarf. All you need to know to make this crochet scarf pattern are single crochet, double crochet, and chain stitch.
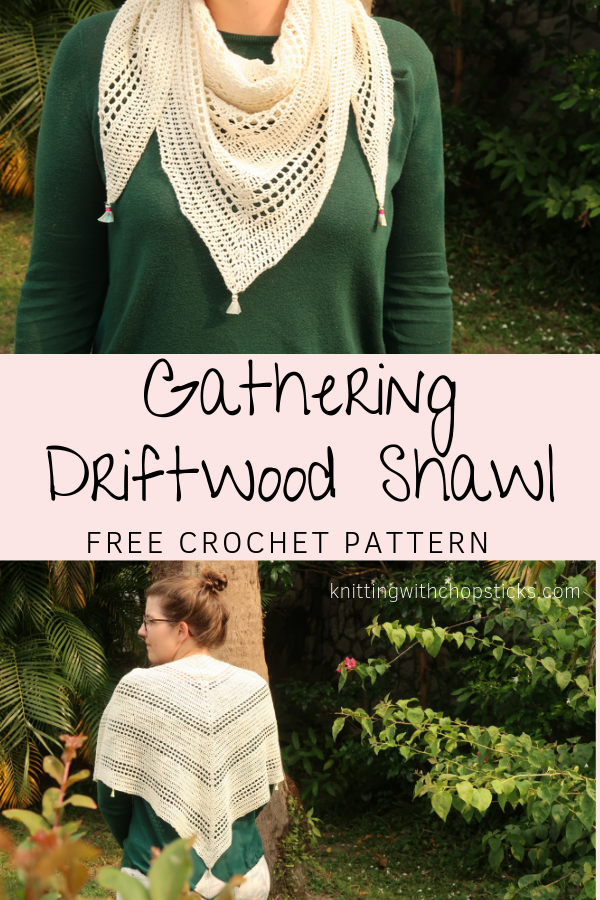
No time right now? Pin this pattern for later!
You can wear the Gathering Driftwood shawl on your shoulders over a cute dress for date night or around your neck as a triangular scarf over, let’s be honest, any outfit.
*This pattern contains affiliate links (only for products I love, use and spend my own money on obviously). This means I earn some yarn money if you make a purchase through one of these links (of course at no extra cost for you!), which I promise to use to create more awesome patterns like this one. See my full disclosure here.
This lacy crochet scarf is made with linen yarn from Darn Good Yarn. It’s my first time working with linen yarn and I’m really amazed at how it instantly makes your project more elegant and dressy. The sport weight yarn helps get a great drape and flow in your triangular shawl. The linen is also surprisingly soft against your skin.
Scroll down for the free version but I recommend you purchase the ad-free PDF Pattern to get all the instructions and pictures in a nice PDF you can print and take notes on without relying on your phone or an internet connection, I’ve got you covered!
Grab your copy of the Gathering Driftwood Crochet Shawl Pattern in my shop, on Ravelry or on Etsy now before you forget.
Before you Start your Triangular Scarf
Materials
- 3.5 mm/ US E – 4 crochet hook.
- Darn Good Yarn linen yarn weight 2 sport (100% linen, 320m /350 yards) Polar Bear White – 2 skeins (use code KNITTINGWITHCHOPSTICKS15 for a 15% discount)
- Optional: 5 mini tassels
- Tapestry needle to weave in the ends. I love this set as it has different eye sizes for different yarn thicknesses and it comes in a small tube which is very convenient so I don’t lose them.
Triangular Scarf Size
The triangular scarf is 1.35m / 53” long and 65 cm / 25.5” wide (at the tip of the triangle)
Gauge
The gauge for this pattern, in alternating rows of sc and dc is 18 st by 20 rows for a 10 cm by 10 cm square (4” by 4”).
Abbreviations & Instructions
This pattern follows US notations
- st = stitch
- sc = single crochet
- ch = chain
- inc = increase = make 2 st in the same stitch
- skip = miss stitch
Sick of all the yarn jargon and conversions?
US vs UK, abbreviations, imperial vs metric, yarn weights, etc?

Notes
Repeat instructions between ** the indicated number of times or until the end of the round.
The final number of stitches is indicated at the end of the row between < >.
The turning ch 1, ch 2 does not count as stitches throughout the pattern except if mentioned otherwise.
I use a turning ch 2 for dc stitches as I find it gives me a neater edge.
Sick of all the yarn jargon and conversions?
US vs UK, abbreviations, imperial vs metric, yarn weights, etc?
Each stitch is worked in a separate stitch unless specified otherwise. Stitches between ( ) are to be made in the same stitch.
Stitches above a ch 1 space are worked in the ch 1 space.
The Actual Crochet Shawl Pattern
With a 3.5 mm / US 4 hook, ch 3, turn.
R1: 4 dc in 3rd ch from hook, ch 2, turn. <4 dc>

R2: 2 dc in first st, dc, (2 dc, ch 1, 2 dc) in next st, dc, 2 dc in last st, ch 1, turn. <10 dc>

R3: 2 sc in first st, sc in each st across including ch-1 sp (place marker in sc in ch-sp), 2 sc in last st, ch 2, turn. <12 sc>

R4: 2 dc in first st, dc in each st to marked st, work (2 dc, ch 1, 2 dc) in marked st, dc until last st, 2 dc in last st, ch1, turn. <18 dc>

R5 – R14: Repeat rows 3-4 5 times (for a total of 6 times). <58 dc>

R15: Repeat row 3 one more time. <60 sc>

R16: 2 dc in 1st st, *ch 1, miss 1, dc* until marked st, work (2 dc, ch 1, 2 dc) in marked st, *1 dc, ch 1, miss 1* until last st, 2 dc in last st, ch 1, turn. <66 dc>

R17: 2 sc in first st, sc in each st across including ch-1 sp (place marker in sc in ch-sp), 2 sc in last st, ch 2, turn. <68 sc>

R18 – R21: Repeat rows 16-17 2 more times (for a total of 3 times). <84 sc>
Repeat rows 4 to 21 3 more times (4 sections of eyelets total),
Repeat row 4 one more time.
Finish with 3 repeats of rows 3 and 4.
Bind off and weave in the ends.
Block your triangular scarf carefully.
Don’t skip this step as it can make a huge difference. Read my detailed tutorial on why block, how-to, and all my tips and tricks if you need help.
Optional: For a touch of color, sew on the mini tassels. One at each point of the triangle and one in the middle of each of the sides of the scarf (not on the back edge).
If you enjoyed this pattern, don’t forget to pin it and share it with your yarn loving friends!