Hygge Mood Cardigan Knitted Pattern
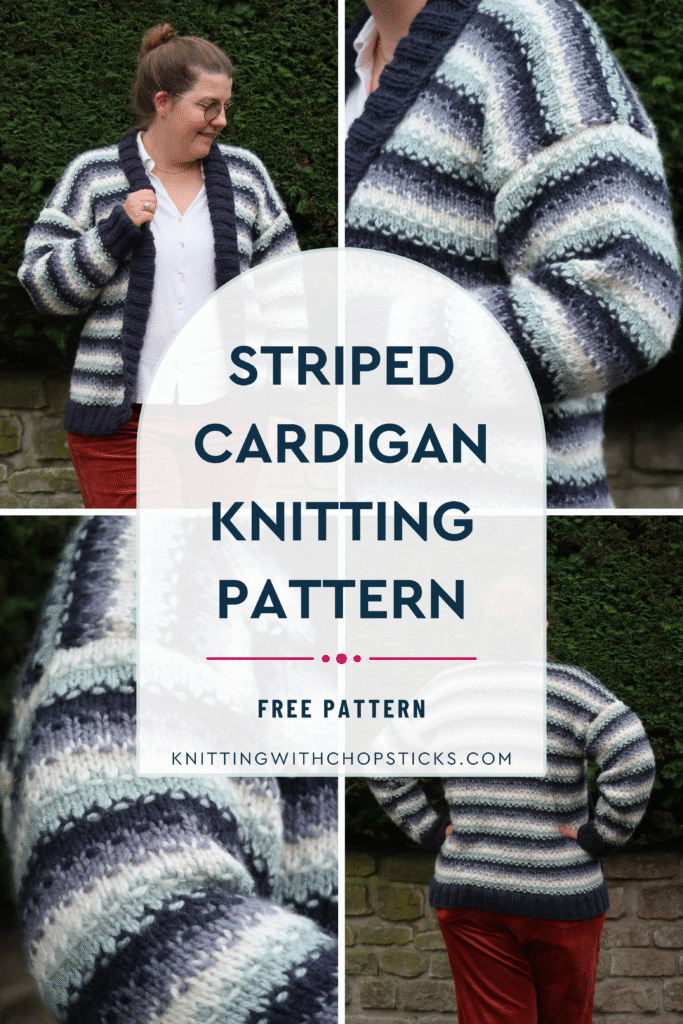
A new striped cardigan knitted pattern – the Hygge Mood Cardigan – is now a free knitting cardigan pattern here on the blog. Read all about this striped cardigan knitting pattern, scroll down to view the full free pattern or purchase an ad free PDF from the links below.
No time right now? Pin this striped cardigan knitting pattern free for later!
*This post contains affiliate links (only for products I love, use and spend my own money on obviously). This means I earn some yarn money if you make a purchase through one of these links (of course at no extra cost for you!), which I promise to use to create more awesome patterns like this one. All opinions are my own. See my full disclosure here.
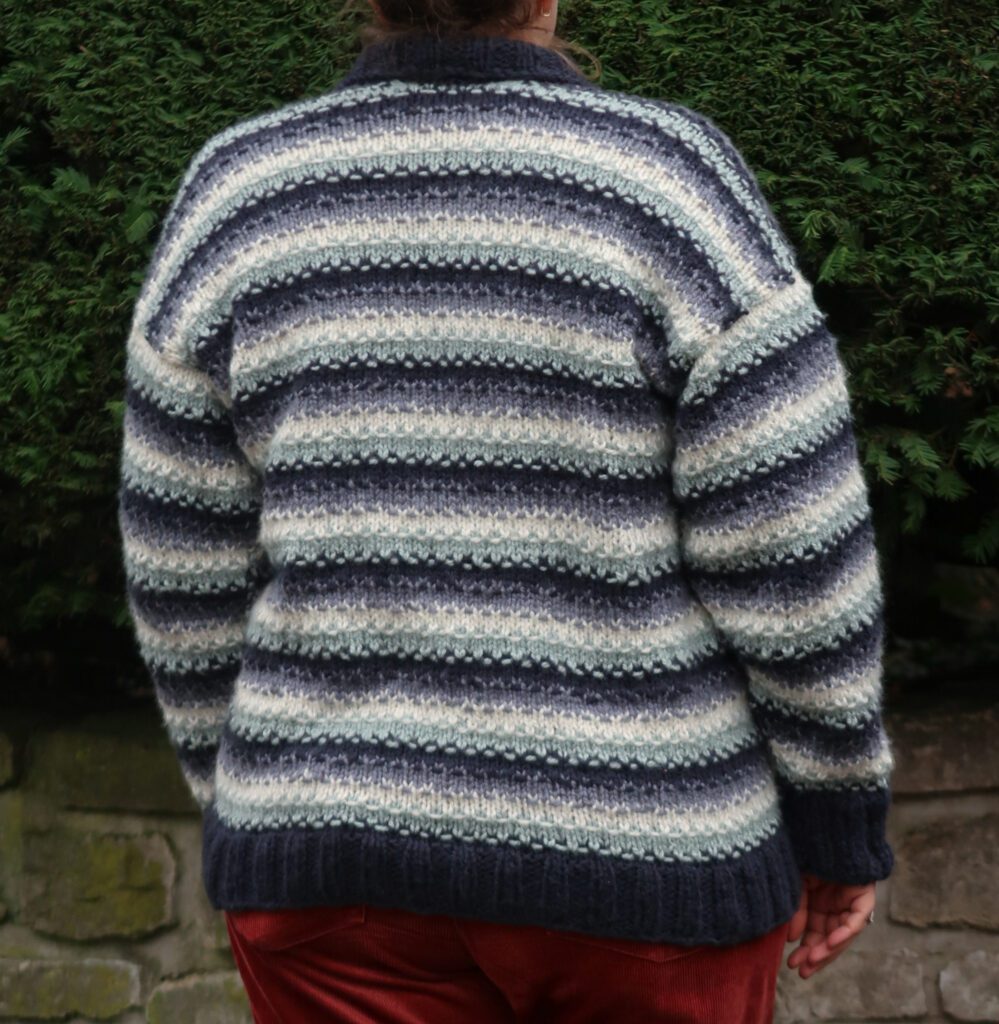
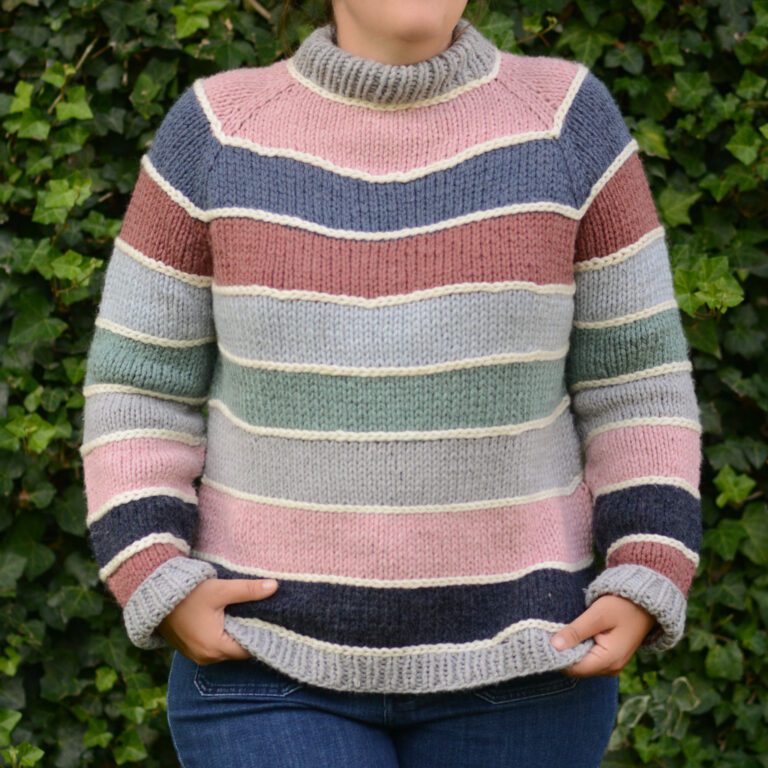
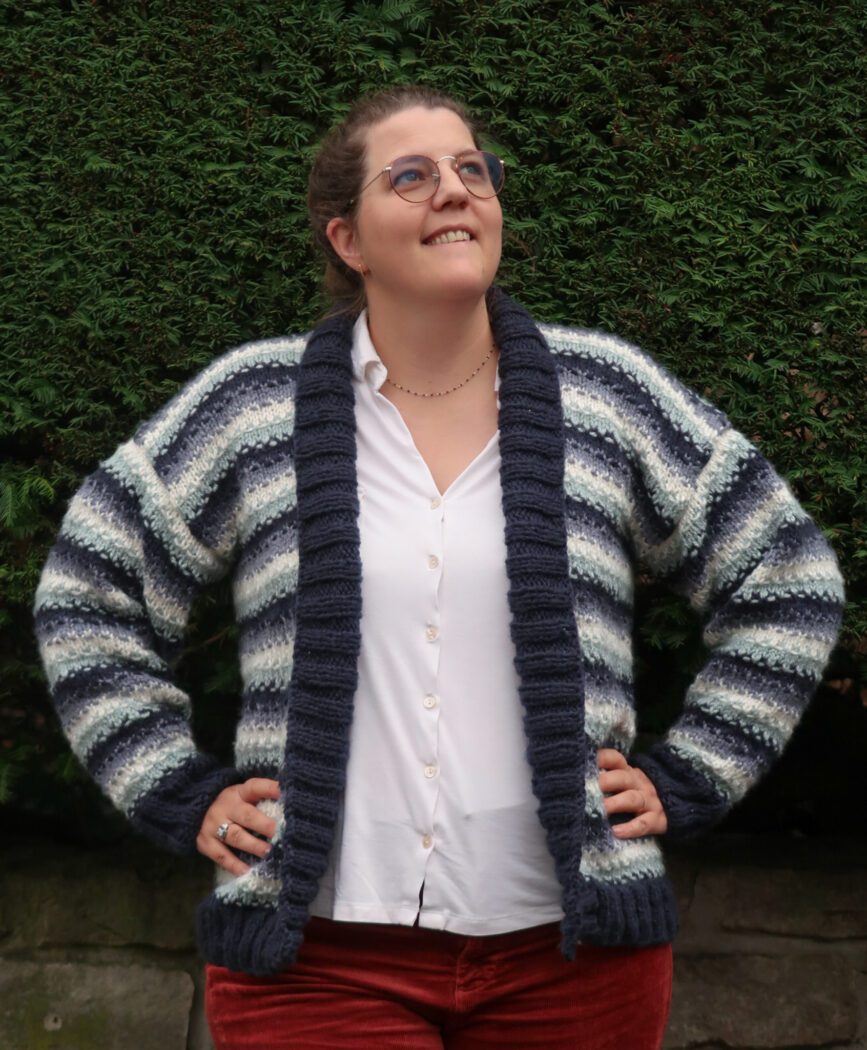
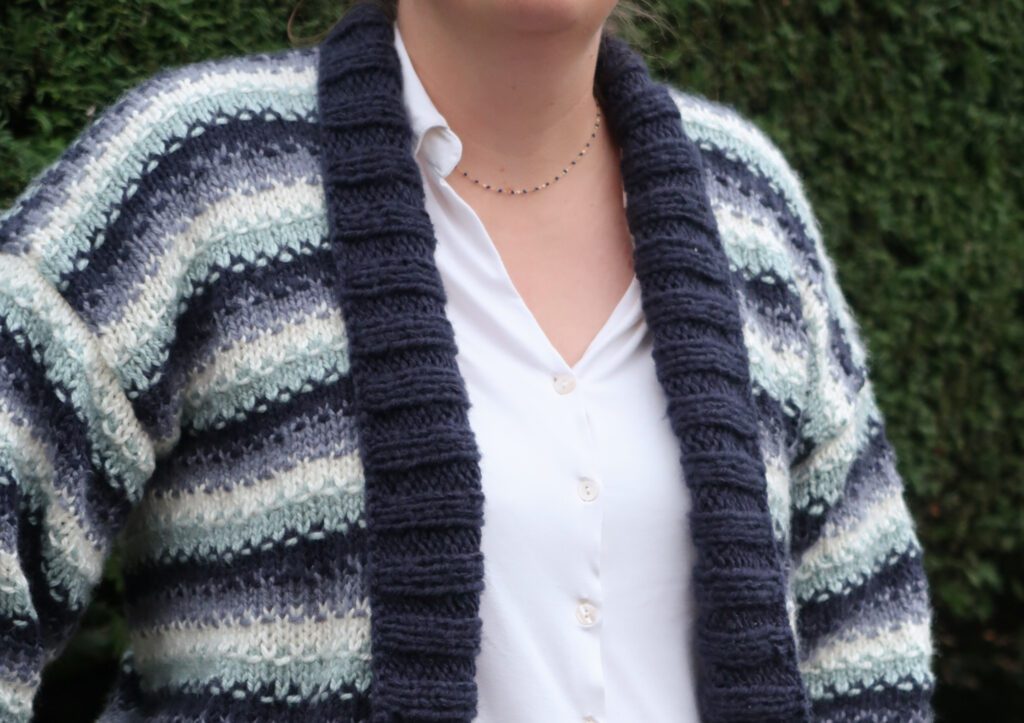
The Hyggee Mood Cardigan is a cozy, easygoing knit that’s all about comfort and good vibes. This women’s cardigan knitting pattern has a relaxed fit and fun stripes created with four different colors, making it a great project if you enjoy a little color play without anything too complicated. The body of the cardigan is knitted flat in one piece from the bottom up, turning at the end of each row, so the construction stays simple and approachable.
This cardigan pattern is available in a wide range of sizes — XS through 5XL — so you can make a fit that works for you. It’s knit using Lion Brand Jiffy yarn (410 g, 100% acrylic, 681 yds / 623 m), which gives the cardigan a soft, lightweight feel that’s great for layering. Whether you’re knitting it for cozy days at home or as a go-to cardigan for everyday wear, the Hyggee Mood Cardigan is meant to be comfortable, colorful, and easy to love.
No Colorwork Skills Required
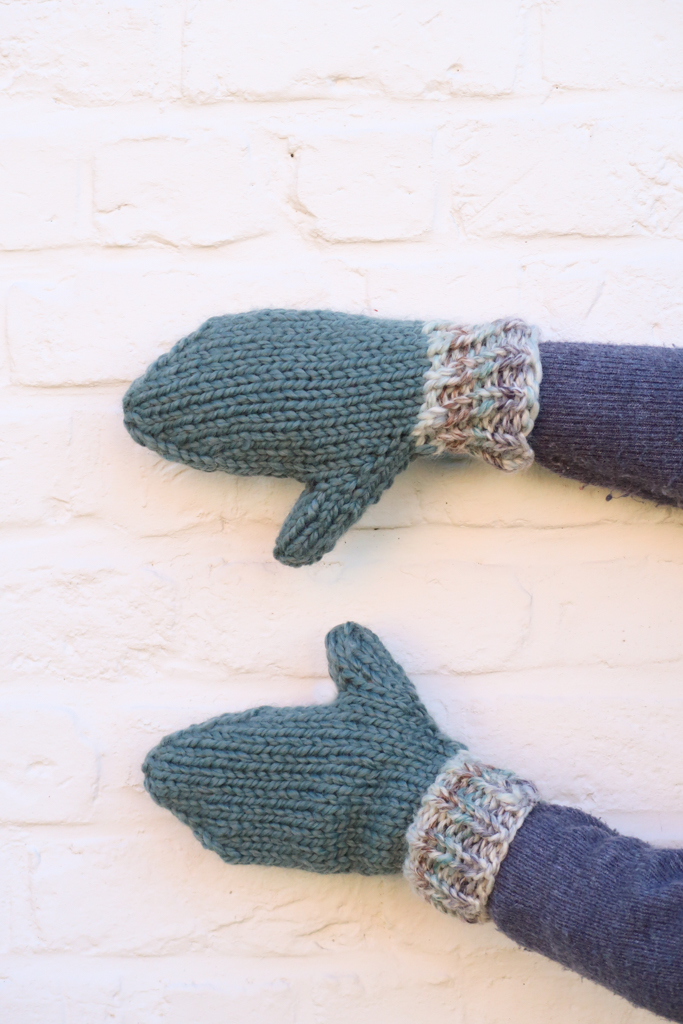
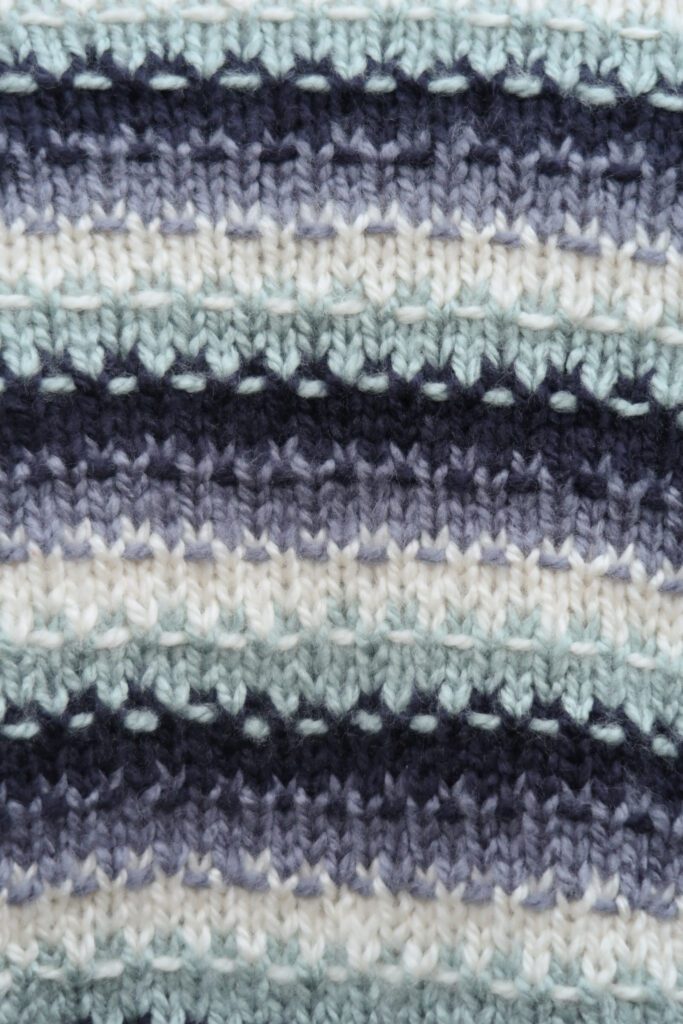
Inspired by nordic colorwork pieces, the Hygge Mood Cardigan uses a fun combination of stockinette and slip stitches to create this colorwork look while being worked just one color at a time! No colorwork skills required here. Plus, it’s a simple 4 row repeat that easy to memorize.

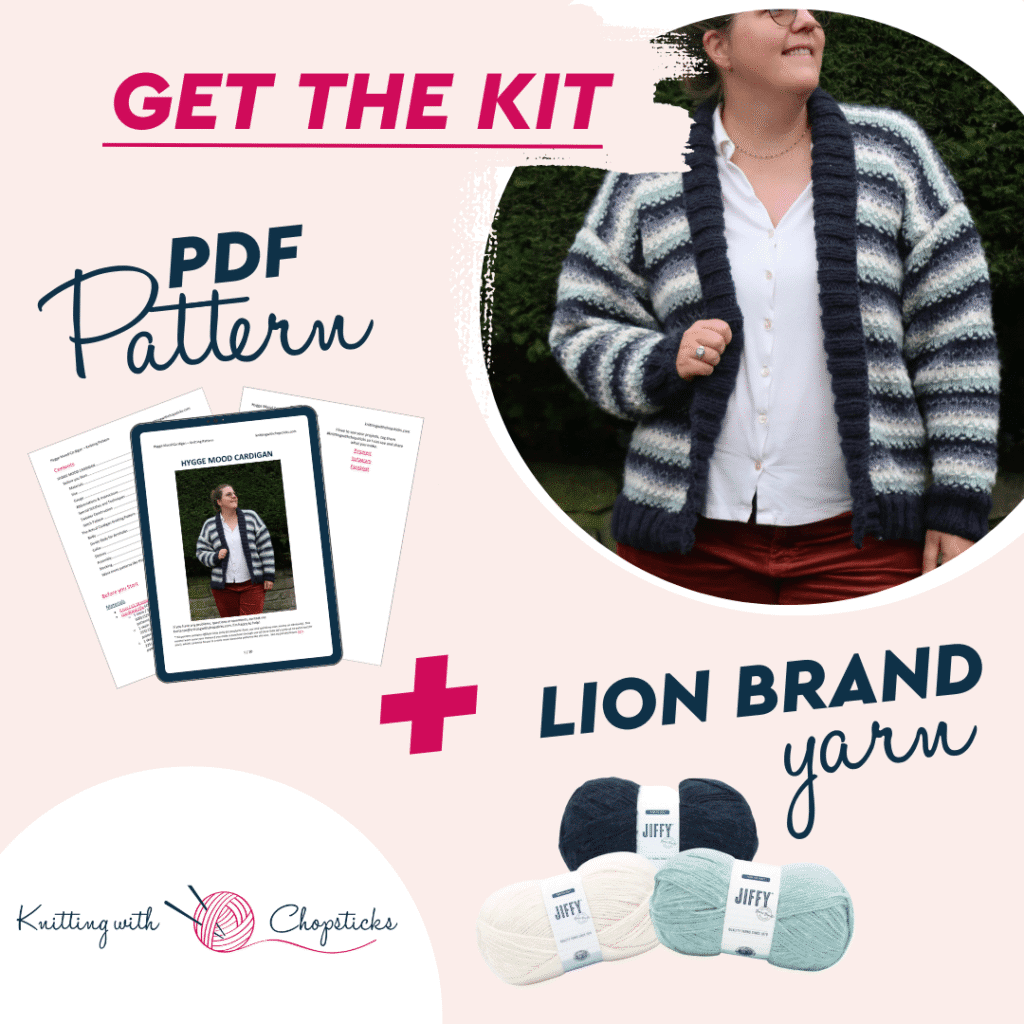
Downloadable PDF for Hygge Mood Cardigan Knitted Pattern

Grab the printable PDF of the Hygge Mood Cardigan Pattern now in my shop, Etsy shop, on Ravelry shop or as a Lion Brand Kit:
Hygge Mood Cardigan Knitting Pattern Lion Brand Kit
The Hyggee Mood Cardigan is a cozy, relaxed knit made for easy, feel-good stitching. Featuring a laid-back fit and fun stripes created with four colors, it’s a great project if you enjoy simple color play without complicated techniques. Knit with Lion Brand Jiffy yarn, this cardigan is soft, lightweight, and perfect for layering. This kit includes everything you need to make a striped cardigan you’ll love knitting and wearing again and again.
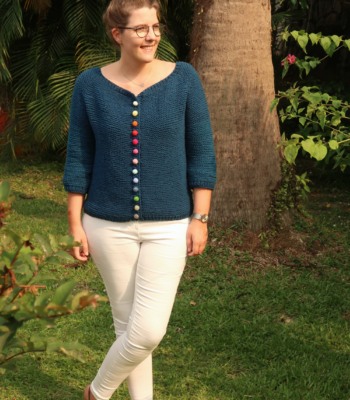
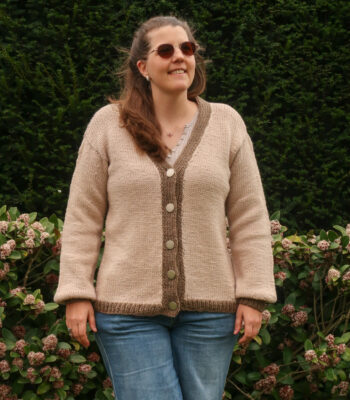
More Cardigan Knitted Patterns you'll love

Before You Start Your Hygge Mood Cardigan Knitted Pattern
Materials
- 6 mm / US 10 knitting needles
- Lion Brand Jiffy (410g, 100% acrylic, 681 yds / 623 m): you will need:
- 1 skein / 350 (375, 400, 425, 450) (475, 500, 525, 550) m / 385 (425, 450, 475, 500) (525, 550, 575, 600) yds in Deep Indigo [451-110AJ] (called navy throughout pattern)
- 1 skein / 150 (175, 175, 200, 200) (225, 250, 250, 275) m / 175 (200, 200, 225, 225) (250, 275, 275, 300) yds in Seafoam [451-108AG] (called teal throughout pattern)
- 1 skein / 150 (175, 175, 200, 200) (225, 250, 250, 275) m / 175 (200, 200, 225, 225) (250, 275, 275, 300) yds in Cream [451-098W] (called cream throughout pattern)
- 1 skein / 150 (175, 175, 200, 200) (225, 250, 250, 275) m / 175 (200, 200, 225, 225) (250, 275, 275, 300) yds in Coastal [451-109AD] (called gray throughout pattern)
- Tapestry needle to weave in the ends
- Measuring tape
- Stitch holders
Note: I like to use an unused cable from my interchangeable needle set as a stitch holder but you can also use a scrap of yarn.
Size
This women’s cardigan knitting pattern is available in the following sizes: XS, S, M, L, XL, 2XL, 3XL, 4XL and 5XL.
Sizes are noted throughout the pattern in the following way: XS (S, M, L, XL) (2XL, 3XL, 4XL, 5XL).
The pictures illustrate size XL.
Final garment measurements are:
- Bust circumference (note that this garment is open fronted but will fit like a cardigan of the following bust circumference): 74 (87, 97, 106, 116) (126, 135, 145, 158) cm / 29 (34.5, 38, 41.5, 45.5) (49.5, 53, 57, 62)”.
- Upper arm sleeve circumference: 45 (45, 48, 52, 55) (61, 64, 68, 71) cm / 17.5 (17.5, 19, 20.5, 21.5) (24, 25, 27, 28)”.
- Sleeve length: 54 (53, 53, 53, 51) (51, 50, 50, 47) cm / 21.5 (21, 21, 21, 20) (20, 19.5, 19.5, 18.5)”.
- Length (nape of neck to hem): 71 cm / 28”.
The sweater is designed to be worn with a close fit, with 0 cm / 0” ease at the bust.
Gauge
The gauge for this pattern with 6 mm / US 10 needles, in the slipstitch stitch pattern, is 12.5 st by 18 rows for a 10 cm by 10 cm / 4” by 4” square.
Perfect Fit Guide
Always guessing your size when knitting or crocheting garments?

Abbreviations & Instructions
- st = stitch
- k = knit
- p = purl
- Sl1p = slip one stitch purlwise
- wyif = with yarn in front of work
- m1R = make one right, a right leaning increase
- m1L = make one left, a left leaning increase
- kfb = knit into the front and back of the next stitch before sliding it off to increase
Repeat instructions between [] the indicated number of times or until the end of the round/row.
Sick of all the yarn jargon and conversions?
US vs UK, abbreviations, imperial vs metric, yarn weights, etc?

The final number of stitches is indicated at the end of the round/row between < >.
Special Stitches and Techniques
Picking up stitches: if you’re not familiar with this technique, this tutorial is very helpful.
3 needle bind off:
- Line up your needles: Hold the two pieces you want to join with the right sides of the knitting together. The stitches should be sitting on two separate needles, side by side.
- Insert the third needle: Using a third needle, insert it knitwise through the first stitch on the front needle and the first stitch on the back needle at the same time.
- Knit them together: Wrap your yarn and knit those two stitches together as if they were one. Slip both off their needles.
- *Repeat once more: Knit the next pair of stitches on each needle together the same way. You now have two stitches on your right-hand needle.
- Bind off: Lift the first stitch on the right-hand needle over the second stitch and off the needle, just like a regular bind-off.
- Repeat from * until there are no more pairs of stitches to bind off.
- Cut your yarn, pull through the last stitch to secure, and admire your neat seam.
Mattress stitch: this creates a very neat seam on knitted pieces that are mostly knits on the right side and purls on the wrong side. It’s almost invisible until the seam is stretched.
- Lay your piece out with the two edges to sew side by side with the right sides of both facing up. To sew the sleeve underarm seam, you will have to fold each side over to the center.
- Find the right place to sew: Look for the little horizontal bars between the edge stitch and the next stitch. You’ll be working under these bars.
- Start the seam: Thread a yarn needle with a strand of your working yarn. Begin at the bottom of the seam, securing the yarn with two stitches through the corner stitches of each side.
- Insert the needle under the first two bars on the right edge and pull through.
- Move to the left piece and insert the needle under the first two bars on the left edge. Pull the yarn through.
- Work up the seam: Keep alternating: right edge, then left edge always going under the next two bars on each side. Every few stitches, gently pull the working yarn to tighten the seam. The edges should draw together neatly without puckering.
- When you reach the top, weave in the yarn tail on the wrong side to secure.
Cardigan Construction
The body of the cardigan is knitted flat in one piece, from the bottom up, turning at the end of each row. The piece is then divided in 3 parts, working the two front shoulder sections and the back shoulder section separately to form the armholes.
Next, you’ll join the shoulders together with a 3 needle bind off and then pick up stitches around the neckline to create the edging and collar. Alternatively, if you don’t like to use a three needle bind off, you can cast off the stitches of the front and back sections and sew them together instead.
Finally, the sleeves are each worked flat in one piece, from the bottom up, turning at the end of each row and sewing the underarm seam then sewing them to the cardigan armholes.
Stitch Pattern
The cardigan is designed with a striped slip stitch pattern mimicking colorwork. However, only one color is used at a time to achieve this effect.
The Actual Hygge Mood Free Striped Cardigan Knitting Pattern
Body
Ribbing
With navy blue and 6 mm / US 10 needles cast on 84 (100, 112, 124, 136) (144, 156, 168, 184) st.
Row 1: [k2, p2] across <84 (100, 112, 124, 136) (144, 156, 168, 184) st>
Repeat Row 1 for 8 cm / 3.25”.
Patterned Section
Row 1: Sl1p, knit across. <84 (100, 112, 124, 136) (144, 156, 168, 184) st.>
Row 2: Sl1p, purl across.
Switch to teal color yarn.
Row 3: Sl1p, [wyif sl1p, k1] until last st, k1.
Row 4: Sl1p, purl across.
Row 5: Sl1p, knit across.
Row 6: Sl1p, purl across.
Switch to cream color yarn.
Row 7: Sl1p, [k1, wyif sl1p] until last st, k1.
Rows 8 – 10: Repeat Row 4-6.
Switch to coastal color yarn.
Repeat Rows 3 – 6.
Switch to navy color yarn.
Repeat Rows 7 – 10.
Repeat these 4 colour stripes until you reach a total length of 50 (49, 48, 47, 45) (42, 41, 39, 37)
cm / 19.5 (19.5, 19, 18.5, 17.5) (16.5, 16, 15.5, 14.5)”. Note which row of the repeat you finished on so you can continue with the next row after dividing for the armholes.
Divide Body for Armholes
To work in 3 sections for armholes, place 19 (23, 26, 29, 32) (33, 36, 39, 43) sts from one end on a stitch holder (these will be one of the fronts) then the central 46 (54, 60, 66, 72) (78, 84, 90, 98) sts on second stitch holder (these will be the back). Make sure you secure the stitch holders carefully.
Keep the remaining 19 (23, 26, 29, 32) (33, 36, 39, 43) sts (which will be the other front), on your needles.
Starting with the row following the one you finished the previous section, continue using the same stitch repeat to knit each of these three sections until it is 21 (22, 23, 24, 26) (29, 30, 32, 34) cm / 8.5 (8.5, 9, 9.5, 10) (11.5, 12, 12.5, 13.5)” from the armhole division.
When all three sections are complete, use a 3 needle bind off to cast off the shoulders, attaching each front to the corresponding end of the back with the outermost stitches matching. After completing the second shoulder, you will have 8 (8, 8, 8, 8) (12, 12, 12, 12) sts remaining at the center of the back. Cast off these stitches in the usual way.
Collar
Starting in the bottom corner of the front opening and working up, around the neck and back down the other side of the front opening, pick up 100 sts on each side front and 1 st in each of the sts you cast off at the center back (this is about 14 st for every 10 cm / 4”). <208 (208, 208, 208, 208) (212, 212, 212, 212) st>
[K2, p2] across for 10 cm / 4″.

Sleeves
All Sizes
With navy color yarn, cast on 22 (22, 26, 30, 34) (38, 42, 42, 46) st.
[k2, p2] across for 8 cm / 3.25”.
Increase: K1, m1R, knit until last st, m1L, k1. <24 (24, 28, 32, 36) (40, 44, 44, 48) st>
For some sizes in the next round you will work a few increases to create sleeves that match the wrist to arm proportions, while other sizes need no increases. Follow only the instructions for your size and after this round is complete continue from the section titled “All Sizes”.
Sizes XS-XL Only
Purl across. <24 (24, 28, 32, 36) (-, -, -, -) st>
Size 2XL Only
P2, [kfb, p8] four times, purl to end. <44 st>
Size 3XL Only
P2, [kfb, p9] four times, purl to end. <48 st>
Size 4XL Only
P2, [kfb, p4] 8 times, purl to end. <52 st>
Size 5XL Only
P4, [kfb, p4] 8 times, purl to end. <56 st>
All Sizes
Switch to teal color yarn and work the 4-row repeat while working the increases every 3rd row.
Row 1: Sl1p, [wyif sl1p, k1] until last st, k1. <24 (24, 28, 32, 36) (44, 48, 52, 56) st>
Row 2: purl across.
Row 3: K1, m1R, knit until last st, m1L, k1. <26 (26, 30, 34, 38) (46, 50, 54, 58) st>
Row 4: Purl across.
Switch to cream color yarn.
Row 5: Sl1p, [k1, wyif sl1p] until last st, k1.
Rows 6 – 8: Repeat Row 2 – 4. <28 (28, 32, 36, 40) (48, 52, 56, 60) st>
Switch to coastal color yarn.
Repeat Rows 1 – 4. <30 (30, 34, 38, 42) (50, 54, 58, 62) st>
Switch to navy color yarn.
Repeat Rows 6 – 8. <32(32, 36, 40, 44) (52, 56, 60, 64) st>
Repeat these 4 sets another 3 times. <56 (56, 60, 64, 68) (76, 80, 84, 88) st>.
Continue the colorwork repeat with no increases (same as body repeats alternating wyif sl1p) until total length is 54 (53, 53, 53, 51) (51, 50, 50, 47) cm / 21.5 (21, 21, 21, 20) (20, 19.5, 19.5, 18.5)”.
Cast off and keep a long tail for sewing.

Assembly
Use the long tail to sew the sides of the sleeves together using the matress stitch then sew the sleeve to the body armhole in the same manner.
Blocking
You are done with the knitting part. Make sure to weave in all the ends.
To make your sweater even prettier and help even your stitches wet block your project.
Don’t skip this step as it can make a huge difference. Read my detailed tutorial on why block, how-to, and all my tips and tricks if you need help.
Copyright 2026 Knitting with Chopsticks