Swallow Shrug Knitting Pattern
An easy comfy knit shawl pattern – the Swallow knit shrug – is a free pattern here on the blog! Read about my inspiration, the unusual construction, and how I like to wear it or scroll on down for the free pattern and photo tutorial.
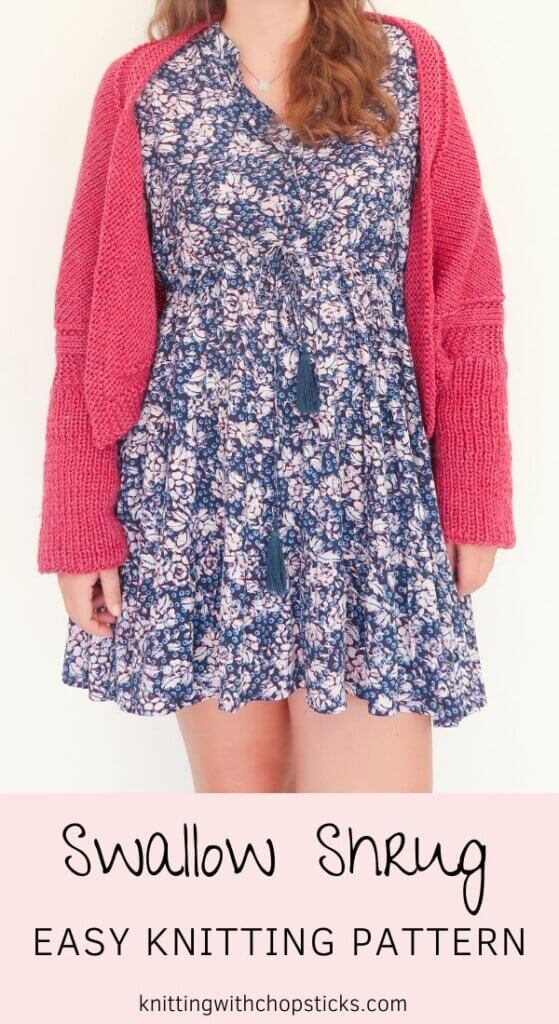
No time right now? Pin this knit shrug free pattern for later.
*This post contains affiliate links (only for products I love, use and spend my own money on obviously). This means I earn some yarn money if you make a purchase through one of these links (of course at no extra cost for you!), which I promise to use to create more awesome patterns like this one. All opinions are my own. See my full disclosure here.
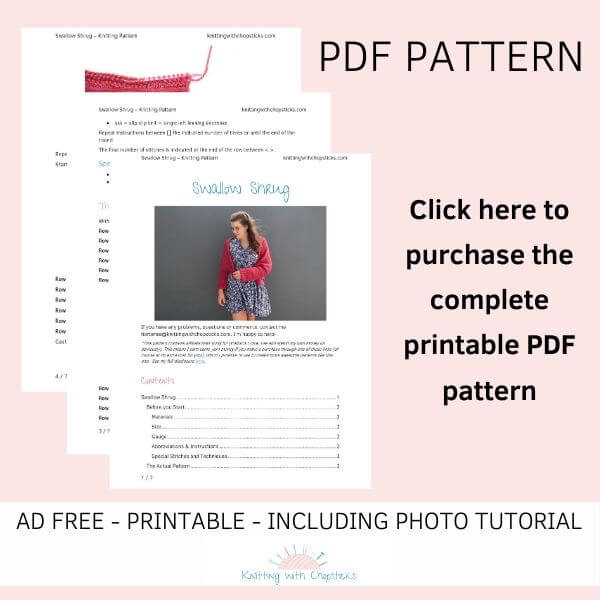
If you prefer to purchase the cheap ad-free PDF Pattern to get all the instructions and pictures in a nice PDF you can print and take notes on without relying on your phone or an internet connection, I’ve got you covered!
The Swallow Shrug is now available in my shop, on my Etsy shop or on Ravelry. Grab your copy now before you forget.
Unusual construction born out of convenience
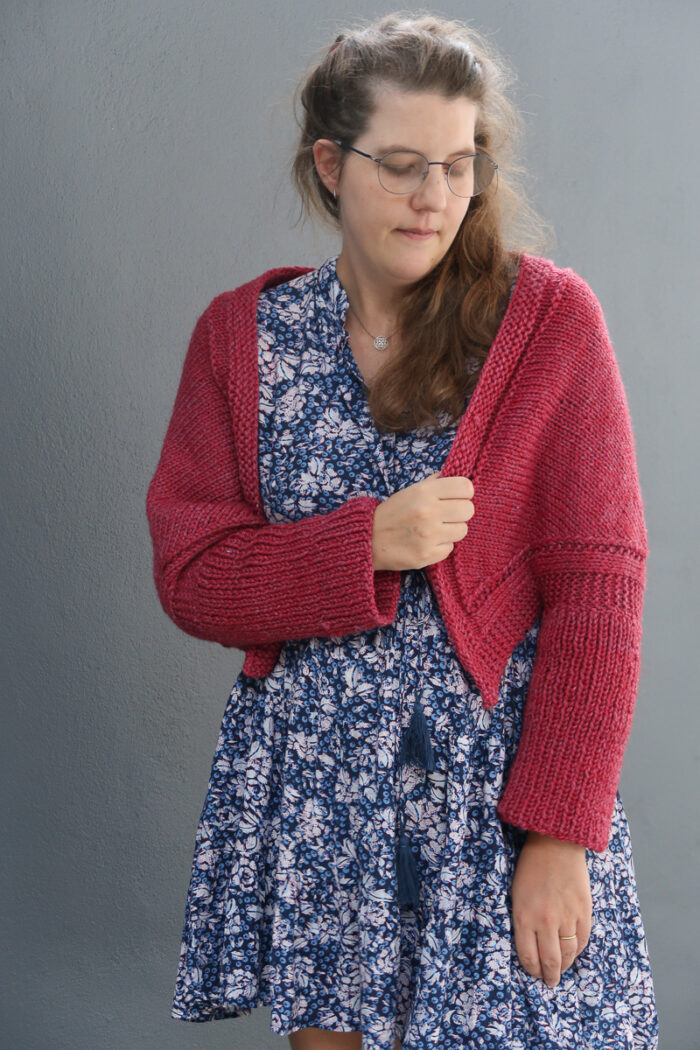
I love triangular shawls. They’re so elegant and dress up any outfit in no time. I’m always cold, but I love wearing dresses and not hiding them behind a big cardigan.
Unfortunately, triangular shawls have the annoying tendency to slip off my shoulders and end up on the floor. A few weeks ago I had the idea of adding sleeves to my shawls to keep them in place. As soon as I had thought of this, I knew I had to try it in a new design. A week later the Swallow knit shrug pattern was born.
How to style the swallow knit shrug?
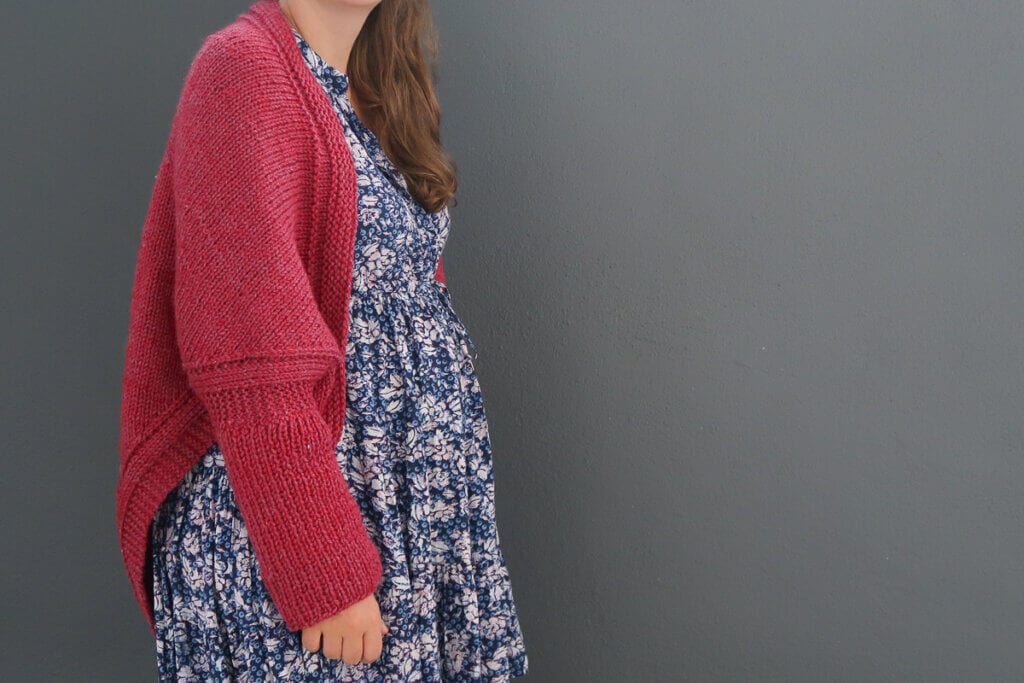
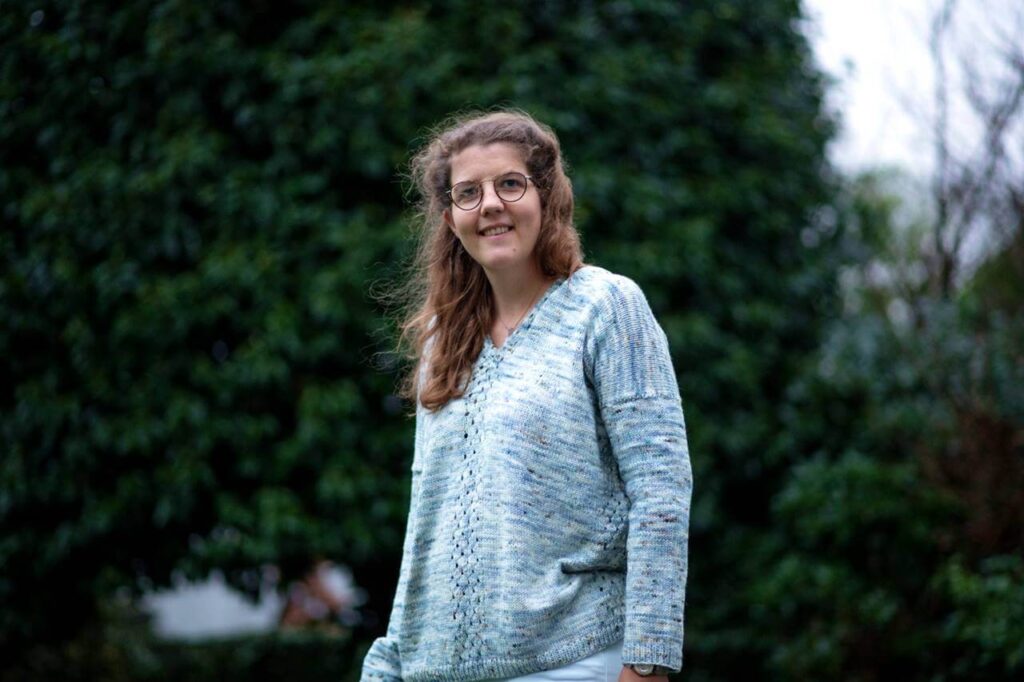
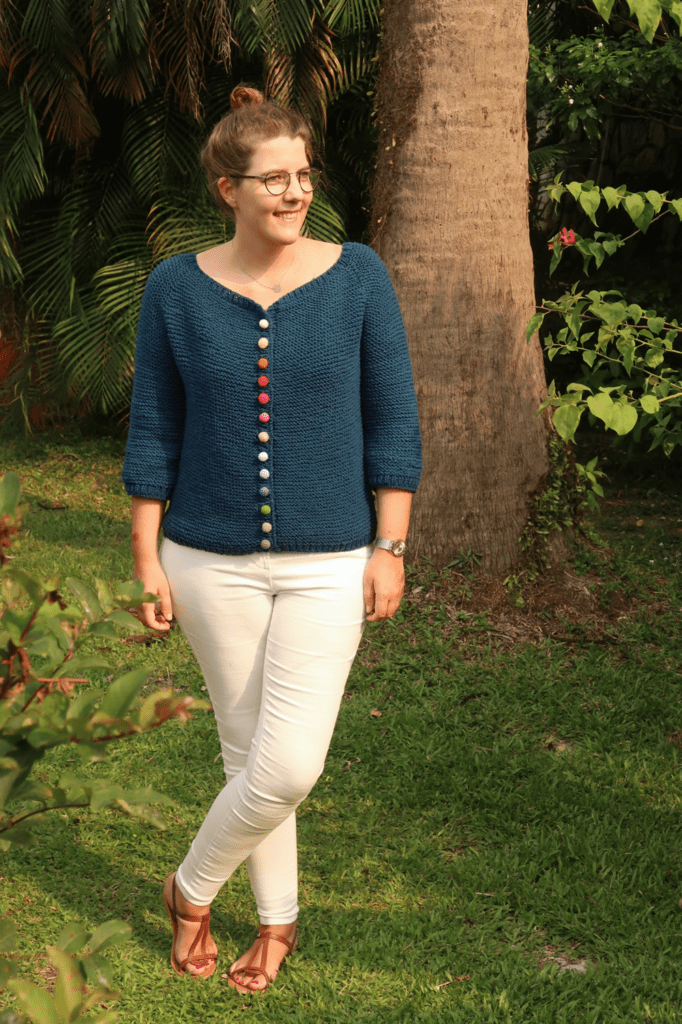
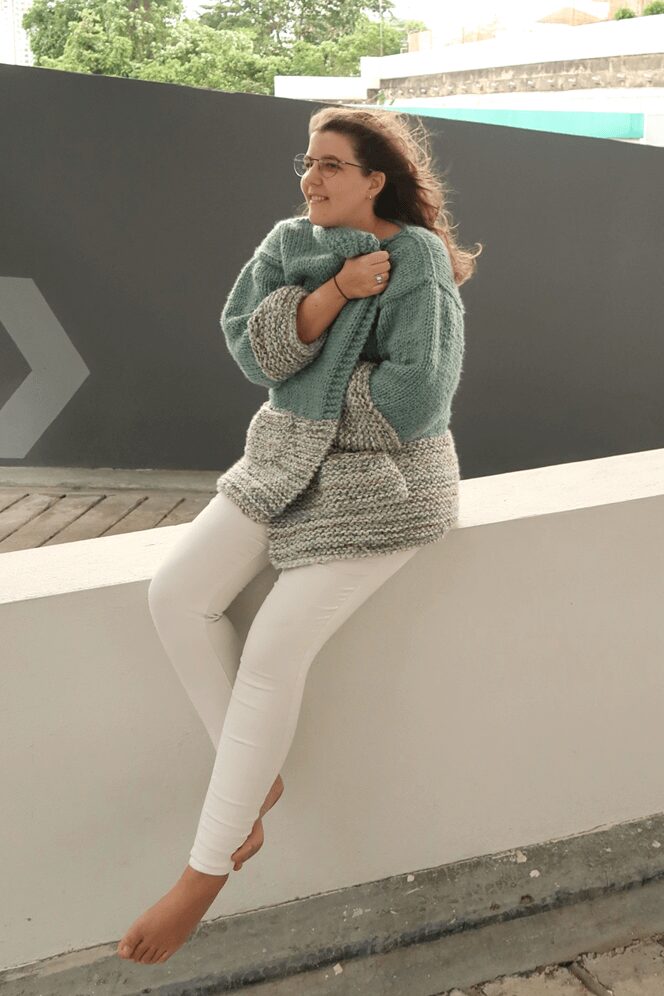
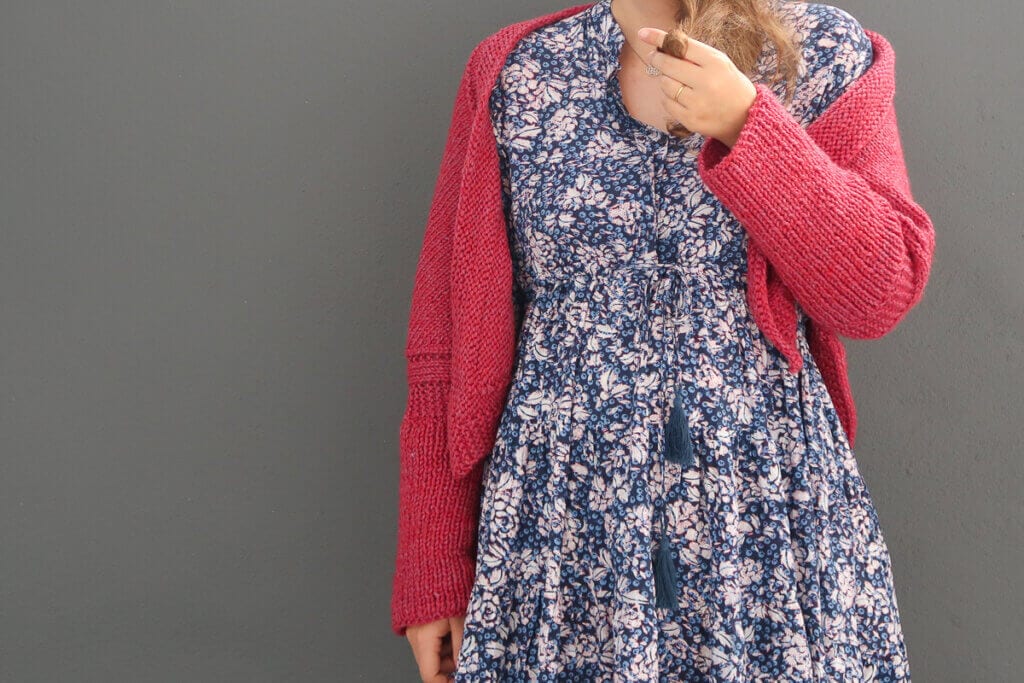
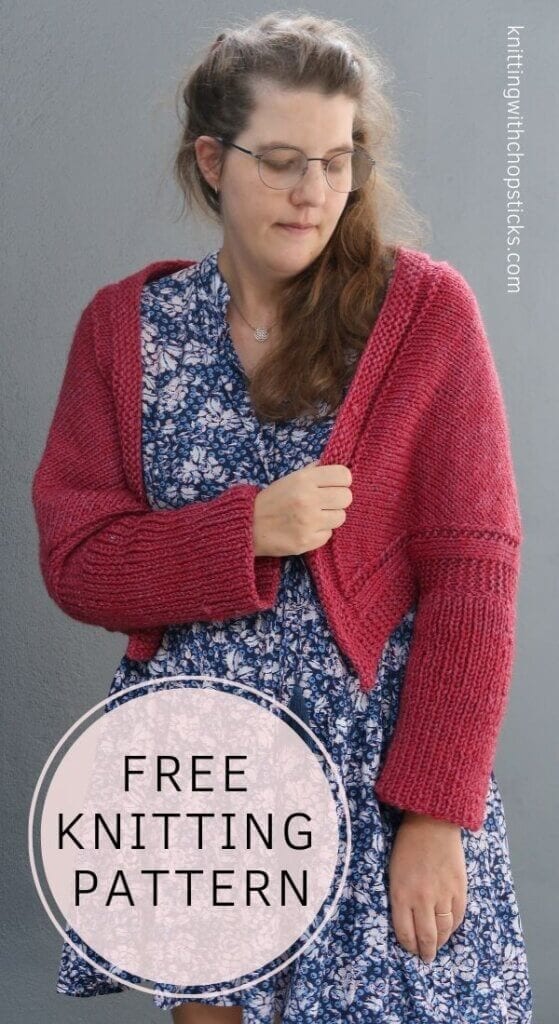
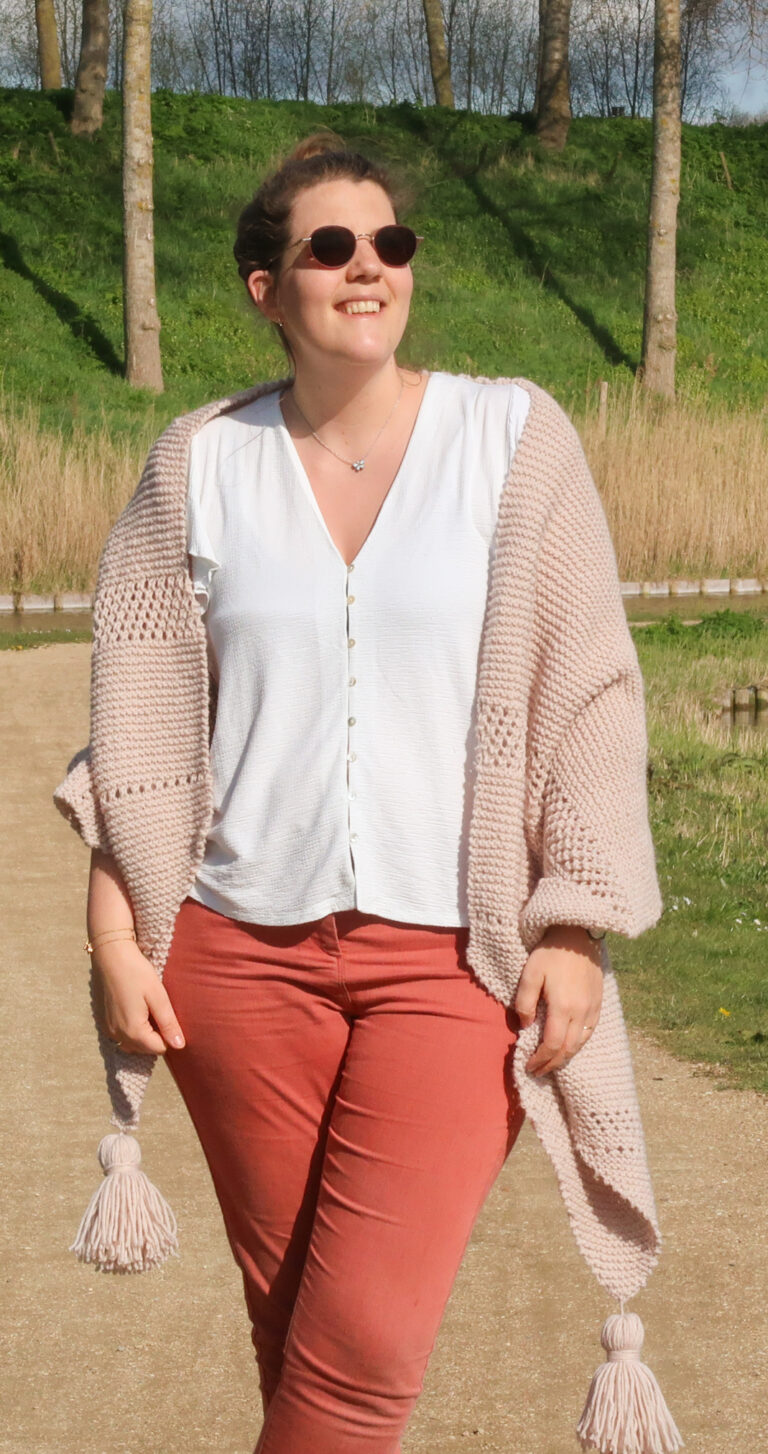
From the front it looks like a cropped cardi or bolero while looking at the back you’d think it’s a classic triangular shawl. This fun construction makes it great to keep you nice and warm while rocking a cute outfit.
The swallow shrug is perfect for colder summer evenings over a cute dress but it looks just as good over a pair of jeans and your favorite every day top.
More cozy knit patterns
Before you Start
- Purchase the large print, ad-free printable on Etsy HERE.
- Add this knit shrug pattern to your Ravelry queue HERE.
- Pin the Swall Shrugh knitting pattern to your Pinterest boards HERE.
Materials
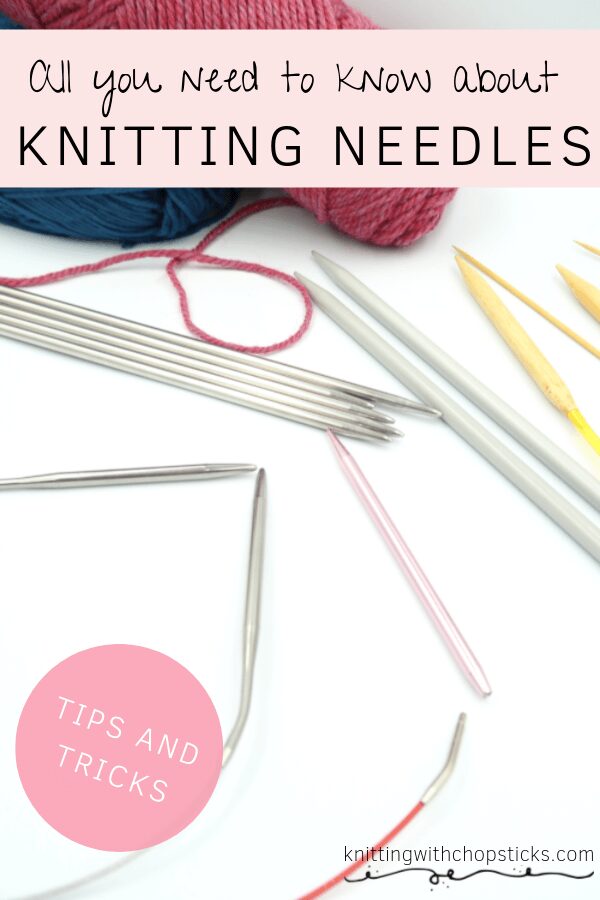
- 6 mm / US 10 knitting needles. I use my circular needles for convenience but you can use straight needles for this pattern. Confused about all these types of knitting needles? Here’s a complete overview that will answer all your questions.
- Worsted weight wool yarn (100g): 5 skeins
- Tapestry needle to weave in the ends. I love this set as it has different eye sizes for different yarn thicknesses and it comes in a small tube which is very convenient so I don’t lose them.
- 4 stitch markers
Unfortunately, the local yarn I used is currently unavailable on Amazon and doesn’t give all specs so I have listed a few suggestions for substitutes here:
Size
The shrug is a one size fit most type of design.
You can easily adjust the position of the sleeves to adjust the fit to your liking. I’ll tell you how in italics.
If you want to further adjust the size. To make it smaller, you can easily decrease the number of stitches you cast on (multiple of 2), but you will also decrease the length in the back proportionally. In the same way, to make your shrug bigger add a multiple of 2 stitches but you will increase the length in the back proportionally.

Gauge
The gauge is not critical for this pattern. For reference, my gauge for this pattern, in stockinette stitch, is 14 st by 20 rows for a 10 cm by 10 cm square (4” by 4”).
Abbreviations & Instructions
- st = stitch
- k = knit
- p = purl
- k2tog = knit 2 stitches together = single right leaning decrease
- ssk = slip slip knit = single left leaning decrease
Repeat instructions between [] the indicated number of times or until the end of the round.
The final number of stitches is indicated at the end of the row between < >.
Special Stitches and Techniques
- Garter stitch = knit on both sides of the project.
- Stockinette stitch = knit on the right side and purl on the wrong side of the project.
The Actual Knit Shrug Free Pattern
With your 6 mm / US 10, cast on 176 st.
Sick of all the yarn jargon and conversions?
US vs UK, abbreviations, imperial vs metric, yarn weights, etc?

To form a neat edge use a sl1p to start every row. Check out this video if you’re not sure how it’s done.
Row 1: K1, ssk, knit until last 3 st, k2tog, k1. <174 st>
Row 2: Knit across.
Row 3 – 8: Repeat Rows 1 and 2 three times. <168 st>
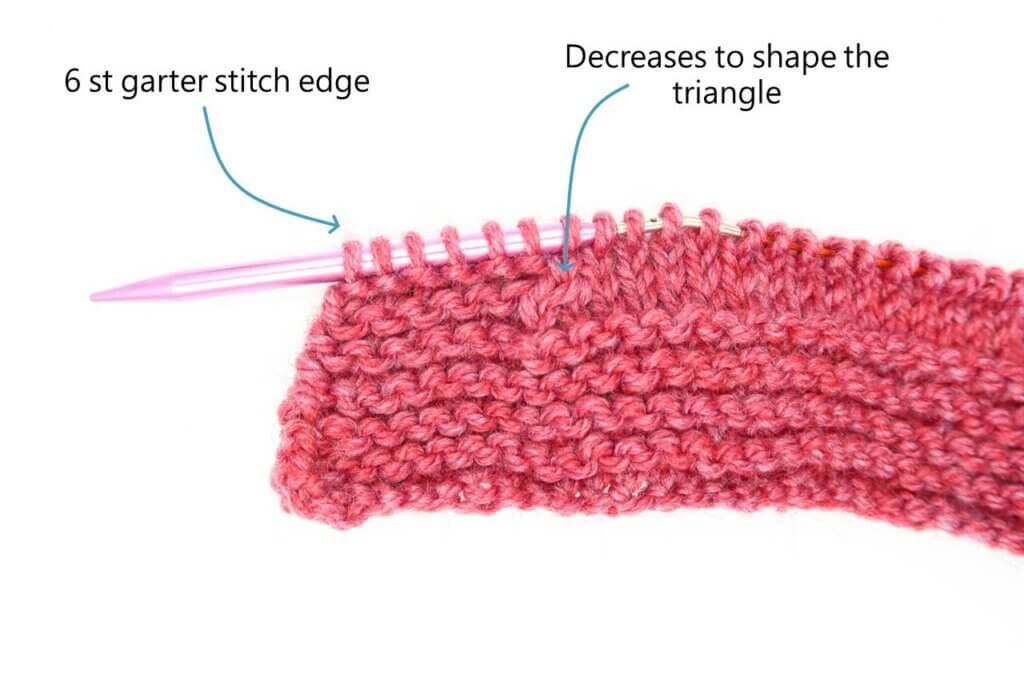
Row 9: K6, ssk, knit until last 8st, k2tog, k6. <166 st>
Row 10: K6, purl until last 6 st, k6.
Row 11 – 12: Repeat Rows 9 and 10. <164 st>
Row 13: K6, ssk, k2, purl until last 10st, k2, k2tog, k6. <162 st>
Row 14: K6, purl until last 6 st, k6.
Row 15: K9, p1, ssk, knit until last 12 st, k2tog, p1, k9. <160 st>
Row 16: K6, purl until last 6 st, k6.
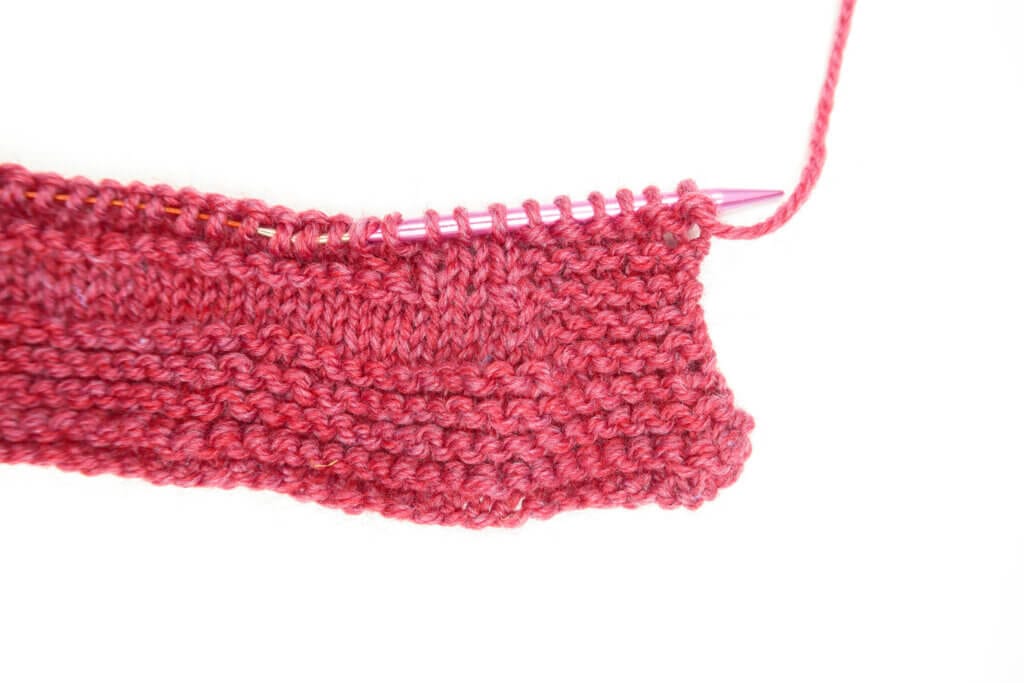
Repeat Rows 15 and 16 until you have 22 st left.
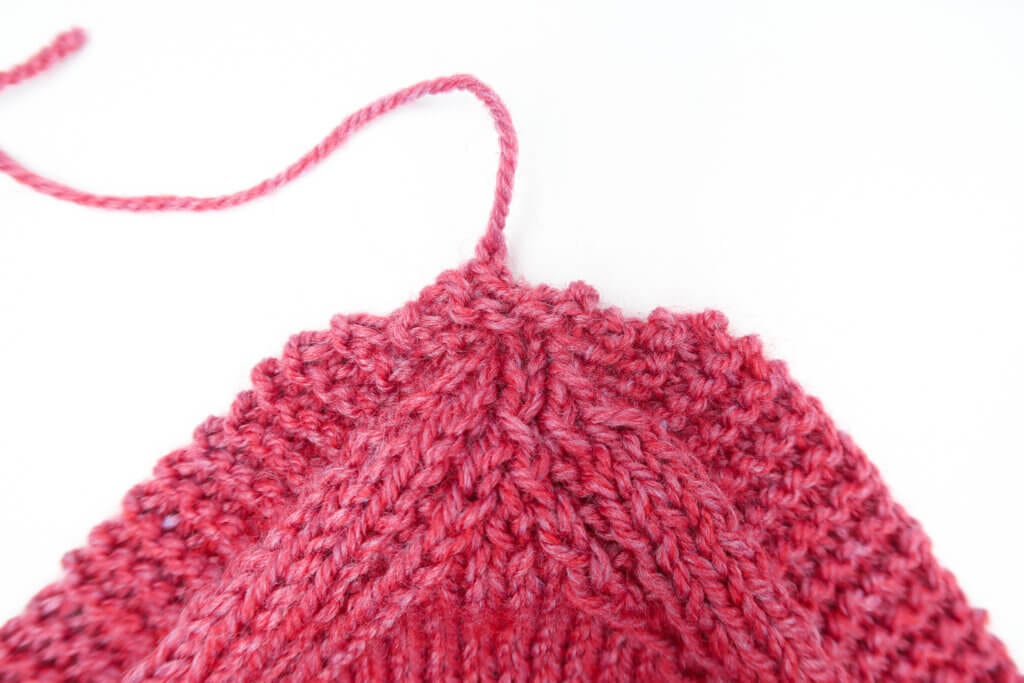
Start shaping the tip of the triangle.
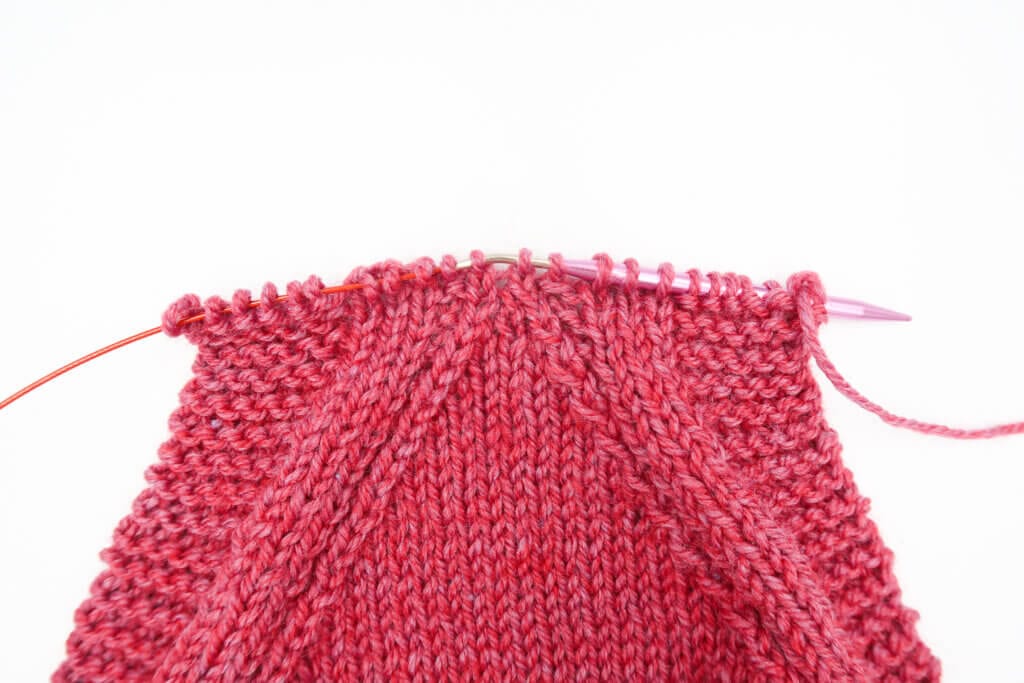
Row 1: K6, ssk three times, k2tog twice, k6. <17 st>
Row 2: K6, p until last 6 st, k6.
Row 3: Ssk 4, k1, k2tog four times. <9 st>
Row 4: K3, p3, k3
Row 5: Ssk twice, k1, k2tog twice. <5 st>
Row 6: K5
Cast off and weave in the ends.
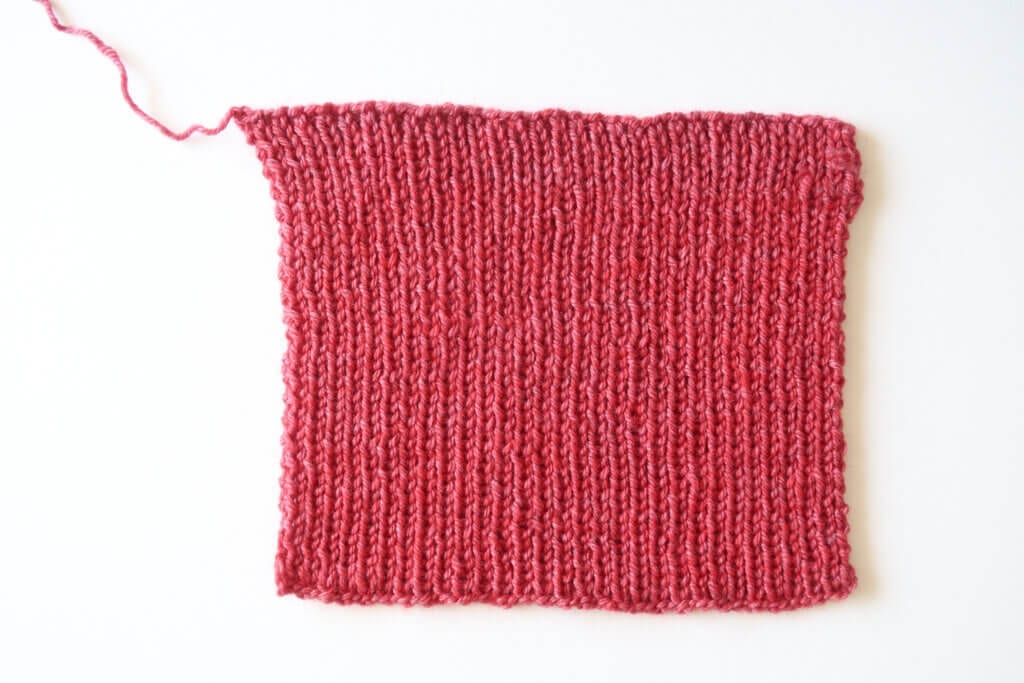
Shrug Sleeves
Make 2. Cast on 60 st.
[K1, p1] across
Repeat until you reach 23 cm / 9”.
Blocking and Sewing
Weave in all ends and carefully wet block the different parts before sewing.
Don’t skip this step as it can make a huge difference. Read my detailed tutorial on why block, how-to, and all my tips and tricks if you need help.
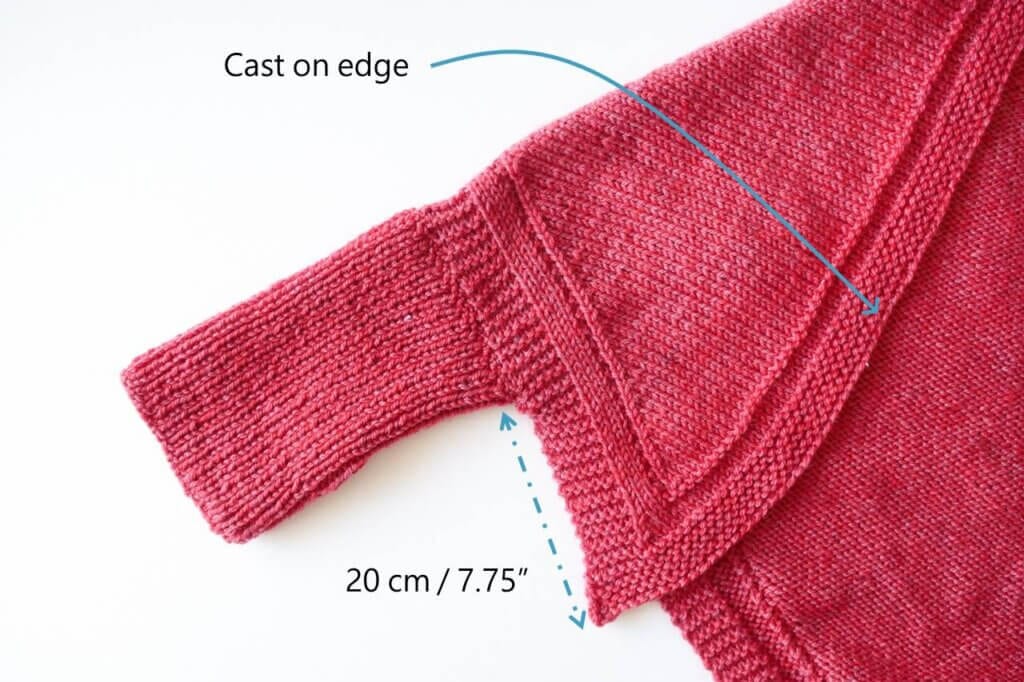
Start sewing the edge of the sleeve 20 cm /7.75” from the corner of the triangle where you started knitting. Attach the whole sleeve along the edge then sew the sleeve closed. Repeat on the other side. Refer to below schematic.
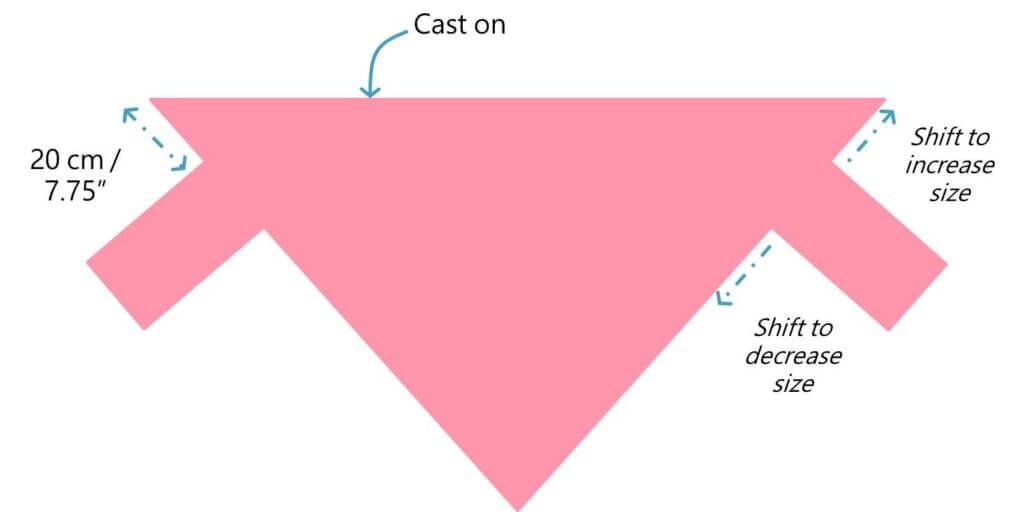
If you want you shrug to be a bit smaller, attach the sleeves further (increase the 20 cm / 7.75” dimension). In the same manner, if you want to make the shrug bigger, decrease this dimension.
If you enjoyed this free shrug knitting pattern, share it with your yarn loving friends.
Such a cute idea – thank you!