Sunday at the Pool Free Crochet Coaster Pattern

A new crochet coasters pattern – the Sunday at the Pool Coasters – is now a free crochet coasters pattern here on the blog. Read all about this easy coasters pattern inspiration, scroll down to view the full free pattern or purchase an ad free PDF from the links below.
Looking for quick last-minute gift ideas to make with leftover yarn from your stash? This free crochet coaster pattern is exactly what you need.
Christmas is around the corner and you probably need some fast gift ideas. At least I did. We have a friend’s Christmas dinner next week and the host asked us to each bring 2 small gifts for a game with a max budget of 5 dollars each. Not so easy to find around here so of course, my first reflex was to think what can I make. Designing something without knowing who it will be for is not easy. Crochet coasters are perfect for this: decorative, useful and convenient. I hope whoever receives these crochet coasters will love them!
This project is perfect for beginners, you only need to know the basic crochet stitches and it is short so you can enjoy the results fast and won’t get frustrated frogging hours of work if you make a mistake.
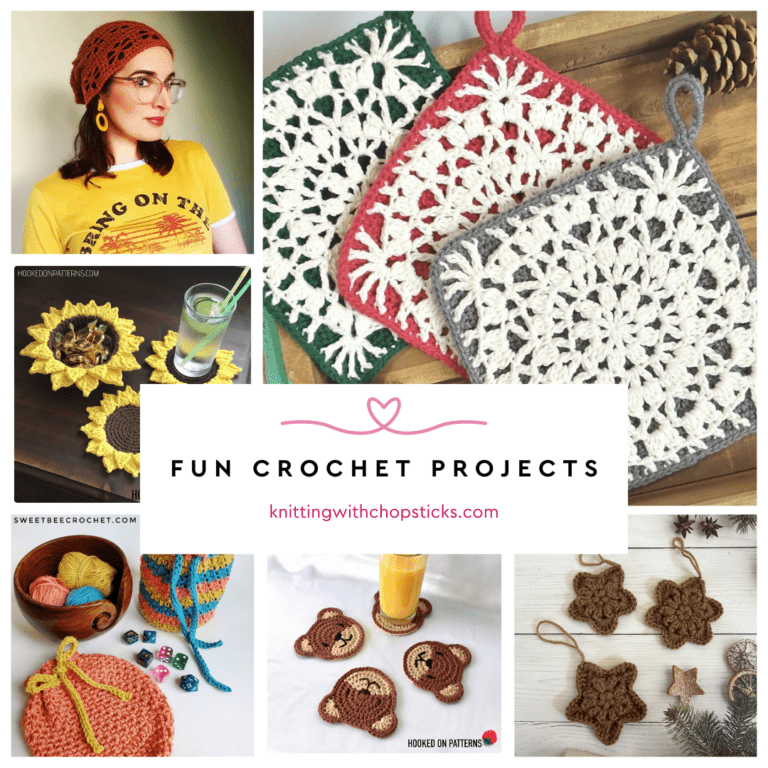
No time right now? Pin this free crochet coaster pattern for later!
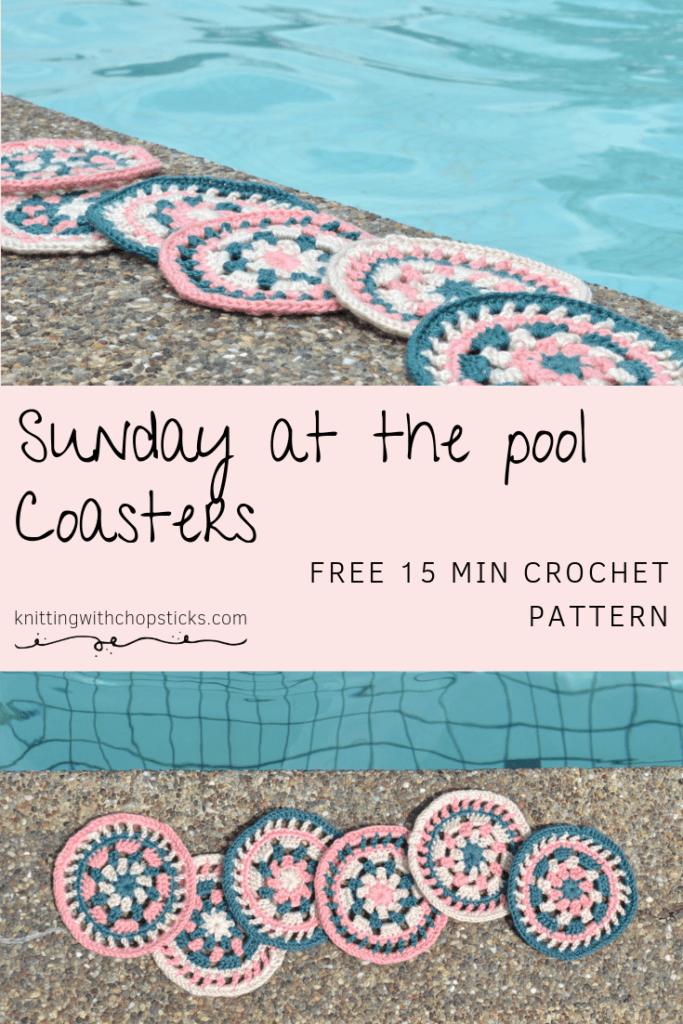
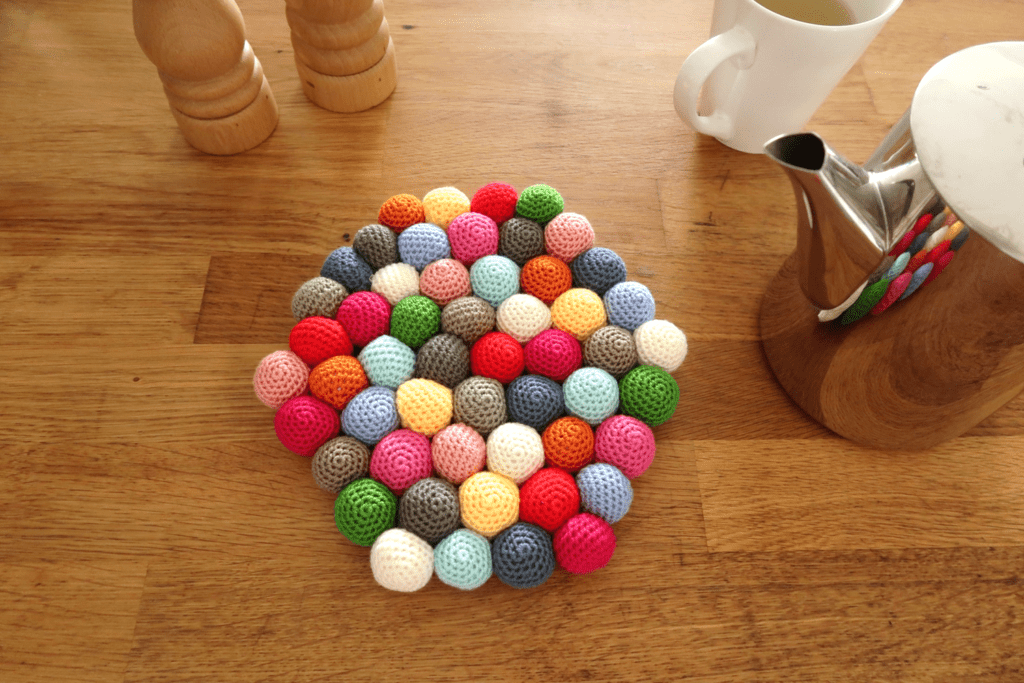
You might wonder why I named these crochet coasters Sunday at the Pool Coasters? When I see them and their pretty pastel colors, they make me want to spend a Sunday at the pool with some cold drinks and friends.
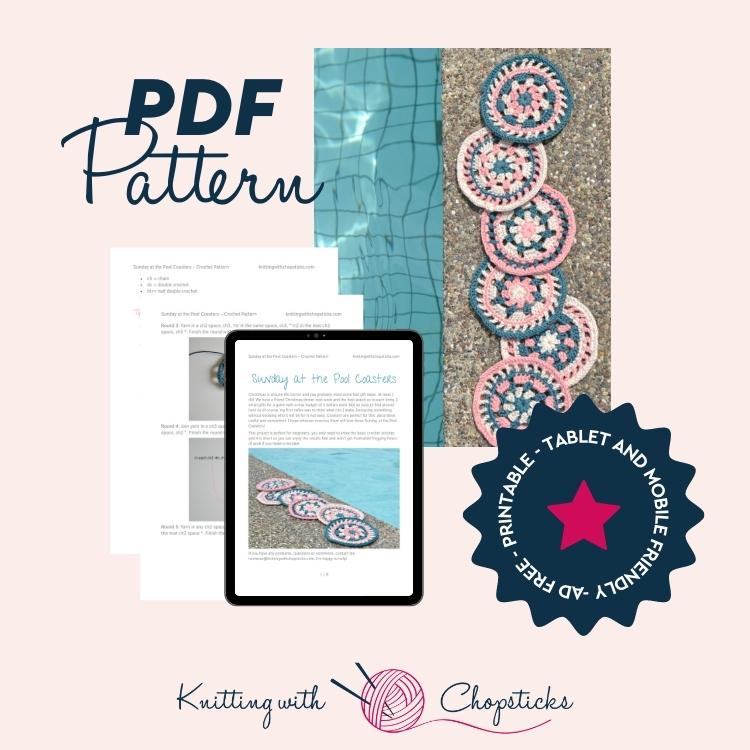
Scroll down for the free version but I recommend you purchase the ad-free PDF Pattern to get all the instructions and pictures in a nice PDF you can print and take notes on without relying on your phone or an internet connection, I’ve got you covered!
Sunday at the Pool coaster crochet pattern is now available in my shop or on Ravelry. Add them to your favorites before you forget!
*This post contains affiliate links (only for products I love, use and spend my own money on obviously). This means I earn some yarn money if you make a purchase through one of these links (of course at no extra cost for you!), which I promise to use to create more awesome patterns like this one. All opinions are my own. See my full disclosure here.
Before you Start your Free Crochet Coaster Pattern
Materials
I used the following materials for this pattern:
- 3 mm hook. I use this basic set. Each size has his own color which is very convenient and makes it easy to find the right hook straight away.
- Cotton yarn: For 6 coasters I used about half a 50g skeins of Schachenmayr Catania Originals per crochet coaster. Lovecrafts offers this yarn in 82 colors, you’ll definitely find some you love for your crochet coasters. This project is perfect to use up small leftovers of yarn!
- T-pins for blocking. I like to use these.
- Tapestry needle to weave in the ends. I love this set as it has different eye sizes for different yarn thickness and it comes in a small tube which is very convenient so I don’t lose them.
Finished Crochet Coaster Size
The finished size of these round crochet coasters is 10 cm / 4″ in diameter.
Abbreviations
I use UK notations for this pattern.
- st = stitch
- ch = chain
- dc = double crochet
- htr= half double crochet
- tr = treble crochet
- ss = slip stitch
Sick of US vs UK conversion, metric vs imperial etc. Grab my free printable cheatsheets here!
Notes
- Repeat the stitches mentioned between * * until the end of the round.
- Each row starts with a ch1, ch2 or ch3 which counts as a dc, htr and tr respectively unless otherwise specified.
Sick of all the yarn jargon and conversions?
US vs UK, abbreviations, imperial vs metric, yarn weights, etc?

Tips and Tricks for the Free Crochet Coaster Pattern
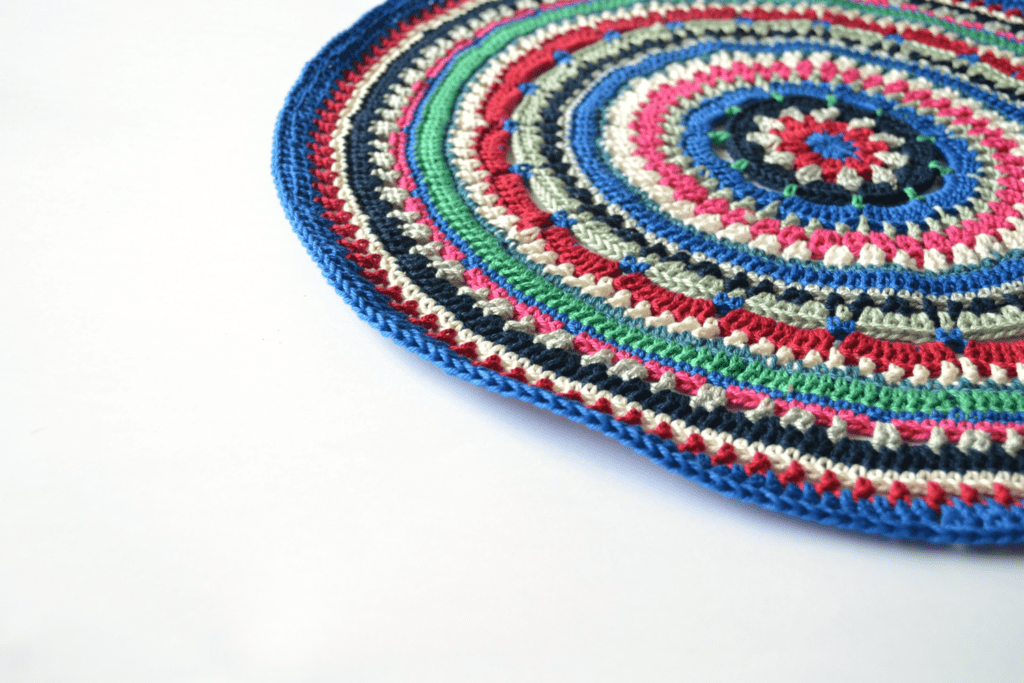
If you have read my Mandala Placemat pattern, you’ll recognize most of these tips and tricks as the concept for this free crochet coaster pattern is the same.
Blocking
Depending on how loose or how tight you crochet the sides might flare up a little. Don’t worry, there is absolutely no need to rip out all your hard work. This will be fixed by blocking your work.
What colors to choose for the free crochet coaster pattern
Sick of all the yarn jargon and conversions?
US vs UK, abbreviations, imperial vs metric, yarn weights, etc?
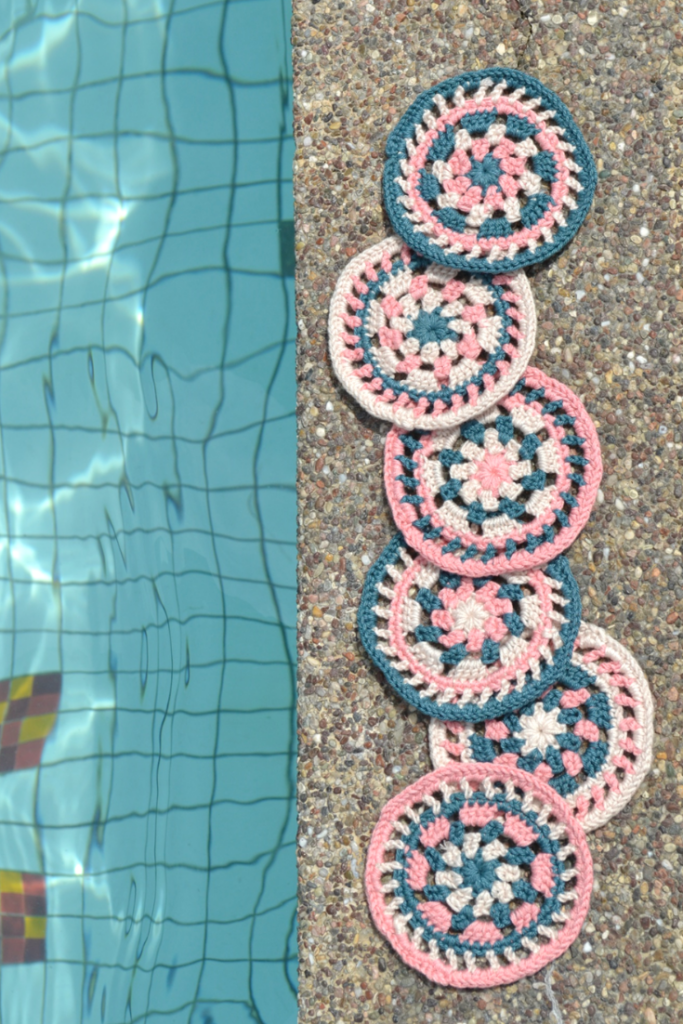
I used 3 different colors for these crochet coasters. I haven’t followed the same order for each coaster but have kept the proportions of each color equal. This makes each coaster unique while keeping a uniformity in the set. It is just what I did, you can make them however you want, using 1, 2, 5, 10 different colors and arranging them how you like. 10 might be hard as there are only 7 rounds in this pattern… You can even make each coaster a solid color but use a different one for each in the set. Possibilities are endless, don’t hesitate to let your creativity loose!
Weaving in the ends
Because each row uses a different color, a lot of ends need to be woven in. If you’re like me, weaving in ends is not your favorite part of a crochet project. Here are my tricks to make this process less tedious.
- As the crochet coaster pattern is not too lacy, you can usually get away with crocheting the next round over the tail of the previous round.
- After you have crocheted a few stitches over the tail of the previous round, leave about 3-4 cm of the tail and finish your round.
- Weave in the end of the tail in the opposite direction. With this method, you only have to do half of the weaving in process per tail.
- When you start a new round, don’t start where you finished the previous one. Start somewhere different at random. Having all your ends in the same section of the coaster will make an extra layer, which you want to avoid. You don’t want to see where you started your rows in your finished coaster, this trick makes them nearly invisible.
- When I start a row, I tag along the tail and crochet with a double yarn for a couple of stitches. It’s not perfect but I find as these are at random around your coaster, they are not too visible and it makes you save a lot of weaving in ends time. If you don’t like it, you can leave your tail and weave it in afterwards like you would normally do.
The Actual Free Crochet Coaster Pattern
For the visual learners, chart version is available at the bottom.
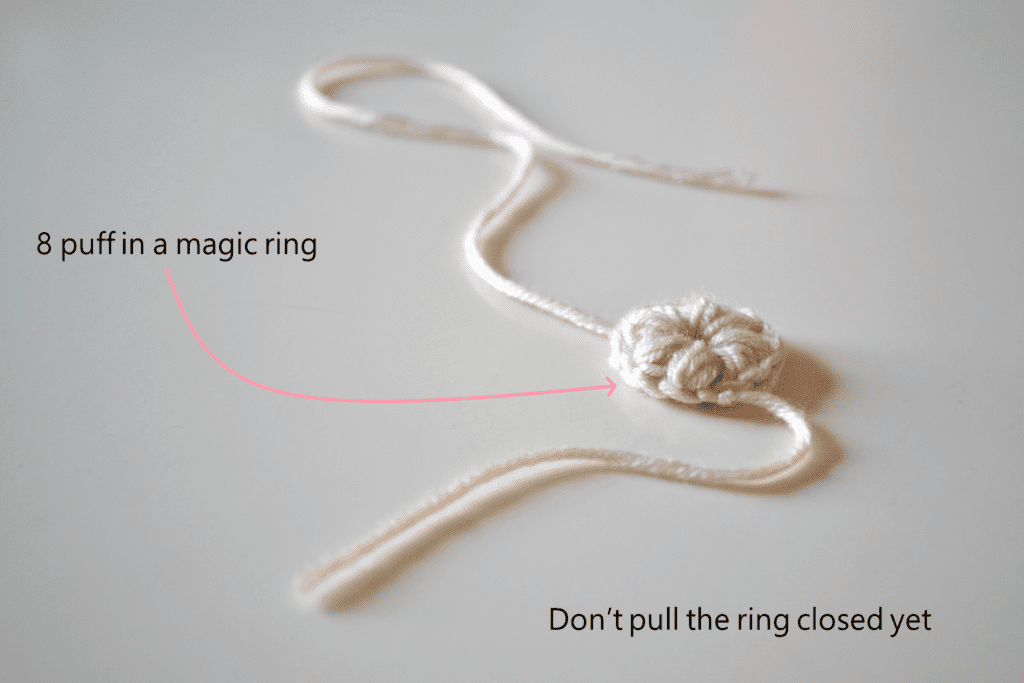
Round 1: Make 8 puff stitches in a magic ring. Don’t forget to lock each one with a ch1. Finish the round with a ss in the 1st puff. But don’t pull to close the ring yet!
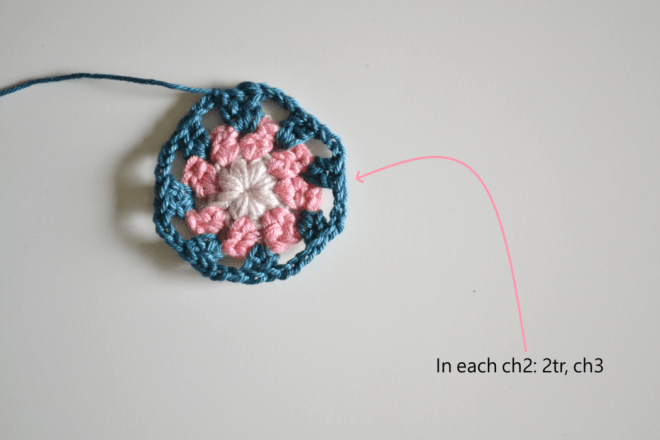
Round 2: Join yarn in between 2 puff stitches, ch3, tr1 in the same space, ch2. *2tr in each puff, ch2 *. Finish round with

Round 3: Yarn in a ch2 space, ch3, 1tr in the same space, ch3, * tr2 in the next ch2 space, ch3 *. Finish this round with a ss in the 3rd ch of the ch3.
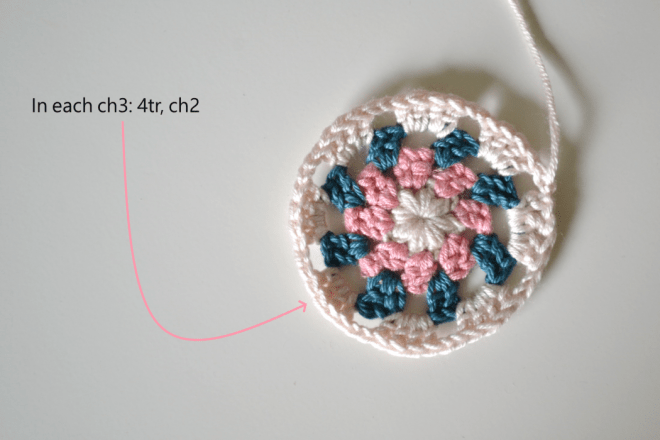
Round 4: Join yarn in a ch3 space, ch3, 3tr in the same space, ch2, * 4tr in the next ch3 space, ch2 *. Finish the round with a ss in the 3rd ch of the ch3.
Round 5: Yarn in any ch2 space, ch1, 2dc in the same gap, * 1dc in each tr (4), 3dc in the next ch2 space *. Finish the round with a ss in the ch1.

Round 6: Join yarn in a dc, ch5, miss 1, * tr1, ch2, miss1 *. Finish the round with
Round 7: Join yarn in a 2ch space, ch2, 2dtr in the same space, * 3

That’s it for the crocheting part of the free crochet coaster pattern.
You’re almost done, you only have some finishing touches left!
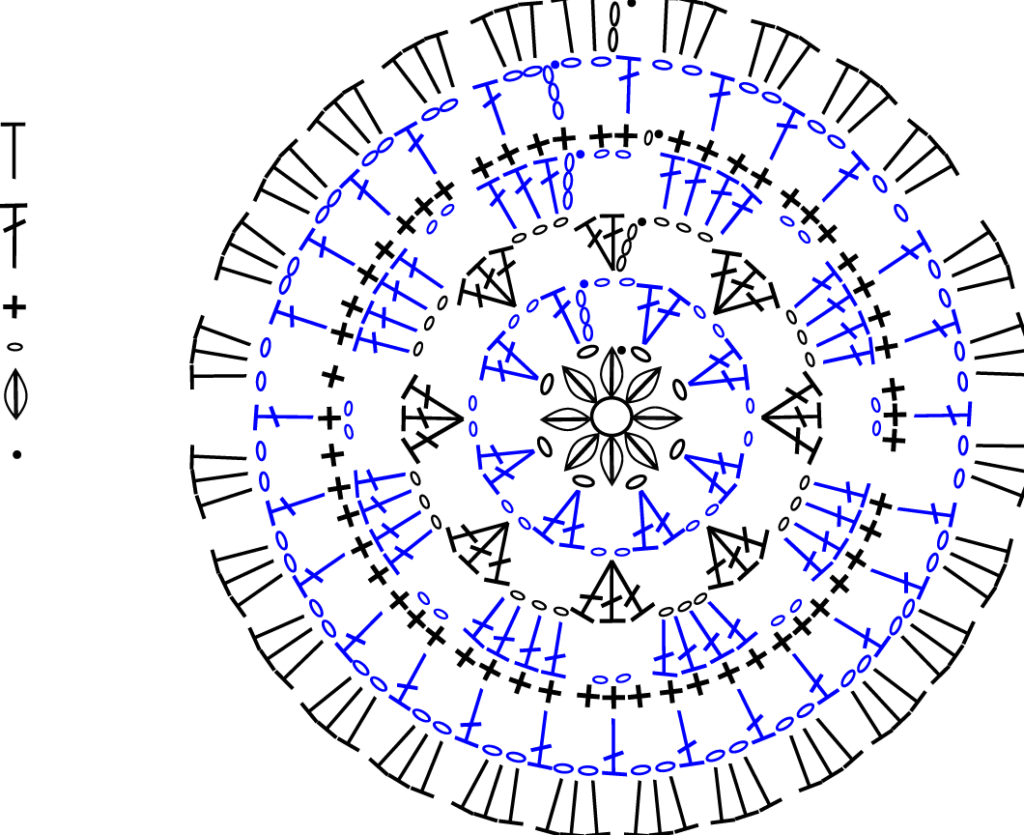
If you are not familiar with crochet charts, my Conquer Charts & Graphs workshop is there to help you!
Blocking
I usually don’t like the finishing touches of a project. Once I have crocheted the last stitch, I wish I could start enjoying my project straight away. Unfortunately, the last few steps make a huge difference. So, let’s get it over quickly.
Don’t skip this step as it can make a huge difference. Read my detailed tutorial on why block, how-to, and all my tips and tricks if you need help.
The first step is to waive in all the ends and cut off any remaining threads.
Then you need to block your crochet coaster. This step will remove any flaring up or uneven tension in your work and make it look it’s absolute best. It took me years to discover blocking. I used to be disappointed at the end of each project because of these imperfections in my project that the patterns never seemed to have. Now I know better, blocking is the magic trick that I was missing! Don’t make the same mistake and give it a try.
Using a handmade blocking mat
It’s a very easy process. Take your project and soak it in some water. After the soak, get as much water out as possible but don’t squeeze your coaster! Roll it between 2 clean towels to get the water out. Lay it flat on your blocking mat.

Now you need to pin the edges of your coaster following a 10 cm diameter circle.

Let the crochet coaster dry as long as it needs. It needs to be 100% dry. Mine took 24-36h to dry entirely because it is very humid where I live. Be patient! Now that it’s dry, remove the T pins, get yourself a nice cold drink and enjoy your coasters.
If you liked this pattern don’t forget to pin and share it!

If you liked this fun idea I know you’ll enjoy my other crochet for home patterns:


Like!! Great article post.Really thank you! Really Cool.