I-Cord Bound Top
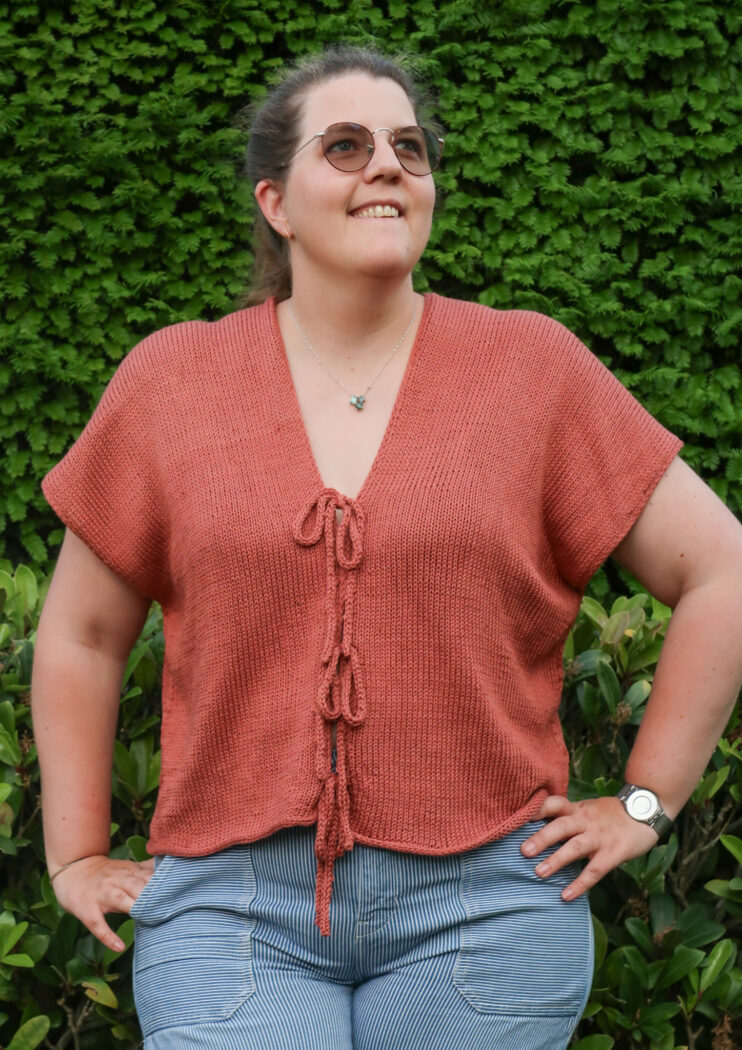
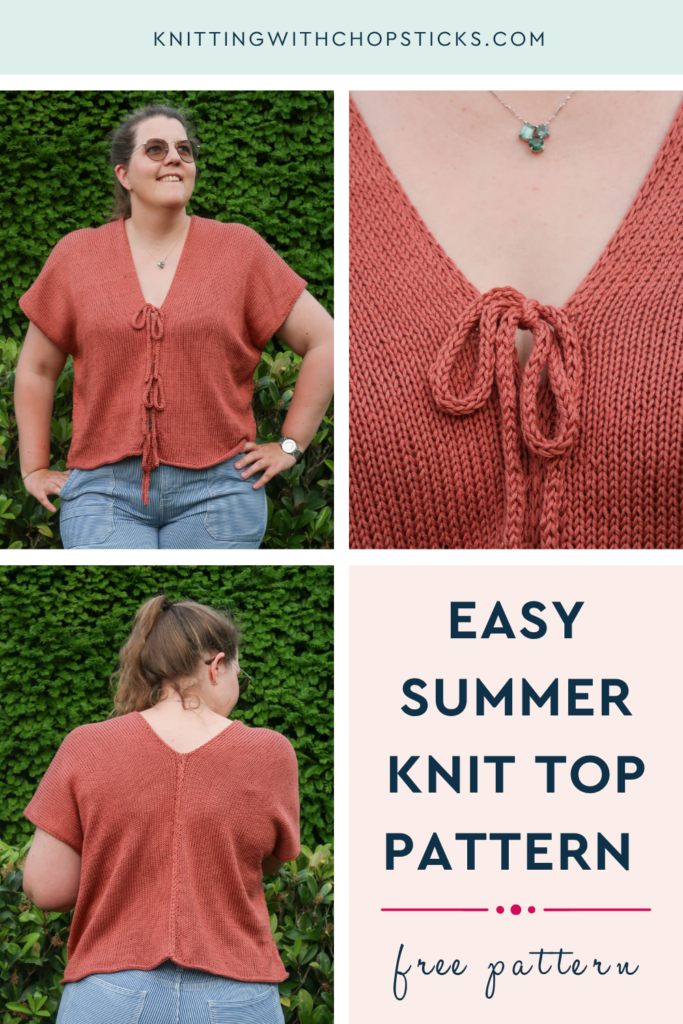
A new summer knit top pattern – the I-Cord Bound Top – is now a free sleeveless top knitting pattern here on the blog. Read all about this sleeveless top knitting pattern inspiration, scroll down to view the full free pattern or purchase an ad free PDF from the links below.
No time right now? Pin this Free Sleeveless Top Knitting Pattern Easy Beginner Project for later!
*This post contains affiliate links (only for products I love, use and spend my own money on obviously). This means I earn some yarn money if you make a purchase through one of these links (of course at no extra cost for you!), which I promise to use to create more awesome patterns like this one. All opinions are my own. See my full disclosure here.
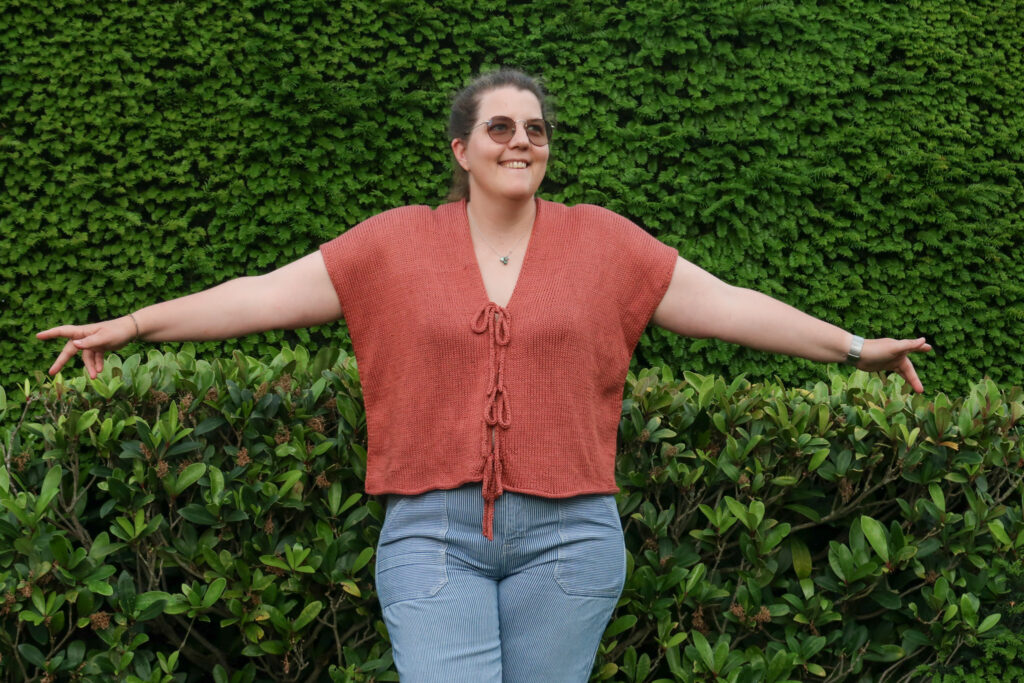
Looking for an easy, stylish knit to wear all summer long? This new sleeveless summer top is light, comfy, and perfect for warmer days. Perfect for layering over a camisole, bralette, or swimsuit. The pattern is available in women’s sizes XS to 5XL, making it a great project for knitters of all sizes.
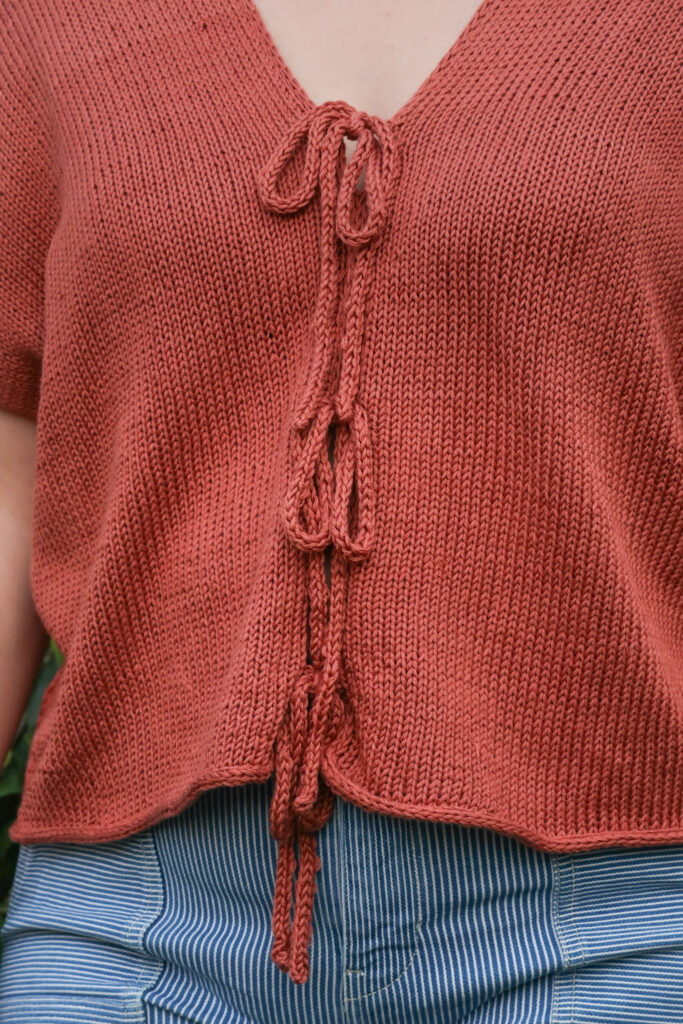
The top features a flattering V-neck and three pretty i-cord bow ties down the front for a fun, feminine finish. It’s constructed from two long rectangular panels that are folded over at the shoulders and seamed from the hem up to the bottom of the armhole, making it a surprisingly simple knit with a modern look. Once the body is complete, i-cord ties are added to the front so you can fasten the top with cute little bows. Whether you knit it in cotton, linen, or your favourite summer yarn, it’s a lovely lightweight piece you’ll reach for all season.
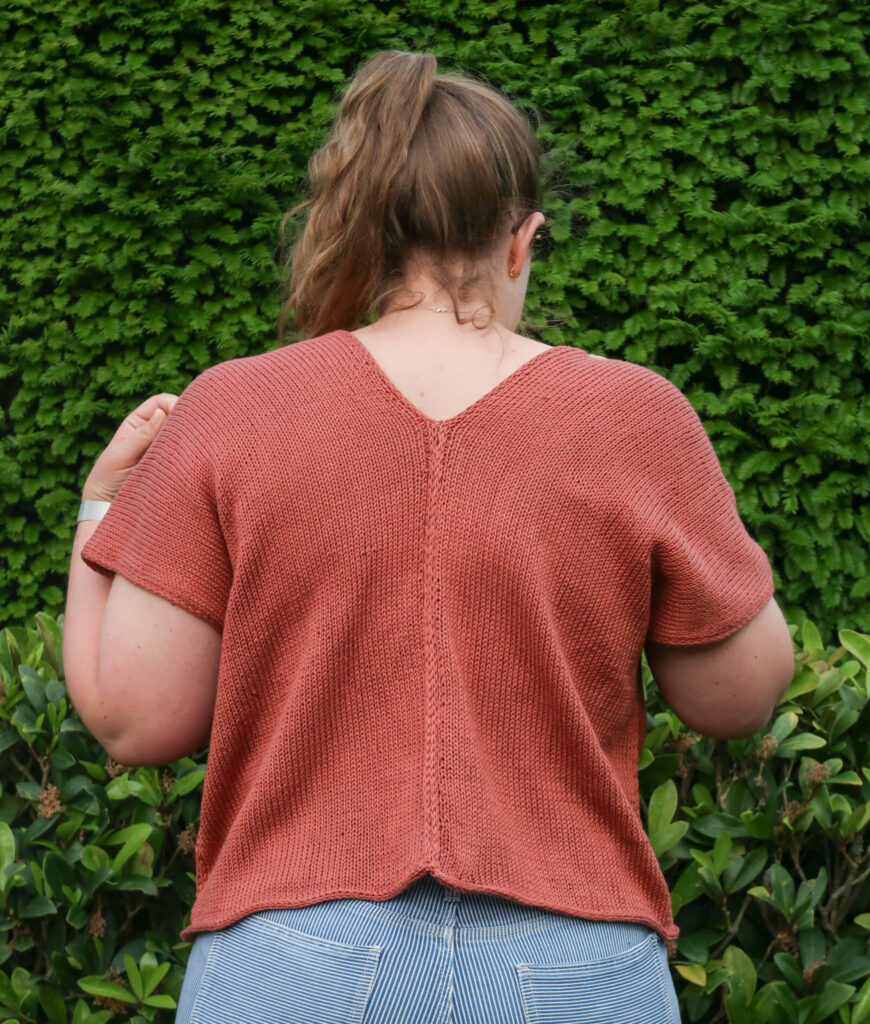
V-Neck Sleeveless Top Construction
The body of the top is knitted in two long rectangular panels that are folded over at the shoulder and seamed together from the bottom of the top to the bottom of the armhole. I-cord ropes are added to the front of the garment to fasten it closed.
Downloadable PDF for I-Cord Bound Top Knitting Pattern
Grab the printable PDF of the I-Cord Bound Top Knitting Pattern now in my shop, Etsy shop, on Ravelry shop or as a Lion Brand Kit:
I-Cord Bound Top Knitting Pattern PDF & Lion Brand Yarn Kit
Breezy, lightweight, and effortlessly wearable, the I-Cord Bound Top is the kind of summer knitting project that feels relaxing from the very first row. Knitted with Lion Brand Coboo Yarn, this summer top is soft, lightweight. This kit includes everything you need to make a summer top you’ll love knitting and wearing it again and again.
More Easy Summer Top Patterns you'll love
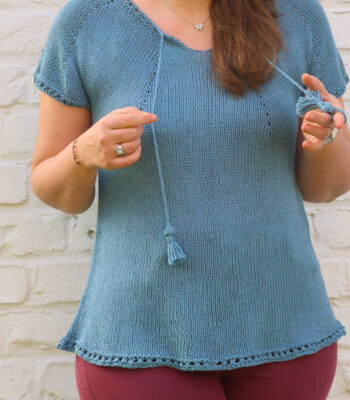
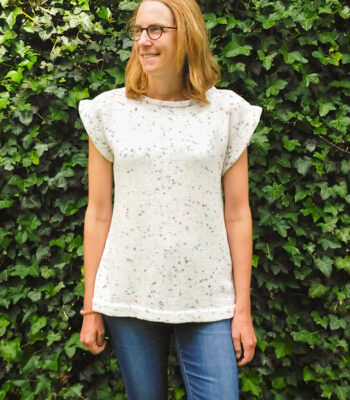

Before You Start Your I-Cord Bound Free Sleeveless Top Knitting Pattern
Materials
- 4 mm/ US 6 knitting needles
- Lion Brand Coboo (100g, 50% cotton, 50% bamboo, 232 yds / 212 m): you will need 3 (4, 4, 4, 5) (5, 5, 6, 6) skeins in Russet color SKU 835-104H.
- Measuring Tape
- Tapestry needle to weave in the ends
Size
This women’s top knitting pattern is available in the following sizes: XS, S, M, L, XL, 2XL, 3XL, 4XL and 5XL.
Sizes are noted throughout the pattern in the following way: XS (S, M, L, XL) (2XL, 3XL, 4XL, 5XL).
The pictures illustrate size L.
Final garment measurements are:
- Bust circumference: 97.5 (107.5, 118, 128, 138, 148.5, 158.5, 168.5, 178.5) cm / 38.5 (42.5, 46.5, 50.5, 54.5, 58.5, 62.5, 66.5, 70)”.
- Armhole depth: 21 (22, 24, 25, 26) (28, 29, 30, 31) cm / 8.5 (9, 9.5, 10, 10.5) (11, 11.5, 12, 12.5)”.
- Length: 52.5 (53.5, 54, 55, 55) (56, 56, 57.5, 57.5) cm / 20.5 (21, 21.25, 21.5, 21.5) (22, 22, 22.5, 22.5)”.
The top is designed to be worn with a relaxed fit, with 21.5-26.5 cm / 8.5-10.5” ease at the bust.
As the top is knit in rectangular patterns it is easy to add additional length, just remember that as the top is folded at the shoulders, if you wish to add an additional 5 cm / 2” to the length of the top, you will need to knit an additional 10 cm / 4”.
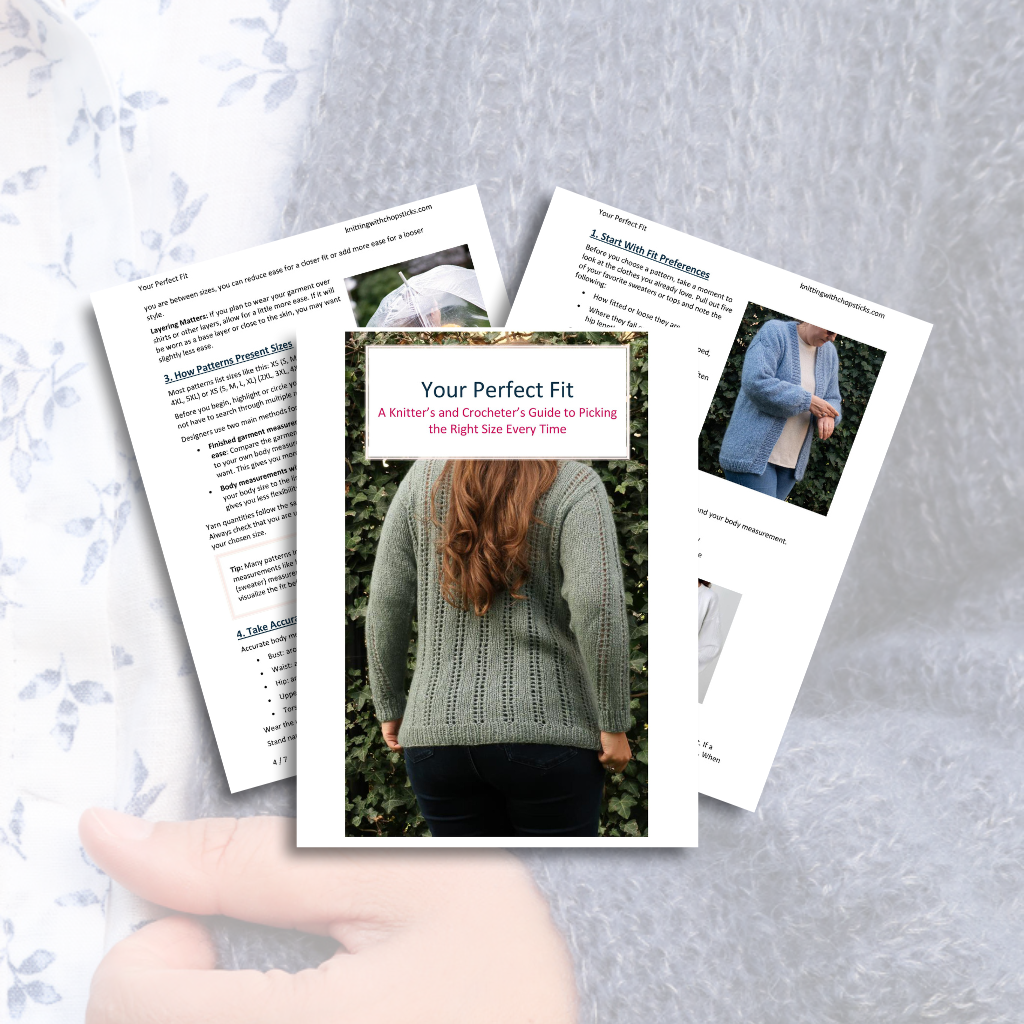
Perfect Fit Guide
Always guessing your size when knitting or crocheting garments?
Gauge
The gauge for this pattern with 4 mm / US 6 needles, in the stockinette stitch pattern, is 20 st by 28 rows for a 10 cm by 10 cm / 4” by 4” square blocked.
Abbreviations & Instructions
- st = stitch
- k = knit
- p = purl
- Sl3p = slip three stitches purlwise
- wyif = with yarn in front of work
- ssk = slip slip knit; left-leaning decrease
Repeat instructions between [] the indicated number of times or until the end of the round/row.
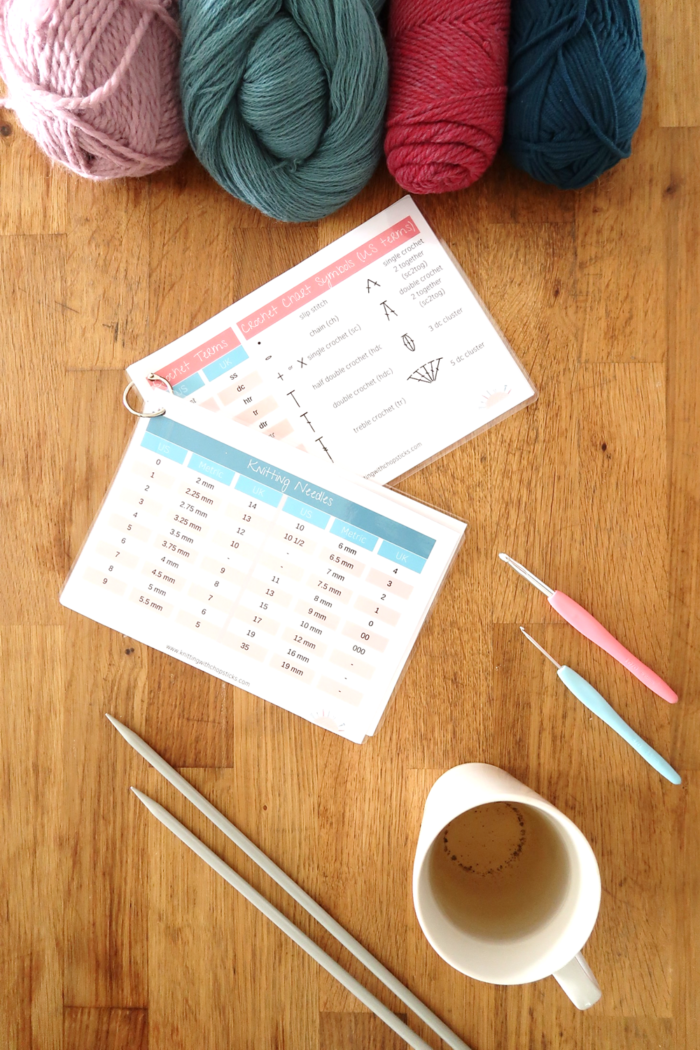
Sick of all the yarn jargon and conversions?
US vs UK, abbreviations, imperial vs metric, yarn weights, etc?
The final number of stitches is indicated at the end of the round/row between < >.
Special Stitches and Techniques
Picking up stitches: if you’re not familiar with this technique, this tutorial is very helpful.
Bind off: Lift the first stitch on the right-hand needle over the second stitch and off the needle.
Repeat until there are no more pairs of stitches to bind off.
Cut your yarn, pull through the last stitch to secure, and admire your neat seam.
I-cord cast off: The body is finished off with an I-cord cast off to complete a seamless I-cord edging.
This video tutorial (starting at 2min40) walks you through the I-cord cast off when you have I-cord edges on both sides of your project and how to seamlessly graft the last stitches together for a completely seamless i-cord.
Mattress stitch: this creates a very neat seam on knitted pieces that are mostly knits on the right side and purls on the wrong side. It’s almost invisible until the seam is stretched.
Lay your piece out with the two edges to sew side by side with the right sides of both facing up. To sew the sleeve underarm seam, you will have to fold each side over to the center.
Find the right place to sew: Look for the little horizontal bars between the edge stitch and the next stitch. You’ll be working under these bars.
Start the seam: Thread a yarn needle with a strand of your working yarn. Begin at the bottom of the seam, securing the yarn with two stitches through the corner stitches of each side.
Insert the needle under the first two bars on the right edge and pull through.
Move to the left piece and insert the needle under the first two bars on the left edge. Pull the yarn through.
Work up the seam: Keep alternating: right edge, then left edge always going under the next two bars on each side. Every few stitches, gently pull the working yarn to tighten the seam. The edges should draw together neatly without puckering.
When you reach the top, weave in the yarn tail on the wrong side to secure.
Video Tutorial
Find the video tutorial for How to Start an I-Cord Bound Top | I-Cord Cast-On Tutorial here:
[]
Or find the video tutorial here on my YouTube channel.
Construction
The body of the top is knitted in two long rectangular panels that are folded over at the shoulder and seamed together from the bottom of the top to the bottom of the armhole. I-cord ropes are added to the front of the garment to fasten it closed.
Actual I-Cord Bound Summer Knit Top Free Pattern
Panel (make 2)
With 4 mm / US 6 needles cast on 50 (55, 60, 65, 70) (75, 80, 85, 90) st.
Row 1 (WS): Wyif sl3p, k1, p45 (50, 55, 60, 65) (70, 75, 80, 85) k1, turn. <50 (55, 60, 65, 70) (75, 80, 85, 90) st>
Row 2 (RS): Pick up 3 st in the base of the I-cord and knit across. <53 (58, 63, 68, 73) (78, 83, 88, 93) st>
Row 3: Sl3p, k1, p until last 4 st, k1, sl3p
Row 4: Knit across
Repeat Row 3 and 4 until total length is 105 (107, 108, 110, 110) (112, 112, 115, 115) cm / 41 (42, 42.5, 43, 43) (44, 44, 45, 45)” finishing with a Row 3.
I-cord cast off: k2, ssk, slip the 3 i-cord st back on the left hand needle and repeat until only 6 st remain.
Graft both i-cords together.
I-Cord Rope Ties
Make 6 i-cord rope ties
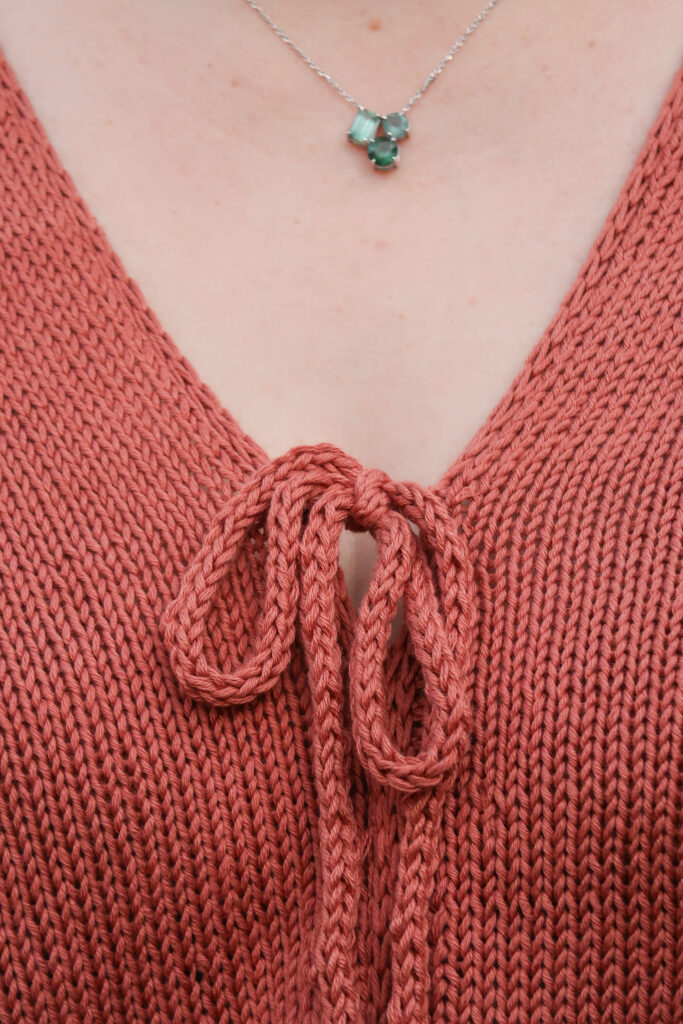
With 4 mm / US 6 needles cast on 3 st.
Row 1: k3, slip the 3 i-cord st back on the left hand needle and repeat until the rope measures 35 cm / 13.75”.
Cast off
Assembly
The top has no shoulder seaming. Fold each panel in half along the width and lay them next to each other.
Using the mattress stitch to create the back seam, sew the two panels together from the bottom for a total of 36 (37, 38, 38, 38) (39, 39, 39, 40) cm / 14 (14.5, 15, 15, 15) (15.5, 15.5, 15.5, 16)” .
Using the mattress stitch, seam the sides together from the bottom of the top for 31.5 (31.5, 30, 30, 29) (28, 27, 27.5, 26.5) cm / 12.5 (12.5, 12, 12, 11.5) (11, 10.5, 11, 10.5)“ to create the armhole.
Sew one i-cord rope tie to the top 20 (20, 21, 21, 21) (21, 21, 22, 22) cm / 8 (8, 8.25, 8.25, 8.25) (8.25, 8.25, 8.5, 8.5)” from the shoulder seam.
Space the other two ties every 13.5 (13.5, 14, 14, 14) (14, 14, 14.5, 14.5) cm / 5.25 (5.25, 5.5, 5.5, 5.5) (5.5, 5.5, 5.75, 5.75)”.
Repeat the sewing of the i-cord ties on the other side of the top.
If the top is too revealing for your liking, sew it closed with mattress stitch between ropes 1 and 2.
Blocking
You are done with the knitting part. Make sure to weave in all the ends.
To make your sweater even prettier and help even your stitches wet block your project.
Don’t skip this step as it can make a huge difference. Read my detailed tutorial on why block, how-to, and all my tips and tricks if you need help.