Watercolor Poncho Knitting Pattern
A free poncho knitting pattern – my Watercolor Poncho is a new free knitting pattern here on the blog! Read about my inspiration and the easy open front poncho construction, or scroll on down for the free knitted poncho pattern and photo tutorial.
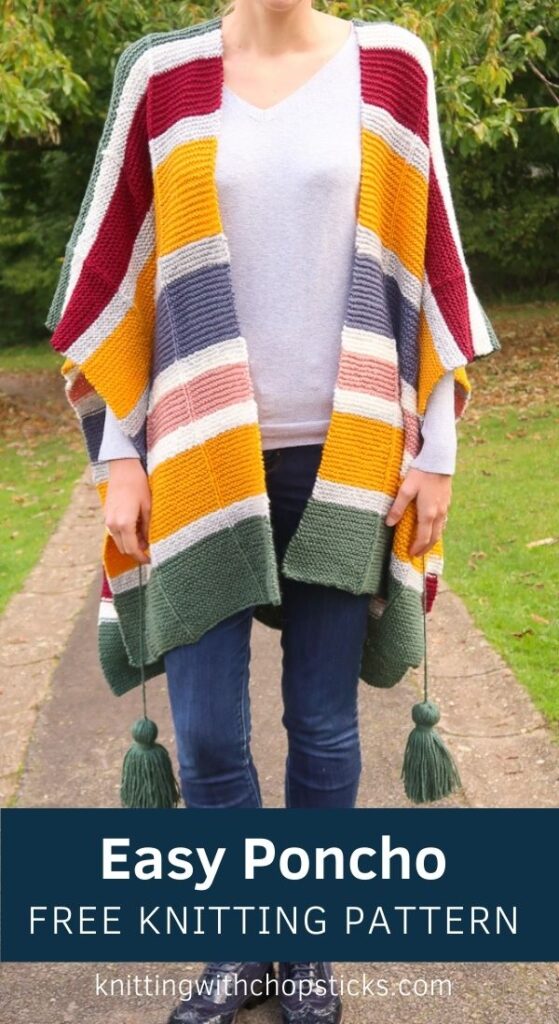
No time right now? Pin this free poncho knitting pattern for later!
*This post contains affiliate links (only for products I love, use and spend my own money on obviously). This means I earn some yarn money if you make a purchase through one of these links (of course at no extra cost for you!), which I promise to use to create more awesome patterns like this one. All opinions are my own. See my full disclosure here.
The signature wardrobe piece you didn’t know you were missing
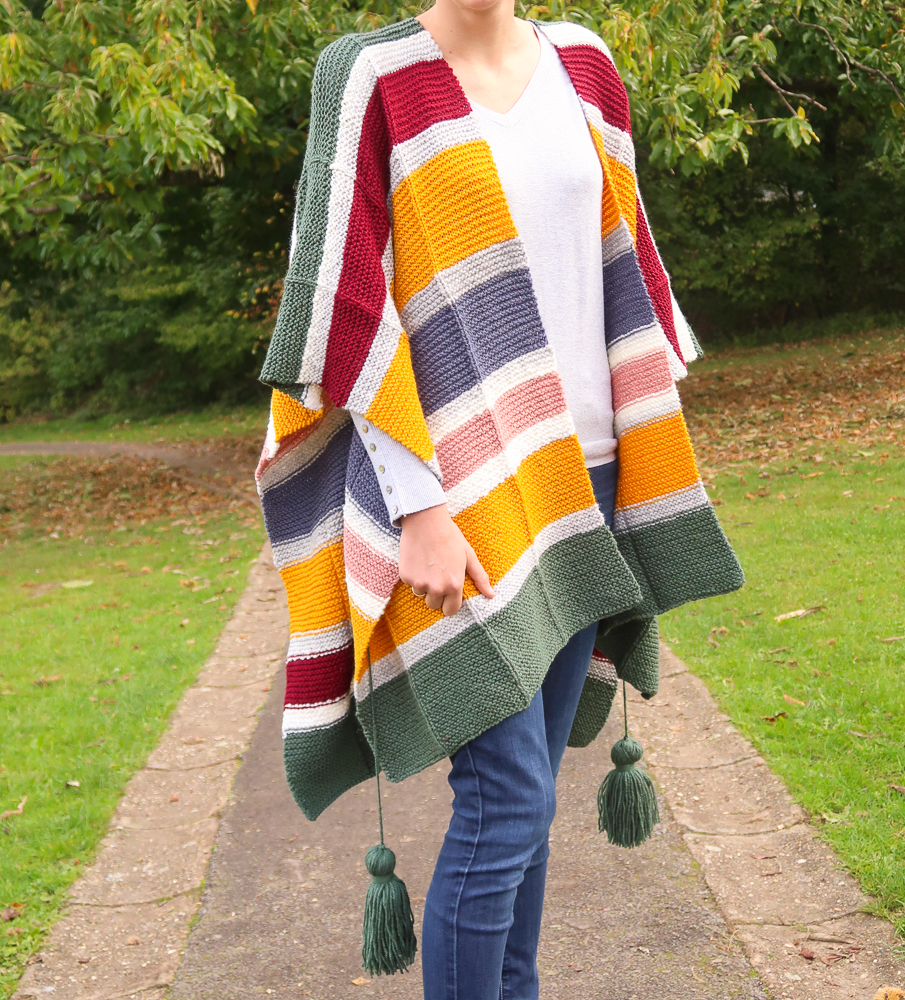
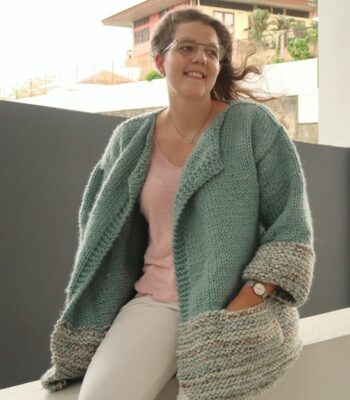
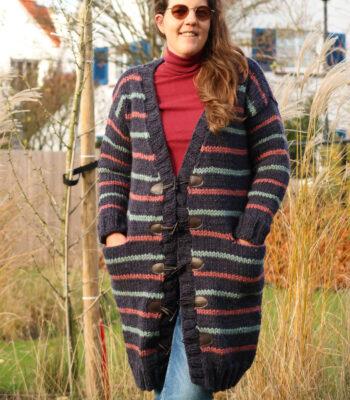
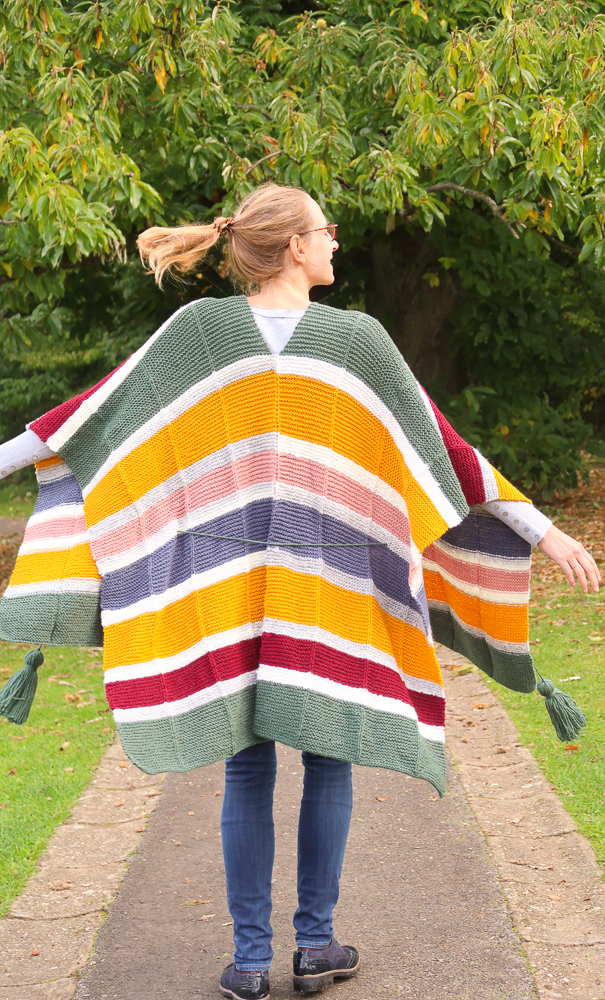
Every wardrobe needs a signature piece like this cozy knit poncho. It features trendy stripes and an oversized tassel belt, so you’ll look great on the outside, and feel like you’re cozied up in a blanket on the inside.

With its loose oversized fit and open front, it will pair with almost any top in your closet. The light texture and bold colors make it the perfect piece for everything from a photoshoot to cozying up at a bonfire.
Made of two rectangles sewn together, it’s a great starter pattern for knitters looking to get into garment-making. The detailed step-by-step tutorial will walk you through this free poncho knitting pattern with ease.
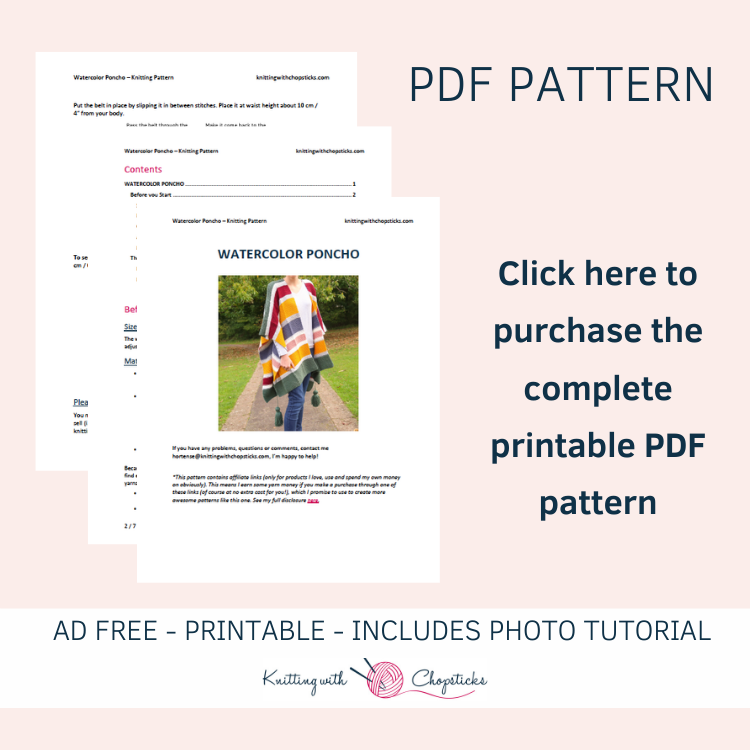
Downloadable Poncho Knitting Pattern PDF
Scroll down for the free version but if you prefer to purchase the cheap ad-free PDF Pattern to get all the instructions and pictures in a nice PDF you can print and take notes on without relying on your phone or an internet connection, I’ve got you covered!
The Watercolor Poncho knitting pattern is now available in my shop, on Etsy shop or on Ravelry. Grab your copy now before you forget!
Wear It Proud: Beginner Garments You’ll Actually Love
If you’re ready to wear what you knit and actually love how it fits and feels, the Wear It Proud: Knitting Collection is for you.
The pattern you’re looking at is part of this special collection, along with 9 other beginner-friendly garment patterns (sizes XS–5XL) that guide you step by step from your first cast-on to your finished sweater, cardigan, or top.
Each design is simple, wearable, and confidence-building, perfect for knitters who want to move beyond accessories and start making clothes that fit their life and their style.
Grab the Wear It Proud: Knitting Collection here >>
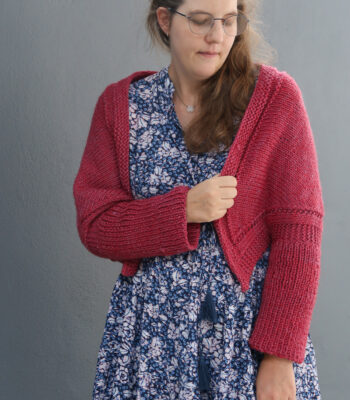
More Women Garments Knitting Patterns You'll Love
Before You Start
- Pin this easy knit poncho on Pinterest HERE
- Add it to your Ravelry queue HERE
- Grab the PDF on Etsy HERE
Knitted Poncho Size
The watercolor open front poncho knitting pattern is 80 cm / 31.5” long. The width is 100 cm / 39.25”. You can easily adjust the size by adjusting the position of the belt to your liking.
Materials
- 5 mm/ US 8 knitting needles. I use my circular needles for convenience but you can use straight needles for this pattern. Confused about all these types of knitting needles? Here’s a complete overview that will answer all your questions.
- Worsted weight wool yarn: Royal Zeeman yarn (100% acrylic, 100g, 241m / 264 yd)
- 1 skein in light pink
- 1 skein in burgundy
- 1 skein in blue
- 2 skein in yellow
- 3 skeins in green
- 3 skeins in variegated white and grey (referred to as grey in the pattern)
- Tapestry needle to weave in the ends. I love this set as it has different eye sizes for different yarn thicknesses and it comes in a small tube which is very convenient so I don’t lose them.
Because the yarn I used is not available everywhere, and I know how painful it is to try to find equivalent yarn which will give you the same effect I have selected a few equivalent yarns for you.
- Lion Brand Wool-Ease: They have this yarn in about 20 colors, I’m sure you’ll fall in love with more than one.
- Paintbox Yarns Wool Mix Aran: It’s soft and the range of colors is amazing
- Brava worsted: A very affordable substitute
Gauge
The gauge for this pattern, in garter stitch on 5mm / US 8 needles, is 16.5 st by 28 rows for a 10 cm by 10 cm square (4” by 4”).
Need help figuring out your gauge and how to adjust it? Find out all you need to know about knitting gauge here.
Abbreviations & Instructions
- st = stitch
- k = knit
- p = purl
Notes
Work instructions between [] the indicated number of times or until the end of the row.
The Actual Poncho Knitting Pattern
Make 2 panels.
Sick of all the yarn jargon and conversions?
US vs UK, abbreviations, imperial vs metric, yarn weights, etc?

With your 5 mm / US – 8 needles and green color yarn, cast on 83 st.
To form a neat edge use a sl1p to start every row. Check out this video if you’re not sure how it’s done.
Row 1: [k20, p1] 3 times, k20.
Row 2: knit across
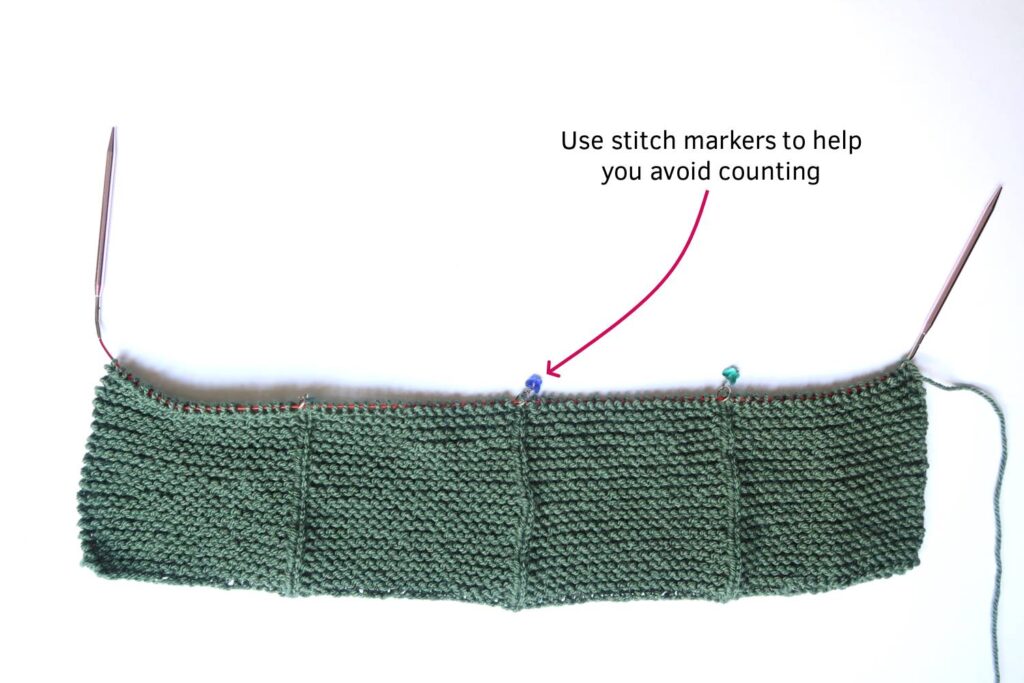
Tip: Place a stitch marker before each purl stitch. This will help you know when to purl and avoid counting stitches for every row.
Repeat Rows 1 and 2 for 12 cm / 4.75”
Always switch colors on the right side, after a Row 1.
Switch to grey color yarn.
Repeat Rows 1 and 2 for 3.5 cm / 1.25”.
Switch to yellow color yarn.
Repeat Rows 1 and 2 for 10 cm / 4”.
Switch to grey color yarn.
Repeat Rows 1 and 2 for 3.5 cm / 1.25”.
Switch to pink color yarn.
Repeat Rows 1 and 2 for 5 cm / 2”.
Switch to grey color yarn.
Repeat Rows 1 and 2 for 3.5 cm / 1.25”.
Switch to blue color yarn.
Repeat Rows 1 and 2 for 8 cm / 3.25”.
Switch to grey color yarn.
Repeat Rows 1 and 2 for 3.5 cm / 1.25”.
Switch to yellow color yarn.
Repeat Rows 1 and 2 for 10 cm / 4”.
Switch to grey color yarn.
Repeat Rows 1 and 2 for 3.5 cm / 1.25”.
Switch to red color yarn.
Repeat Rows 1 and 2 for 6.5 cm / 2.5”.
Switch to grey color yarn.
Repeat Rows 1 and 2 for 3.5 cm / 1.25”.
Switch to green color yarn
Repeat Rows 1 and 2 for 12 cm / 4.75”.
Switch to grey color yarn.
Repeat Rows 1 and 2 for 3.5 cm / 1.25”.
Switch to yellow color yarn.
Repeat Rows 1 and 2 for 10 cm / 4”.
Switch to grey color yarn.
Repeat Rows 1 and 2 for 3.5 cm / 1.25”.
Switch to pink color yarn.
Repeat Rows 1 and 2 for 5 cm / 2”.
Switch to grey color yarn.
Repeat Rows 1 and 2 for 3.5 cm / 1.25”.
Switch to blue color yarn.
Repeat Rows 1 and 2 for 8 cm / 3.25”.
Switch to grey color yarn.
Repeat Rows 1 and 2 for 3.5 cm / 1.25”.
Switch to yellow color yarn.
Repeat Rows 1 and 2 for 10 cm / 4”.
Switch to grey color yarn.
Repeat Rows 1 and 2 for 3.5 cm / 1.25”
Switch to red color yarn.
Repeat Rows 1 and 2 for 6.5 cm / 2.5”.
Switch to grey color yarn.
Repeat Rows 1 and 2 for 3.5 cm / 1.25”
Switch to green color yarn
Repeat Rows 1 and 2 for 12 cm / 4.75”
Block and Assemble
Before assembling the poncho, carefully block the panels.
Don’t skip this step as it can make a huge difference. Read my detailed tutorial on why block, how-to, and all my tips and tricks if you need help.
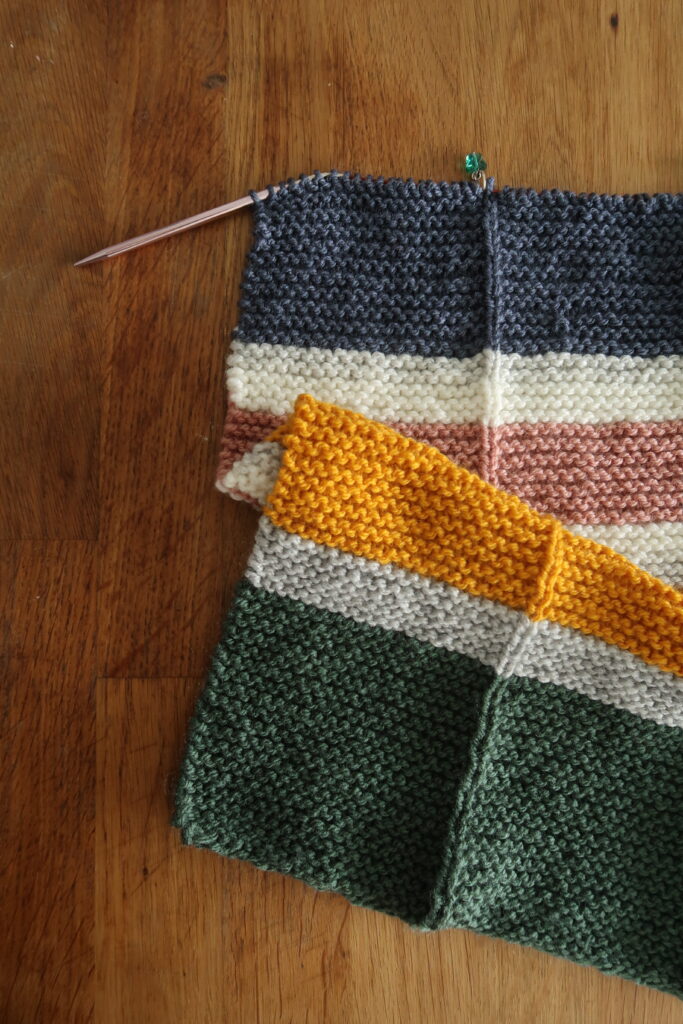
Place both panels next to each-other. Starting at the end of the panels, sew them together up to the start of the 2nd green section.
Finishing Touches
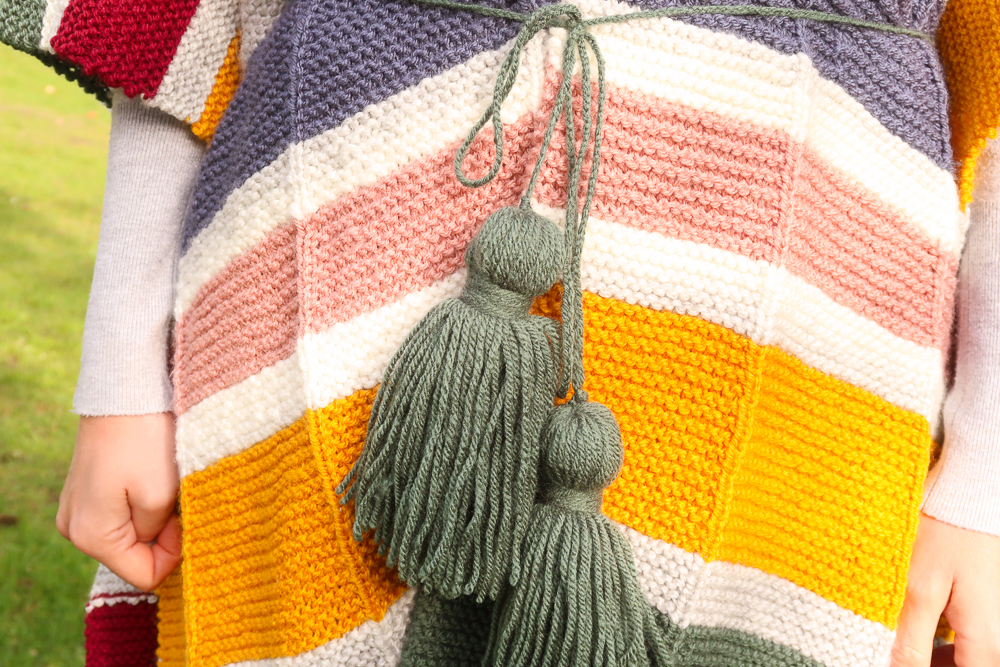
Cut three 2m long strands of yarn. Make a simple braid.
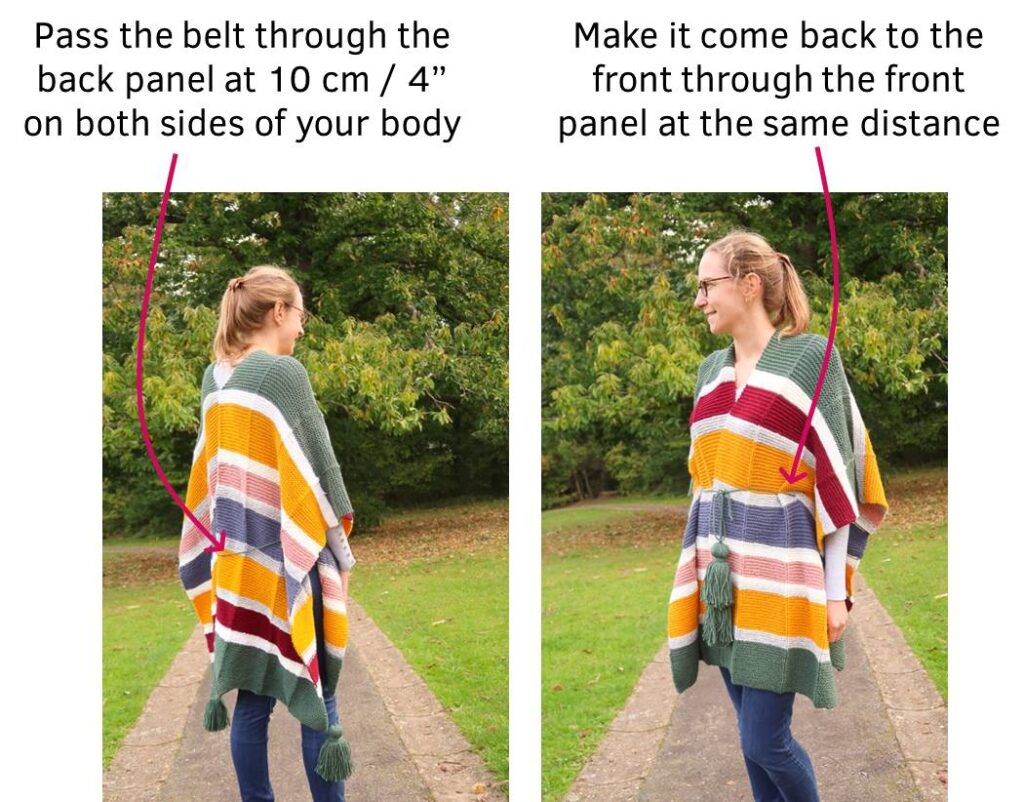
Put the belt in place by slipping it in between stitches. Place it at waist height about 10 cm / 4” from your body.
To secure the belt in place, and add a bit of fun, add a big tassel at each end. I made mine 15 cm / 6” long.

Can you use the Caron cotton cakes yarn instead?? A very beautiful and simple pattern, I would love to try. Thanks
Yes you can, but I’m not sure the width of the stripes you’d get and they will be more regular which will make for a different look
I do so love this pattern but can u give the measurement for the stripes in a row count instead of cm as that would be a lot easier for me. If u can I would greatly appreciate it I haven’t counted rows that way ever so this would help me a lot
Thanks
Merry
Hi Merry, I always give cm measurement where possible so if you don’t meet gauge you’ll get a better fit.
My gauge is 28 rows for 10 cm. So ex 12 cm = 12 cm * 2.8 st / cm = 34 rows. You can convert other dimensions in the same way (round up to an even number).
It’s not a poncho, it’s a type of shawl called a ruana and I love it!
Sorry, English is my 3rd language and I didn’t know this term!