Quartet Knit Cable Blanket Pattern
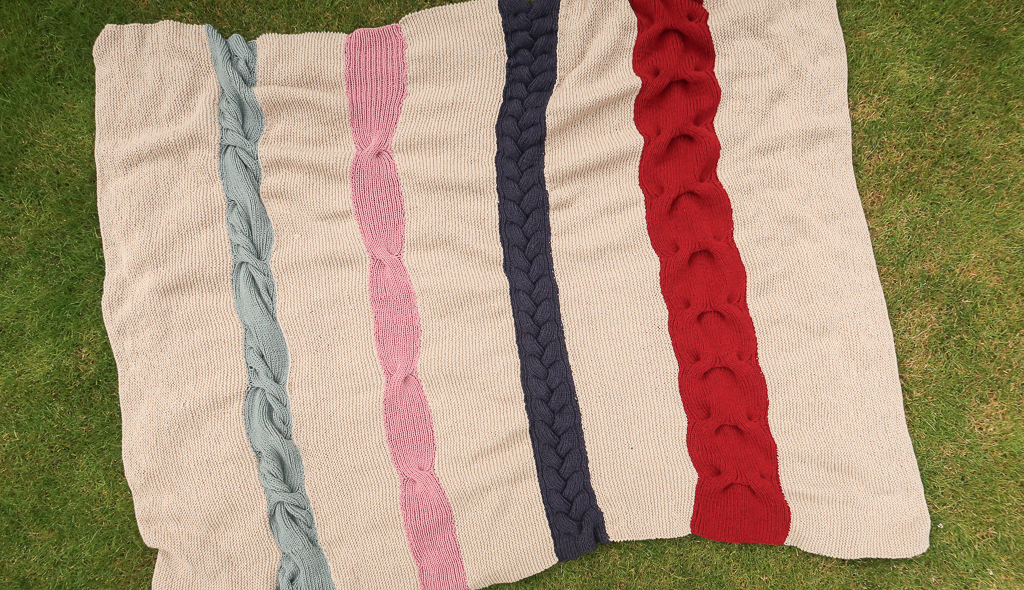
A new knit cable blanket pattern, the Quartet Cable Blanket – is now a free knitting pattern here on the blog. Read all about the easy construction, reversible design and inspiration, scroll down to view the full free pattern or purchase an ad free PDF from my shop, Etsy shop or Ravelry shop.
No time right now? Pin this cable blanket knitting pattern free for later!

*This post contains affiliate links (only for products I love, use and spend my own money on obviously). This means I earn some yarn money if you make a purchase through one of these links (of course at no extra cost for you!), which I promise to use to create more awesome patterns like this one. All opinions are my own. See my full disclosure here.
Air conditioning a bit too cold? Blanket.
Fall’s breeze bringing you a chill? Cozy up with a blanket.
A little bit of winter frost getting to your toes? You need a blanket.
A Spring day on the wrong side of sunny? Blanket.
Need some extra comfort. A blanket will fix it.
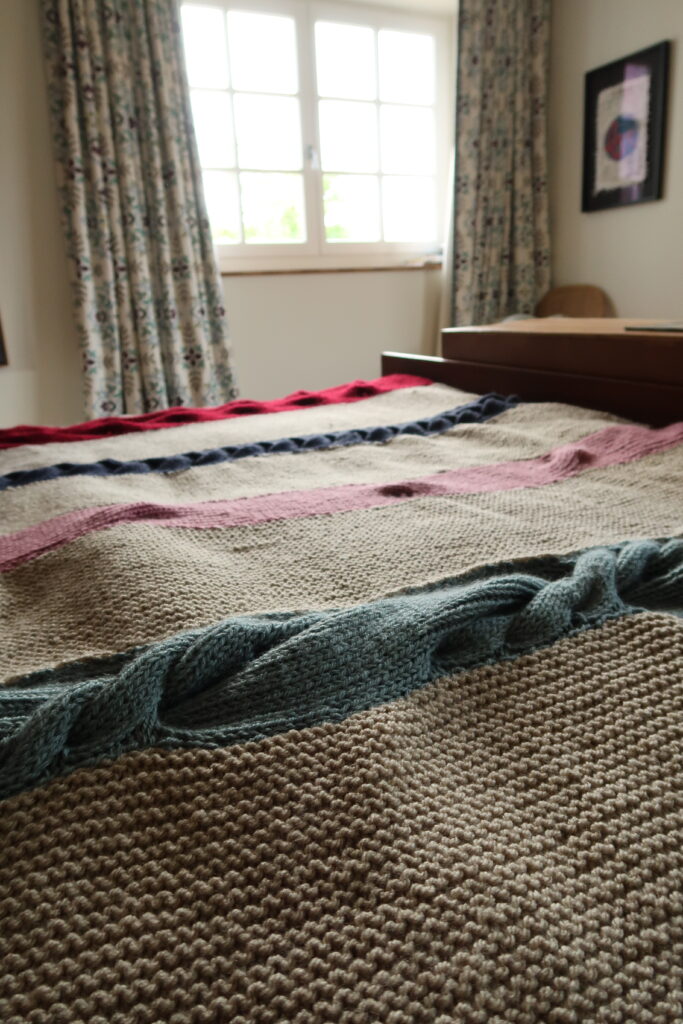
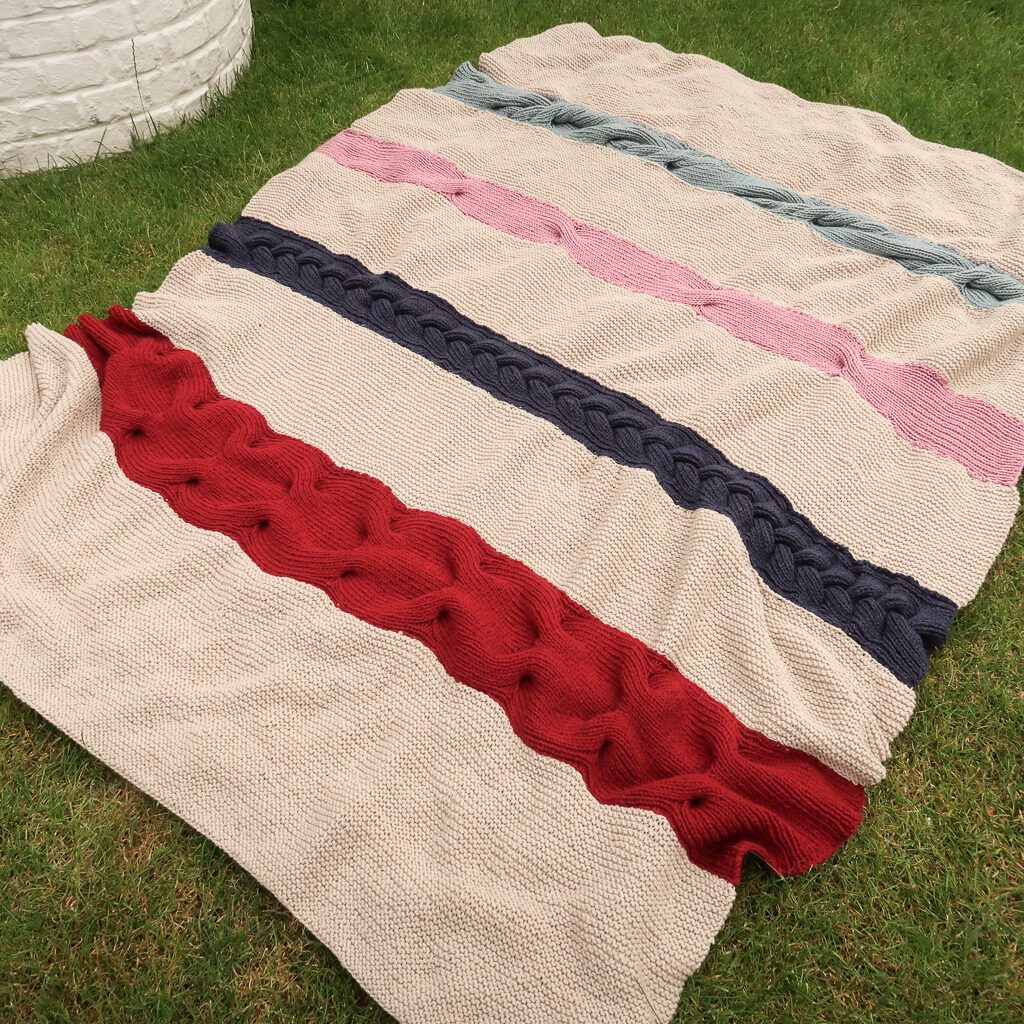
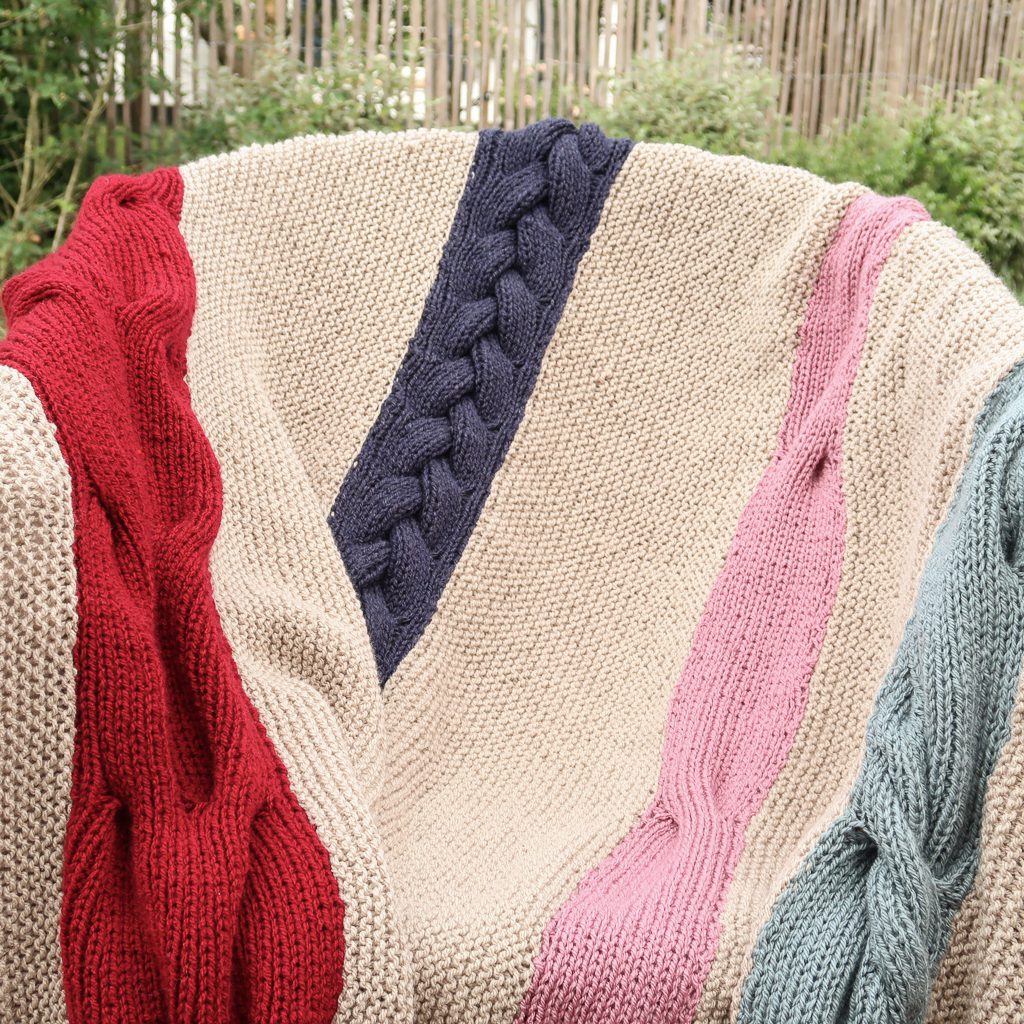
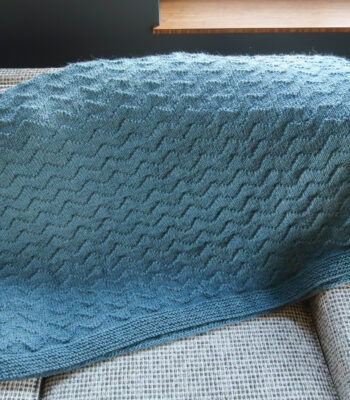
Blankets are the world’s gift to keep us warm and comfy during the cold and uncomfortable. The Quartet is a modern take on the classic knit cable blanket. The easy cable knit blanket pattern works you through the blanket in strips which makes the process SO simple. Are you ready for the warmth and comfort? Check out the knitting pattern below!
Easy Blanket Construction
To make the blanket easy to work up and have different colors for the different sections without needing to work with 9 different threads, the blanket is worked in strips.
Each strip is knit independently and then sewed to the others. This also allows you to experiment and learn impressive looking yet surprisingly easy cables without having to worry about frogging tons of work in case of mistakes or keep track of different cable designs at the same time.
The cable stripes are alternated by plain garter stitch sections. These are worked in the other direction (widthwise).
Perfectly Reversible
One of my big criteria for blankets is that they have to be perfectly reversible. I don’t want to spend time putting the pretty side up when I’m crawling under it so I like both sides to be equally gorgeous as much as possible.
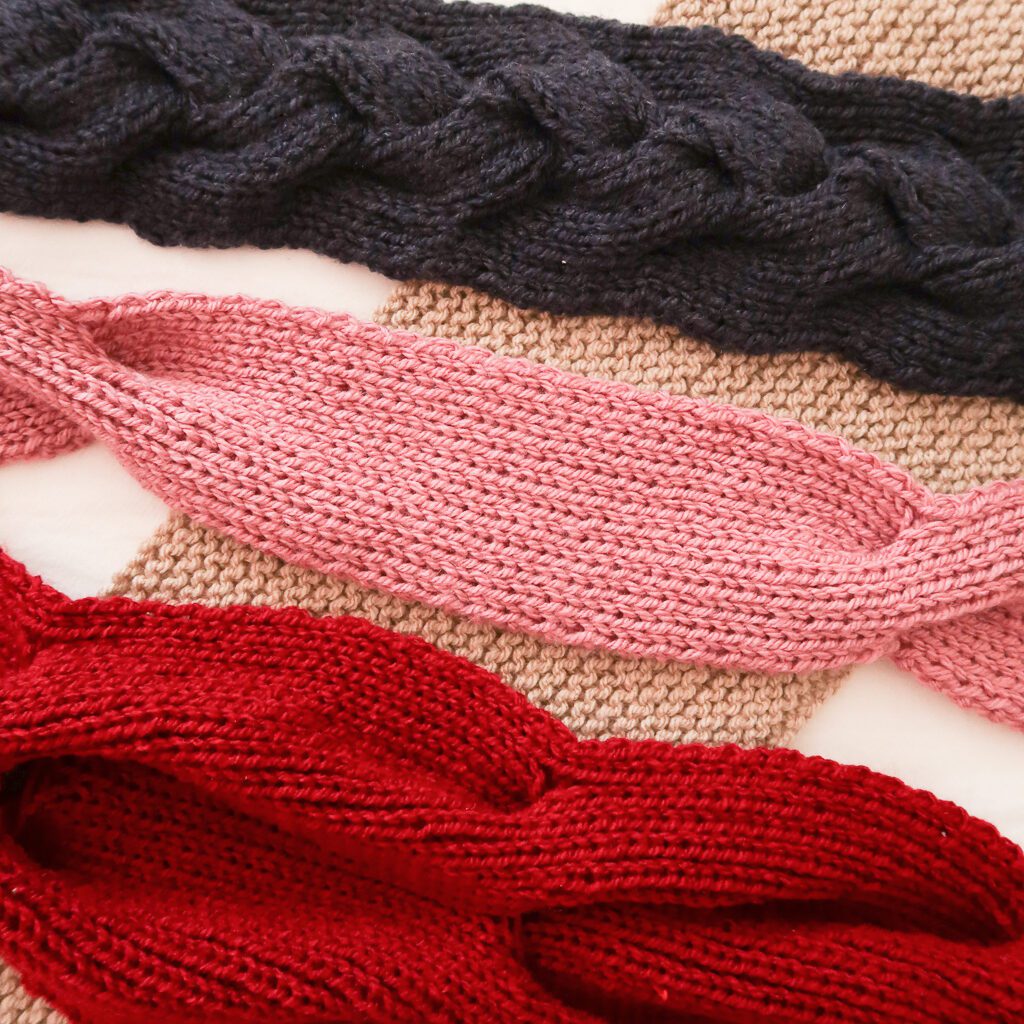
All cables are worked in 1×1 ribbing making the Quartet Blanket 100% reversible!
Downloadable PDF Quartet Easy Cable Blanket Knitting Pattern
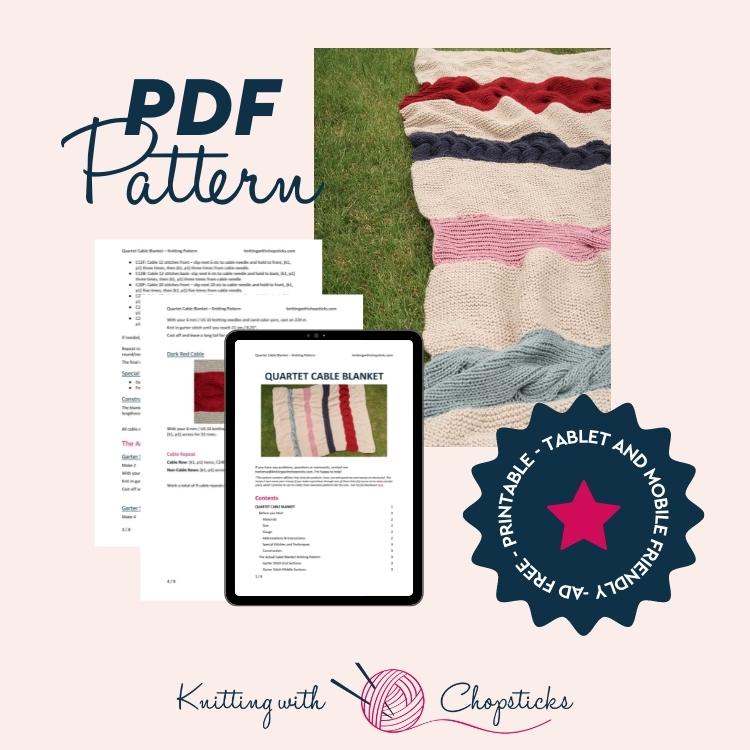
Grab the printable PDF of the Quartet knit cable blanket pattern now in my shop, on Etsy shop or on Ravelry.
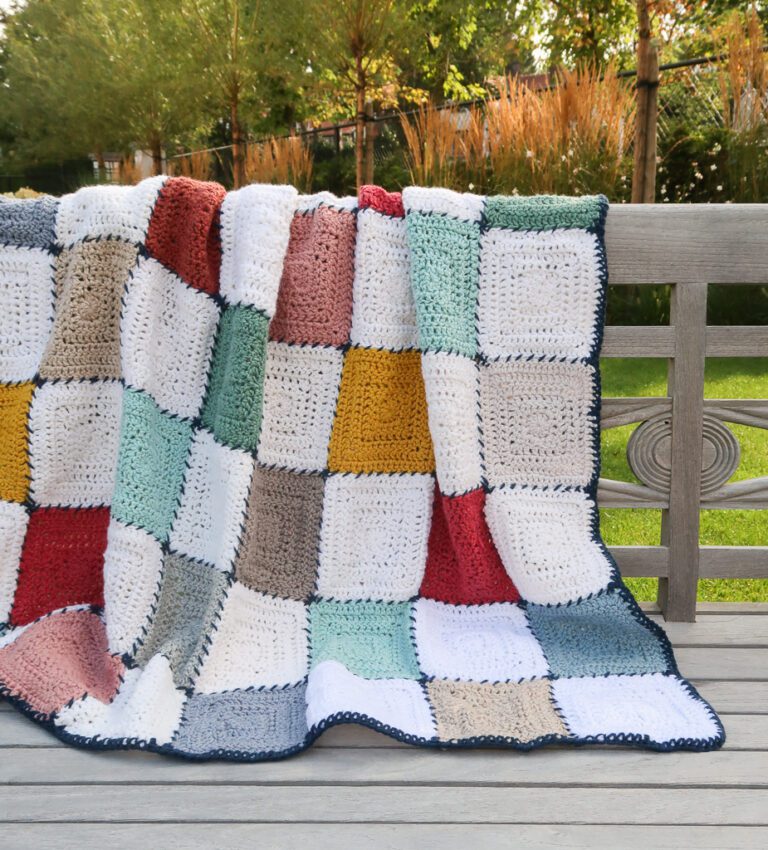
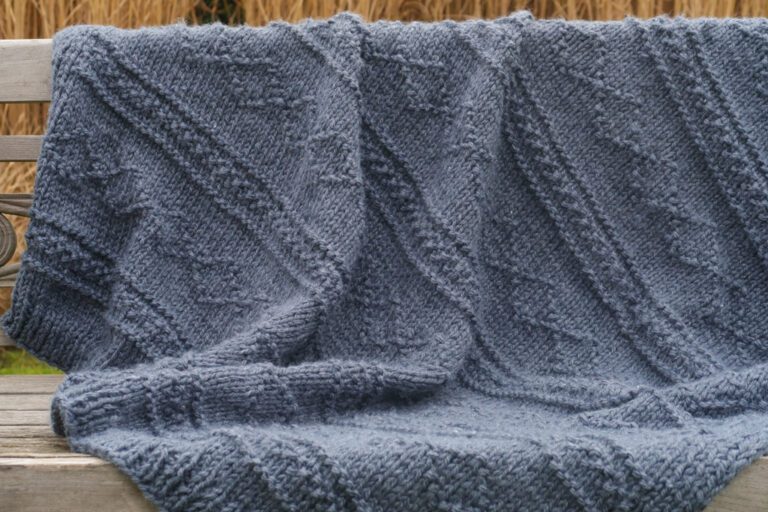
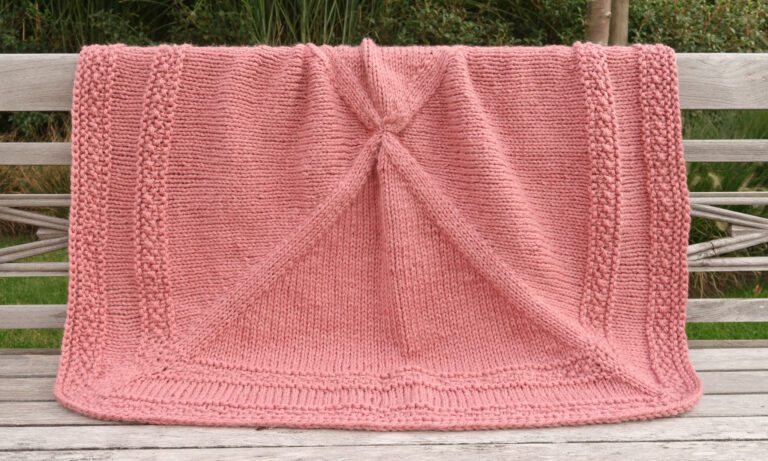
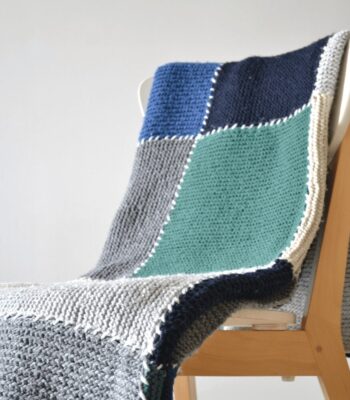
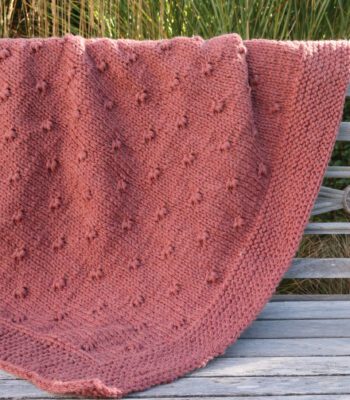
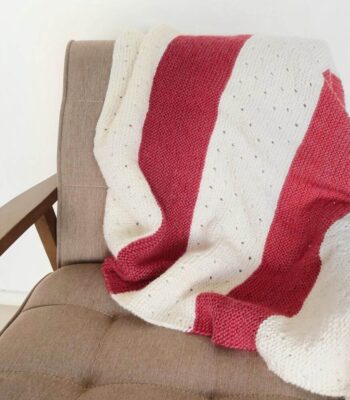
More Knitted Blanket Patterns you'll love
Before You Start the Easy Quartet Cable Blanket Pattern
Materials
- 6 mm/ US 10 knitting needles
- Hobbii Amigo XL (worsted weight (4), 100% HB Acrylic, 50 g / 1.75 oz, 100 m / 109 yd) in following colors and amounts:
- 24 skeins in Sand (A03)
- 5 skeins in Dark Blue Melange (A15)
- 5 skeins in Patina Green (A26)
- 2 skeins in Light Lilac (A48)
- 6 skeins in Dark Red (A41)
- Tapestry needle to weave in the ends
- 2 Cable needles. I like to use 6 mm / US 10 double-pointed needles as cable needles.
- 1 stitch marker
Size
The blanket knitting pattern is 165 cm / 65” wide and 210 cm / 82.5” long.
Pattern Gauge
The gauge for this pattern, in garter stitch, is 14 st by 26 rows for a 10 cm by 10 cm square (4” by 4”).
Abbreviations & Instructions
- st = stitch
- k = knit
- p = purl
- C12F: Cable 12 stitches front – slip next 6 sts to cable needle and hold to front, (k1, p1) three times, then (k1, p1) three times from cable needle.
- C12B: Cable 12 stitches back- slip next 6 sts to cable needle and hold to back, (k1, p1) three times, then (k1, p1) three times from cable needle.
- C20F: Cable 20 stitches front – slip next 10 sts to cable needle and hold to front, (k1, p1) five times, then (k1, p1) five times from cable needle.
- C20B: Cable 20 stitches back- slip next 10 sts to cable needle and hold to back, (k1, p1) five times, then (k1, p1) five times from cable needle.
- C24F: Cable 24 stitches front – slip next 12 sts to cable needle and hold to front, (k1, p1) six times, then (k1, p1) six times from cable needle.
- C24B: Cable 24 stitches back- slip next 12 sts to cable needle and hold to back, (k1, p1) six times, then (k1, p1) six times from cable needle.
If needed, refer to this tutorial for more details on knitting cables.
Sick of all the yarn jargon and conversions?
US vs UK, abbreviations, imperial vs metric, yarn weights, etc?

Repeat instructions between [] the indicated number of times or until the end of the round/row.
The final number of stitches is indicated at the end of the round/row between < >.
Special Stitches and Techniques
- Garter stitch = knit on both sides of the project
For videos and a detailed explanation on how to knit cables refer to this tutorial.
Construction
The blanket is worked in strips which are then sewed together. The cabled strips are worked lengthwise while the garter stitch sections are worked width wise. All cable strips are worked in 1×1 ribbing so the blanket is completely reversible.
Edging
To form a neat edge use a sl1p to start every row. Check out this video if you’re not sure how it’s done.
More Blanket Knitting Pattern View All

The Actual Quartet Cable Knit Blanket Pattern Free
Garter Stitch End Sections
Make 2
With your 6 mm / US 10 knitting needles and sand color yarn, cast on 224 st.
Knit in garter stitch until you reach 34 cm / 13.25”.
Cast off and leave a long tail for sewing.
Garter Stitch Middle Sections
Make 4
With your 6 mm / US 10 knitting needles and sand color yarn, cast on 224 st.
Knit in garter stitch until you reach 21 cm / 8.25”.
Cast off and leave a long tail for sewing.
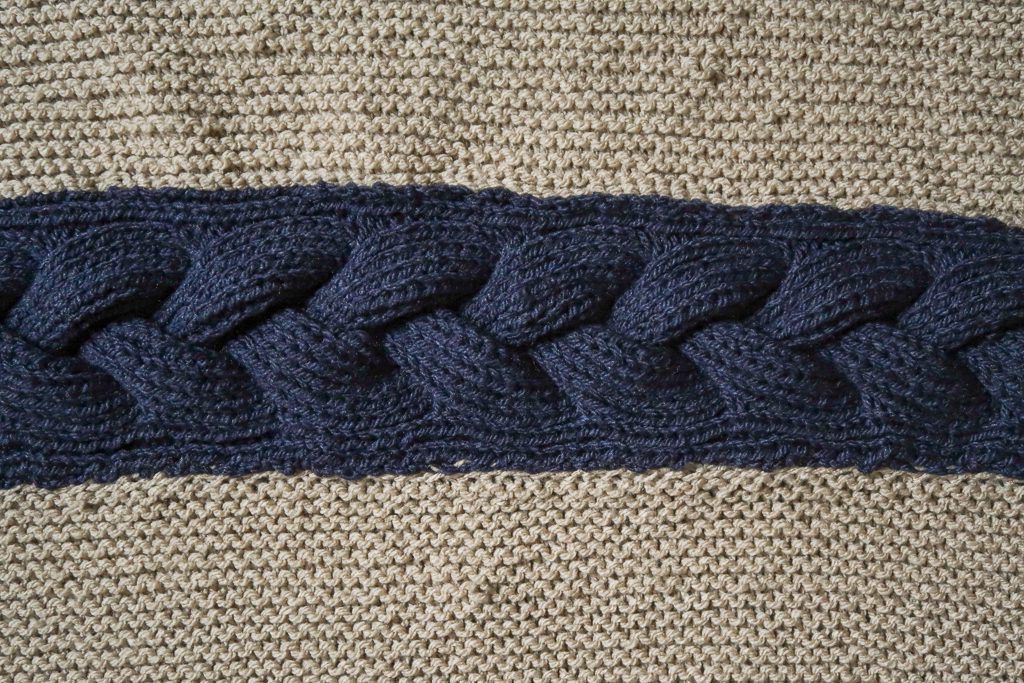
Dark Red Cable

With your 6 mm / US 10 knitting needles and dark red color yarn, cast on 56 st.
[k1, p1] across for 32 rows.
Cable Repeat
Cable Row: [k1, p1] twice, C24B in pattern, C24F in pattern, [k1, p1] twice.
Non-Cable Rows: [k1, p1] across for 31 rows.
Work a total of 9 cable repeats [Cable Row followed by Non-Cable Rows].
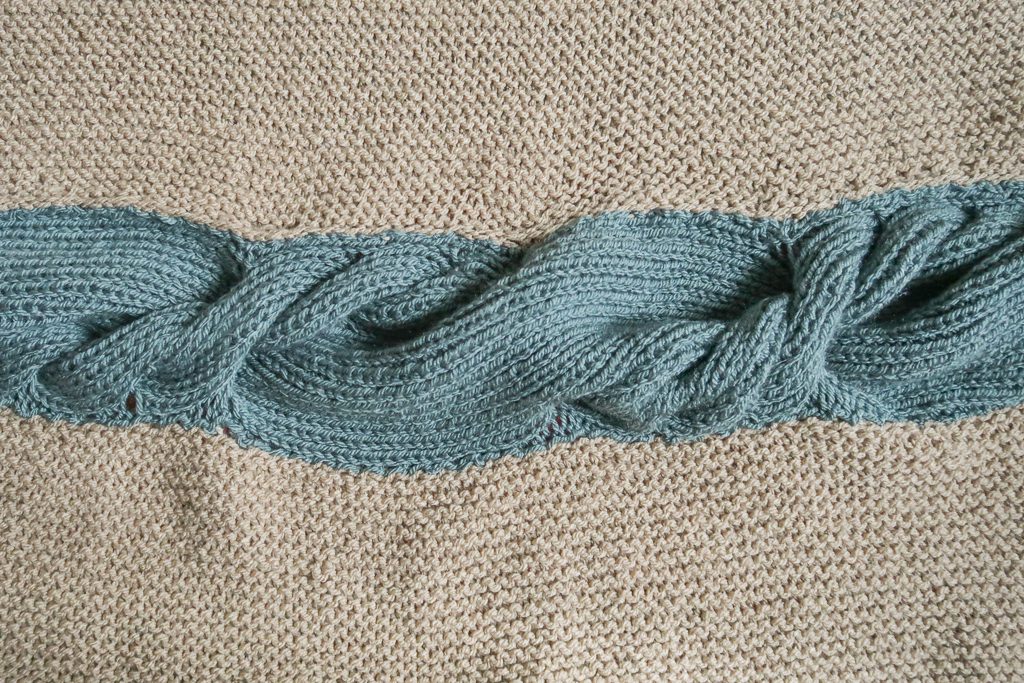
Dark Blue Melange Cable
With your 6 mm / US 10 knitting needles and dark blue mélange color yarn, cast on 44 st.
[k1, p1] across for 7 rows.
Cable Repeat
Cable Row 1: [k1, p1] twice, C24F, [k1, p1] across.
Tip: add a st marker on this side. Cables should always be worked on this side.
Non-Cable Rows: [k1, p1] across for 5 rows.
Cable Row 2: [k1, p1] 14 times, C24B, [k1, p1] twice.
Non-Cable Rows: [k1, p1] across for 5 rows.
Work cable repeat until you reach 165cm / 65” length.
[k1, p1] for 2 more rows.
Cast off and leave a long tail for sewing.
Light Lilac Cable
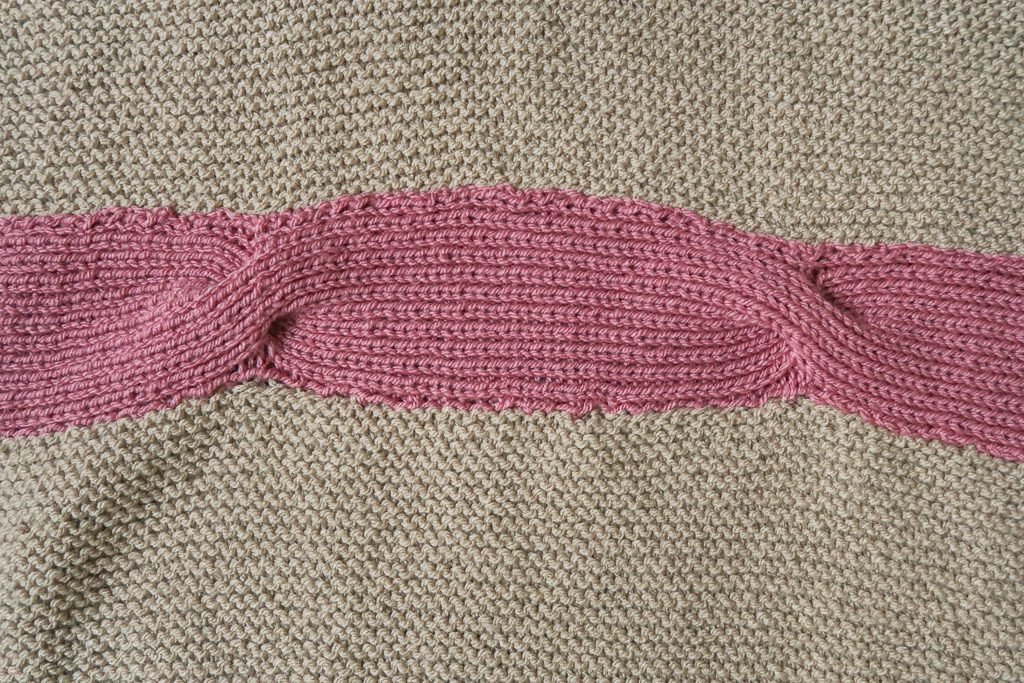
With your 6 mm / US 10 knitting needles and light lilac color yarn, cast on 24 st.
[k1, p1] across for 37.5 cm / 14.75”.
Cable Repeat
Cable Row 1: K1, p1, C20F, k1, p1.
Tip: add a st marker on this side. Cables should always be worked on this side.
Non-Cable Rows: [k1, p1] across for 30 cm / 11.75”.
Cable Row 2: K1, p1, C20B, k1, p1.
Non-Cable Rows: [k1, p1] across for 30 cm / 11.75”.
Work a total of 2 cable repeats.
[k1, p1] across for 7.5 cm / 3”.
Cast off and leave a long tail for sewing.
Patina Green Cable
With your 6 mm / US 10 knitting needles and dark color yarn, cast on 52 st.
[k1, p1] across for 9 rows.
Cable Repeat
Cable row 1: K1, p1, C12F, [k1, p1] across.
Non-Cable Rows: [k1, p1] across for 9 rows.
Repeat Cable Row 1.
Non-Cable Rows: [k1, p1] across for 9 rows.
Cable Row 2: K1, p1, double cable*, k1, p1.
*Double cable = You’re going to work a C12F in the first half of the stitches while working a C24F at the same time.
= Slip next 12 sts to cable needle 1 and hold to front. [k1, p1] 6 times, then place first 6 sts of cable needle 1 onto cable needle 2, hold to front and [k1, p1] next 6 sts of cable needle 1, then [k1, p1] the 6 sts of cable needle 2.
Non-Cable Rows: [k1, p1] across for 9 rows.
Cable row 3: [k1, p1] 19 times, C12F, k1, p1.
Non-Cable Rows: [k1, p1] across for 9 rows.
Repeat Cable Row 3.
Non-Cable Rows: [k1, p1] across for 9 rows.
Cable Row 4: K1, p1, double cable 2*, k1, p1.
*Double cable 2 = You’re going to work a C12F in the 2nd half of the stitches while working a C24F at the same time.
= Slip next 12 sts to cable needle 1 and hold to front. Slip next 6 st to cable needle 2 and hold to front, [k1, p1] the next 6 stitches, then [k1, p1] the 6 sts on cable needle 2. Then [k1, p1] the 12 sts on cable needle 1.
Non-Cable Rows: [k1, p1] across for 9 rows.
Work a total of 4 cable repeats.
Work one more half of a cable repeat (stopping before Cable Row 4).
Cast off and leave a long tail for sewing.
Assembly
To assemble your blanket sew the different strips together in this order:
- garter stitch end section
- dark red cable
- garter stitch middle section
- dark blue melange cable
- garter stitch middle section
- light lilac cable
- garter stitch middle section
- patina green cable
- garter stitch end section
Blocking
You’re done with the knitting part. Make sure to weave in all the ends.
To make your blanket even prettier, help even your stitches and highlight the cables, block your project.
Don’t skip this step as it can make a huge difference. Read my detailed tutorial on why block, how-to, and all my tips and tricks if you need help.
Copyright 2022 of Knitting with Chopsticks.