An easy baby knitting pattern – my Baby Name Knit Throw Pillow pattern is a free pattern here on the blog! Read about my inspiration, the easy construction, and how to adjust it for any yarn or scroll on down for the free pattern and photo tutorial.
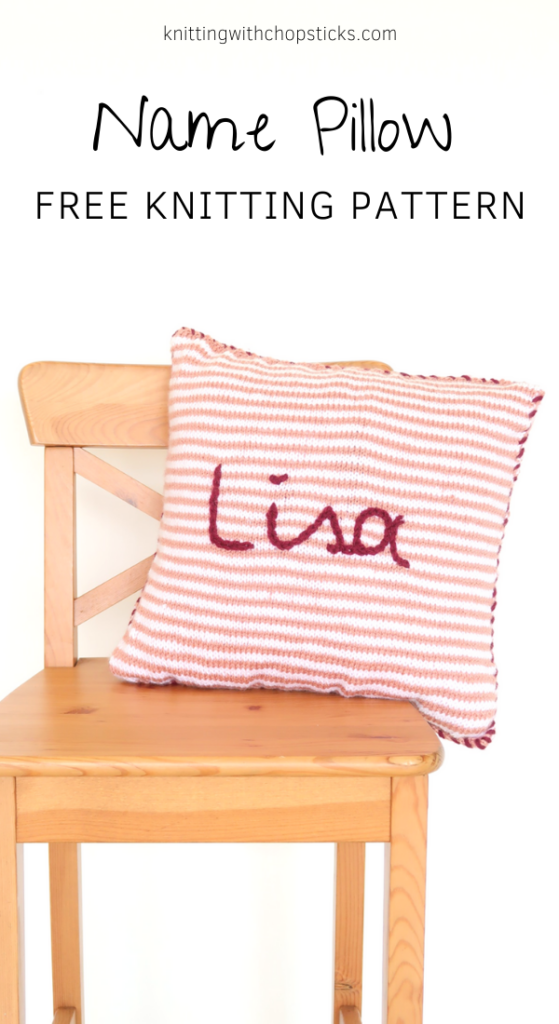
No time right now? Pin this cute knit throw pillow pattern for later!
*This post contains affiliate links (only for products I love, use and spend my own money on obviously). This means I earn some yarn money if you make a purchase through one of these links (of course at no extra cost for you!), which I promise to use to create more awesome patterns like this one. All opinions are my own. See my full disclosure here.
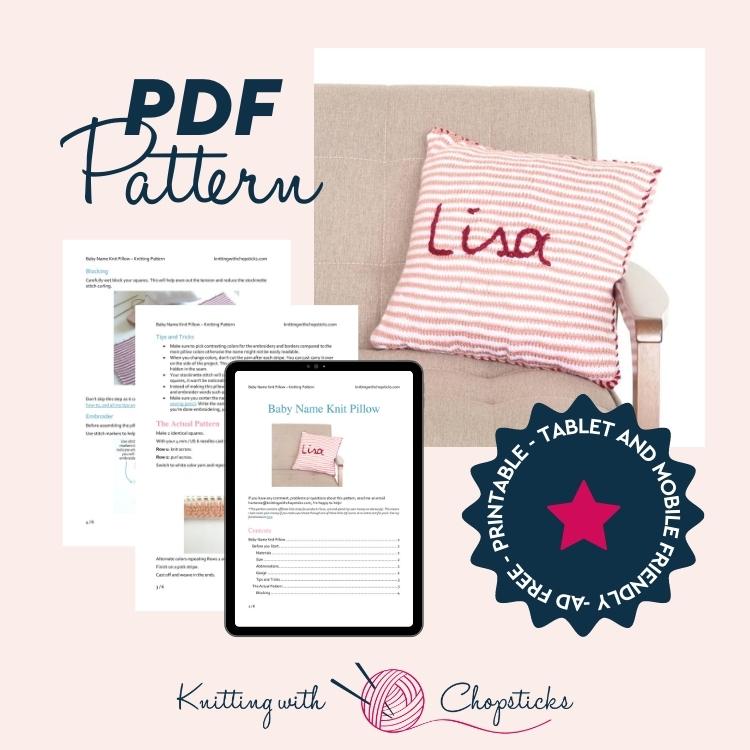
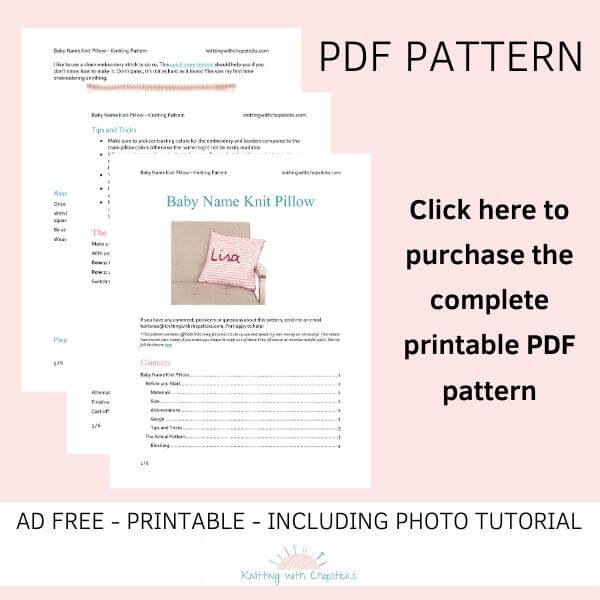
Scroll down for the free version but I recommend you purchase the ad-free PDF Pattern to get all the instructions and pictures in a nice PDF you can print and take notes on without relying on your phone or an internet connection, I’ve got you covered!
The baby knit throw pillow pattern is now available in Ravelry store.
The perfect handmade baby shower gift
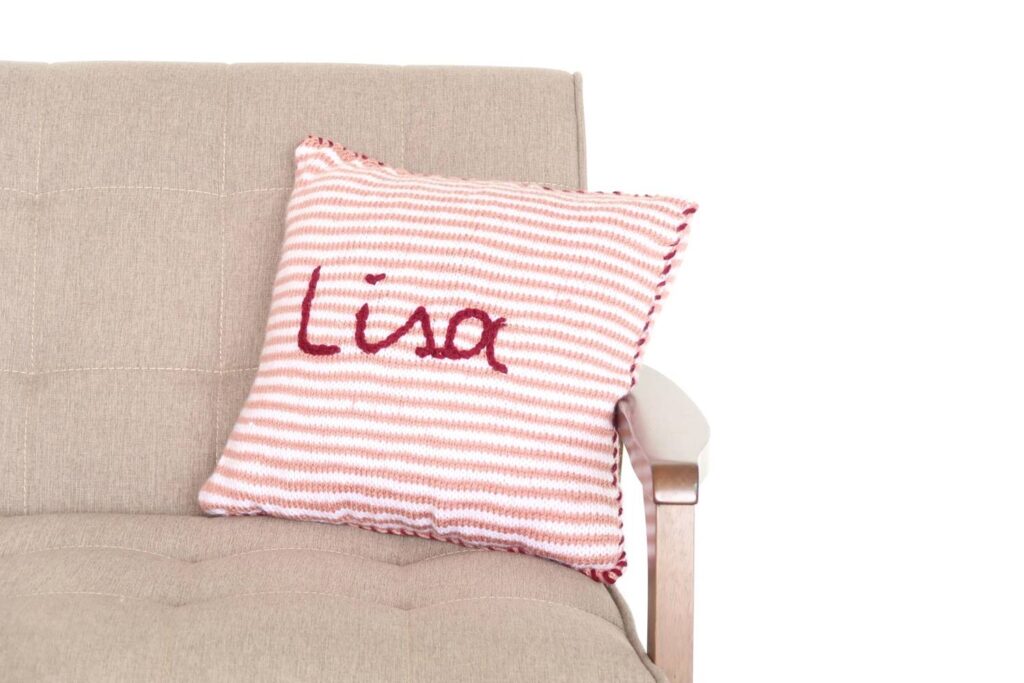
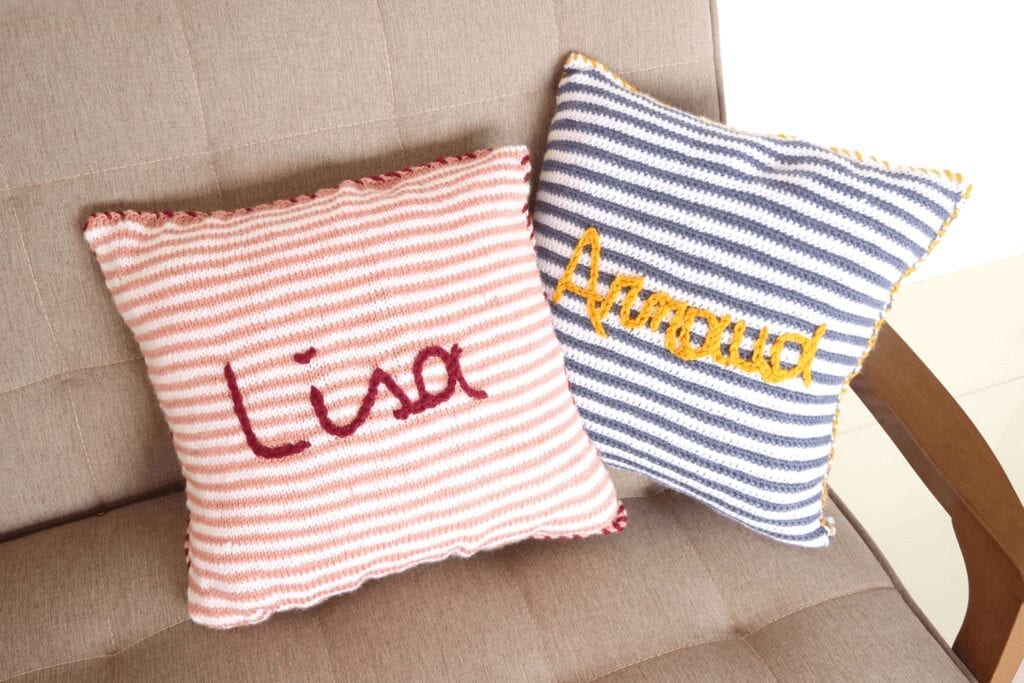
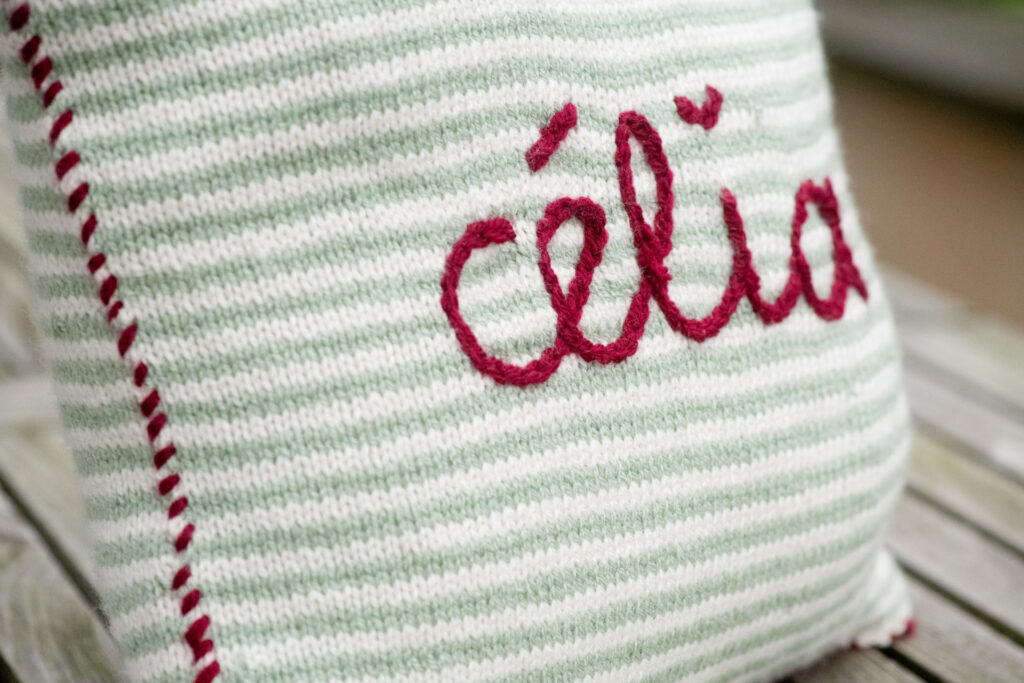
This personalized knit baby name pillow is sure to be the talk of your next baby shower. Lovingly adorned with baby’s name, it’s truly a gift that will be cherished for years to come.
I love to personalize my nursery decor and baby shower gifts. Making them myself is already awesome but adding this little extra touch of the baby’s name makes it so much more irresistible don’t you think?
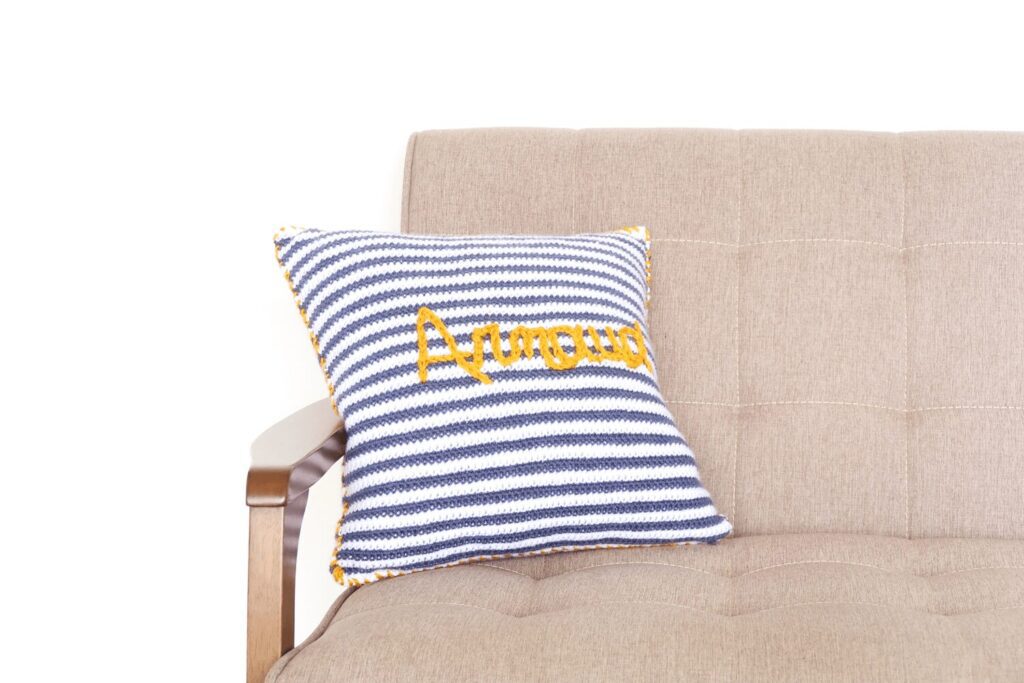
Choose pink or blue, or match the pillow to the child’s room decor.
The baby name knit throw pillow is a very easy baby knitting pattern. It’s a great baby shower gift as the baby will be able to keep it for years.
This knit throw pillow is not only a baby knitting pattern
Maybe you’re looking for a gift for any older child. You can match the colors of the pillow to the child’s room decor or school colors, and be the “Cool Aunt” for once.
The options for this personalized knit pillow are endless. It could say home, love, family, or even your favorite curse word. Spruce up your home decor with this super simple pattern, then make one for each of your jealous friends!
Use any worsted weight yarn
I designed this knit throw pillow with worsted weight 4 yarn from my stash. Confused about yarn weights? Grab my free cheatsheets!
Because the yarn I used is not available everywhere, and I know how painful it is to try to find equivalent yarn which will give you the same effect I have selected a few equivalent yarns for you.
- Lion Brand Wool-Ease: They have this yarn in about 20 colors, I’m sure you’ll fall in love with more than one.
- Paintbox Yarns Wool Mix Aran: It’s soft and the range of colors is amazing
- Brava worsted: A very affordable substitute
You can also use any other worsted weight yarn from your stash. Make sure you check your gauge so your squares end up 40 cm / 16″ square or they won’t fit your pillow properly.
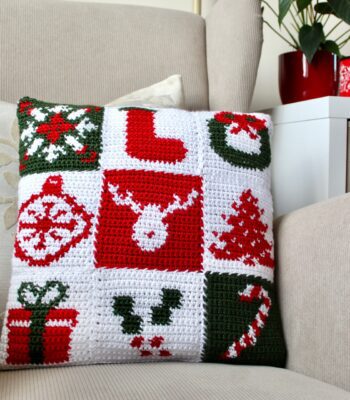
You prefer to crochet?
Find the crochet version of the baby name throw pillow here.
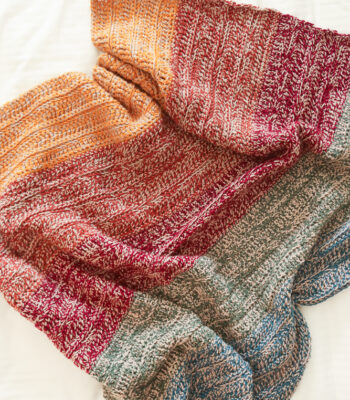
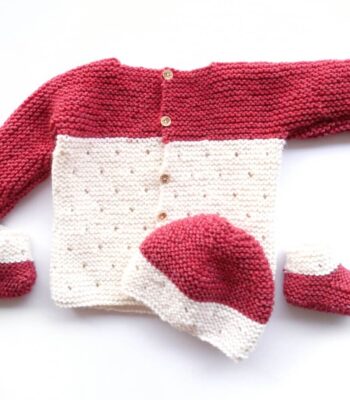
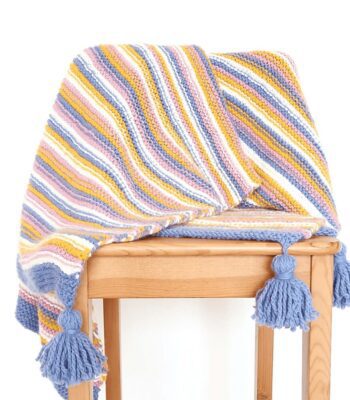
More Baby Makes View All
Before you Start your Knit Throw Pillow
- Purchase the large print, ad-free printable on Etsy HERE.
- Add this cute knit throw pillow to your Ravelry queue HERE.
- Pin the baby name knit pillow pattern to your Pinterest boards HERE.
Materials
- 4 mm / US 6 knitting needles
- Worsted weight wool yarn: Royal Zeeman yarn (100% acrylic, 241m / 264 yards)
- 1 100g skein in light pink
- 1 100g skein in white
- 20g in burgundy color for the seams and embroidery
- Tapestry needle to weave in the ends and sew. I love this set as it has different eye sizes for different yarn thicknesses and it comes in a small tube which is very convenient so I don’t lose them.
- 1 40 cm / 16” square pillow.
Because the yarn I used is not available everywhere, and I know how painful it is to try to find equivalent yarn which will give you the same effect I have selected a few equivalent yarns for you.
- Lion Brand Wool-Ease: They have this yarn in about 20 colors, I’m sure you’ll fall in love with more than one.
- Paintbox Yarns Wool Mix Aran: It’s soft and the range of colors is amazing
- Brava worsted: A very affordable substitute
Size
The pillow is a 40 cm / 16“ square.
Abbreviations
- k = knit
- st = stitch
- p = purl
- stockinette st = knit on the right side and purl on the wrong side of the project.
Repeat instructions between [] the indicated number of times or until the end of the row.
Gauge
With 4 mm / US 6 needles, the gauge in stockinette stitch is 16 st by 12 rows for a 10 cm / 4” square.
Tips and Tricks
- Make sure to pick contrasting colors for the embroidery and borders compared to the main pillow colors otherwise the name might not be easily readable.
- When you change colors, don’t cut the yarn after each stripe. You can just carry it over on the side of the project. This might give you a slightly imperfect edge but it will be hidden in the seam.
- Your stockinette stitch will curl, that’s normal. Once you block and assemble the squares, it won’t be noticeable.
- Instead of making this pillow for a baby, you can also use the pattern for home decor and embroider words such as: Home, Love, Welcome, Family, etc instead.
- Make sure you center the name horizontally and vertically. To help you, you can use a sewing pencil. Write the name with the pencil where you want to embroider it. After you’re done embroidering, you can easily erase it by washing the square with water.
The Actual Knit Throw Pillow Pattern
Make 2 identical squares.
With your 4.5 mm / US 7 needles cast on 46 st with the pink color yarn.
Row 1: knit across.
Row 2: purl across.
Switch to white color yarn and repeat Rows 1 and 2.
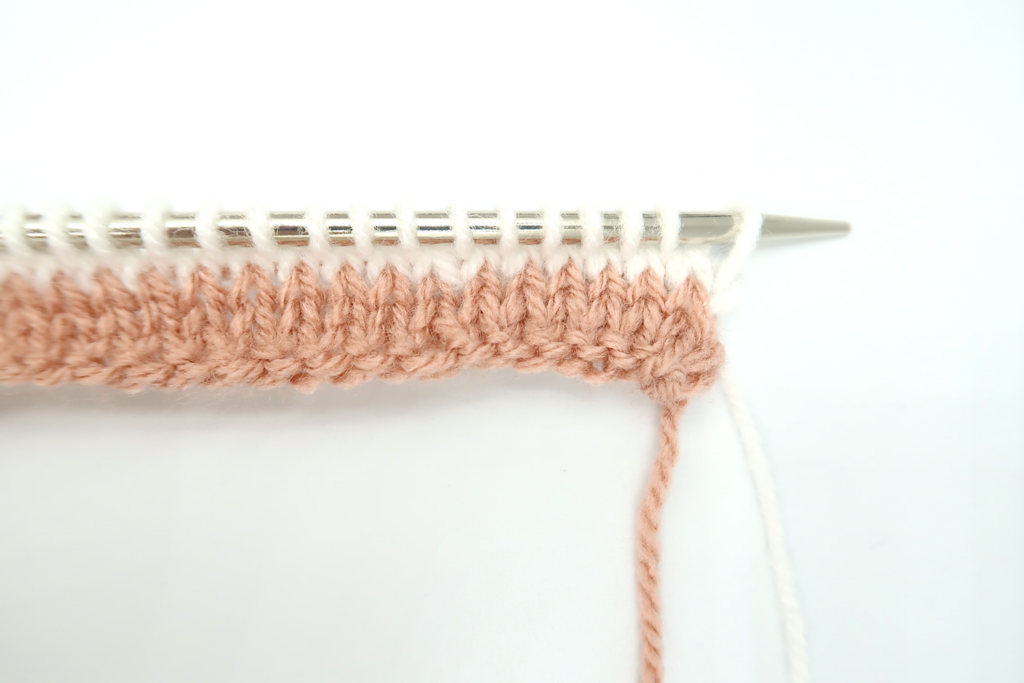
Alternate colors repeating Rows 1 and 2 until you reach 40 cm / 16”.
Finish on a pink stripe.
Cast off and weave in the ends.
Blocking
Carefully wet block your squares. This will help even out the tension and reduce the stockinette stitch curling.
Don’t skip this step as it can make a huge difference. Read my detailed tutorial on why block, how-to, and all my tips and tricks if you need help.
Embroider
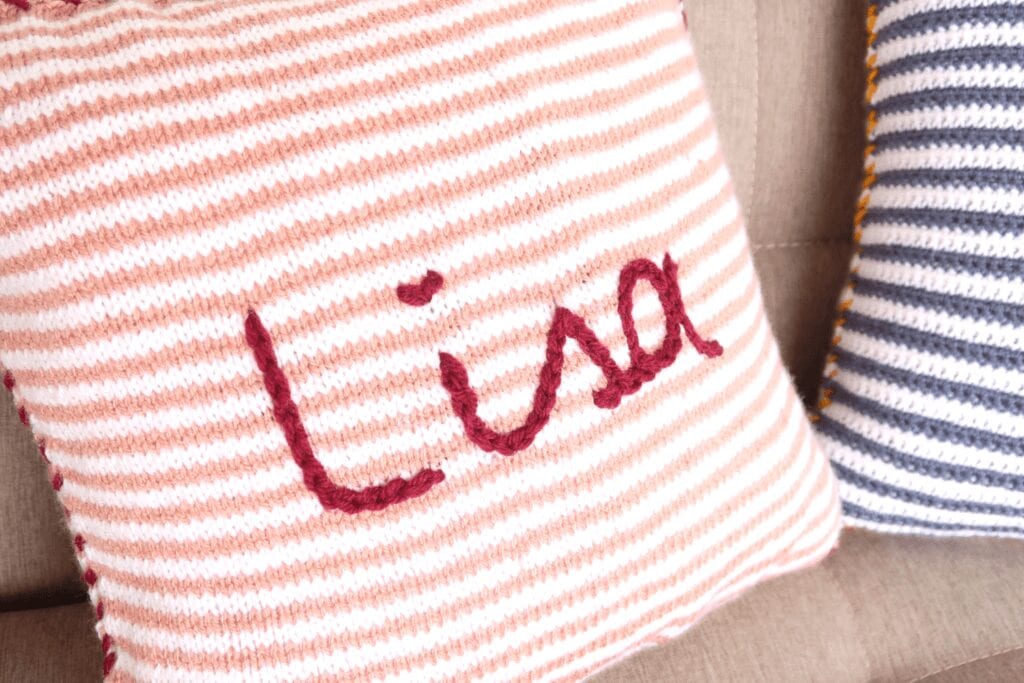
Before assembling the pillow, embroider the baby’s name on one side.
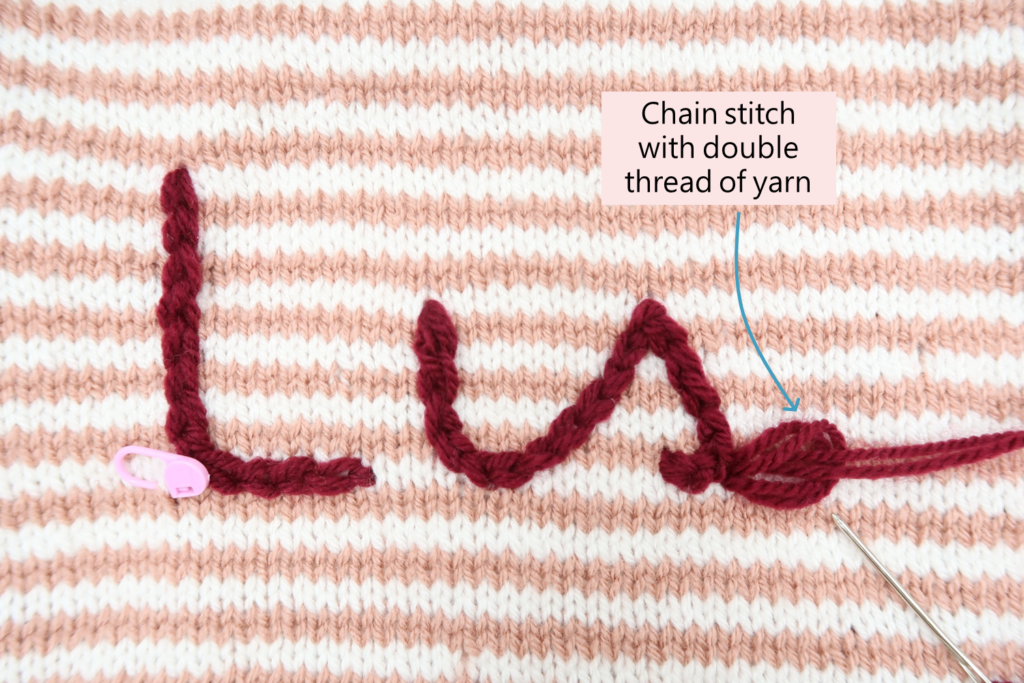
Use stitch markers to help you center the name correctly.

I like to use a chain embroidery stitch to do so. This quick video tutorial should help you if you don’t know how to make it. Don’t panic, it’s not as hard as it looks! This was my first time embroidering anything.
Assembly
Once you’re happy with your embroidery, assemble the pillow.
With both right sides on the outside, with a double thread of burgundy red, seam 3 sides of the squares. Slide the pillow in and close the remaining side.
Be as regular as possible when you seam. You can use the stripes as a guide to help you.
Weave in the ends and enjoy your cute pillow!
If you enjoyed this pattern, share it with your yarn loving friends!