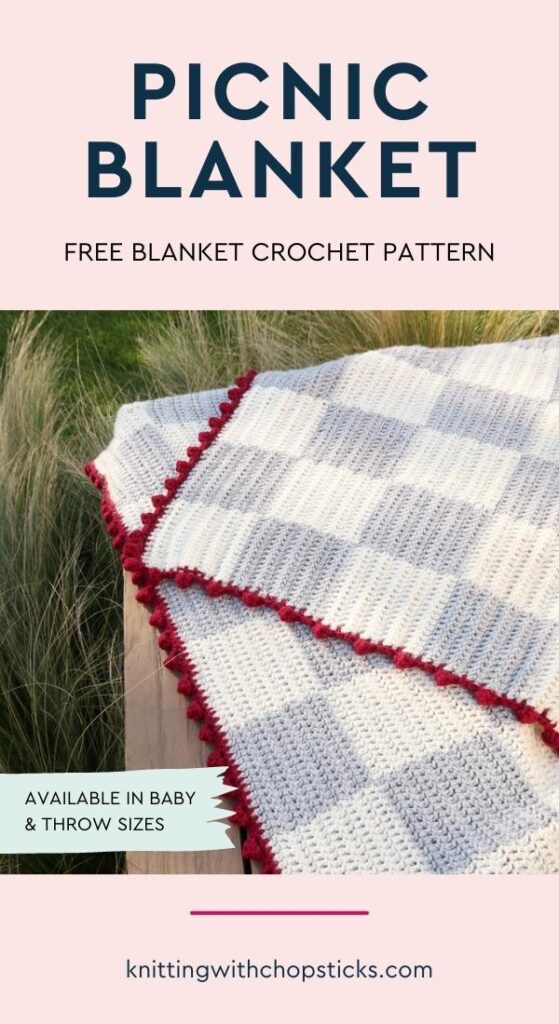
Picnic Blanket
A new checker baby blanket crochet pattern, the Picnic Blanket, is now a free crochet blanket pattern. Read all about the inspiration and beginner construction, scroll down to view the full free pattern or purchase an ad free PDF from the links below.
No time right now? Pin this beginner crochet blanket pattern for later!
*This post contains affiliate links (only for products I love, use and spend my own money on obviously). This means I earn some yarn money if you make a purchase through one of these links (of course at no extra cost for you!), which I promise to use to create more awesome patterns like this one. All opinions are my own. See my full disclosure here.
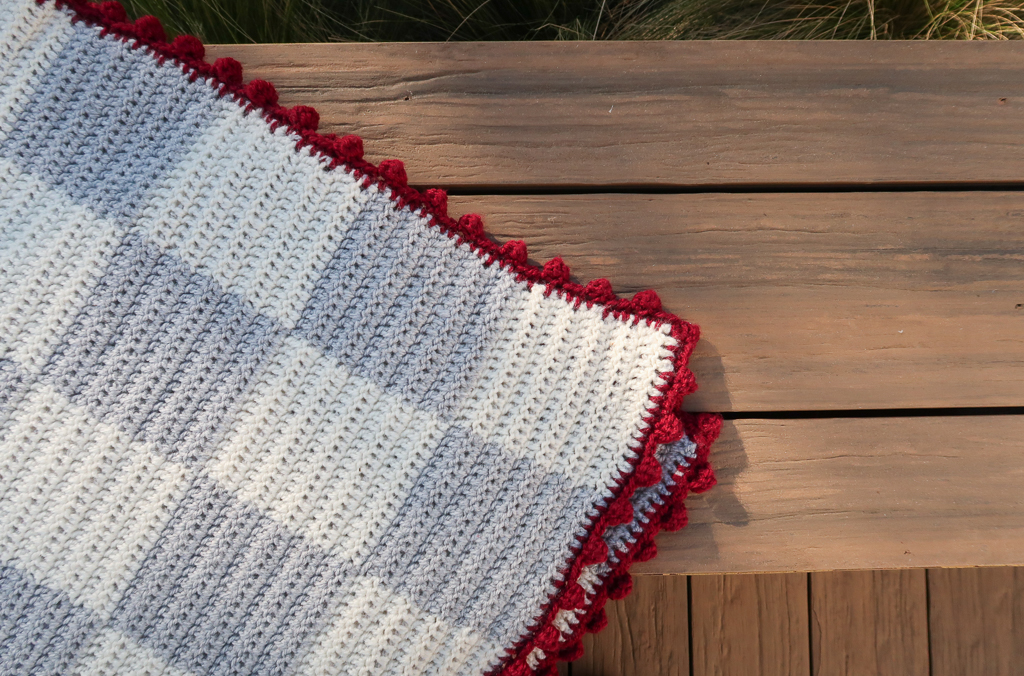
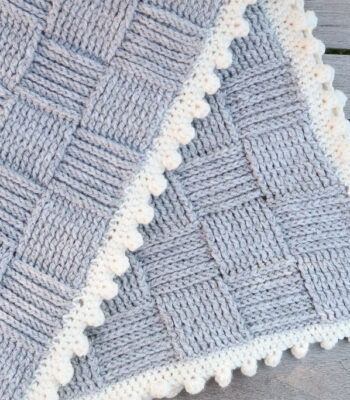
The Picnic Baby Blanket is a sweet addition to any little one’s collection. It involves easy colorwork to create a checkered pattern with a cute bobble edge.
This beginner blanket pattern is available in a baby or throw size and is perfect for cuddling, family picnics, or even playing giant chess! It makes a wonderful gift or a fashionable new add to your own home.
The simple checker pattern makes this blanket completely reversible.
Depending on the colors you choose to work with, this blanket crochet pattern can make a great baby boy or girl baby shower gift.

Downloadable PDF Picnic Blanket Crochet Pattern

Why I Recommend You Purchase the PDF Pattern
If you’ve never used PDF patterns before, you are missing out on so much convenience!
- You don’t need to take screenshots of the pattern
- You don’t need to have your computer, phone or tablet around to work on your project.
- You don’t need to panic if your husband accidentally closed the page
- You can take notes, highlight your size and write down where you are.
- When your best friend begs you to make her the same sweater, you have the pattern ready.
- It’s a great way to support the blog so I can continue to bring you knitting tutorials.
Grab the printable PDF of the Picnic Blanket crochet pattern is now in my shop, on Etsy shop or on Ravelry:
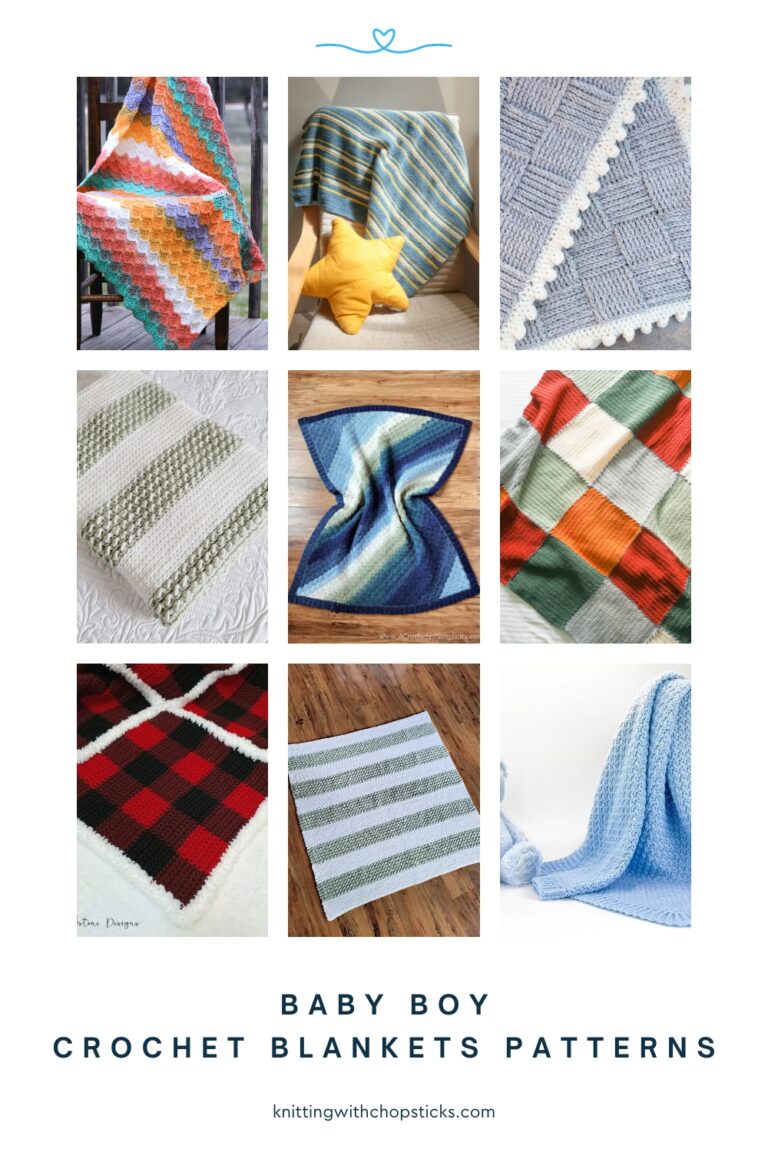
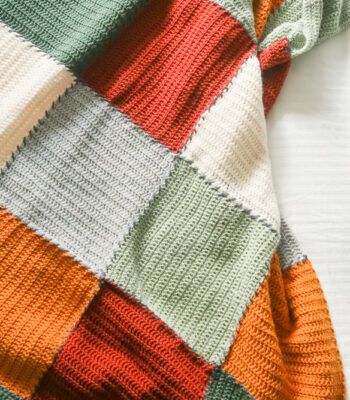
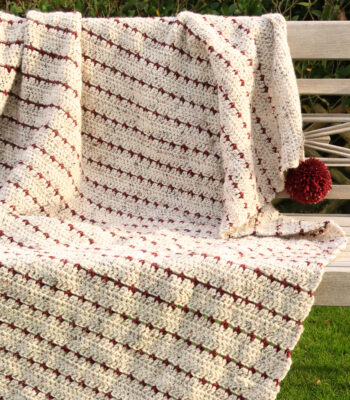
More Crochet Blankets you'll love
Before you Start your Crochet Baby Blanket
Materials
- Worsted weight yarn: Royal Zeeman yarn (100% acrylic, 100g/3.5oz, 241m/264yd):
- Color A: 4 (8) skeins in grey
- Color B: 4 (8) skeins in off white
- 1 (2) skeins in red for the border
You can easily substitute with any worsted weight yarn you want.
- Tapestry needle to weave in the ends. I love this set as it has different eye sizes for different yarn thicknesses, and it comes in a small tube which is very convenient, so I don’t lose them.
Size
The blanket crochet pattern is available in 2 sizes:
- Baby: 104 cm / 40.5” by 124 cm / 48.5”á
- Throw: 144 cm / 56” by 172 cm / 67”
Sizes are indicated as baby (throw) throughout the pattern.
You can easily adjust the length of the blanket by adding/removing repeats.
To adjust the width, add/remove a multiple of 20 stitches.
Gauge
The gauge for this pattern, in dc is 15 st by 8.5 rows for a 10 cm by 10 cm square (4” by 4”).
Abbreviations
This pattern uses US notations.
- st = stitch
- ch = chain
- sc = single crochet
- dc = double crochet
- yo = yarn over
Yarn Jargon Cheatsheets
Whether you knit, crochet, or both, these are a necessity.
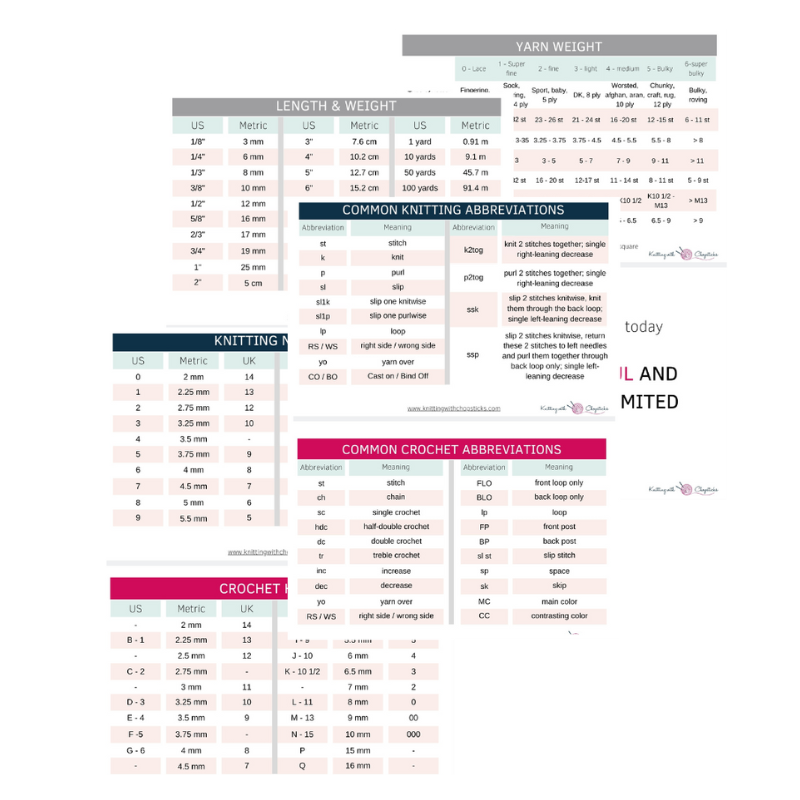
Notes
Sick of all the yarn jargon and conversions?
US vs UK, abbreviations, imperial vs metric, yarn weights, etc?

Work instructions between [] the indicated number of times or until the end of the row/round.
The final number of stitches is indicated at the end of the row/round between < >.
The turning/beginning ch 2 doesn’t count as stitches throughout the pattern except if mentioned otherwise.
The pattern is written in crochet shorthand. For example:
- “sc 1” means to single crochet in the next stitch,
- “sc 2” means to single crochet in each of the next 2 stitches,
- and “2 sc” means to single crochet twice in the next st.
When rows are worked with multiple colors, the color is indicated in between (). All stitches following are worked in the same color until a new color is indicated. For example:
- (A) Ch 2, dc 10, (B) dc 10 means with colors A work a ch 2 followed by 10 double crochet stitches. Switch to color B and work another 10 double crochet stitches.
Special Stitches
- Bobble stitch (5 dc cluster) = [yo, insert hook in indicated st, yo and pull up a loop, yo, pull through two loops] 5 times in the same space, yo and pull through all 6 loops.
Tips and Tricks
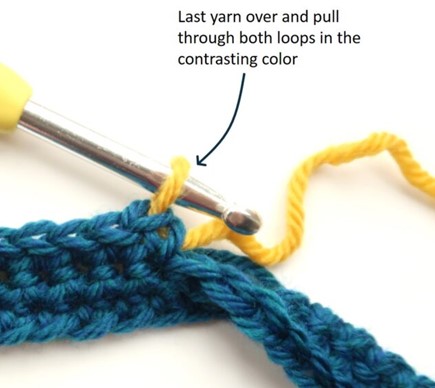
- To change yarn color, work last st of old color to last yarn over. Yarn over with new color and draw through all loops on hook to complete st.
- When using more than one color in a row, work over the unused color in tapestry style.

The Actual Baby Blanket Crochet Pattern
The blanket is worked in rectangles of alternating colors. Each rectangle is 15 stitches wide and 10 rows heigh.
First Row of Rectangles
With your 6 mm / US J-10 hook and color A yarn, ch 150 (195) + 2.
Row 1: (A) Dc in 3rd ch from hook, dc 14, (B) dc 15, [(A) dc 15, (B) dc 15] across, turn. < 150 (195) st >
Row 2: (B) Ch 2, [(B) dc 15, (A) dc 15] across, turn.
Row 3: (A) Ch 2, [(A) dc 15, (B) dc 15] across, turn.
Repeat Row 2 and 3 three times. Repeat Row 2 one more time.
Repeats
[Repeat Row 2 and 3 five times.
Repeat Row 3.
Repeat Row 2 and 3 four times.
Repeat Row 2.] 4 (6) times
Repeat Row 2 and 3 five times.
Cut of your yarn and weave in the ends.
Bobble Border

The border is worked in continuous rounds all around the blanket.
With your red color yarn, start in one corner and single crochet all around the blanket. Spread your stitches evenly around the edges, make approximately
- 1 sc per stitch
- 3 sc for every 2 rows.
You should have 601 (781) stitches.
Tip: these stitch counts ensure you will end up with a correct multiple for the bobbles, but if you don’t want to count you can always cheat a stitch or 2 on the last round to make it come out evenly, no-one will notice 😉.
Round 1 – 2: [sc until next corner, 2 sc in corner st] around.
Round 3: [sc 3, bobble st] around, join with a slip stitch in first sc of the round.
Cut off your yarn and weave in your ends.
Blocking
You’re done with the crocheting part. Make sure to weave in all the ends.
To make your blanket even prettier and help straighten your edges block your project.
Don’t skip this step as it can make a huge difference. Read my detailed tutorial on why block, how-to, and all my tips and tricks if you need help.