Crochet Granny Square Basket

A new crochet granny square basket pattern, the Granny Basket, is now a free chunky crochet basket pattern here on the blog. Read all about the seamless construction or scroll down for the complete free crochet pattern.
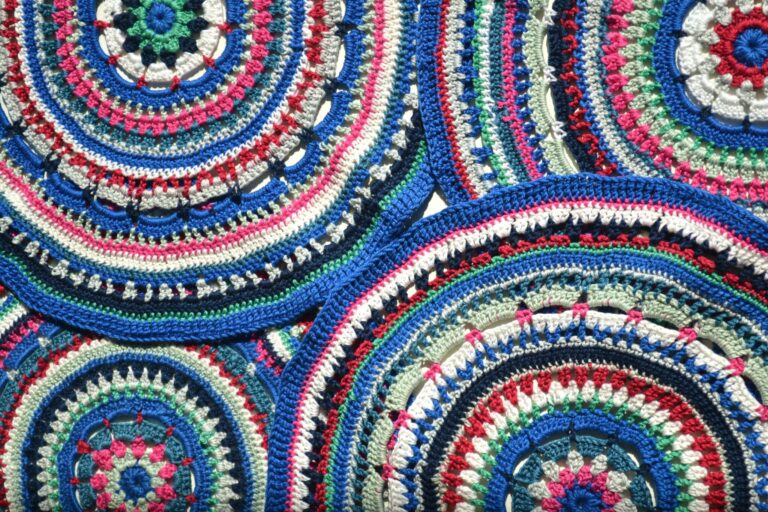
No time right now? Pin this easy free crochet basket pattern for later!

*This post contains affiliate links (only for products I love, use and spend my own money on obviously). This means I earn some yarn money if you make a purchase through one of these links (of course at no extra cost for you!), which I promise to use to create more awesome patterns like this one. All opinions are my own. See my full disclosure here.

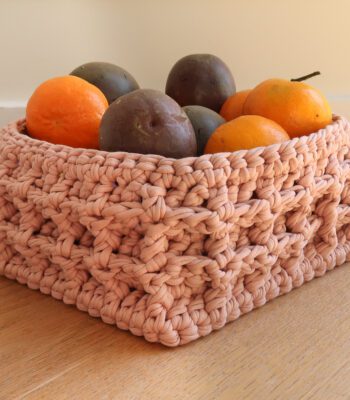
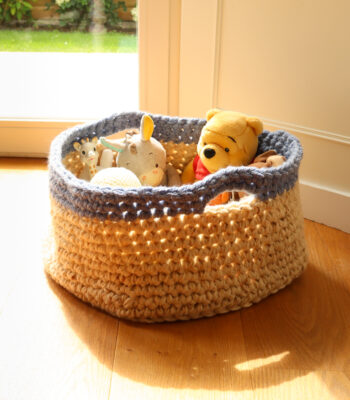
This cute and versatile basket is just the right size to hold your WIP projects, toys, or baby toiletries. Measuring 16 cm x 16 cm / 6.25″ x 6.25″ at the base and 20 cm / 8″ tall, it fits perfectly in any space. Plus, it’s seamless, so it looks neat and polished.
You’ll love how easy and fun it is to make this basket. The pattern walks you through creating each granny square and putting them together to form the basket. It’s a great project whether you’re organizing your space or crafting a special handmade gift. Dive into this project and add a touch of crochet charm to your home!
Seamless Crochet Basket Pattern Construction
The crochet basket has a fun construction to avoid seams and ends as much as possible. You’ll first start by crocheting the small granny squares. You will then work around the outer edge of all the granny squares to join them in the round and work the top section of the basket. You’ll then work in the same manner to form the bottom of the crochet basket. Finally you’ll slip stitch the sides of the granny squares from the inside of the basket for an invisible join.
The pattern includes tips and instructions to best avoid ends at every stage.

Downloadable Chunky Crochet Basket Pattern

Grab the printable PDF of the Crochet Granny Square Basket Pattern now in my shop, Etsy shop or on Ravelry.
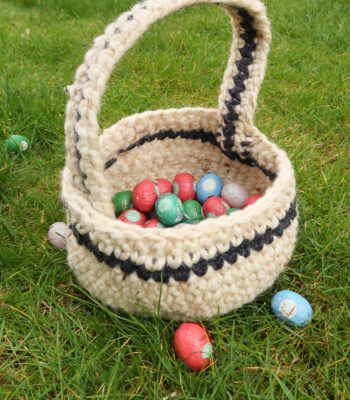
More Crochet Baskets You'll Love
Before you Start your Crochet Granny Square Basket
Materials
- 6 mm / US J – 10 hook
- Hobbii Amigo Chunky (100% acrylic, 100g/3.5oz, 100m/109yd):
- 2 skeins in Ecru (A02)1 skein in each of the 3 contrasting colors for the granny squares: Dusty Green (A27), Steel Blue (A24) and Marsala (A51)
You can easily substitute with any chunky weight yarn you want.
- Tapestry needle to assemble and weave in the ends.
Gauge
The gauge for this pattern is not important, see size.
Size
The basket is approximately 16 x 16 x 20 cm / 6.25 x 6.25 x 7.75”.
Abbreviations
This pattern uses US notations.
- st = stitch
- ch = chain
- sc = single crochet
- dc = double crochet
Notes
Work instructions between [] the indicated number of times or until the end of the row/round. Instructions between () are worked in the same stitch/space.
The final number of stitches is indicated at the end of the row/round between < >.
The turning ch 1, ch 2 don’t count as stitches throughout the pattern except if mentioned.
The pattern is written in crochet shorthand. For example:
- “dc 1” means to double crochet in the next stitch,
- “dc 2” means to double crochet in each of the next 2 stitches,
- and “2 dc” means to double crochet twice in the next st.
Techniques, Tips and Tricks
- Magic ring, aka magic circle. If you’re not familiar with this technique, this detailed photo and video tutorial should help you.
- Weaving in the ends of the granny squares: As each round uses a different color, a lot of ends need to be woven in. If you’re like me, weaving in ends is not your favorite part of a crochet project.
- As the pattern is not too lacy, you can get away with crocheting the next round over the tail of the previous round.
- After you have crocheted a few stitches over the tail of the previous round, leave about 3-4cm/1-2” of the tail and finish your round.
- Weave in the end of the tail in the opposite direction. With this method, you only have to do half of the weaving in process per tail.
- When you start a new round, don’t start where you finished the previous one. Start somewhere different at random. Having all your ends in the same section of the square will make an extra layer, which you want to avoid. You don’t want to see where you started your round in your finished square, this trick makes them nearly invisible.
- When I start a new round, I tag along the tail and crochet with a double yarn for a couple of stitches. It’s not perfect but I find as these are at random around your square, they are not too visible and it makes you save a lot of weaving in ends time. If you don’t like it, you can leave your tail and weave it in afterwards like you would normally do.
- When assembling the squares into the basket you can easily work over the tail of the last round of the granny square.
The Actual Chunky Crochet Basket Pattern
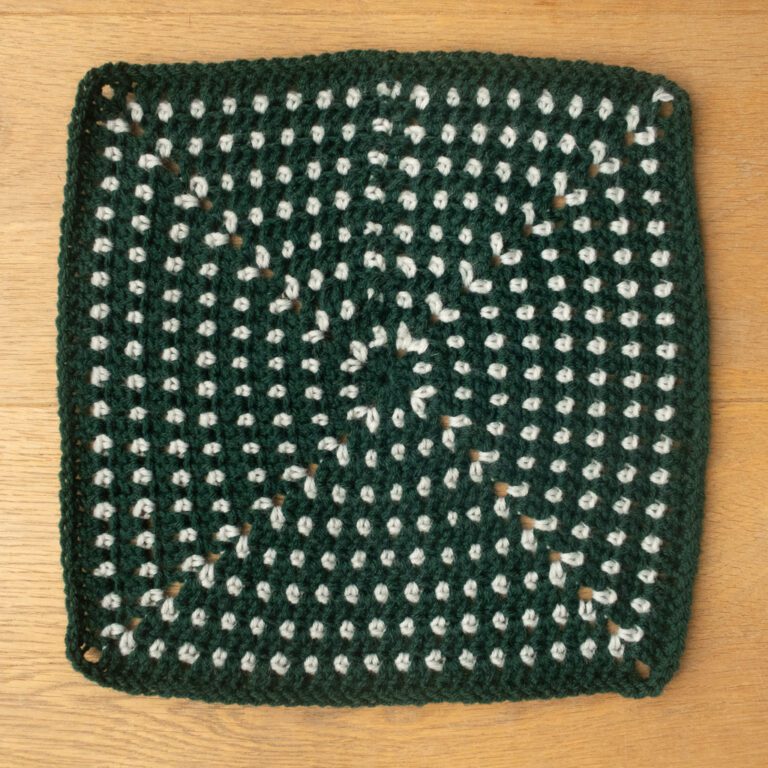
Granny Squares
Make 12 granny squares: 4 with each of the contrasting colors. Round 1 is always worked in Ecru while the 2nd round is worked in the contrasting colors.
The granny squares are worked in the round, changing colors after each round but not turning your work.
Sick of all the yarn jargon and conversions?
US vs UK, abbreviations, imperial vs metric, yarn weights, etc?

Round 1: With your 5 mm / US H – 8 hook, in a magic circle, ch 2, 2 dc, ch 2, [3 dc, ch 2] three times in circle. Finish with a sl st in the first dc. <12 dc, 4 ch-2 spaces>
Round 2: Join yarn in a ch-2 space, (ch 3, 2 dc, ch 2, 3 dc) in ch-2 space, [ch 1, skip 3 dc, (3 dc, ch 2, 3 dc) in ch-2 space] around, ch 1 and join with a sl st in the 3rd ch. <24 dc, 4 ch-1 spaces, 4 ch-2 spaces>

Bind off.
Crochet Basket Assembly
With your white color yarn sc 8 st along one edge of each granny square (making 1 sc in each corner ch-2 space) then join in the round. <96 st>


Keep working sc sts in the round in a continuous spiral for a total of 6 rounds. Bind off and weave in the end.
Join yarn back in a bottom corner of one of the granny’s and sc around in the same manner as on top of squares. <96 st>

Keep working sc sts in the round in continuous spiral for 12 rounds total.
To shape the bottom of the basket, add 4 stitch markers to mark the corners: start in the stitch right below the corner of one of the granny squares then every 24th st.
Work [sc3tog the stitch before the next marker, the marked st and the stitch after the marker, (replace marker in top of sc3tog), sc until st before next marker] around until you have only 8 st left. Bind off and use your tail to close the remaining gap. Weave in the end.
Final Assembly
Turn basket inside out.
With white color yarn, join yarn in a granny square corner, sl st through the upper loops across.

Repeat for all granny squares around.

Weave in all the ends.
Blocking
You’re done with the crocheting part, make sure to weave in all the ends.
To make your basket even prettier and help straighten your edges and open up the granny stitch sections block steamblock your basket.
Stuff it with kitchen towels to give it the right shape then go over the bottom and sides with steam. Let it cool down and dry.
Don’t skip this step as it can make a huge difference. Read my detailed tutorial on why block, how-to, and all my tips and tricks if you need help.