Cloud Cardigan

A new easy cardigan crochet pattern – the Cloud Cardigan -is now a free crochet pattern here on the blog. Read all about the fun construction, cozy mohair yarn below, scroll down to view the full free pattern or purchase an ad free PDF from the links below.
No time right now? Pin this easy crochet cardigan pattern free for later!
*This post contains affiliate links (only for products I love, use and spend my own money on obviously). This means I earn some yarn money if you make a purchase through one of these links (of course at no extra cost for you!), which I promise to use to create more awesome patterns like this one. All opinions are my own. See my full disclosure here.

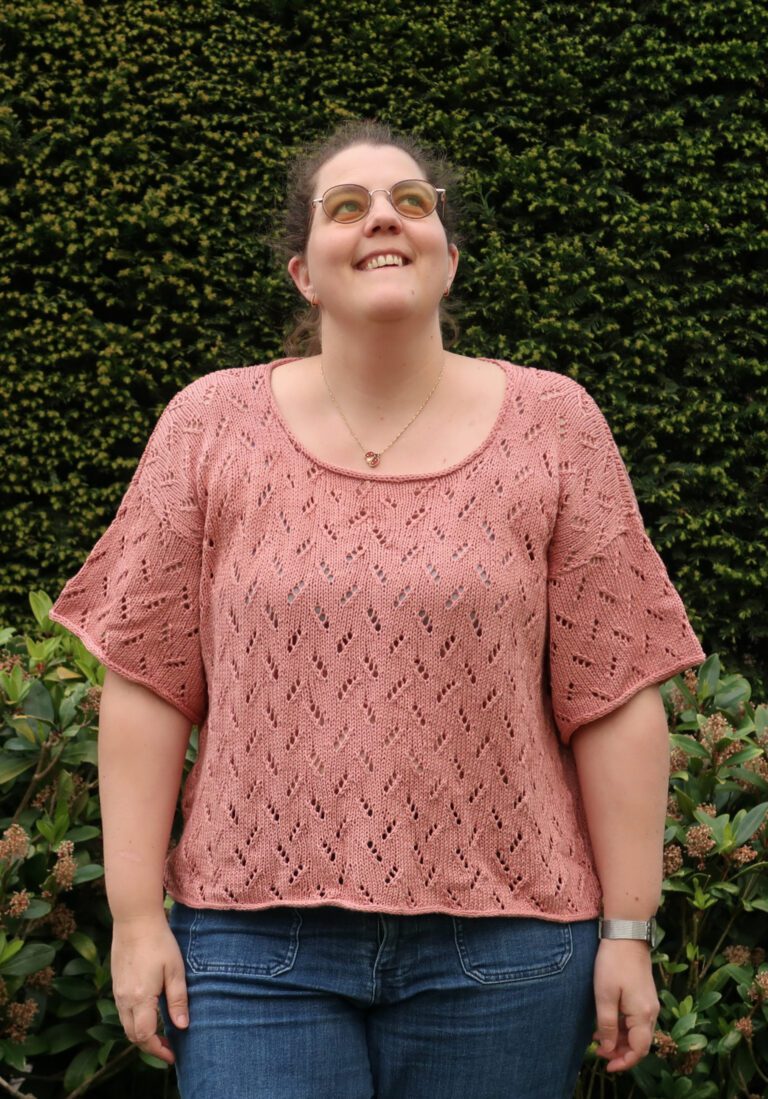
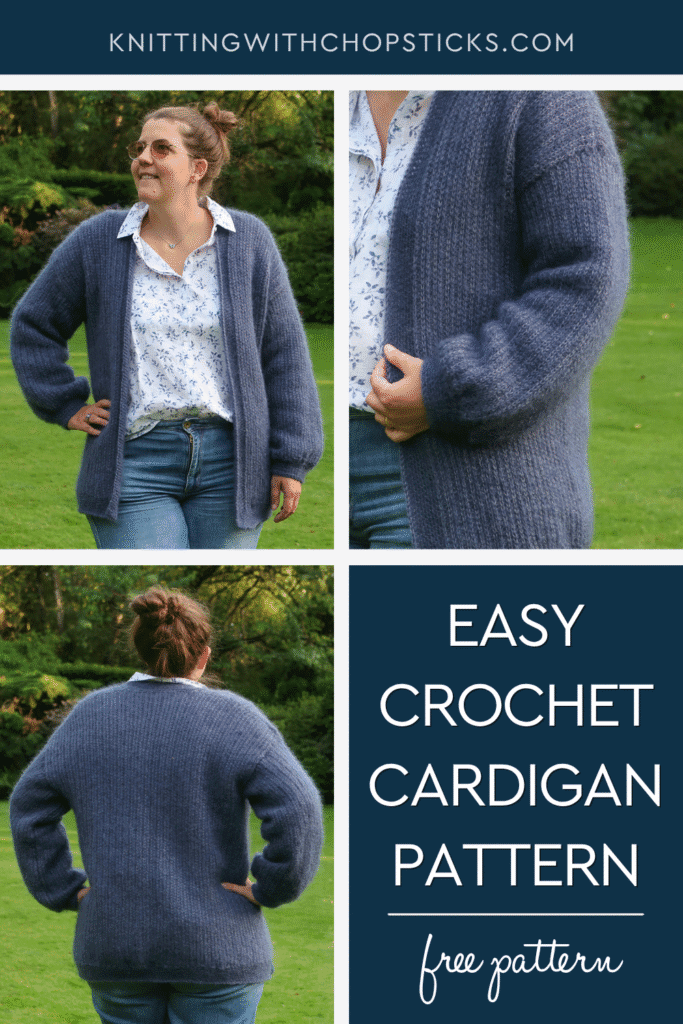
Wrap yourself in clouds with the cozy Cloud Cardigan crochet pattern!
The cardigan is designed with an oversized fit in mind, providing you with maximum coziness and a stylishly casual look. Best of all, the pattern is beginner-friendly, making it ideal for those new to the world of crochet, as well as seasoned crafters on the hunt for a simple yet gratifying project.
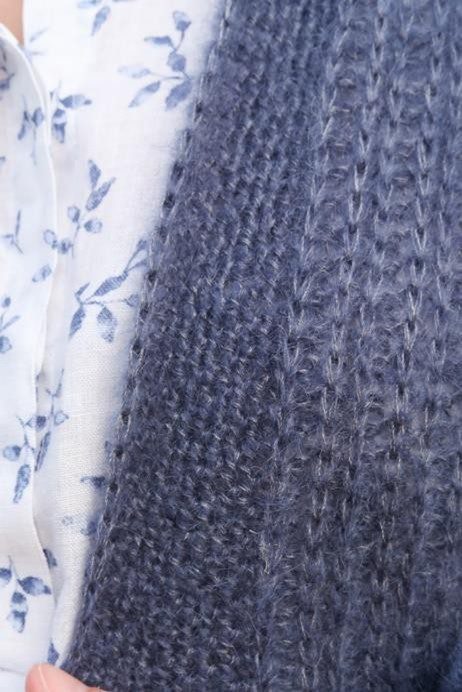
The easy cardigan crochet pattern utilizes fluffy, cozy mohair yarn held double, ensuring a plush, cloud-like softness that you’ll love wrapping yourself in. The charming knit ribbing look adds a dash of sophistication while still being crafted entirely of crochet, surprising everyone when you reveal it’s not actually knitted!
The Cloud Cardigan Crochet Pattern is a size-inclusive crochet pattern, ranging from XS to 5XL. It is worked in simple panels that are then sewn together, making it a straightforward and enjoyable project.
Cloud Cardigan Crochet Pattern Easy Construction
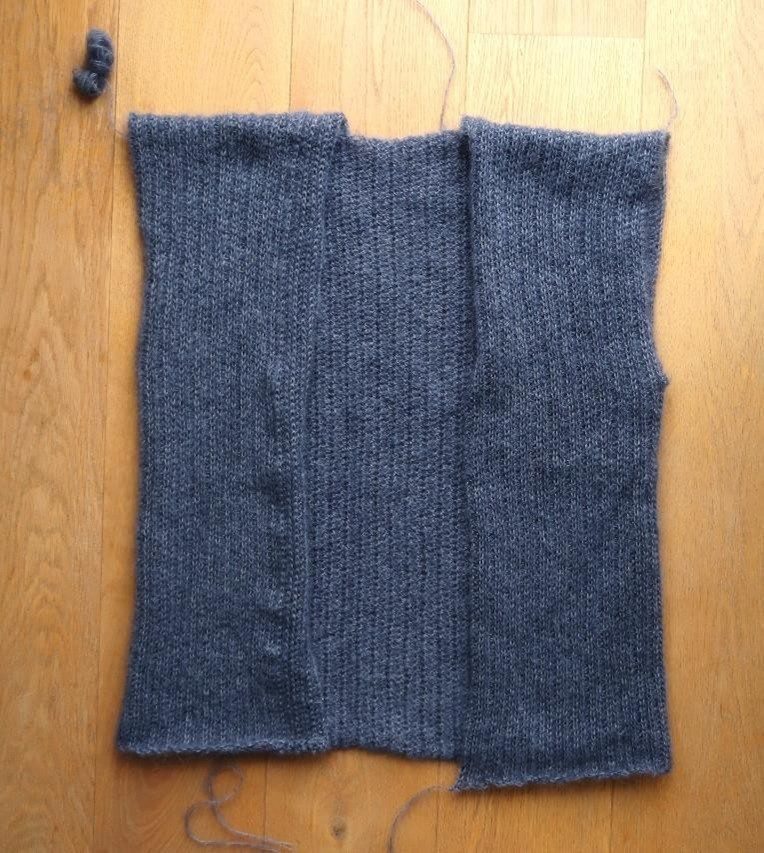
The Cloud Cardigan is worked in panels sewed together. The body is worked in one panel from side to side (instead of the more traditional bottom-up/top-down construction). Similarly, the sleeves are worked lengthwise. This allows to get the faux ribbing effect lengthwise.
The cuffs are worked on the side of the sleeves before assembling the sleeves with the cardigan body.
The front panel’s border and bottom border are then worked at the same time in the round to finish off the cardigan.

Downloadable Cloud Cardigan Crochet Pattern Easy
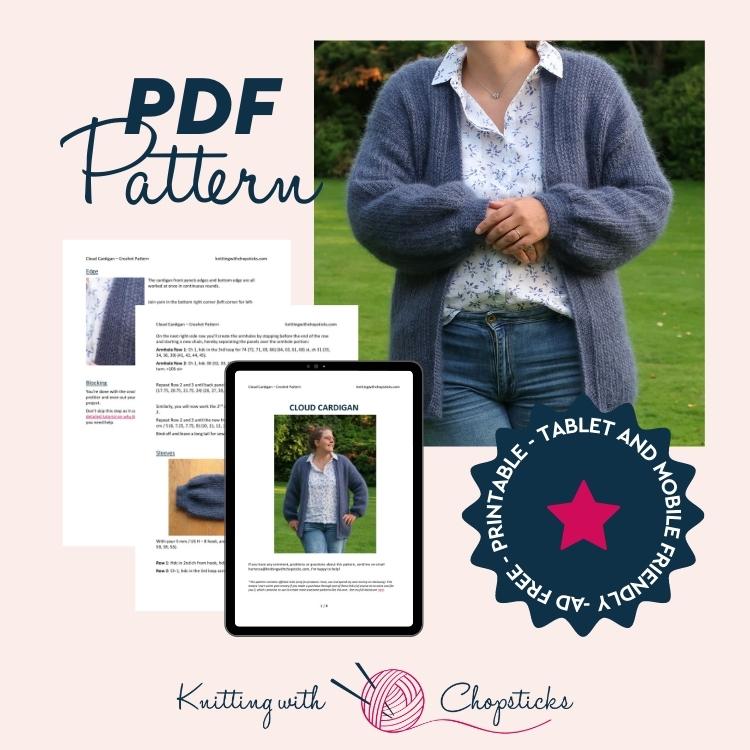
Grab the printable PDF of the Cloud Cardigan crochet pattern now in my shop, Etsy shop or on Ravelry.
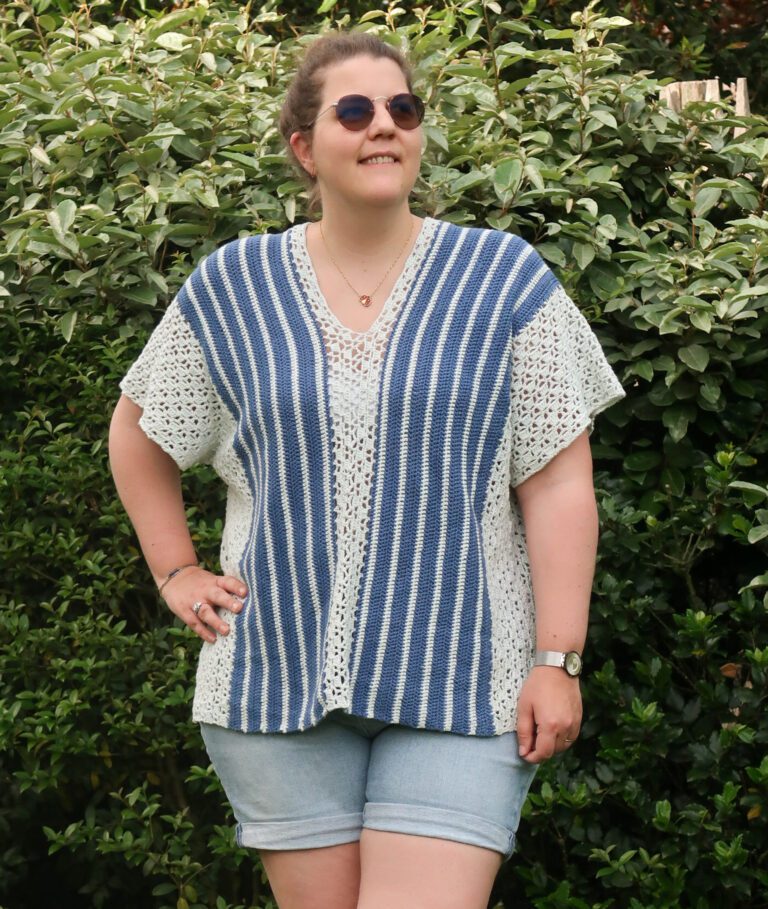
Wear It Proud: Beginner Garments You’ll Actually Love
If you’ve been wanting to crochet clothes you’ll actually wear, not just admire, the Wear It Proud: Crochet Collection is the perfect place to start.
The pattern you’re looking at is included in this collection, along with 9 other easy, size-inclusive garment patterns (XS–5XL) designed to help you make your first handmade wardrobe pieces with confidence.
Each project is approachable, flattering, and beginner-friendly, helping you learn garment-making one stitch at a time.
Grab the Wear It Proud: Crochet Collection here >>
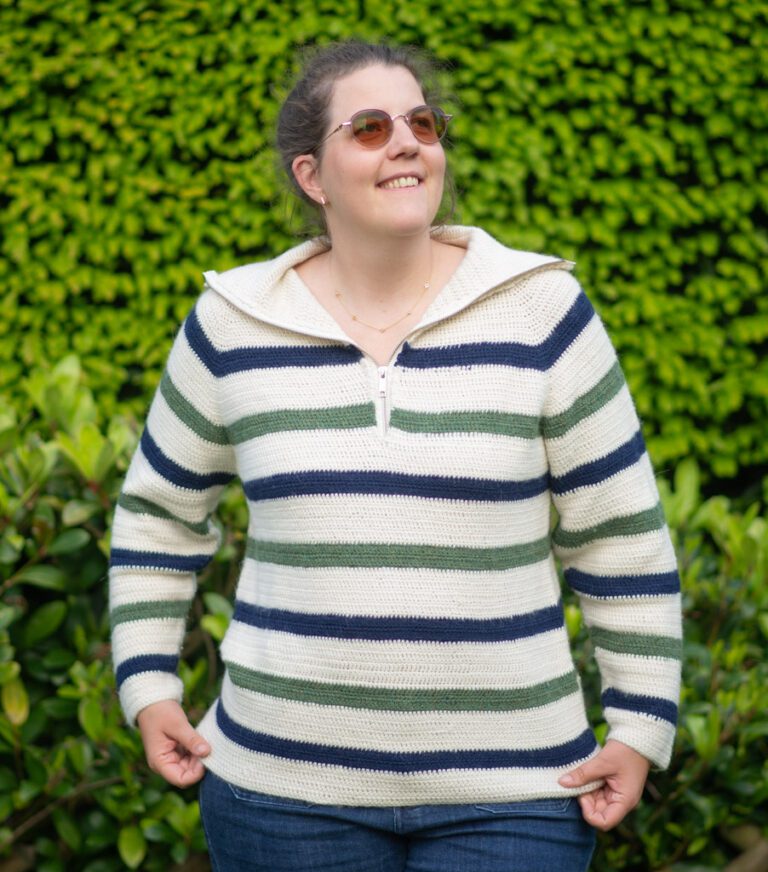
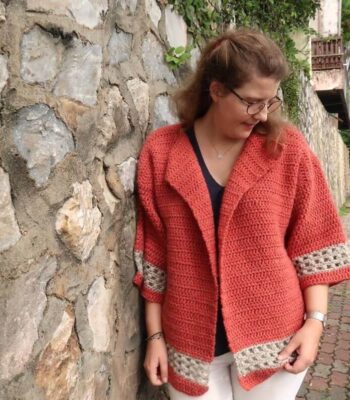
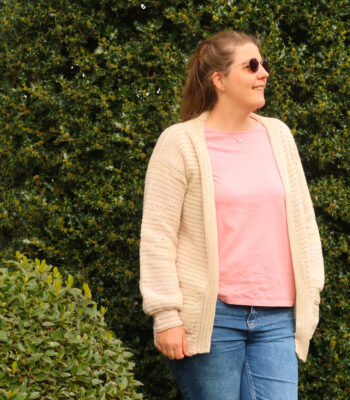
More Crochet Cardigan Patterns you'll love

Before You Start the Cloud Easy Crochet Cardigan Pattern Free
Materials
- 5 mm / US H – 8 hook.
- Hobbii Friends Kid Silk (lace weight (1), 72% mohair, 25% silk, 3% wool, 200m/219yd, 25g/0.9oz) held double in color Dark Denim 81: 12 (13, 14, 15, 17) (18, 20, 21, 22) skeins.
- Tapestry needle to weave in the ends.
Allergic too wool / mohair? You still have synthetic yarns that mimic the look & feel of mohair like for example, Hobbii Fluffy Day: hobbii.nl/fluffy-day. No need to hold it double to substitute for the double strand of mohair.
Sizes
The mohair crochet sweater pattern is available in the following sizes: XS, S, M, L, XL, 2XL, 3XL, 4XL, 5XL. Sizes are written as XS (S, M, L, XL) (2XL, 3XL, 4XL, 5XL) throughout the pattern. Pictures illustrate the L size.
The easy crochet cardigan pattern is designed with a loose fit, 5 – 10 cm / 2” to 4” ease at the bust.
Perfect Fit Guide
Sick of all the yarn jargon and conversions?
US vs UK, abbreviations, imperial vs metric, yarn weights, etc?

Always guessing your size when knitting or crocheting garments?

Below are the final cardigan measurements for the different sizes.
- XS: bust 80 cm / 31.5”, armhole depth 18 cm / 7.25”
- S: bust 90 cm / 35.5”, armhole 19 cm / 7.5”
- M: bust 105 cm / 41.25”, armhole 20 cm / 7.75”
- L: bust 110 cm / 43.25”, armhole 21 cm / 8.5”
- XL: bust 122 cm / 48”, armhole 23 cm / 9”
- 2XL: bust 132 cm / 52”, armhole 24 cm / 9.5”
- 3XL: bust 142 cm / 56”, armhole 25 cm / 10”
- 4XL: bust 152 cm / 59.75”, armhole 26 cm / 10.5”
- 5XL: bust 163 cm / 64.25”, armhole 27 cm / 10.75”
The cardigan length is 72 cm / 28” for all sizes.
To adjust the length increase / decrease the starting chain of the body (make sure to adjust your yarn requirements accordingly).
Gauge
The gauge for this pattern, in dc, is 16 st by 12 rows for a 10 cm by 10 cm / 4” by 4” square.
Abbreviations
This pattern uses US notations.
- st = stitch
- ch = chain
- sc = single crochet
- hdc = half double crochet
- sc2tog = single crochet 2 stitches together
Notes
Work instructions between [] the indicated number of times or until the end of the row / round.
The final number of stitches is indicated at the end of the row / round between < >.
The turning ch 1, ch 2 don’t count as stitches throughout the pattern except if mentioned otherwise.
The pattern is written in crochet shorthand. For example:
- ” sc 1″ means to single crochet in the next stitch,
- ” sc 2″ means to single crochet in each of the next 2 stitches,
- and “2 sc” means to single crochet twice in the next st.
Tips & Tricks
- To sew the panels together, for the most discrete seams I used the knitting technique for invisible seams for ribbing. If you’re not familiar with this technique, this video tutorial will help you.
Construction
The Cloud Cardigan is worked in panels sewed together. The body is worked in one panel from side to side (instead of the more traditional bottom-up / top-down construction). Similarly, the sleeves are worked lengthwise. This allows to get the faux ribbing effect lengthwise.
The cuffs are worked on the side of the sleeves before assembling the sleeves with the cardigan body.
The front panel’s border and bottom border are then worked at the same time to finish off the cardigan.

The Actual Cloud Chunky Crochet Cardigan Pattern Free
Cardigan Body
With your 5 mm / US H – 8 hook, and your mohair yarn held double, ch 105 + 1
Row 1: Hdc in 2nd ch from hook, hdc across, turn.
Row 2: Ch 1, hdc in the 3rd loop across, turn.
Row 3: Ch 1, hdc in back loop only across, turn.
Repeat row 2 and 3 until you reach 12.5 (15, 18.5, 20, 23) (25.5, 28, 30.5, 33) cm / 5 (6,
7.25, 7.75, 9) (10, 11, 12, 13)”.
On the next right-side row you’ll create the armholes by stopping before the end of the row and starting a new chain, hereby separating the panels over the armhole portion:
Armhole Row 1: Ch 1, hdc in the 3rd loop for 74 (72, 71, 69, 66) (64, 63, 61, 60) st, ch 31 (33, 34, 36, 39) (41, 42, 44, 45).
Armhole Row 2: Ch 1, hdc 31 (33, 34, 36, 39) (41, 42, 44, 45), hdc in the back loop only across, turn. <105 st>
Repeat Row 2 and 3 until back panel reaches 40 (45, 52.5, 55, 61) (66, 71, 76, 81.5) cm / 15.75 (17.75, 20.75, 21.75, 24) (26, 27, 30, 32)”.
Similarly, you will now work the 2nd armhole. On the next right side repeat Armhole Row 1 and
2.
Repeat Row 2 and 3 until the new front panel reaches 12.5 (15, 18.5, 20, 23) (25.5, 28, 30.5, 33) cm / 5 (6, 7.25, 7.75, 9) (10, 11, 12, 13)”. Bind off and leave a long tail for sewing.
Sleeves
With your 5 mm / US H – 8 hook, and your mohair yarn held double, ch 63 (65, 65, 67, 63) (63, 59, 59, 55).
Row 1: Hdc in 2nd ch from hook, hdc across, turn. <62 (64, 64, 66, 62) (62, 58, 58, 54)> Row 2: Ch 1, hdc in the 3rd loop across, turn.
Row 3: Ch 1, hdc in back loop only across, turn.
Repeat row 2 and 3 until you reach 36 (37.5, 40, 42.5, 46) (48.5, 51, 53.5, 54.5) cm / 14.25 (14.75, 15.75, 16.75, 18.25) (19, 20, 21, 21.5)”.
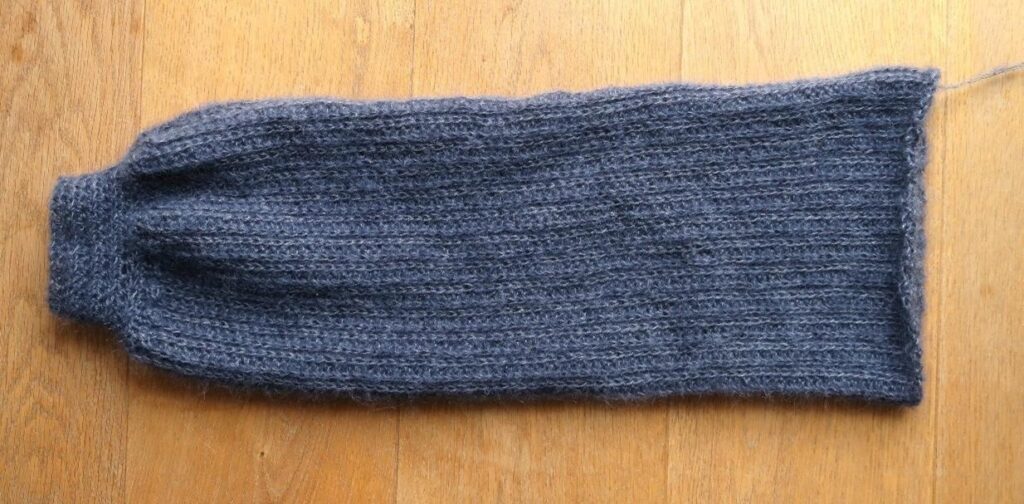
Cuff
Sc 52 (54, 58, 60, 64) (68, 72, 76, 78) along the row edge.
Row 1: Ch 1, sc2tog across, turn. <26 (27, 29, 30, 32) (34, 36, 38, 39) st>
Row 2: Ch 1, sc across, turn.
Repeat Row 2 ten times. Bind off and leave a long tail for sewing.
Assembly
Assemble the front and back by sewing the shoulder seams.
Attach the sleeves to the body. Fold the sleeve in half and start by sewing the middle to the shoulder seam. Sew down on both sides.
Finish sewing by closing the sleeves all the way to the end of the cuffs.
Edge
The cardigan front panels edges and bottom edge are all worked at once in continuous rounds.
Join yarn in the bottom right corner (left corner for lefthanded crocheters), sc through the back loop only up to the neck then sc across neck area and back down the other panel (the exact number of st doesn’t matter, spread them out evenly), 3sc in bottom corner st (mark middle st), then sc around the bottom edge until starting corner, 2 sc in corner (mark 1st st).
Keep working in continuous rounds, making 3sc in each marked corner st (moving marker to middle sc of the 3). Make 10 rounds.
Fasten off and weave in the ends.
Blocking
You’re done with the crocheting part. To make your sweater even prettier and even out your stitches, carefully steam block your project.
Don’t skip this step as it can make a huge difference. Read my detailed tutorial on why block, how-to, and all my tips and tricks if you need help.
Copyright 2023 of Knitting with Chopsticks.