Lucie Crochet Cardigan
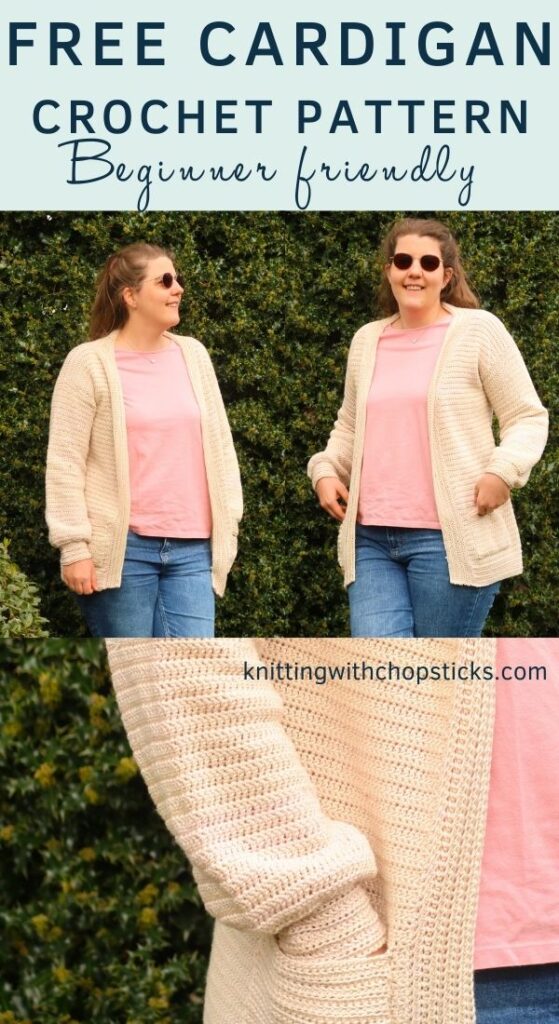
A new easy crochet cardigan pattern – the Lucie Cardigan – is now a free crochet pattern here on the blog. Read about my inspiration and the easy cardigan construction or scroll down for the free pattern.
No time right now? Pin this simple crochet cardigan pattern for later!
*This post contains affiliate links (only for products I love, use and spend my own money on obviously). This means I earn some yarn money if you make a purchase through one of these links (of course at no extra cost for you!), which I promise to use to create more awesome patterns like this one. All opinions are my own. See my full disclosure here.
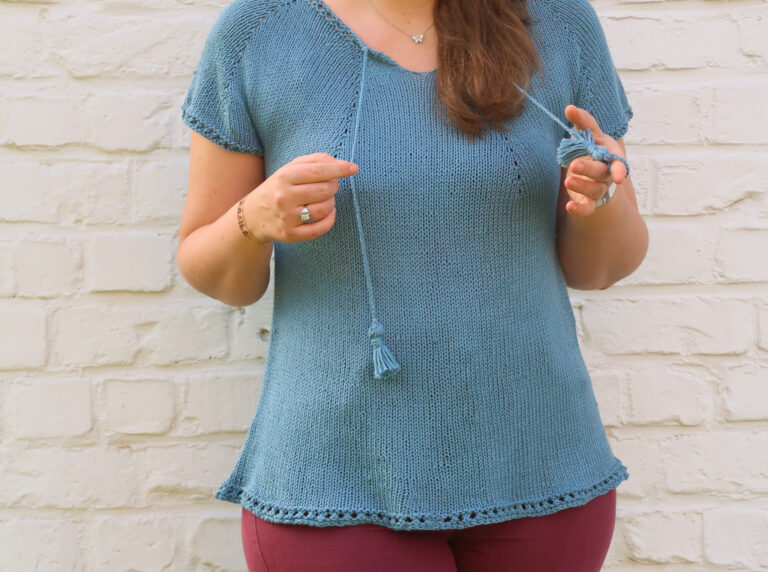
A Lightweight Crochet Cardigan
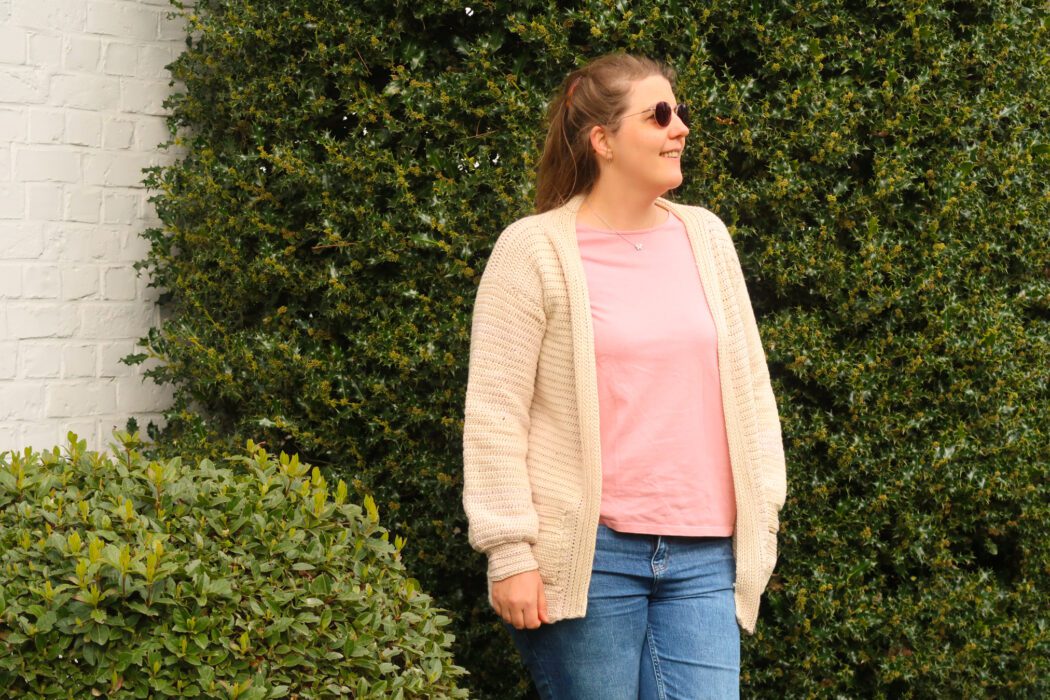
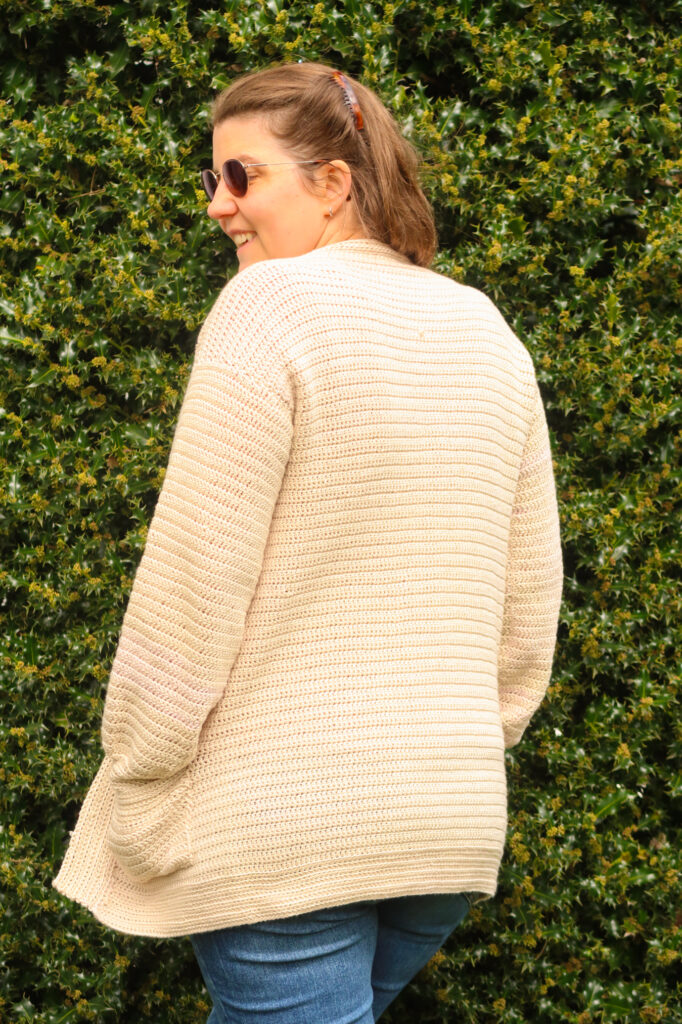
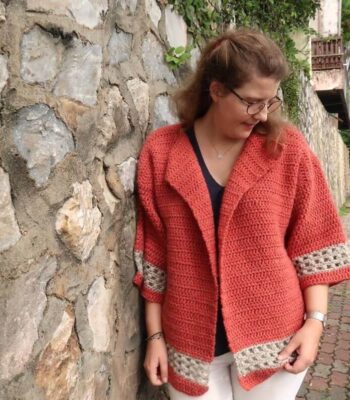
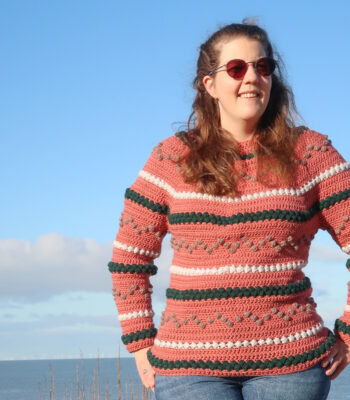
The weather might be warming up, there are always those colder summer days where you just need an extra layer. The Lucie cardigan is just that, worked in cotton it isn’t too warm but just right.
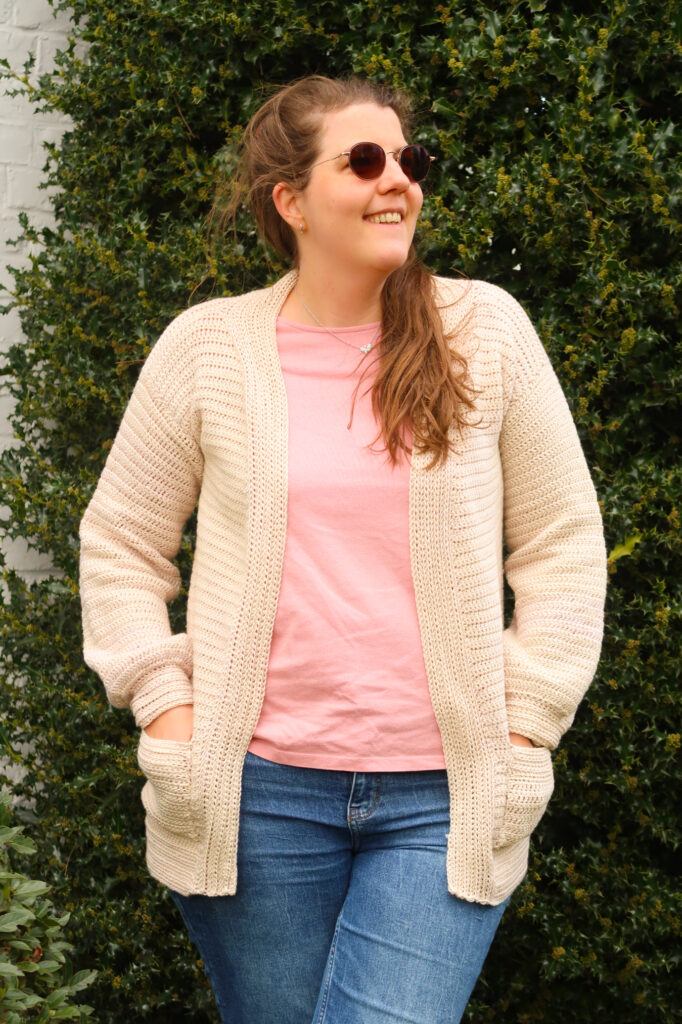
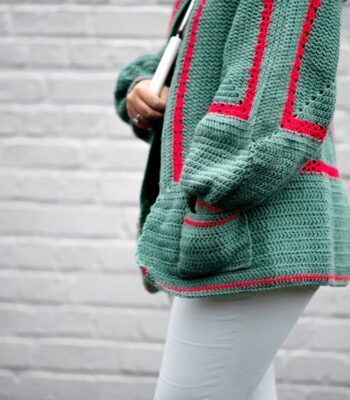
Throw it over a pair of jeans or a cute dress, it’s a staple item that will go with any outfit. Oh, and it has convenient ad-on (therefore optional) pockets to hold your phone, keys and handkerchief.
The Cardigan Construction
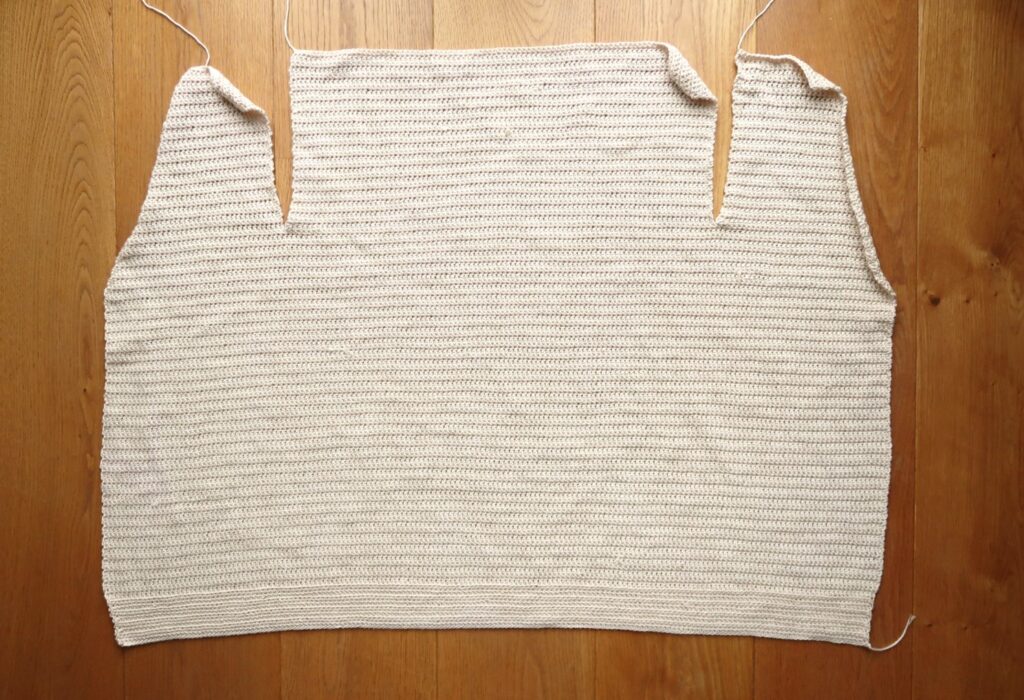
The Lucie easy crochet cardigan pattern features my go-to cardigan construction. The body is worked from the bottom up in one big panel (combining back and front) which is then divided in 3 sections worked separatey and finally sewed at the top to form the armholes. The sleeves are worked separately and sewed to the body.
This is the exact same construction I’ve used in many of my knit and crochet cardigan patterns such as:
To finish this cardigan off stitches for the front border and collar are then picked up and pockets are added.
The main parts of the easy crochet cardigan pattern are worked in simple sc/dc fabric while the bottom edge, pocket edges, front border & collar feature a lightly textured stitch.
Downloadable PDF
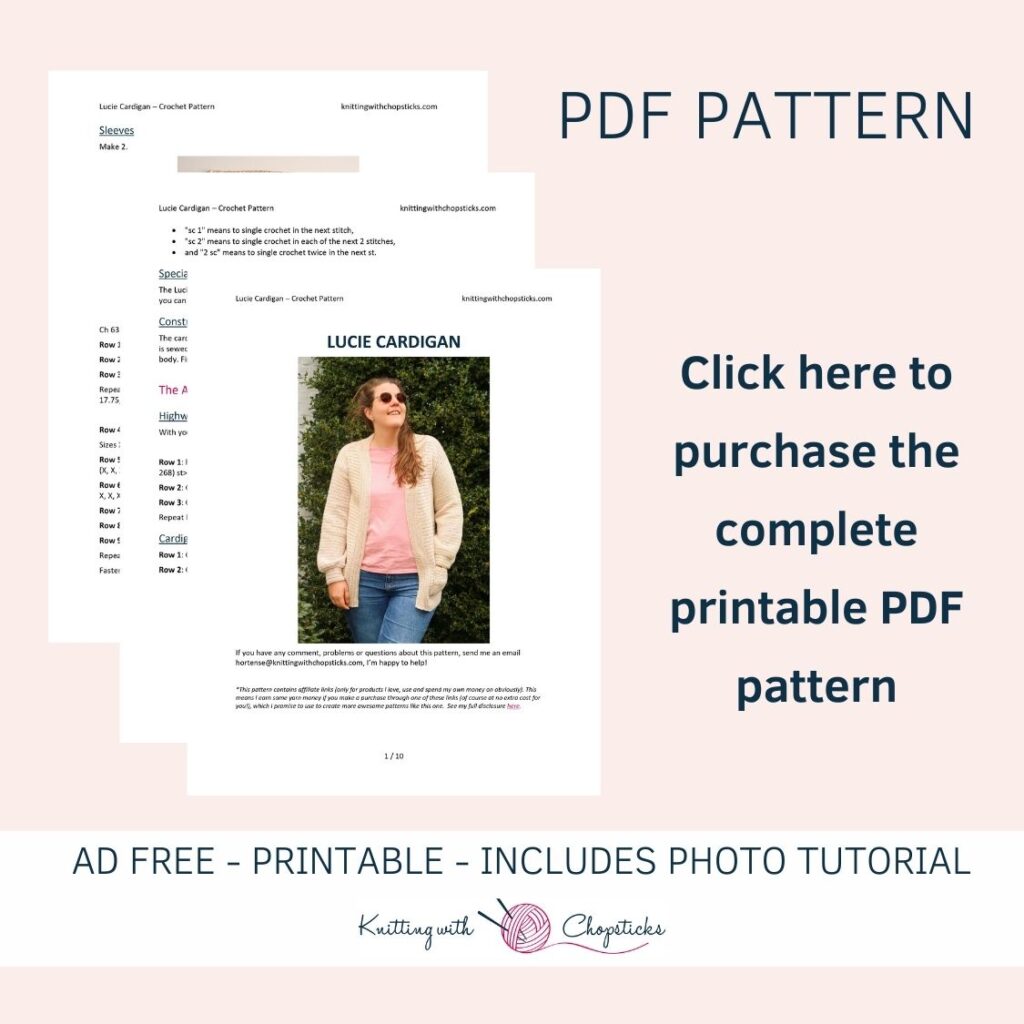
Why I Recommend You Purchase the PDF Pattern
If you’ve never used PDF patterns before, you are missing out on so much convenience!
- You don’t need an internet connection
- You don’t need to have your computer, phone or tablet around to work on your project.
- You don’t need to panic if your husband accidentally closed the page
- You can take notes, highlight your size and write down where you are.
- When your best friend begs you to make her the same dress, you have the pattern ready.
- It’s a great way to support the blog so I can continue to bring you knitting tutorials.
Grab the printable PDF of the Lucie easy crochet cardigan pattern now in my shop, on Etsy shop or on Ravelry:
Wear It Proud: Beginner Garments You’ll Actually Love
If you’ve been wanting to crochet clothes you’ll actually wear, not just admire, the Wear It Proud: Crochet Collection is the perfect place to start.
The pattern you’re looking at is included in this collection, along with 9 other easy, size-inclusive garment patterns (XS–5XL) designed to help you make your first handmade wardrobe pieces with confidence.
Each project is approachable, flattering, and beginner-friendly, helping you learn garment-making one stitch at a time.
Grab the Wear It Proud: Crochet Collection here >>
More Crochet Sweaters You'll Love
Before you Start
Materials
- 4 mm / US G – 6 hook.
- DK weight cotton yarn. I used a local brandless yarn equivalent to Lion Brand Coboo (100 g, 50% cotton, 50% bamboo, 232 yards / 212 m). You will need:
- XS / S: 6 skeins
- M / L: 7 skeins
- XL: 8 skeins
- 2XL: 9 skeins
- 3XL: 10 skeins
- 4XL: 11 skeins
- 5XL: 12 skeins
- Tapestry needle to weave in the ends.
Size
The easy crochet cardigan pattern is available in the following sizes: XS, S, M, L, XL, 2XL, 3XL, 4XL, 5XL size. Sizes are written as XS (S, M, L, XL, 2XL, 3XL, 4XL, 5XL) throughout the pattern. Pictures illustrate the Large size.
The simple cardigan is designed with a close fit, 0” to 1” / 0 – 2 cm ease at the bust.
Below are the final sweater dimensions for the different sizes.
- XS: bust 70 cm / 27.5”, length 64 cm / 25”, upper arm 33 cm / 13”
- S: bust 80 cm / 31.5”, length 64 cm / 25”, upper arm 33 cm / 13”
- M: bust 90 cm / 35.5”, length 64 cm / 25”, upper arm 33 cm / 13”
- L: bust 99 cm / 39”, length 65 cm / 25.5”, upper arm 37 cm / 14.5”
- XL: bust 110 cm / 43”, length 67 cm / 26.5”, upper arm 41 cm / 16”
- 2XL: bust 121 cm / 47.5”, length 69 cm / 27”, upper arm 44 cm / 17.5”
- 3XL: bust 131 cm / 51.5”, length 71 cm / 28”, upper arm 48 cm / 19”
- 4XL: bust 141 cm / 55.5”, length 73 cm / 29”, upper arm 52 cm / 20.5”
- 5XL: bust 151 cm / 59.5”, length 75 cm / 29.5”, upper arm 55 cm / 22”
Gauge
Sick of all the yarn jargon and conversions?
US vs UK, abbreviations, imperial vs metric, yarn weights, etc?

The gauge for this pattern, in alternating rows of dc / sc, is 19 st by 15 rows for a 10 cm by 10 cm / 4” by 4” square.
Abbreviations
This pattern uses US notations.
- st = stitch
- ch = chain
- sc = single crochet
- dc = double crochet
- hdc = half double crochet
- dc2tog = double crochet 2 stitches together (decrease)
- sc2tog = single crochet 2 stitches together (decrease)
Notes
Work instructions between [] the indicated number of times or until the end of the row / round.
The final number of stitches is indicated at the end of the row / round between < >.
The turning ch 1, ch 2 don’t count as stitches throughout the pattern except if mentioned otherwise.
The pattern is written in crochet shorthand. For example:
Special stitches
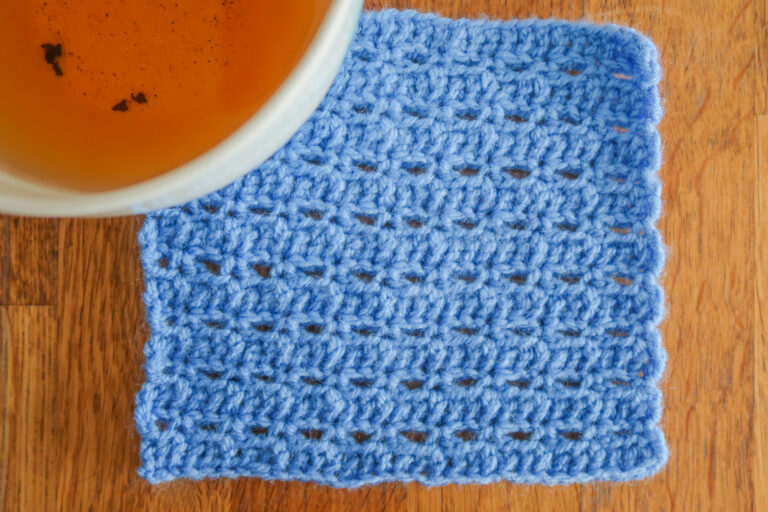
The Lucie cardigan features the Highway stitch. Stitch instructions are given in the pattern but you can find a detailed step by step photo tutorial here.
Construction
The cardigan is worked from the bottom up in one big panel (combining back and front) which is sewed at the top to form the armholes. The sleeves are worked separately and sewed to the body. Finally, stitches for the front border and collar are then picked up.
The Actual Simple Crochet Cardigan Pattern
Highway Stitch Bottom Edge
With your 4 mm / US G – 6 hook, ch 114 (134, 152, 170, 190, 210, 230, 248, 268) +1
Row 1: hdc in 2nd ch from the hook, hdc across, turn. <114 (134, 152, 170, 190, 210, 230, 248, 268) st>
Row 2: Ch 1, hdc front loop only across, turn.
Row 3: Ch 1, hdc back loop only, turn.
Repeat Rows 2 and 3 three more times (approx. 5 cm / 2″).
Cardigan Body
Row 1: Ch 2, dc across, turn.
Row 2: Ch 1, sc across, turn.

Repeat Rows 1 and 2 until you reach 42 cm / 16.5” (including highway stitch border).
Start decreasing to shape the front panels.
Row 1: Ch 2, dc2tog, dc until last 2 st, dc2tog, turn. <112 (132, 150, 168, 188, 208, 228, 246, 266) st>
Row 2: Ch 1, sc across, turn.
Repeat these 2 Rows four more times. <104 (124 142, 160, 180, 200, 220, 238, 258) st>
Now you need to split your work in 3 sections: both front panels and the back panel. This way you create the armholes.
Divide your stitches as follows:
- XS: 24 st, 56 st, 24 st
- S: 28 st, 68 st, 28 st
- M: 33 st, 76 st, 33 st
- L: 35 st, 90 st, 35 st
- XL: 43 st, 94 st, 43 st
- 2XL: 48 st, 104 st, 48 st
- 3XL: 53 st, 114 st, 53 st
- 4XL: 57 st, 124 st, 57 st
- 5XL: 62 st, 134 st, 62 st
Work each part separately.
Section One
Row 1: Ch 2, dc2tog, dc 22 (27, 31, 33, 41, 46, 51, 55, 60), turn. <23 (28, 32, 34, 42, 47, 52, 56, 61) st>
Row 2: Ch 1, sc across, turn.
Row 3: Ch 2, dc2tog, dc until end of row, turn. <22 (27, 31, 33, 41, 46, 51, 55, 60) st>
Repeat Row 2 and 3 thirteen (13) more times. <9 (14, 18, 20, 28, 33, 38, 42, 47) st>
Repeat Row 2 one more time.
Fasten off.
Middle Section (back panel)
Join yarn to next available st from the end of the cardigan body section.
Row 1: Ch 2, dc 56 (68, 76, 90, 94, 104, 124, 134), turn. <56 (68, 76, 90, 94, 104, 124, 134) st>
Row 2: Ch 1, sc across, turn.
Repeat Row 1 and 2 14 times.
Fasten off.
Last section
Join yarn to next available st from the end of the cardigan body section.
Row 1: Ch 2, dc until last 2 st, dc2tog, turn. <23 (28, 32, 34, 42, 47, 52, 56, 61) st>
Row 2: Ch 1, sc across, turn.
Repeat Row 1 and 2 14 times. <9 (14, 18, 20, 28, 33, 38, 42, 47) st>
Fasten off.
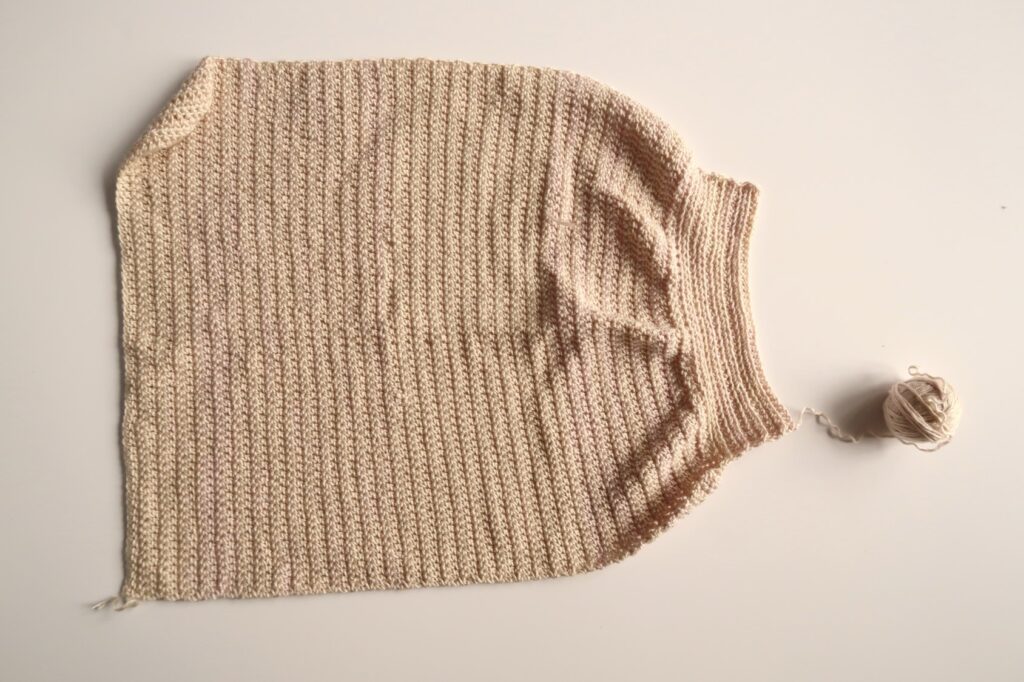
Sleeves
Make 2.
Ch 63 (63, 63, 70, 77, 84, 91, 98, 105) + 2.
Row 1: Starting in 3rd ch from hook dc across, turn.
Row 2: Ch 1, sc across, turn.
Row 3: Ch 2, dc across, turn.
Repeat Rows 2 and 3 until you reach about 44 (45, 45, 46, 46, 47, 47, 48, 48) cm / 17.25 (17.75, 17.75, 18, 18, 18.5, 18.5, 19, 19)”. Finish on a Row 3.
Row 4: Ch 1, [sc2tog three times, sc] across, turn. <36 (36, 36, 40, 44, 48, 52, 56, 60) st>
Sizes XS to XL skip Row 5 and 6 and proceed to Row 7.
Row 5 (for sizes 2XL and above): Ch 1, [sc2tog, sc X (X, X, X, X, 10, 11, 12, 13)] across, turn. <X (X, X, X, X, 44, 48, 52, 56) st>
Row 6 (for sizes 2XL and above): Ch 1, [sc2tog, sc X (X, X, X, X, 9, 10, 11, 12)] across, turn. <X (X, X, X, X, 40, 44, 48, 52) st>
Row 7: Ch 1, hdc across, turn.
Row 8: Ch 1, hdc front loop only across, turn.
Row 9: Ch 1, hdc back loop only, turn.
Repeat Rows 8 and 9 three more times (approx. 5 cm / 2″).
Fasten off.
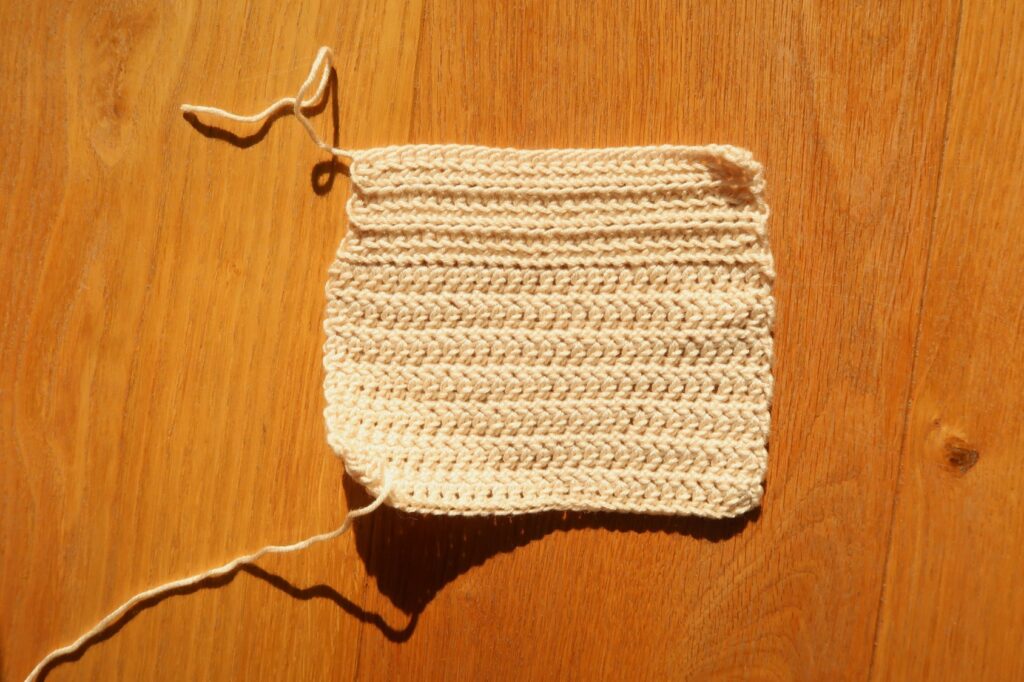
Pockets
Make 2.
Highway stitch border
Ch 26 + 1.
Row 1: Hdc in 2nd ch from the hook, hdc across, turn. <26 st>
Row 2: Ch 1, hdc front loop only across, turn.
Row 3: Ch 1, hdc back loop only, turn.
Repeat Rows 2 and 3 three more times (approx. 5 cm / 2″).
Pocket Body
Row 1: Ch 2, dc across, turn.
Row 2: Ch 1, sc across, turn.
Repeat Rows 1 and 2 until you reach 15 cm / 6”.
Fasten off.
Assembly

Fold the cardigan body at the armholes.
Sew up the front and back panels at the shoulders.
Fold the sleeve lengthwise and match the fold with the shoulder seam. Then seam sleeve to armhole, then seam down underside of sleeve to wrist.
Attach the pockets 2 stitches from the edge and 4 rows from the bottom highway stitch border on each side.
Edge and Collar
Work along the front edges: all the way around the neck line and back down.
Start with a right side row:
- Right handed: start in the bottom right corner.
- Left handed: start in the bottom left corner (pictures show left handed).
Make approximately one stitch in each row or stitch.
The exact number of stitches doesn’t matter, just spread them evenly around.
Row 1: Ch 1, hdc across, turn.
Row 2: Ch 1, hdc front loop only across, turn.
Row 3: Ch 1, hdc back loop only, turn.
Repeat Rows 2 and 3 three more times (approx. 5 cm / 2″).
Fasten off.
Blocking
You’re done with the crocheting part. Make sure to weave in all the ends.
To make your cardigan even prettier, help even your stitches and make the textures come out even more, block your project.
Don’t skip this step as it can make a huge difference. Read my detailed tutorial on why block, how-to, and all my tips and tricks if you need help.