Tender Days Blanket: A Moss Stitch Crochet Blanket Pattern
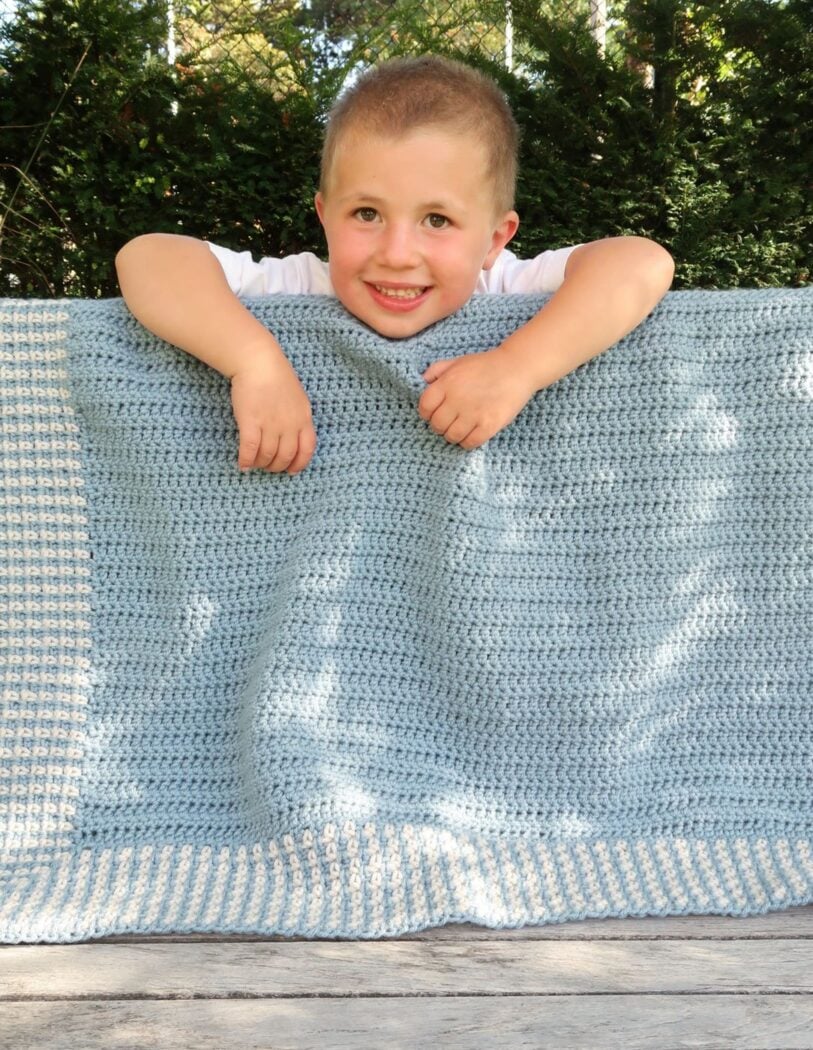
A new crochet baby blanket pattern, the Tender Days Blanket, is now a moss stitch crochet blanket pattern here on the blog. Read all about the two-color moss stitch border and how to size it up or down, or scroll down for the free pattern.
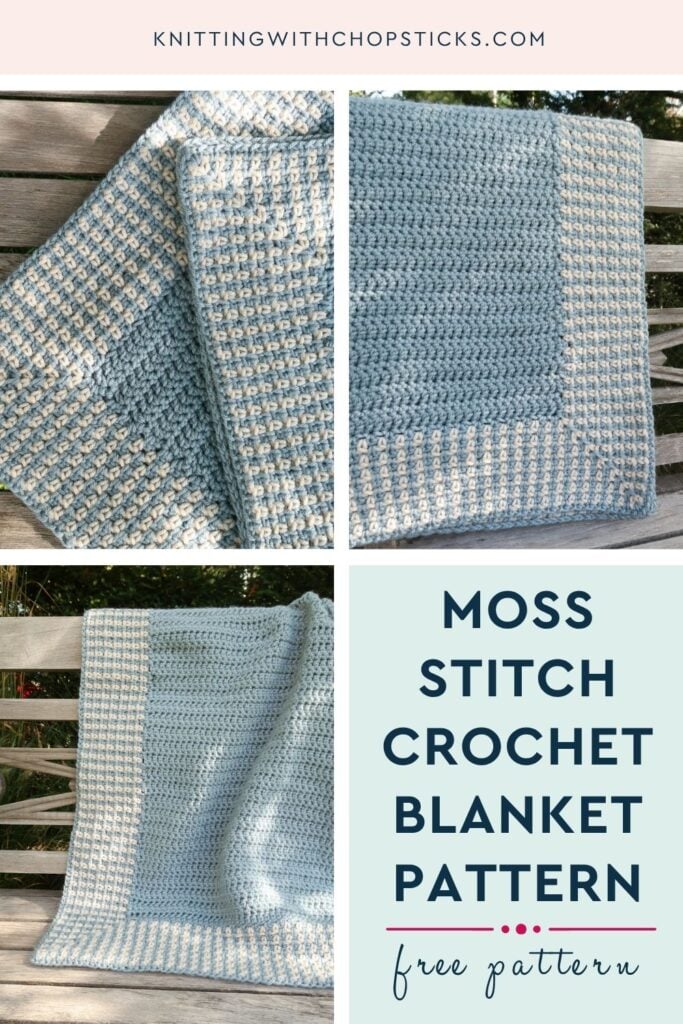
No time right now? Pin this moss stitch crochet blanket pattern for later!
*This post contains affiliate links (only for products I love, use and spend my own money on obviously). This means I earn some yarn money if you make a purchase through one of these links (of course at no extra cost for you!), which I promise to use to create more awesome patterns like this one. All opinions are my own. See my full disclosure here.
A Moss Stitch Border That Makes This Blanket Special
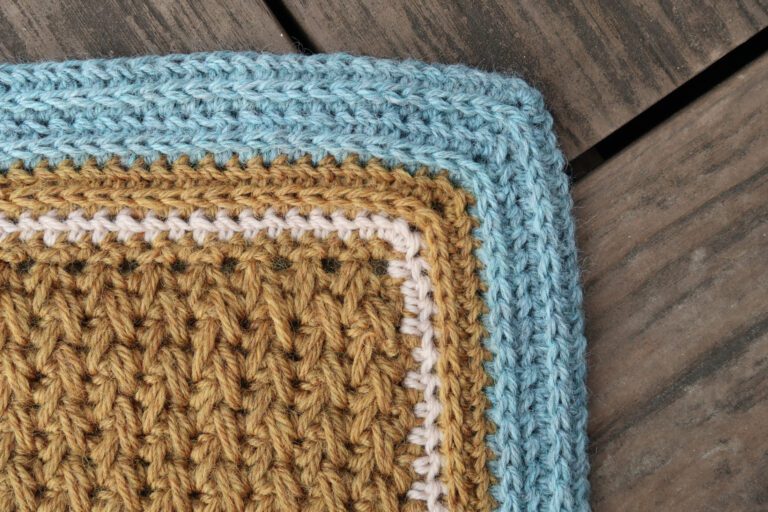
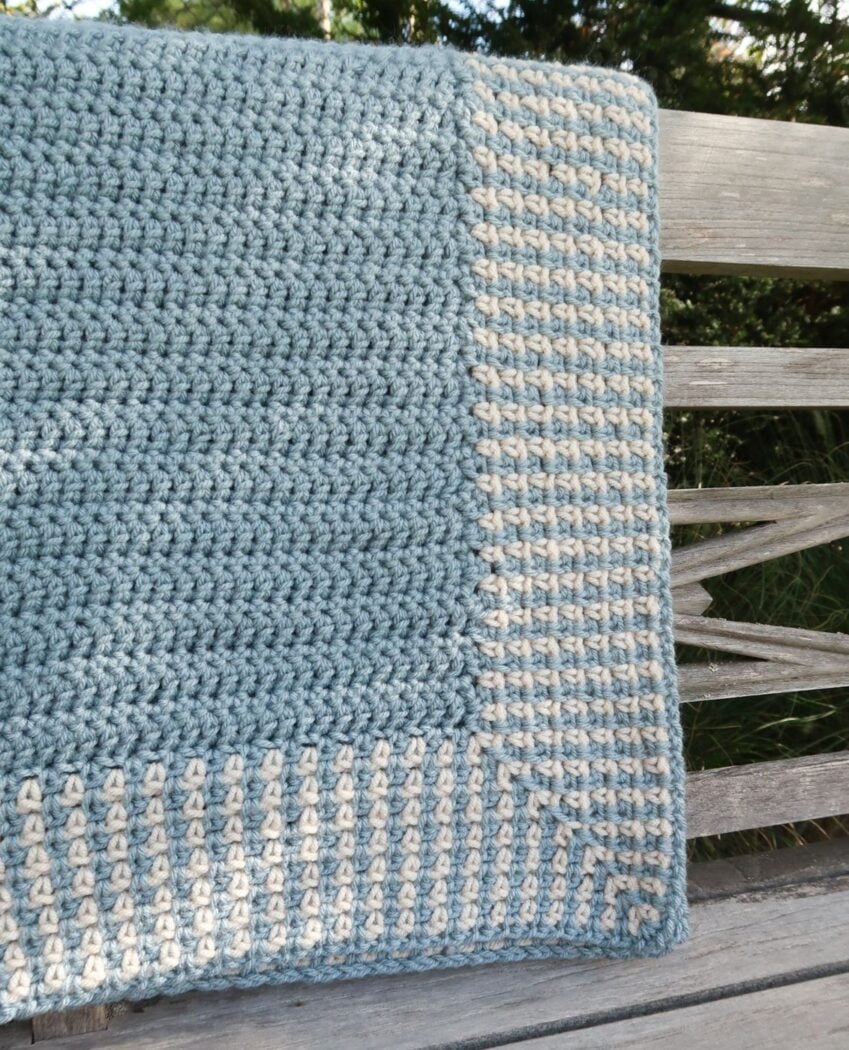
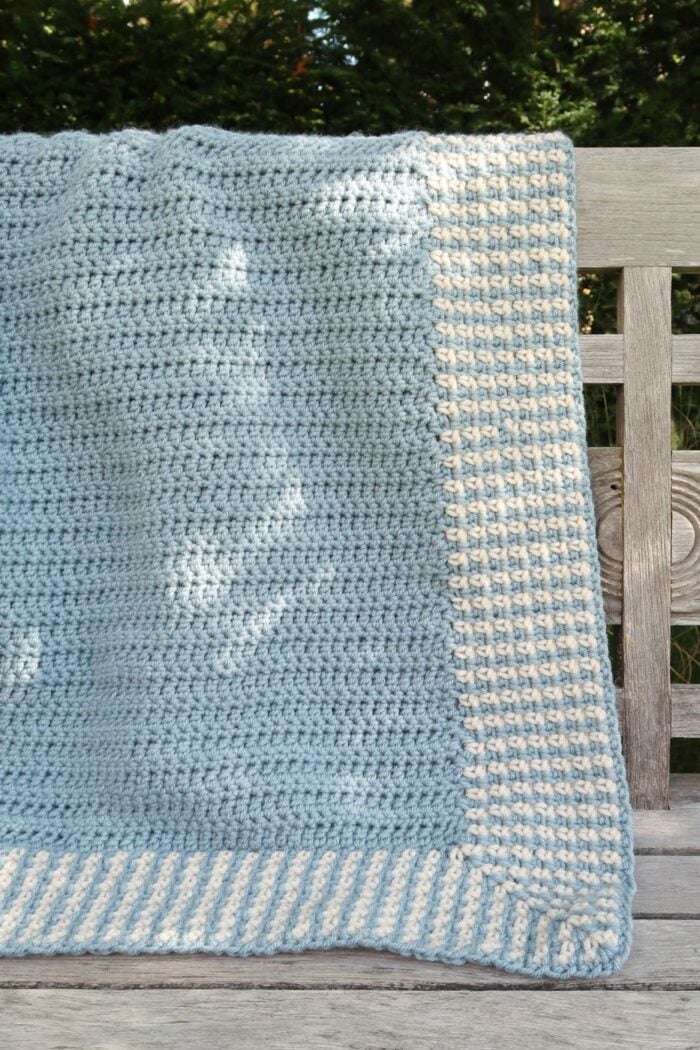
The Tender Days Blanket is a crochet baby blanket built around a simple two-color border. The center panel works up in alternating rows of double and single crochet for a soft, textured fabric, then a moss stitch border wraps around the whole piece in Azure and Mushroom for a bit of contrast.
This stitch is sometimes called moss stitch and sometimes called linen stitch crochet blanket, depending on where you learned it. Both names describe the same simple combination of single crochets and chain-1 spaces, and it makes for an easy crochet border for a baby blanket without any tricky corner shaping.
Ten Sizes, From Baby Blanket to King
One of my favorite things about this pattern is how easily it scales. The Tender Days Blanket comes written in ten sizes, from a small baby blanket all the way up to a king size throw, so you can use the same crochet blanket edging and stitch pattern for a nursery gift or a full bed topper.
Because the body is just two repeated rows, sizing up or down is simple. Add or remove a multiple of 2 stitches to change the width, and add or remove a full repeat, ending on a Row 1, to change the length. The border pulls the whole thing together no matter which size you choose.
Downloadable PDF for the Tender Days Blanket
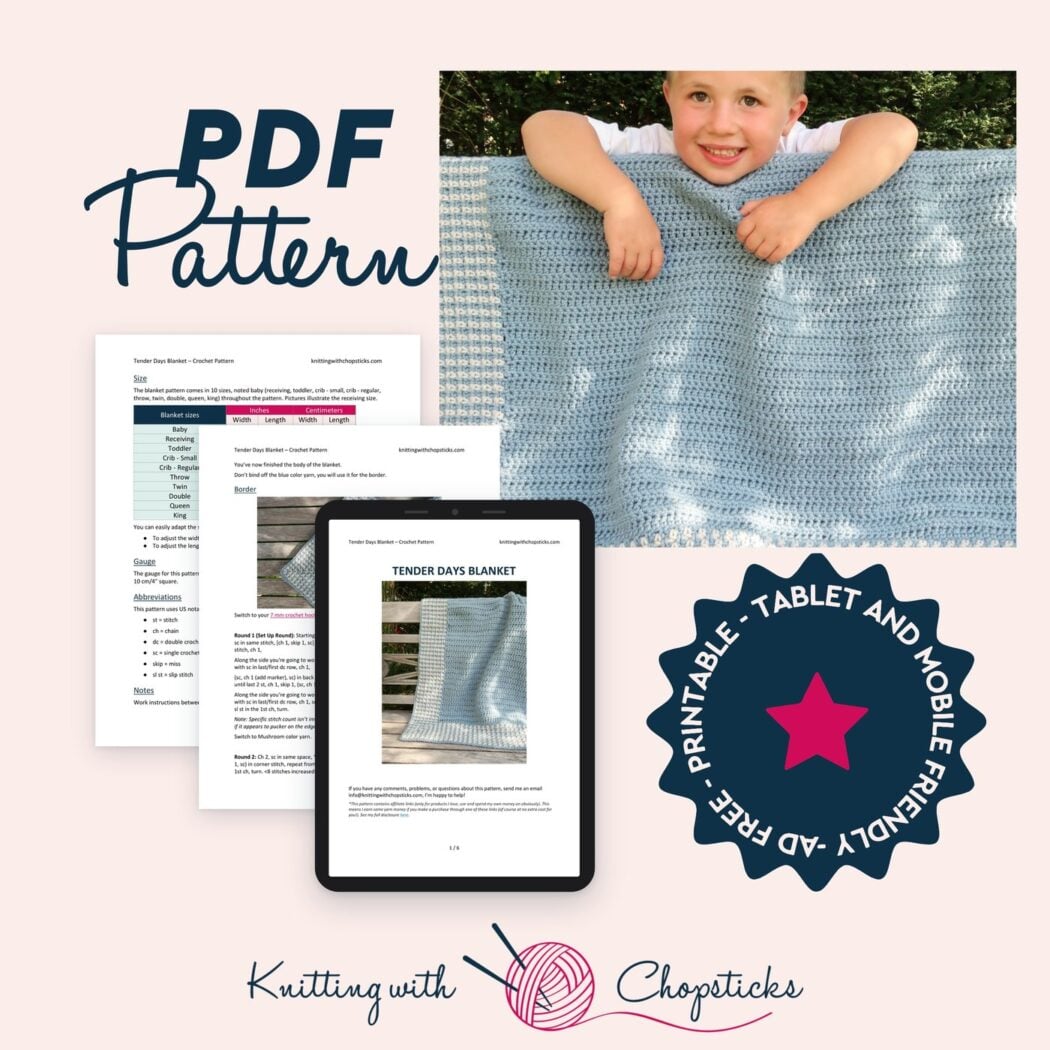
Prefer an ad-free, printable copy? You can grab the Tender Days Blanket pattern as a PDF from my shop, on Etsy, or on Ravelry.
More Crochet Blanket Patterns You'll Love

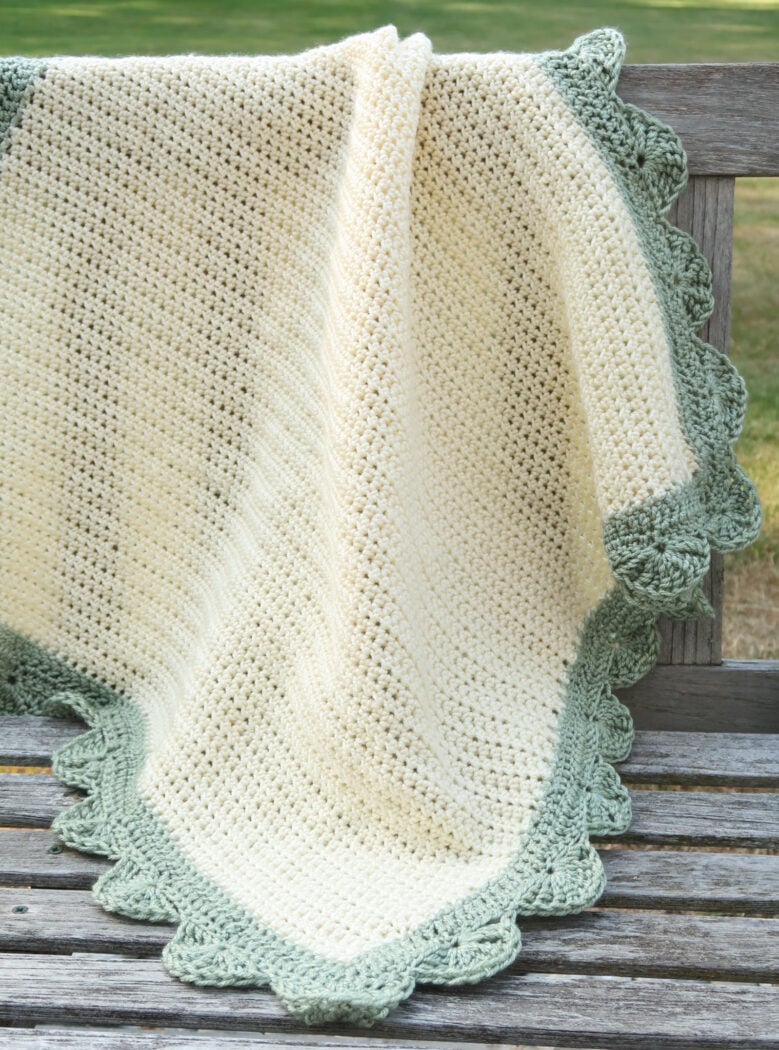

Before You Start
Materials
- 6.5 mm/US K-10.5 crochet hook
- 7 mm crochet hook
- Yarnspirations Caron One Pound (worsted weight (4), 100% Acrylic, 453.6 g/16 oz, 742 m/812 yd) in the color Azure in the following amounts:
- 1 (1, 2, 2, 2, 3, 5, 8, 9, 9) skeins
- 525 (640, 1175, 1010, 1460, 1705, 3390, 5650, 6025, 6255) m/575 (700, 1280, 1105, 1595, 1865, 3710, 6180, 6590, 6840) yd
- Loops and Threads Soft Classic Acrylic (worsted weight (4), 100% Acrylic, 198 g/7 oz, 324 m/354 yd) in the color Mushroom in the following amounts:
- 1 (1, 1, 1, 1, 1, 2, 2, 2, 2) skeins
- 150 (165, 225, 215, 255, 275, 390, 500, 510, 545) m/165 (185, 250, 235, 280, 300, 425, 545, 560, 600) yd
- 4 stitch markers
- Tapestry needle to weave in the ends
Size
The blanket pattern comes in 10 sizes, noted baby (receiving, toddler, crib – small, crib – regular, throw, twin, double, queen, king) throughout the pattern. Pictures illustrate the receiving size.
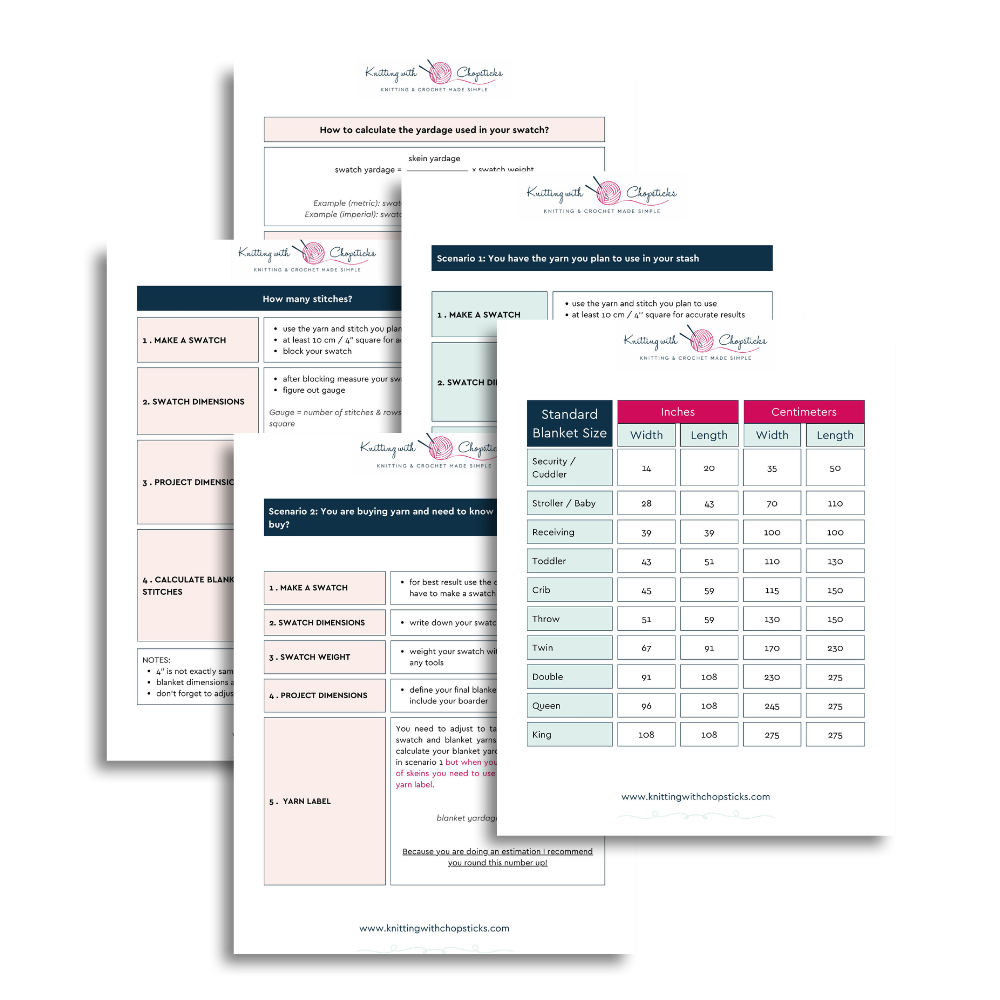
| Blanket sizes | Width (in) | Length (in) | Width (cm) | Length (cm) |
|---|---|---|---|---|
| Baby | 30 | 35 | 76 | 89 |
| Receiving | 36 | 36 | 90 | 90 |
| Toddler | 42 | 52 | 107 | 132 |
| Crib – Small | 36 | 54 | 90 | 137 |
| Crib – Regular | 45 | 60 | 114 | 152 |
| Throw | 52 | 60 | 132 | 152 |
| Twin | 66 | 90 | 168 | 229 |
| Double | 90 | 108 | 229 | 274 |
| Queen | 96 | 108 | 244 | 274 |
| King | 108 | 108 | 274 | 274 |
You can easily adapt the size to your desired project size.
- To adjust the width add or remove a multiple of 2 to your starting stitch count.
- To adjust the length add or remove a repeat making sure to end on a Row 1.
Gauge
The gauge for this pattern, in alternating rows of dc and sc, is 11.5 st by 11 rows for a blocked 10 cm/4 inch square.
Abbreviations
This pattern uses US notations.
- st = stitch
- ch = chain
- dc = double crochet
- sc = single crochet
- skip = miss
- sl st = slip stitch
Notes
Work instructions between [] the indicated number of times or until the end of the row/round.
The final number of stitches is indicated at the end of the row/round between < >.
The turning chain (ch1 for sc rows and ch 2 for dc rows) doesn’t count as a stitch throughout the body of the blanket as it is worked flat. The turning chain counts as a stitch in the border, which is worked in the round.
Stitches above a ch-1 space are worked in the ch-1 space.
The pattern is written in crochet shorthand. For example:
- “sc 1” means to single crochet in the next stitch
- “sc 2” means to single crochet in each of the next 2 stitches
- “2 sc” means to single crochet twice in the next stitch
Construction
The main body of the blanket is worked in rows back and forth. The border is then added working in the round around the main body, turning your work every round.
The Actual Blanket Crochet Pattern
Blanket Body
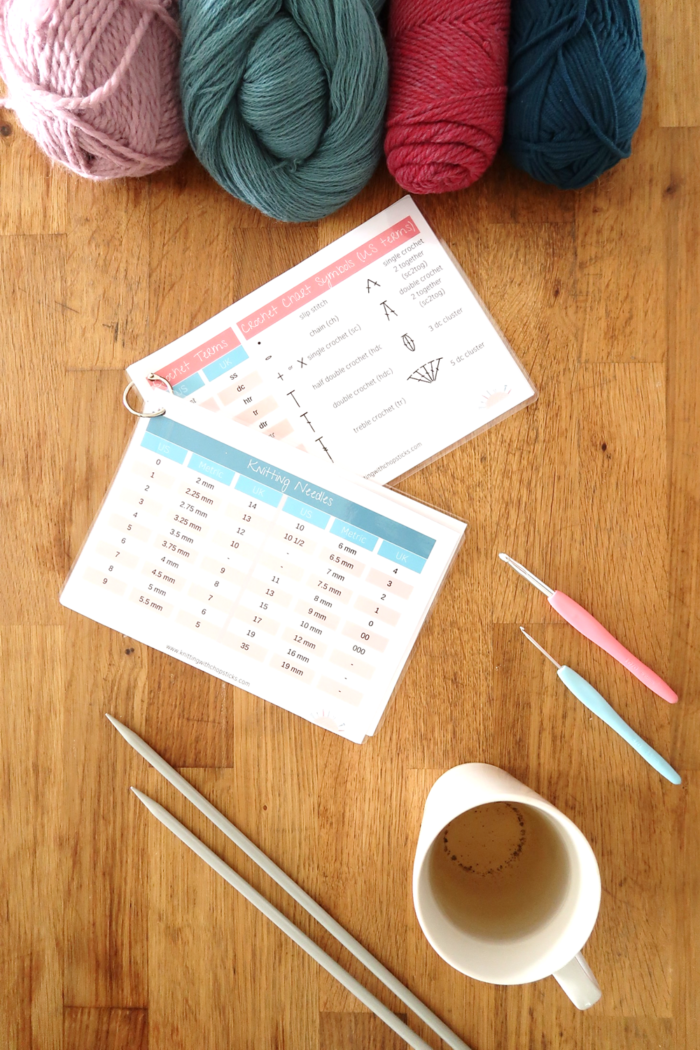
Sick of all the yarn jargon and conversions?
US vs UK, abbreviations, imperial vs metric, yarn weights, etc?
With your 6.5 mm/US K-10.5 crochet hook and blue color yarn ch 65 (81, 101, 81, 109, 129, 171, 243, 259, 293) + 2.
Row 1: Dc in 3rd ch from hook, dc across, turn. <65 (81, 101, 81, 109, 129, 171, 243, 259, 293) st>
Row 2: Ch 1, sc across, turn.
Row 3: Ch 2, dc across, turn.
Repeat Rows 2 and 3 until you reach 69 (70, 112, 117, 132, 132, 209, 254, 254, 254) cm/27.25 (27.5, 44, 46, 52, 52, 82.25, 100, 100, 100) inches, finishing on a Row 3.
You’ve now finished the body of the blanket.
Don’t bind off the blue color yarn, you will use it for the border.
Border
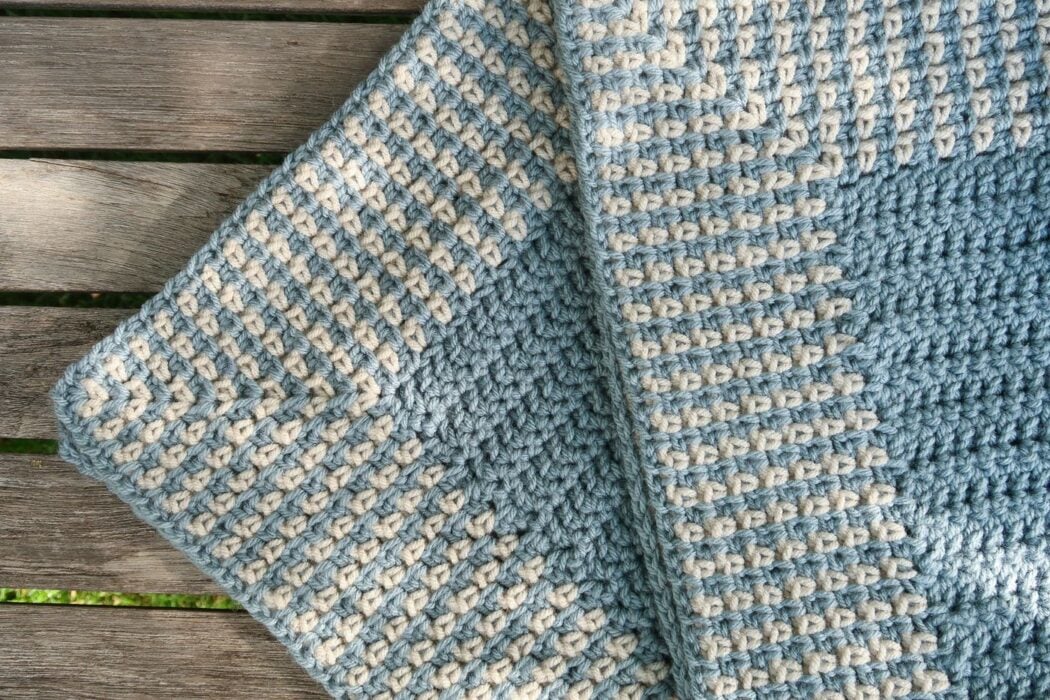
Switch to your 7 mm crochet hook and keep working with your blue color yarn.
Round 1 (Set Up Round): Starting in the last stitch, ch 2 (counts as a ch-1 space) (add marker), sc in same stitch, [ch 1, skip 1, sc] until last 2 st, ch 1, skip 1, (sc, ch 1 (add marker), sc) in last stitch, ch 1,
Along the side you’re going to work [sc, ch 1] into each dc row-end, and skip the sc rows ending with sc in last/first dc row, ch 1,
(sc, ch 1 (add marker), sc) in back loop of 1st st of the starting chain, [ch 1, skip 1, sc] across until last 2 st, ch 1, skip 1, (sc, ch 1 (add marker), sc) in back loop of last stitch, ch 1,
Along the side you’re going to work [sc, ch 1] into each dc row-end, and skip the sc rows ending with sc in last/first dc row, ch 1, sc in same stitch as your first stitch of the round and join with a sl st in the 1st ch, turn.
Note: Specific stitch count isn’t important if you’ve placed the stitches correctly, also don’t worry if it appears to pucker on the edges, after working more border rounds it will flatten out.
Switch to Mushroom color yarn.
Round 2: Ch 2, sc in same space, *[ch 1, skip 1, sc] until last st before corner, ch 1, skip 1, (sc, ch 1, sc) in corner stitch, repeat from * around finishing with just one sc in the last corner, sl st in 1st ch, turn. <8 stitches increased>
Repeat Round 2 alternating blue and gray colors until the border measures 10 cm/4 inches.
Fasten off and weave in the ends.
Blocking
You’re done with the crocheting part. Make sure to weave in all the ends.
To make your stitch pattern even prettier, help straighten your edges and flatten the corners, block your project.
Don’t skip this step, it can make a huge difference. Read my detailed tutorial on why block, how-to, and all my tips and tricks if you need help.
Please Respect My Work
You may not share, sell or claim my patterns as your own. You can make finished items to sell (on Etsy, at craft fairs) from my patterns, but I ask that you link back to my blog knittingwithchopsticks.com and provide credit for the pattern.