Shoulder Season Sweater Vest Knitting Pattern
A new sweater vest knitting pattern – the Shoulder Season Cardigan – is now a free knitting patterns here on the blog. Read all about this knitting pattern for sleeveless cardigan, scroll down to view the full free patterns or purchase an ad free PDF from my shop, Etsy shop, Ravelry shop or get your Lion Brand Kit (includes pattern and yarn).
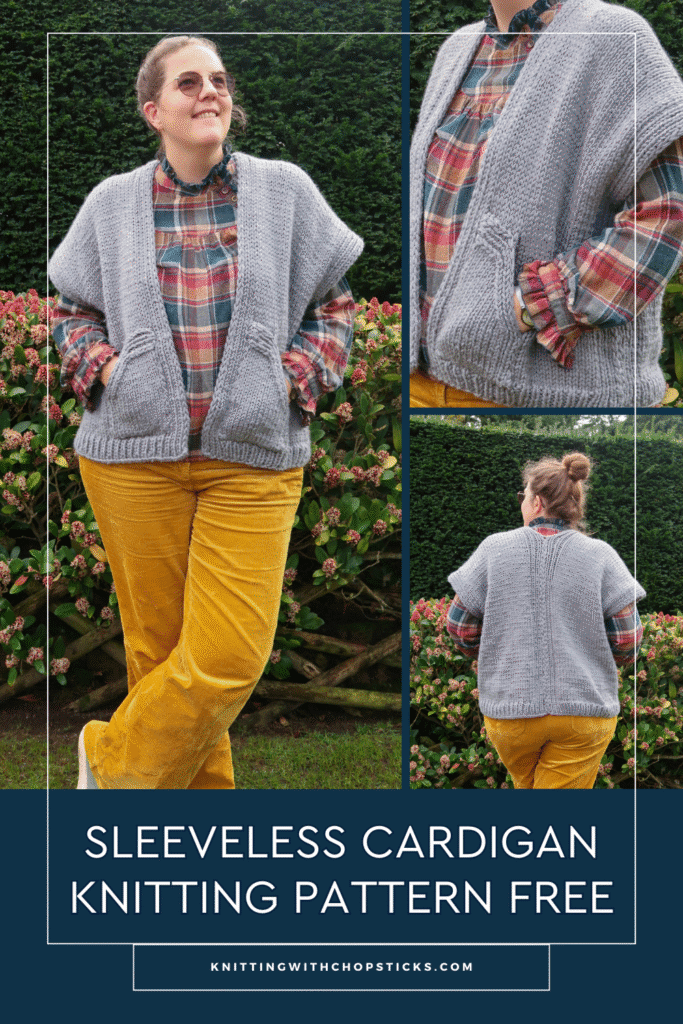
No time right now? Pin this simple sweater vest knitting pattern free for later!
*This post contains affiliate links (only for products I love, use and spend my own money on obviously). This means I earn some yarn money if you make a purchase through one of these links (of course at no extra cost for you!), which I promise to use to create more awesome patterns like this one. All opinions are my own. See my full disclosure here.
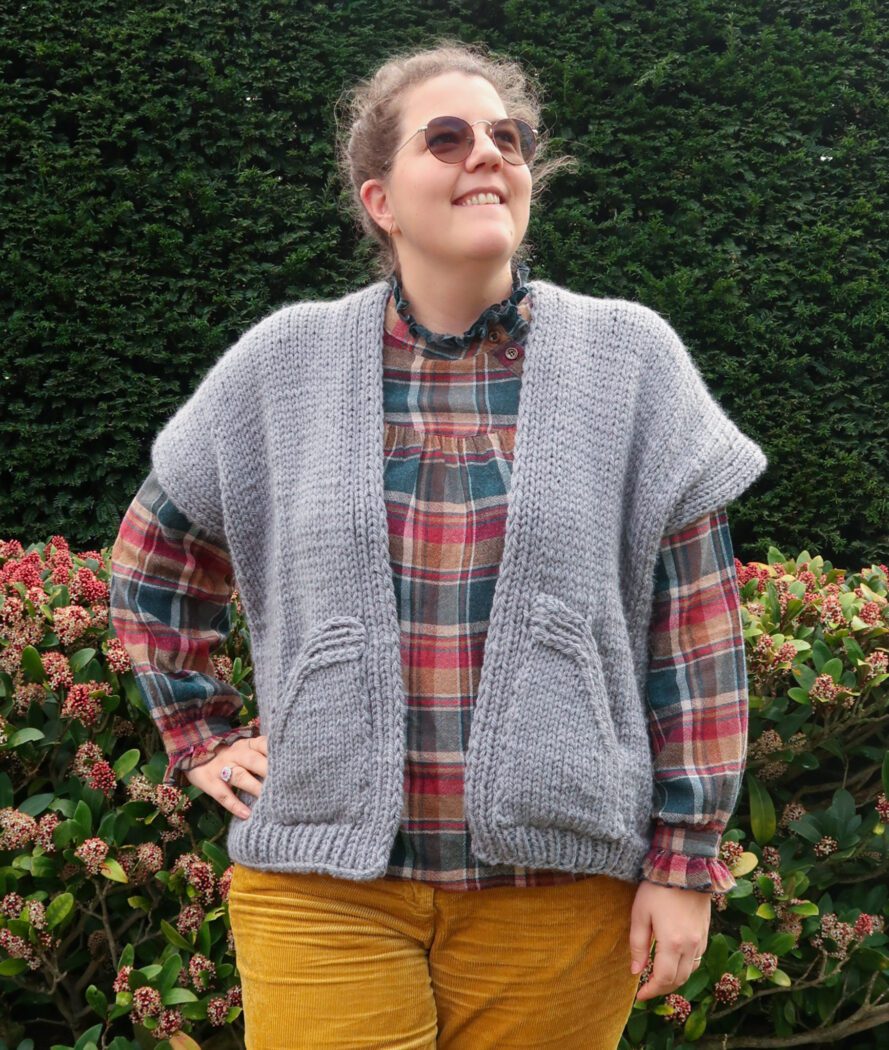
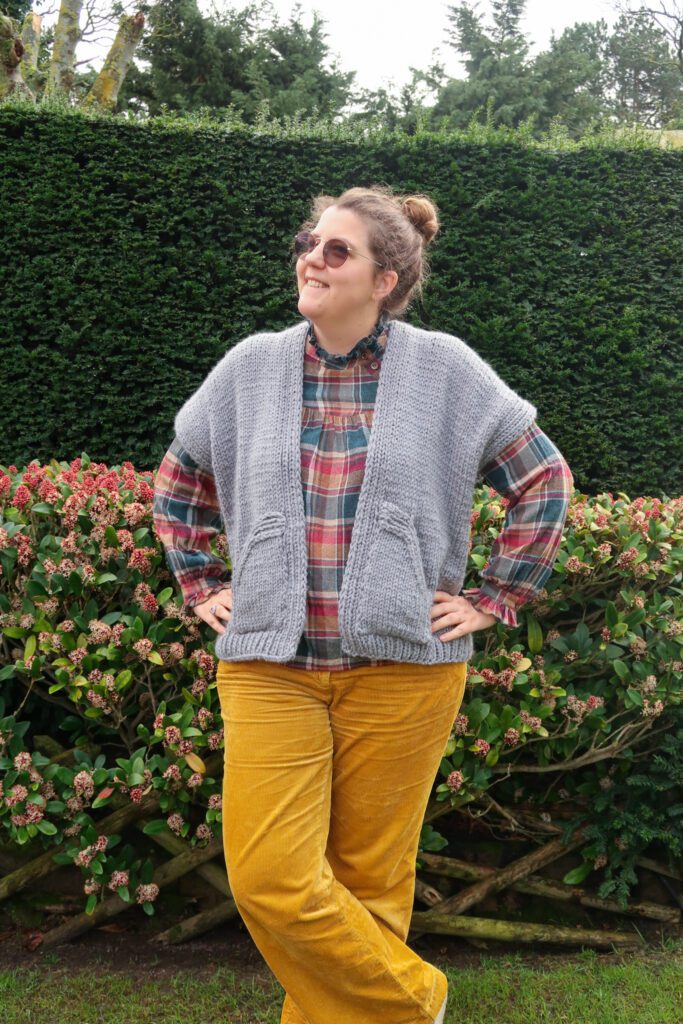
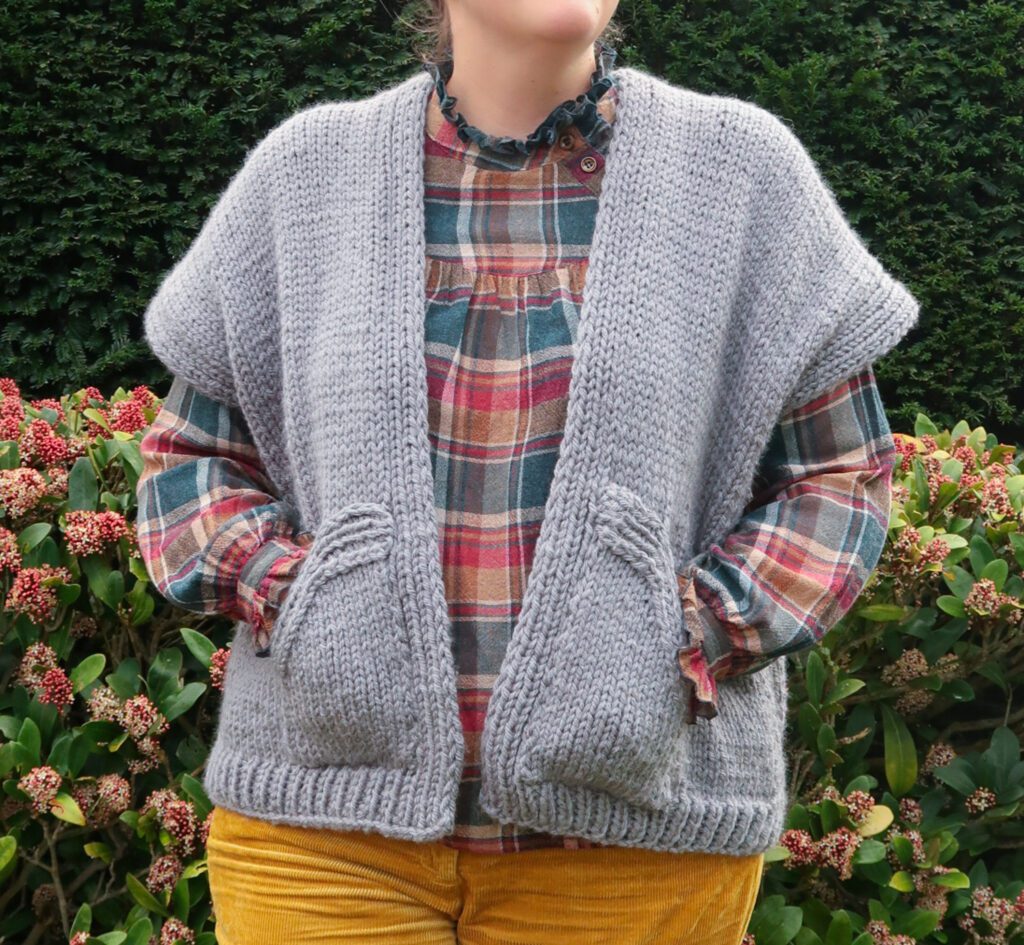
A sweater vest knitting pattern is the perfect project for those in-between months when the weather can’t quite make up its mind. This shoulder season cardigan is designed to be both practical and stylish, offering just the right amount of warmth without the bulk of full sleeves. Knit with chunky yarn, it works up quickly, making it an ideal choice for beginners or anyone looking for a satisfying, fast project. The relaxed, sleeveless design makes it easy to layer over shirts, dresses, or lightweight knits, giving you a versatile wardrobe staple you’ll reach for again and again.
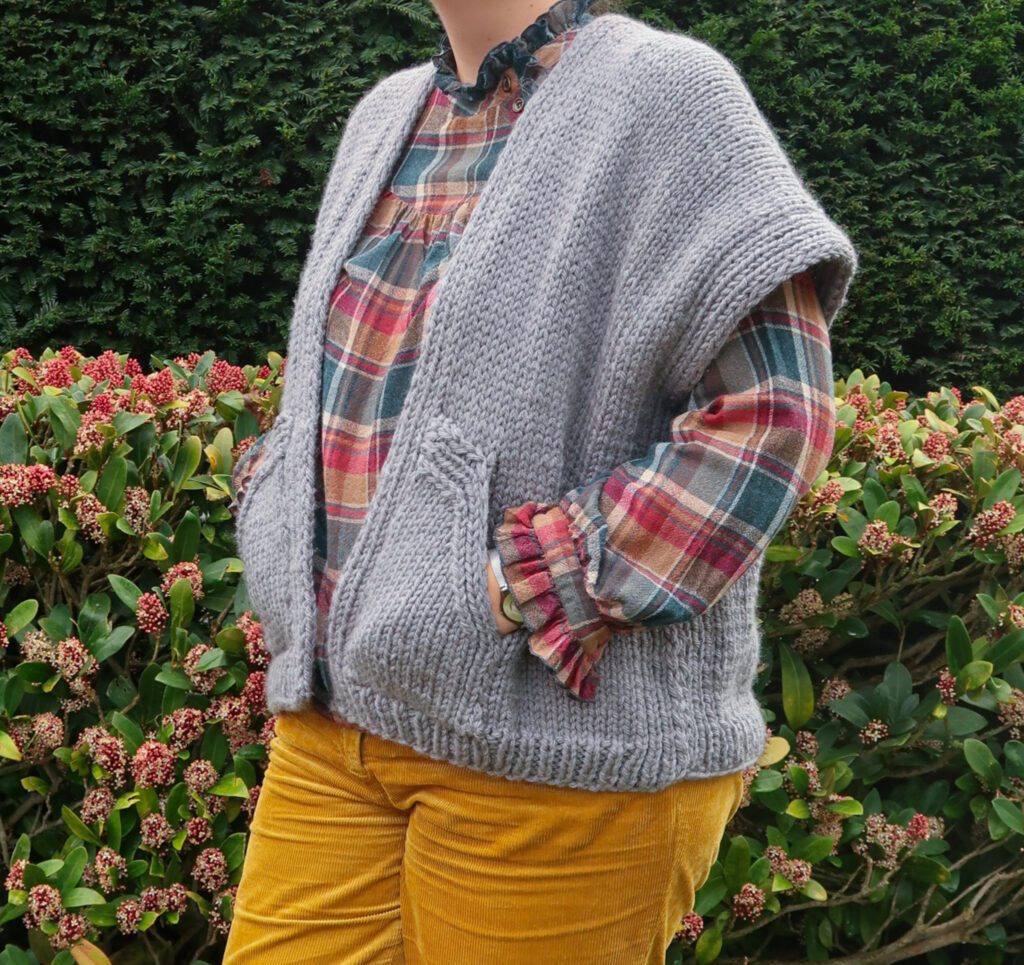
This sleeveless cardigan knitting pattern is free and thoughtfully constructed from just two simple panels, making it incredibly easy to assemble. Even if you’re new to garment knitting, you’ll find the process approachable and enjoyable. The addition of two front pockets not only adds a cozy, functional touch but also enhances the overall laid-back look of the piece. Whether you’re searching for a knitting pattern for a sleeveless cardigan or a go-to sweater vest knitting pattern, this design strikes the perfect balance between simplicity, comfort, and modern style.
Easy Chunky Cardigan Knitting Pattern Construction
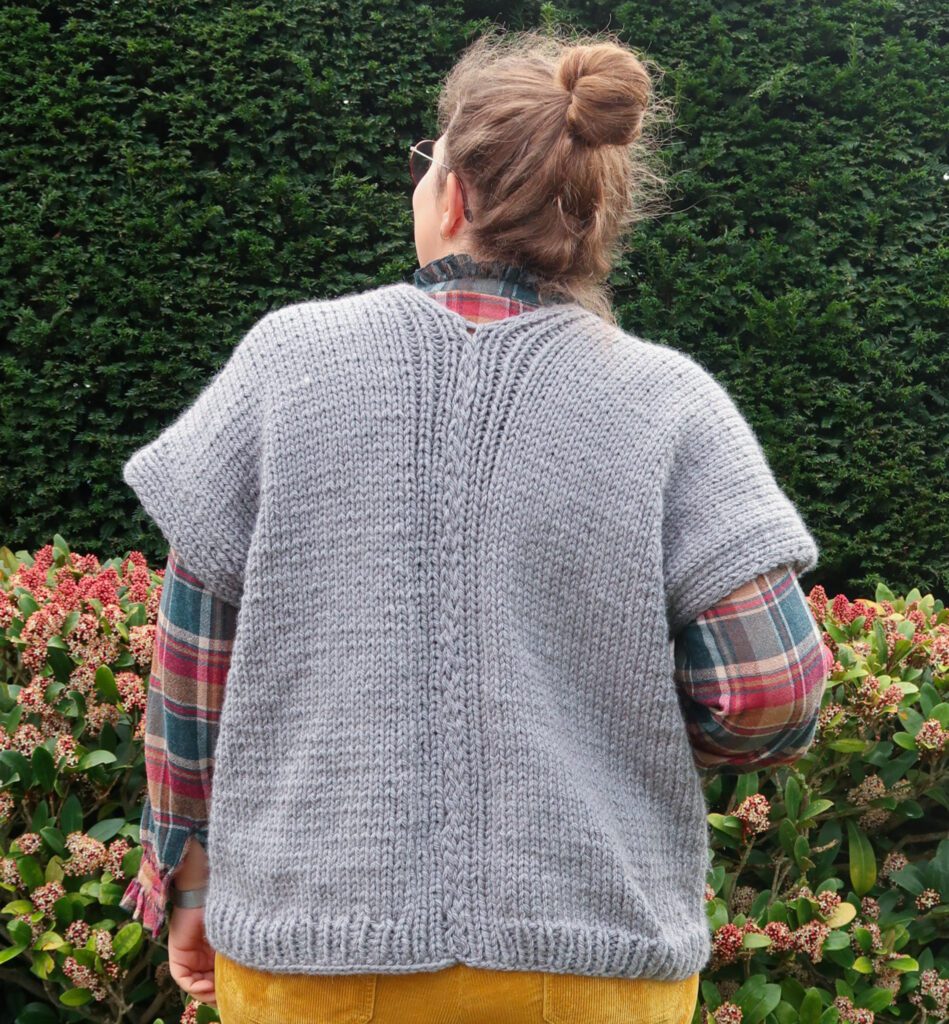
You are going to knit two panels. Each one begins with ribbing, continues in stockinette stitch with ribbing on the sides for most of the length, and finishes with ribbing again. Each panel forms both the front and back of one side of the cardigan.
Next, you’ll knit a pair of shaped pockets, one for each side. The pockets are mirror images rather than identical, so make sure you follow the correct instructions for the left and right pocket.
Once everything is ready, you’ll seam the sides and the back of the cardigan, then sew the pockets in place along the border of the front opening.
Downloadable PDF for Shoulder Season Cardigan Knitting Pattern
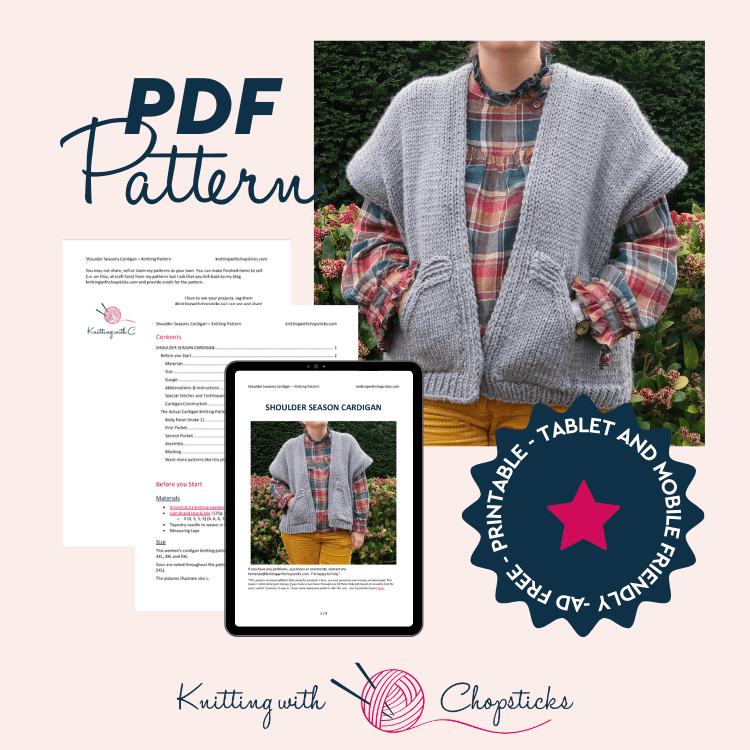
Grab the printable PDF of the Shoulder Season Cardigan Knit Pattern now in my shop, Etsy shop, on Ravelry shop or as a Lion Brand Kit:
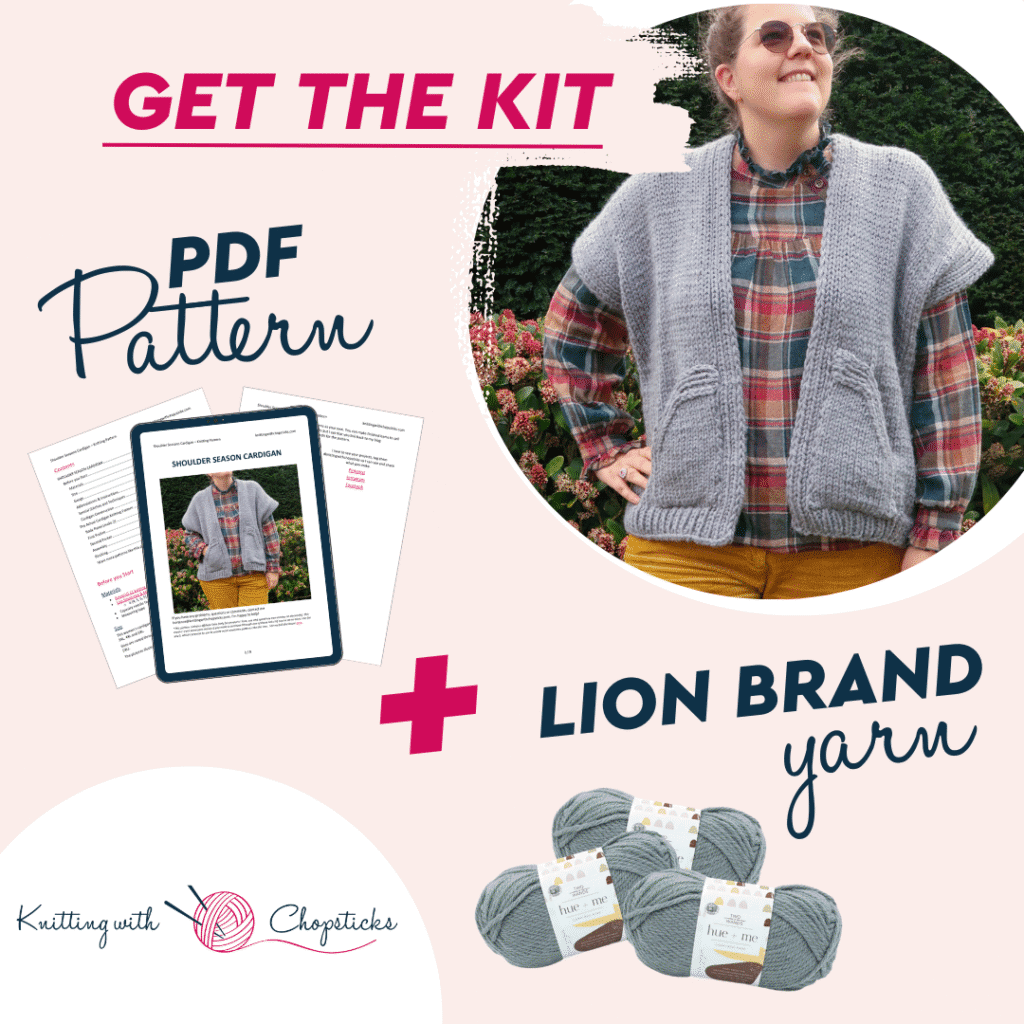
Shoulder Season Cardigan Knitting Pattern Lion Brand Kit
Wrap yourself in with this cozy the Shoulder Season Cardigan. It’s relaxed oversized fit makes it perfect for easy layering when the weather shifts between seasons. This kit includes everything you need to make this sleeveless cardigan knitting pattern you’ll love knitting and wearing again and again.
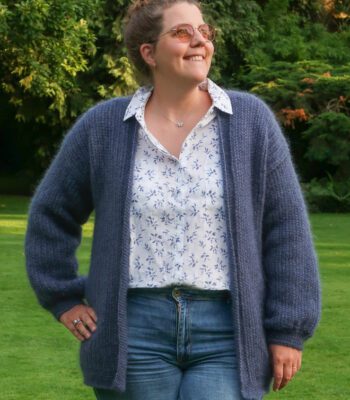
More Knitted Patterns you'll love


Before You Start Your Shoulder Season Sleeveless Cardigan Knitting Pattern Free
Materials
- 8 mm/US 11 knitting needles
- Lion Brand Hue & Me (125g, 80% acrylic; 20% Wool, 137 yds/125 m): you will need:
- 4 (4, 5, 5, 5) (6, 6, 6, 7) skeins in color Harbor 617-106BH
- Tapestry needle to weave in the ends
- Measuring tape
Size
This women’s cardigan knitting pattern is available in the following sizes: XS, S, M, L, XL, 2XL, 3XL, 4XL and 5XL.
Sizes are noted throughout the pattern in the following way: XS (S, M, L, XL) (2XL, 3XL, 4XL, 5XL).
The pictures illustrate size L.
Final garment measurements are:
- Bust circumference: 97 (111, 118, 132, 139) (153, 160, 174, 181) cm/38.25 (43.75, 46.5, 52, 54.75) (60, 62.75, 68.25, 71) ”.
- Length (nape of neck to hem): 58 cm/23”.
The cardigan is designed to be worn with an oversized fit, with 20-25 cm/8-10” ease at the bust.
Gauge
The gauge for this pattern with 8 mm/US 11 needles, in stockinette stitch, is 11.5 st by 15.5 rows for a 10 cm by 10 cm/4” by 4” square.
Abbreviations & Instructions
- st = stitch
- k = knit
- p = purl
- Sl1k = slip one stitch knitwise
- Sl1p = slip one stitch purlwise
- ssk = Slip 1 stitch knitwise twice then knit the two slipped sts together
- k2tog = knit two stitches together as one
- p2tog = purl two stitches together as one
Repeat instructions between [] the indicated number of times or until the end of the round/row.
The final number of stitches is indicated at the end of the round/row between < >.
Special Stitches and Techniques
Sick of all the yarn jargon and conversions?
US vs UK, abbreviations, imperial vs metric, yarn weights, etc?

Mattress stitch: this creates a very neat seam on knitted pieces that are mostly knits on the right side and purls on the wrong side. It’s almost invisible until the seam is stretched.
- Lay your piece out with the two edges to sew side by side with the right sides of both facing up. To sew the sleeve underarm seam, you will have to fold each side over to the center.
- Find the right place to sew: Look for the little horizontal bars between the edge stitch and the next stitch. You’ll be working under these bars.
- Start the seam: Thread a yarn needle with a strand of your working yarn. Begin at the bottom of the seam, securing the yarn with two stitches through the corner stitches of each side.
- Insert the needle under the first two bars on the right edge and pull through.
- Move to the left piece and insert the needle under the first two bars on the left edge. Pull the yarn through.
- Work up the seam: Keep alternating: right edge, then left edge always going under the next two bars on each side. Every few stitches, gently pull the working yarn to tighten the seam. The edges should draw together neatly without puckering.
- When you reach the top, weave in the yarn tail on the wrong side to secure.
Cardigan Construction
You are going to knit two panels. Each one begins with ribbing, continues in stockinette stitch with ribbing on the sides for most of the length, and finishes with ribbing again. Each panel forms both the front and back of one side of the cardigan.
Next, you’ll knit a pair of shaped pockets, one for each side. The pockets are mirror images rather than identical, so make sure you follow the correct instructions for the left and right pocket.
Once everything is ready, you’ll seam the sides and the back of the cardigan, then sew the pockets in place along the border of the front opening.
The Actual Shoulder Season Free Sweater Vest Knitting Pattern
Body Panel (make 2)
Start Ribbing
With your 8 mm/US 11 needles cast on 31 (35, 37, 41, 43) (47, 49, 53, 55) st.
Row 1 (RS): Sl1k, [p1, k1] across.<31 (35, 37, 41, 43) (47, 49, 53, 55) st>
Row 2 (WS): Sl1p, [k1, p1] across.
Row 3 – 6: Repeat Row 1-2 twice more.
Main Section
Row 7 (RS): Sl1k, [p1, k1] three times, knit until last 6 st, [p1, k1] three times.
Row 8 (WS): Sl1p, [k1, p1] twice, k1, purl until last 6 st, [k1, p1] three times.
Repeat Row 7-8 until total length is 115 cm/45.5”.
End Ribbing
Row 1 – 6: Repeat Start Ribbing Row 1-6.
Cast off and leave a long tail for sewing.
First Pocket
Cast on 18 st.
Straight Section
Row 1 (RS): Sl1k, p1, k1, p1, knit across. <18 sts>
Row 2 (WS): Sl1p, p until last 4 st, [k1, p1] twice.
Row 3 – 16: Repeat row 1-2.
Decrease Section
Row 17 (RS): Sl1k, p1, k1, p1, ssk, knit across. <17 st>
Row 18 (WS): Sl1p, p until last 4 st, [k1, p1] twice.
Repeat Row 17-18 until 12 st remain, ending on a row 18 repeat. <12 sts>
Pocket Top
You’re now going to work just the ribbing stitches to create a horizontal band across the top of the pocket, attaching the band to each of the remaining stockinette stitches in the pocket by knitting a stitch of the band and a stitch from the pocket together on right side rows as you work across.
Row 1 (RS): Sl1k, p1, k1, p1, ssk, turn, leaving the remaining unworked sts on their needle. <5 sts>
Row 2 (WS): P1, [k1, p1] twice.
Repeat Row 1-2 until you’ve decreased all the unworked sts on the needle so the horizontal ribbing band runs right across the pocket top.
Cast off at the end of the final Row 1 and leave a long tail for sewing.
Second Pocket
Straight Section
Cast on 18 st.
Row 1 (RS): Sl1k, k until last 4 st, [p1, k1] twice. <18 sts>
Row 2 (WS): Sl1p, k1, p1, k1, purl across.
Row 3 – 16: Repeat row 1-2
Decrease Section
Row 17 (RS): Sl1k, k until last 6 st, k2tog, [p1, k1] twice. <17 sts>
Row 18 (WS): Sl1p, k1, p1, k1, purl across.
Repeat Row 17-18 until 12 st remain, ending on a row 17 repeat. <12 sts>
Pocket Top
You’re now going to work just the ribbing stitches to create a horizontal band across the top of the pocket, attaching the band to each of the remaining stockinette stitches in the pocket by knitting a stitch of the band and a stitch from the pocket together on right side rows as you work across.
Row 1 (WS): Sl1p, k1, p1, k1, p2tog turn, leaving the remaining unworked sts on their needle. <5 sts>.
Row 2 (RS): K1, [p1, k1] twice.
Repeat Row 1-2 until you’ve decreased all the unworked sts on the needle so the horizontal ribbing band runs right across the pocket top.
Cast off at the end of the final Row 1 and leave a long tail for sewing.
Assembly
Instructions for mattress stitch are included in the special stitches and techniques section. This method will give a very neat seam, however you can use other seaming techniques if you prefer.
First, fold Body Panels in half so the ribbed ends match at front and back. Create the side seams by sewing up one side of each panel from the start of the ribbing, until you have a 16 (17, 19, 20, 21) (22, 24, 25, 26) cm/6.5 (6.5, 7.5, 8, 8.5) (8.5, 9.5, 10, 10)” long gap remaining for the armhole.
Next, create the back seam by placing the body panels next to each other with their unsewn edges together and sewing these edges together from start of ribbing until the seam measures 55 cm/21.5”.
Finally, sew pockets to the cardigan panels next to the front opening’s ribbed edge, joining the cast on edge just above the ribbing.
Blocking
You are done with the knitting part. Make sure to weave in all the ends.
To make your sweater even prettier and help even your stitches wet block your project.
Don’t skip this step as it can make a huge difference. Read my detailed tutorial on why block, how-to, and all my tips and tricks if you need help.